Today’s post is sponsored by Scotch Duct Tape.
I am so excited to share this DIY with you, I am going to EXPLODE! I’ve been dreaming up this cupid’s arrow balloon for awhile now and was so happy when Scotch Duct Tape hopped on board to make it happen! These balloons are so ridiculously giant and great, they make such a statement. I mean…. I’m just obsessed! You could really impress your Valentine or your kiddos with these, huh? Luckily they have big impact, but little effort! Just grab your duct tape and get to makin’!
Eeeee!!!
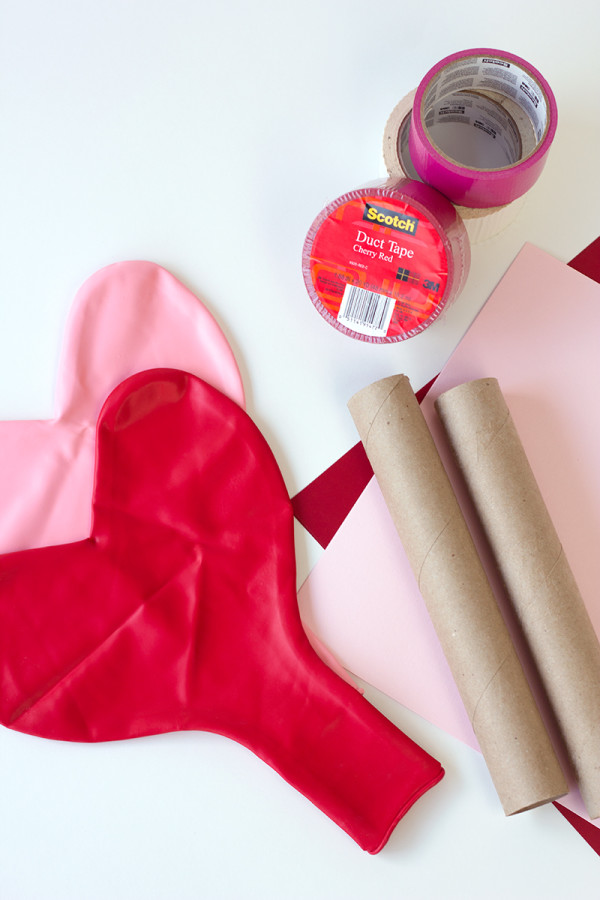
Scotch Duct Tape in Pearl White, Cherry Red and Hot Pink
Paper Towel Rolls (Two per balloon. If you don’t want the arrow to be as exaggerated, you can use a toilet paper roll or two taped together for each side!)
Sharp Art/Utility Knife and Cutting Mat
Cardstock
Scissors
36″ Heart Balloons
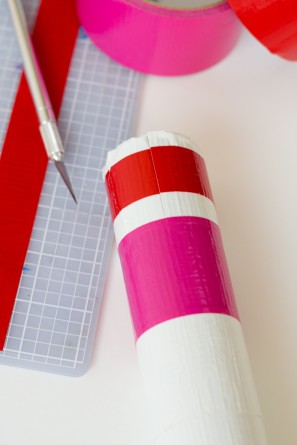
First you need to cover your paper towel rolls in the duct tape color of your choice. Wrap pieces around until the whole tube is covered. Then add any decorations you want! I cut narrower strips of the duct tape and added stripes, but you could also add other shapes or even vertical stripes!
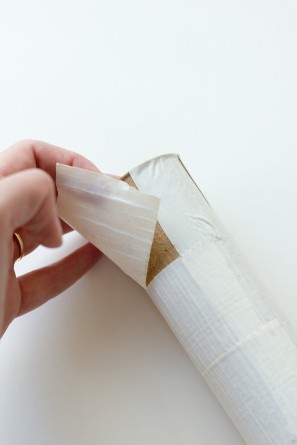
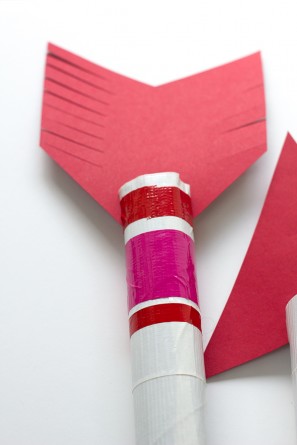
Make both ends of your arrow out of cardstock. I’ve seen so many different style arrows, so change it up or do what I did pictured below. I also fringed the ends of my arrow’s tail. On one end of each paper towel roll, cut a slit on each side about an inch or two in and slip your arrow pieces in the slit. It should hold pretty tight just like that, but you can also add a small piece of duct tape on the inside to secure.
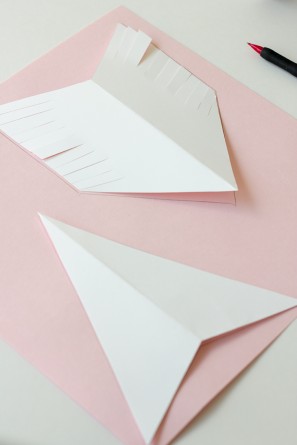
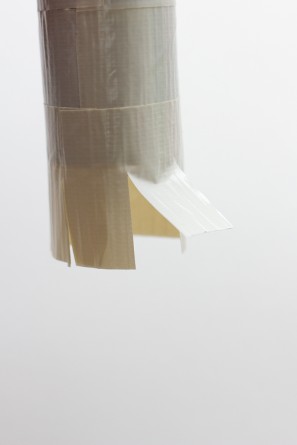
On the other end of each tube, add one more strip of duct tape, letting it hang off the bottom about an inch. Cut slits in the exposed tape all around the tube, this will allow you to attach the arrow to your balloon.
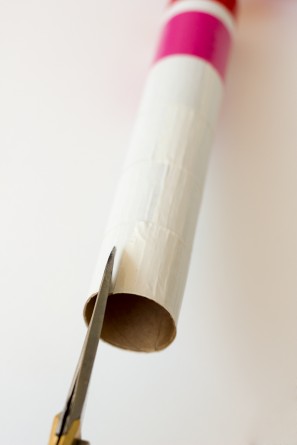
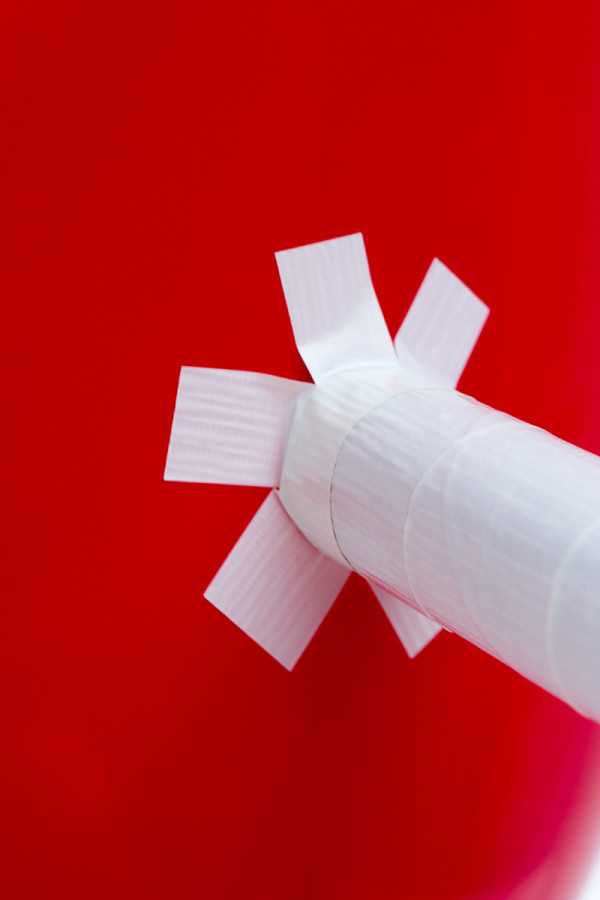
To attach the arrows to your helium-filled balloon, it helps to have a second person on hand to make sure the arrow makes a straight “shot” through the balloon. Using the strips of tape you made on your tube, attach the bottom half of the arrow to the balloon Press firmly to secure and it will hold on tight. Do not try to move and reposition the tape after it’s on or it will pop the balloon! Then, having your second person (hopefully) advise you on placement, attach the top half of the arrow to the direct diagonal opposite of your bottom one.
Done!!! These balloons and the arrows are pretty ginormous, so keep that in mind for transporting! They fit in the back seat of a sedan easily, but be careful not to crush the arrows! The balloons will last awhile though, at least a few days if the balloon was filled full with helium!
All Photos by Studio DIY
What do you think!? I’d probably marry someone on the SPOT if they gave me one of these. Too bad I’m already engaged…. 😉
For more crafty ideas using Scotch Duct Tape, check them out on Facebook and Pinterest!
I am proud to be a 3M- sponsored blogger, and, as part of my responsibilities, I get the opportunity to evaluate new products like Scotch Duct Tape!
Thank you for supporting the sponsors that keep the Studio DIY party going! Read more about my editorial policies here.












Brittni says
These are so awesome Kelly! You always nail it with the balloon projects. And I love your dress!
Ashley | Sugar & Cloth says
Yes!!! In so many ways, yes. I’m so glad to have genius friends, I’ve got to be getter smarter by association.
Chelsea Foy says
Boom. Brilliance. I love these!
LARY@Inspiration Nook says
Absolutely love these!!!
Terrie says
Love these photos!! Awesome =)
Rose Angel says
So creative and cute!!
Aileen@AtHomeinLove says
These are so brilliant!!! Love, love, LOVE this idea.
Claireabellemakes says
That last image is just great. Adore this DIY!
One O says
Oh wow! this DIY is just so cute and your pictures *.* <3
So happy we discovered you on Craft Gawker
xx
Chiara & Irene
Sami @ Poor & Pretty says
These are so cute! And easy, too! I’ve featured them in my round-up of last-minute Valentine DIYs: http://bit.ly/1hcfa0B
xoxo
Tara says
Love this idea! I was wondering where you bought the balloons from??