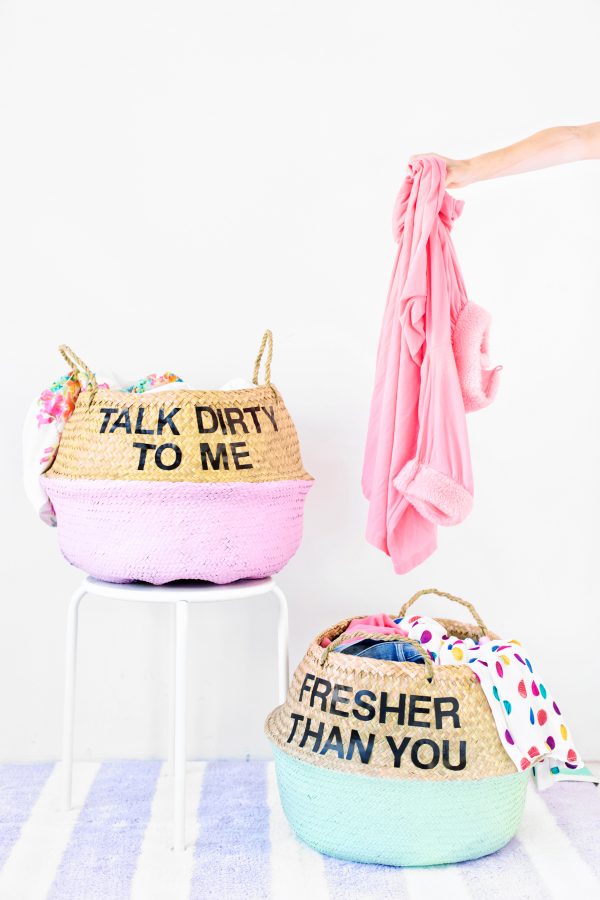
Oooooh I’ve been planning this DIY since October, just had to wait for back to school to roll around again! Jeff and I have been using baskets like these for our laundry for awhile and we love them. And, since they are smaller than the giant leftover-from-college one I used to have, they 1) actually fit in our room and 2) force us to not wait 2 months before doing our laundry! Ha! ANYWAY! We made these DIY graphic laundry baskets because I thought it would be perfect for those of you headed off to college or anyone who also lives in a small apartment! They’re also just hilarious. So there’s that.
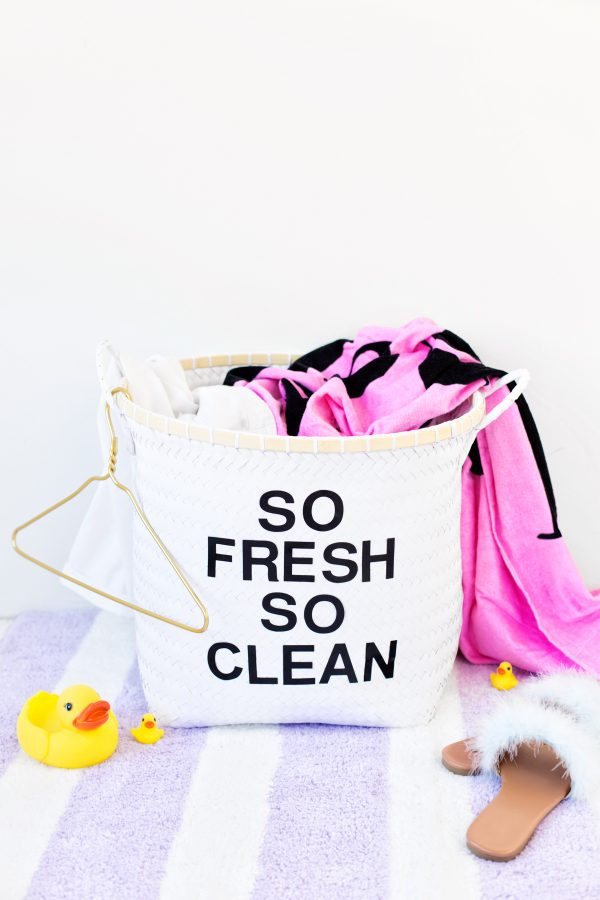
DIY Graphic Laundry Baskets
Total Time: One Hour (Plus Dry Time)
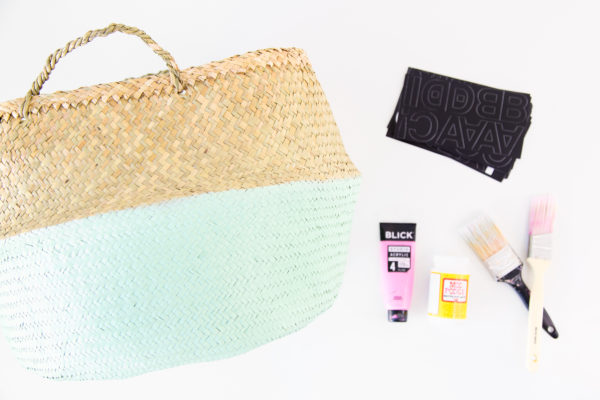
Supplies
Seagrass or Woven Baskets (The weaving must be "flat" for the stickers to adhere! Try this more budget friendly option from Target or this seagrass basket that's already painted!)
2" Letter Stickers
Matte Mod Podge
Foam Brush
Fabric-Safe Craft Paint + Paint Brush (Optional)
Directions
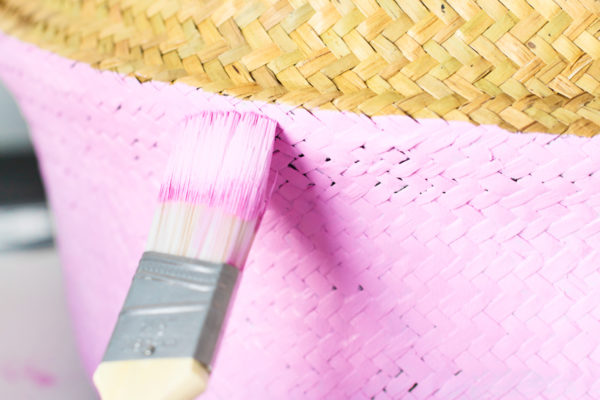
1. IF you want to paint any part of your basket, do that first. We painted the bottom of one of ours using pink craft paint. Let dry and then paint a second coat. Let dry again.
2. Decide on the phrase you want to write and plan out how you want to lay them out. For the seagrass baskets, you can fit two lines, for the larger Target baskets you can fit more!
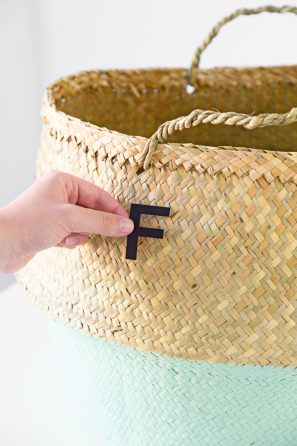
3. I recommend starting in the middle with your words and working your way out, so that you ensure everything is centered. Place your letters and press them firmly to adhere them to the baskets.
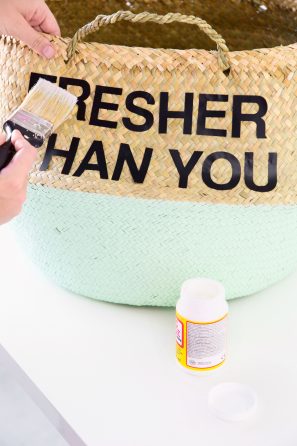
4. Make sure all the corners of the letters are pressed onto the baskets and then cover the entire basket in a coat of mod podge (including the painted part, it will help keep it from chipping!). Let dry completely, then cover in a second coat of mod podge. Let dry again.
NOTE: If you prefer to paint your letters on, so you can use a variety of colors, you can use the letter stickers as stencils. Place them on the basket, trace around them then remove them and paint with your desired colors! You'll likely have to do two coats to cover completely.

Photos by Jeff Mindell
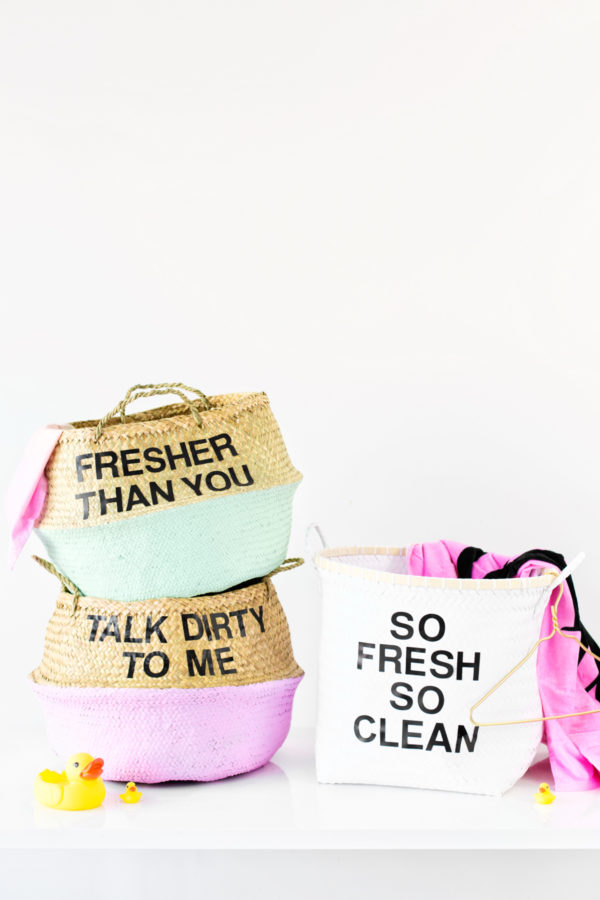
I’m sorry but you just HAVE to do the “Fresher Than You” one. I heard it’s actually a requirement for most dorms this year… 😉 If you make these, be sure to share + tag #troopstudiodiy on the ‘gram!



Michelle says
They are hilarious, and I love the colours you used!
https://www.makeandmess.com/
Anna says
Genius! Love the puns.
Blythe says
I love these! So fun and simple
www.eleanorandemilio.blogspot.com
Helen says
These are hilarious! Love this idea!
XO Helen @ www.KaleidoscopeSpinning.com
Brandi says
These are amazing! What a fun idea. I think this would definitely make doing laundry way more fun.
Kali says
Such a great idea! I love the colours you used:-)
http://www.idimin.berlin/
Vicky says
Such a cool idea!
xo,
Vicky
http://www.aspiringsocialite.com/
Taylor - Lights Camera Catwalk says
I’m OBSESSED with these!!
Xx Taylor
http://lightscameracatwalk.com/
rosartsky says
love these
and how about …laundry
an endless cycle
🙂
Nancy says
What a great idea! I find wonderful baskets at yard sales all the time but never thought to paint them. Thanks!
Cindy-Jo says
Cute! I’m a big fan of using my vinyl cutter to cut out lettering but these pre-made letters are awesome and would definitely save a tonne of time! Thanks for such a simple and inspiring project 😉
192.168.1.1 login says
The article you have shared here very good. This is really interesting information for me. Thanks for sharing!
Kelly says
I’ve never thought of painting baskets, but I really love the look of these! These colors are fantastic and would also match my daughter’s room! The vinyl cut letters are a neat touch too! So fun!
best vinyl cutting machine says
Thanks for nice idea.