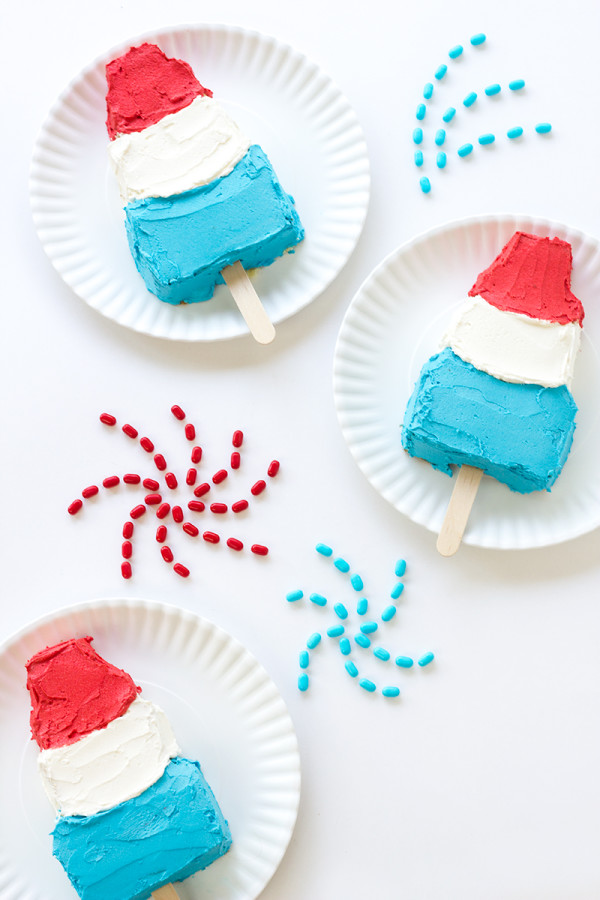
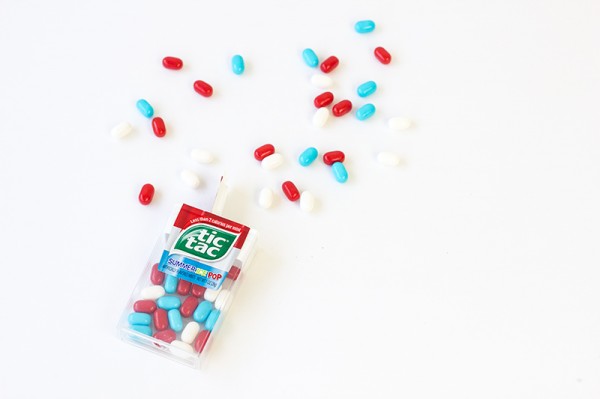
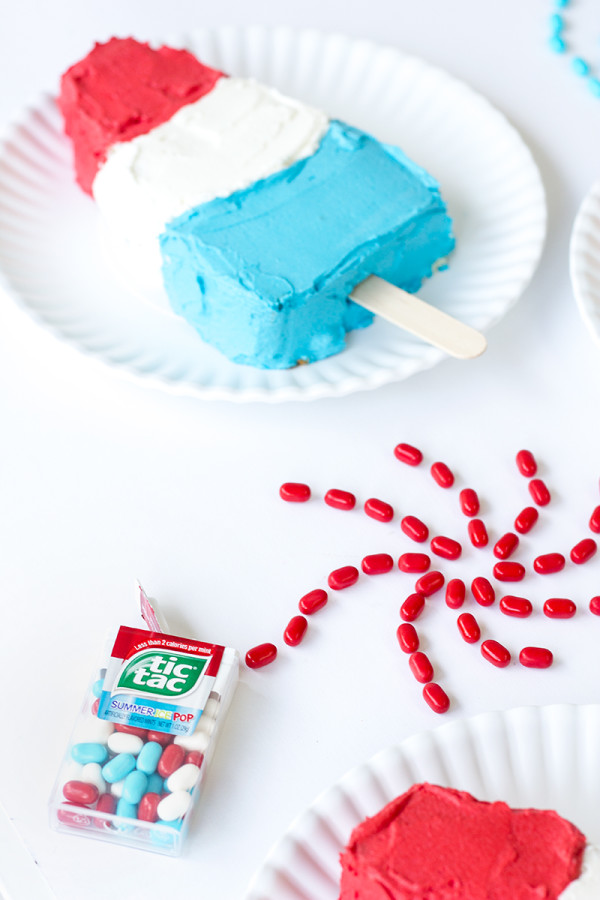
You didn’t think I forgot about July 4th, did ya!? Never! Do you guys remember those red white and blue ice pops you used to (or still do?) devour in the summer? Thought so. Well Tic Tac® recently created a flavor for their mints that literally tastes just like them. STOP IT. (I’m not just saying that either, they really do. We tasted tested a few several boxes. So when they asked me to create a project inspired by that nostalgic flavor… well I went for the literal route, and re-invented my popsicle cakes to make summer ice pop cakes! I hope you make ’em for the Fourth because everyone will LOVE you.
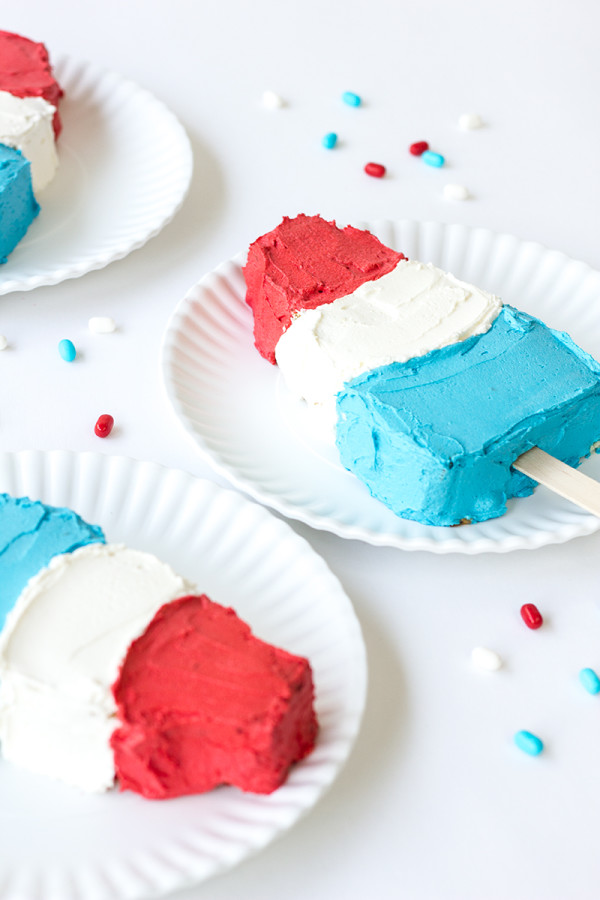
Your Fave Sheet Cake (I used this recipe. One cake made three of these, or you could make one GIANT one!)
Your Fave Buttercream (I used this one! One recipe is enough for about eight little cakes.)
Red + Blue Food Coloring
Cardstock + Scissors
Popsicle Sticks
Icing Spatula
Sharp Knife
Tic Tacs + Ice Pops… for “research” DUH!
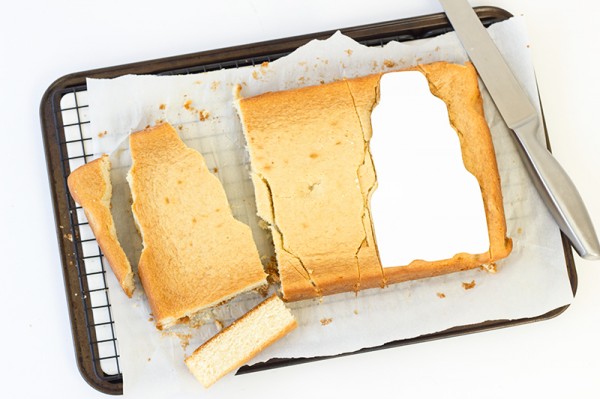
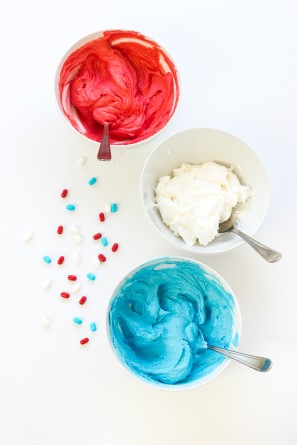
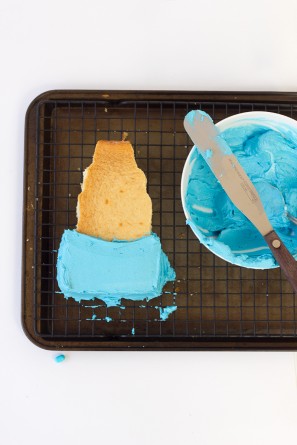
1.First you need to make your template. I pulled up a picture of the pops online and traced from my computer. Cut it out. Lay your template on top of your cake (I recommend refrigerating it first, for easier cutting.) and cut carefully with that sharp knife around the template. Repeat for however many cakes you want! Pop your cakes back in the fridge or freezer.
2. In the meantime, divide your frosting into three separate bowls. Dye one bowl blue and one bowl red.
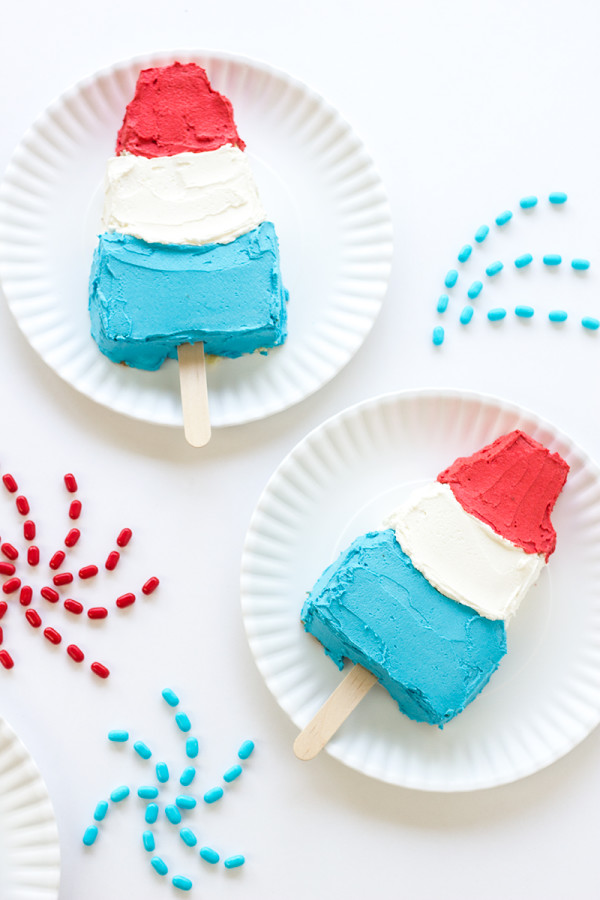
3. And now, we frost! Patience is the name of the game here, my friends. Start with the bottom (blue) and put a dollop of frosting on top. Smooth it with your icing spatula, covering the top and the sides of the section. Use those little indents from the ice pop shape as your guide for where to stop! Next move to your white layer and do the exact same. Keep a paper towel nearby to wipe the spatula as needed. Finish with the red section on top!
4. Last, stick a popsicle stick in the bottom and get ready to serve! The easiest way to move these from cooling rack (where I prefer to frost mine) to plate is but carefully slipping a regular spatula underneath and moving it that way! BAM!
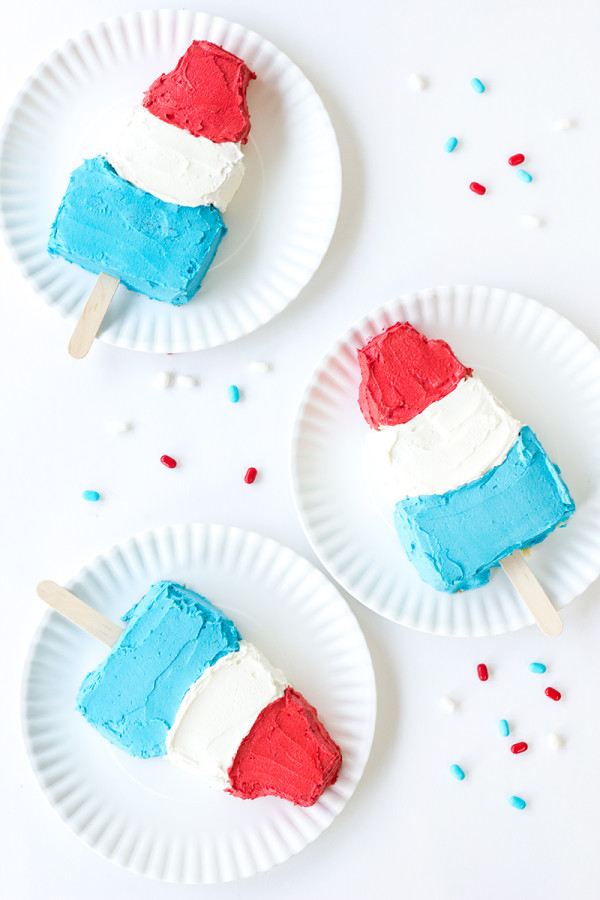
All Photos by Studio DIY
I actually found those little mints to make perfect edible confetti! Would be so fun if you displayed your cakes on a white tray! So.. who’s throwing a July 4th party!? For more Independence Day projects, click here!
This DIY project is sponsored by the makers of Tic Tac® mints. All content and opinions are that of my own! Thank you for supporting the sponsors that keep the Studio DIY party going! Read more about my editorial policies here.




tara says
These look just like 4th of July and summer all rolled into one! Also they look delicious, which I guess is important…
Brittni says
Okay, these are awesome. I think you know that I’m not always the biggest fan of Fourth of July DIYs, but this one is so good…You may have converted me. And I’m going to have to try that Tic Tac flavor too!
Jenna says
The more times you post different versions of the cake popsicles, the more I want to eat them! Can’t wait to see what you do with the idea next 🙂
Jenna
http://www.circusofcakes.blogspot.com
Corina Nika says
Amazing freaking deliciousness!!!
Lyndsay // Coco Cake Land says
heehee! these are SO CUTE! i LOVE those tri-coloured popsicles – i want to say they’re called space pops or something?? i want one right now… along with a side of these CAKES! xo
Tessa @ Style Sweet CA says
Love these, Kelly!! I just made a popsicle cake over on my blog, too =) So much fun making other treats out of cake!!
Save On says
These are adorable Kelly! They look absolutely delicious! We loved this idea so much that we featured it on our blog! http://bit.ly/1lO5QAE
Baby Wear Online says
MY son would love this!! What a great idea~!
Glo says
You are so talented!