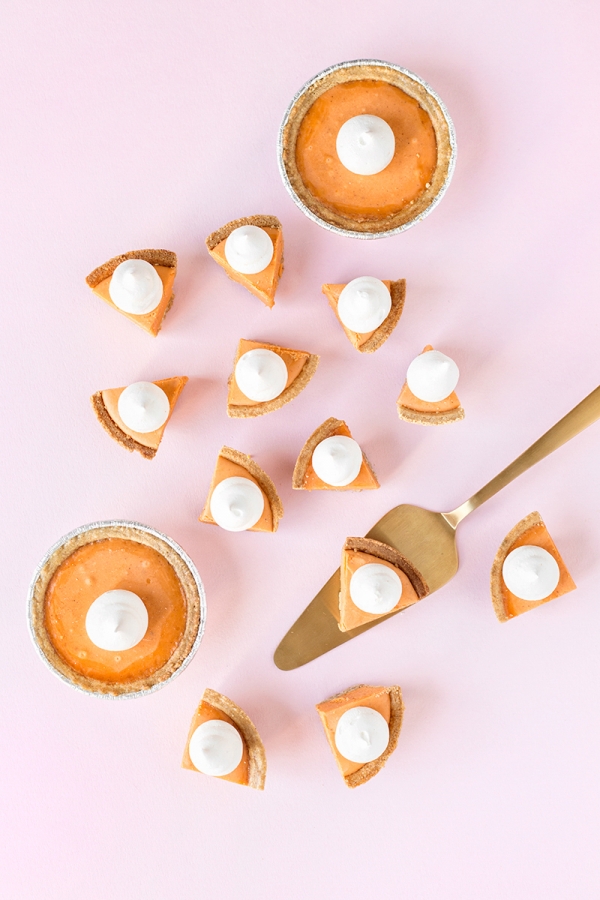
If there’s one thing I like better than dessert, it’s MINI sized dessert! It’s cuter, and I can eat more. Ehm, right? That’s what that means? 😉
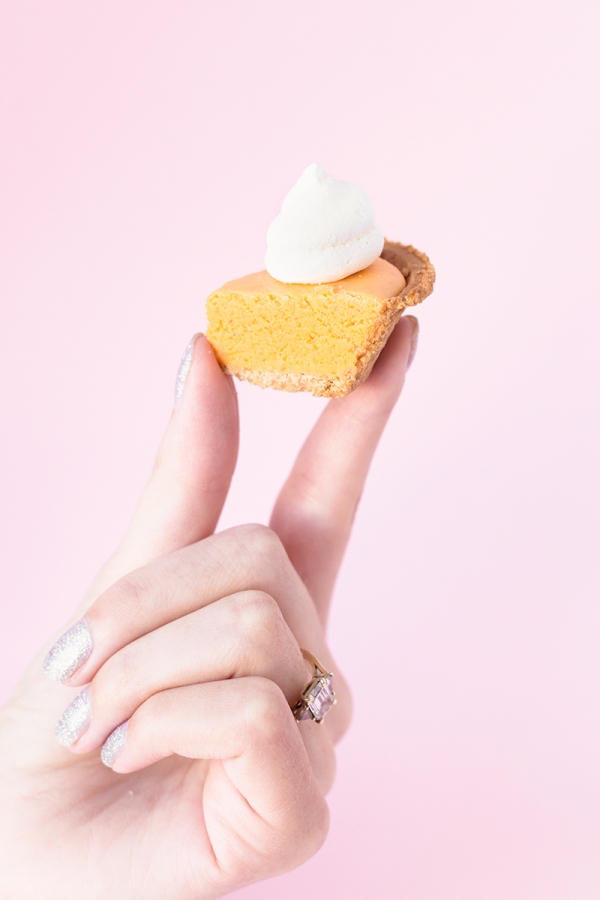
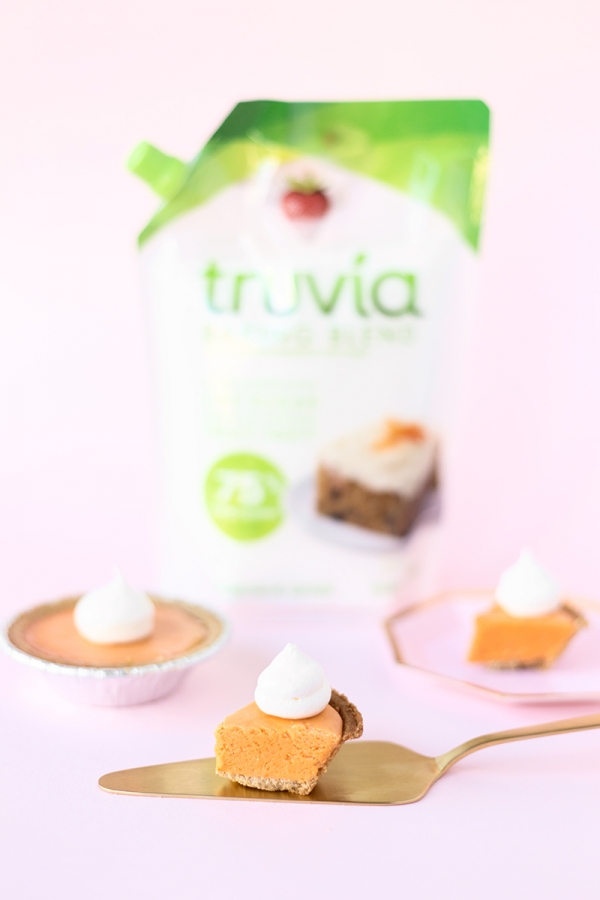
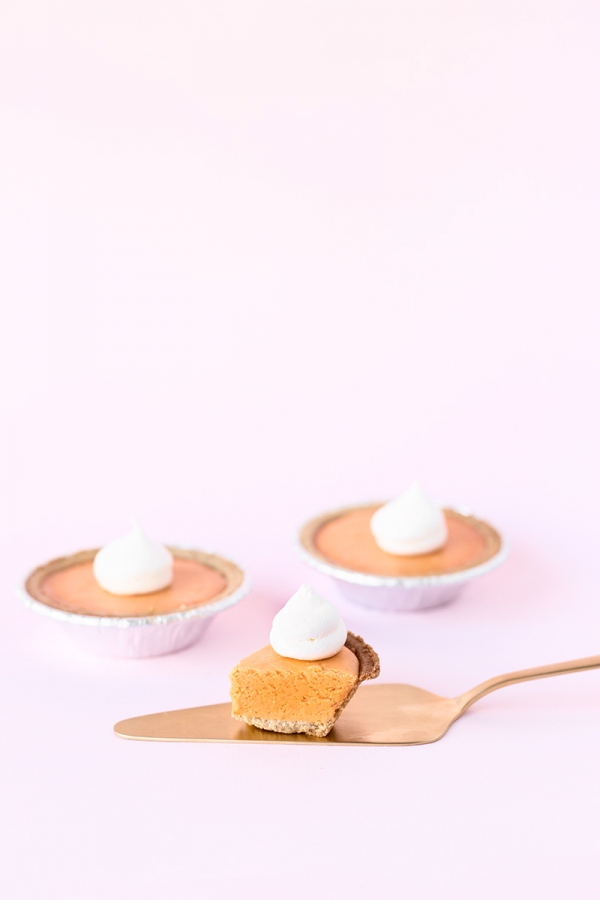
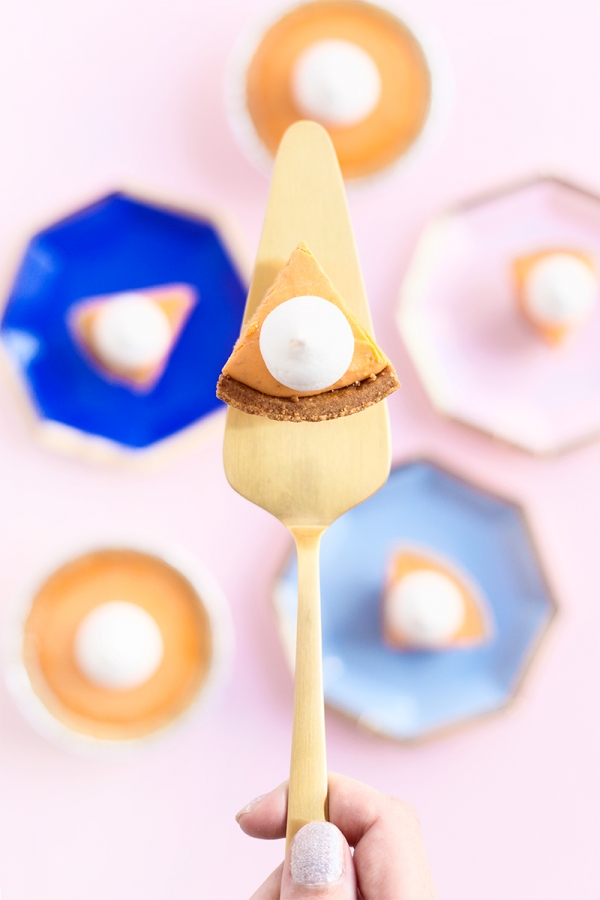
Well, You might THINK this is pumpkin pie, but it’s actually teeny tiny itty bitty slices of pumpkin pie FUDGE! And it has the tiniest dollop of meringue whipped cream on top because OMG CAN YOU EVEN HANDLE IT!? And it’s delicious. AND we worked with our pals at Truvia® Sweetener to make this happen, so it has 75% fewer calories from sugar and you can go to TOWN! Phew, is that enough reasons to make these tiny treats for your Friendsgiving celebrations? Thought so!

For the fudge:
15 mini graham cracker crusts
1 egg white, lightly beaten
2 cups white chocolate chips
1 (7 oz) jar marshmallow fluff
2 teaspoons vanilla extract
1 3/4 cups Truvia® Baking Blend*
1 and 1/2 sticks unsalted butter
2/3 cup evaporated milk
3/4 cup pumpkin puree
3/4 teaspoon cinnamon
1/2 teaspoon ginger
1/4 teaspoon allspice
1/4 teaspoon ground clove
Orange food color
Mini Meringues for “Whipped Cream” (We bought ours locally, but you can find similar here or make your own!)
1. Preheat oven to 375 degrees F.
2. Brush each mini graham cracker crust very well with the egg white, making sure to fully coat the edges. Place the mini crusts on a baking sheet. Bake for 5 minutes, till the crusts are lightly browned. Set aside.
3. Place the white chocolate chips, marshmallow fluff, and vanilla in a large heat proof bowl. Set aside.
4. In a large pot, combine the Truvia® Baking Blend, butter, evaporated milk, pumpkin puree, cinnamon, ginger, allspice and cloves. Turn heat to medium and cook until a candy thermometer reaches 240 degrees F.
5. Pour hot mixture over the white chocolate chip mixture. Stir till smooth. Add in orange food coloring at this point to reach desired color (optional). Fill each crust with the fudge mixture. Let cool. Refrigerate at least 1 hour till the fudge is set.
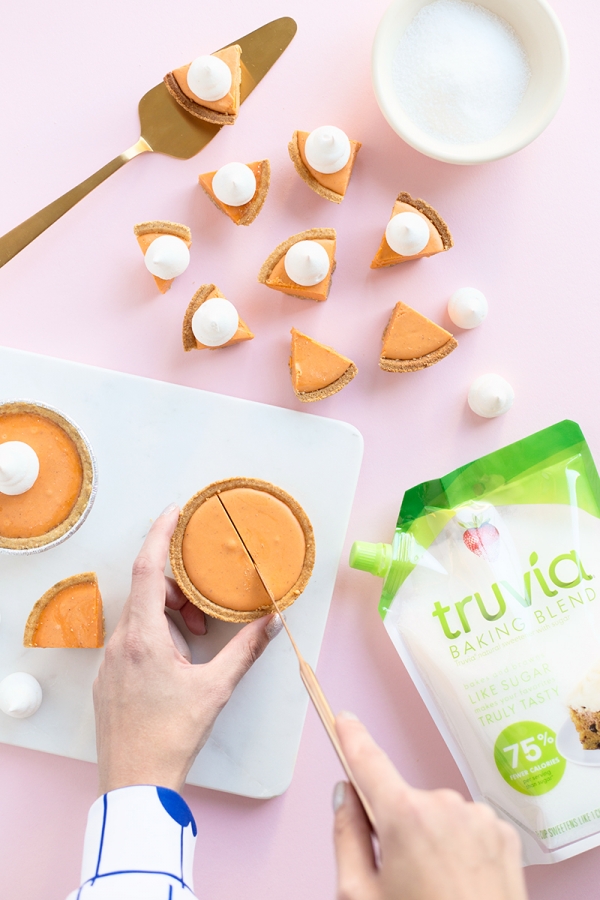
6. With a sharp knife, quarter each mini pie and use a bit of melted white chocolate to attach a meringue “whipped cream” to the top of each slice.
*Did you know with their baking blend, you only need to use HALF as much Truvia® Baking Blend as you would sugar for your recipes!? And your taste buds wouldn’t even know the difference! SUCKERS! See, more excuses for treats you guys, you’re welcome. =)
Photos by Jeff Mindell | Recipe by Theresa Rountree | Styling + Creative Direction by Kelly Mindell
Are you as obsessed with mini desserts as I am? What’s the best one you’ve ever had!? Hope you try this one, it might rank RIGHT up there at the top. 😉
This post was created in partnership with Truvia® Sweetener. You can click here to get a free sample and try it out! All content and opinions are that of my own! Thank you for supporting the sponsors that keep the Studio DIY party going! Read more about my editorial policies here.


brittni says
Amazing! Love this idea.
Giselle @ The Busy Spatula says
I’ve seen a lot of mini dessert options, but this one takes the cake (or pie 😉 )! Super cute and I love the touch of the meringue on top. Looks like a real slice of pie!
gabriella says
This is quite possibly the cutest little dessert I’ve ever seen.
g.
kanchipuram sarees says
Amazing
Terrell says
Love love love!!!! Mini foods are my all time fav to make and share with my co-workers!!!!
I’ll for sure have to make these up!!!
Thank you!!!