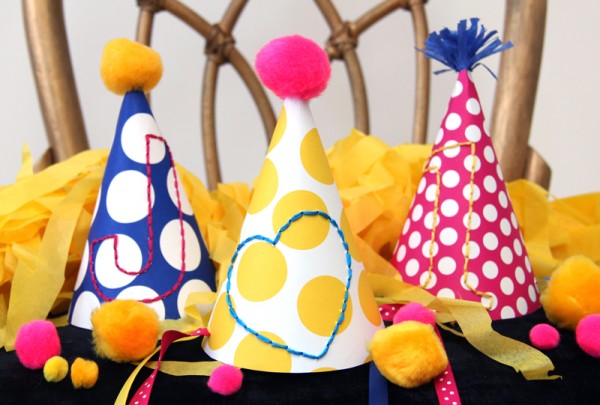
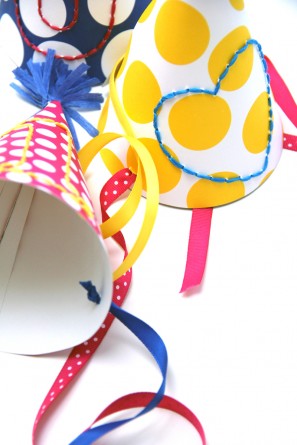
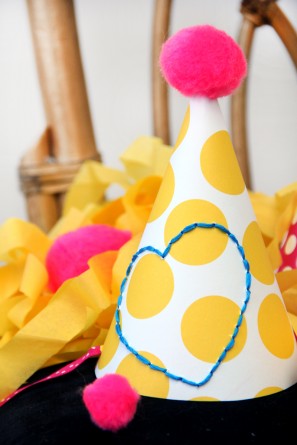
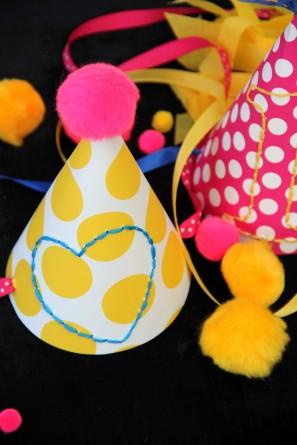
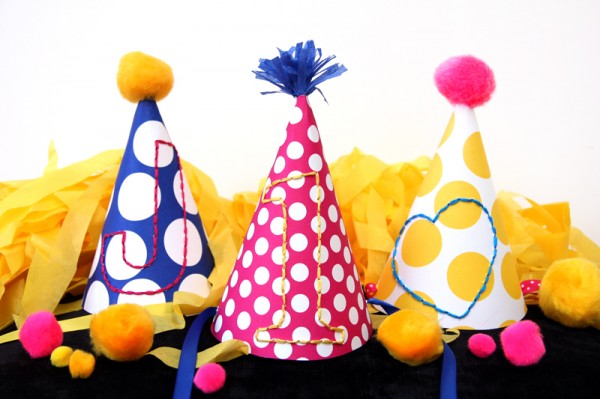
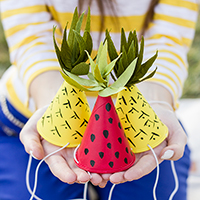
I switched everything up this week with a party on Tuesday and now a fun DIY project today! Gotta keep things interesting, ladies and gents! I’m pretty excited about how this project turned out… DIY embroidered party hats! Sometimes people see anything that involves sewing or embroidery and get totally scared away but seriously, these are so easy. And this embroidery is on paper, no fabric here if that’s what you fear! You can make them for kids, or adults, and choose any design you want! Letters, numbers, shapes, you get the point. Just pick up some fun paper and contrasting embroidery floss and hop to it!
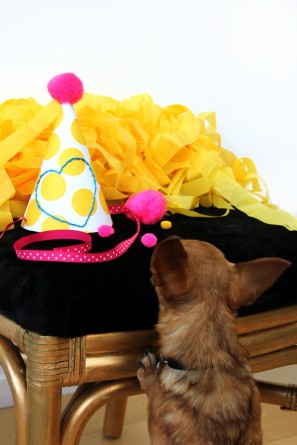
(I may not have cute kids yet to be my models for such projects, but I do have a cute dog who is terribly curious!)
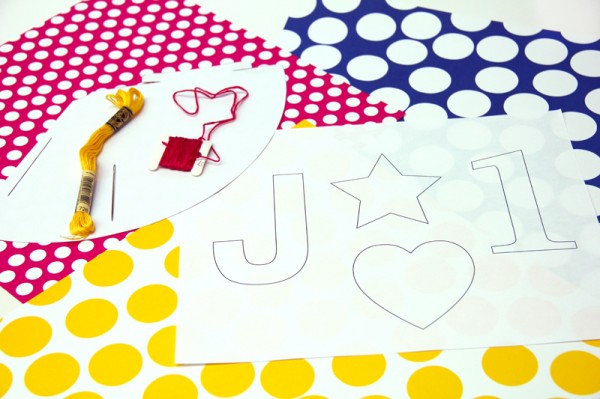
Supply List:
Cardstock
Party Hat Template (I’ve made some before, but cheated and used this great one from Jordan for this!)
Shape, letter, number or other “templates” (I simply printed out outlines of shapes and letters from my computer)
Embroidery floss
Large/Embroidery Needle
Pencil
Scissors (And an x-acto knife if you have it!)
Pom Poms or tissue for the hat topper
Hot glue
To Make:
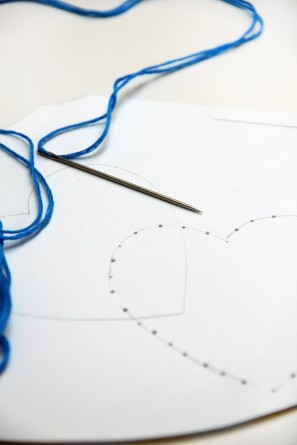
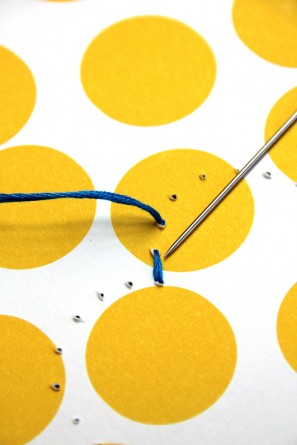
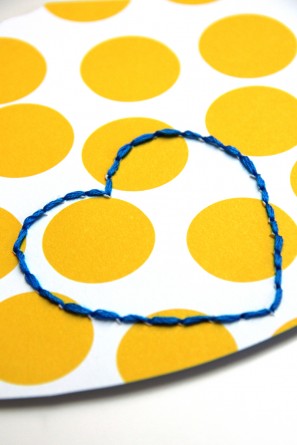
Cut out the party hat template from your cardstock and trace your design (in reverse!) on the back side of it. Use the point of your needle to poke holes, evenly spaced, around your drawn shape. Thread a very long double length of embroidery floss through your needle and tie a knot at the end, and start embroidering! I explained more about this embroidery backstitch here, but it’s very simple!
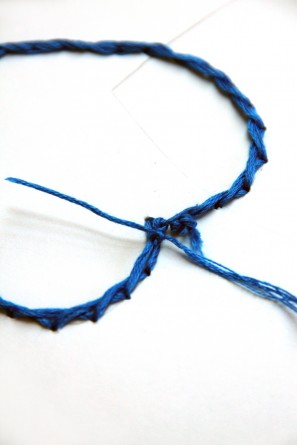
Once you’ve gone all the way around your shape, knot it up at the end and snip your excess thread.
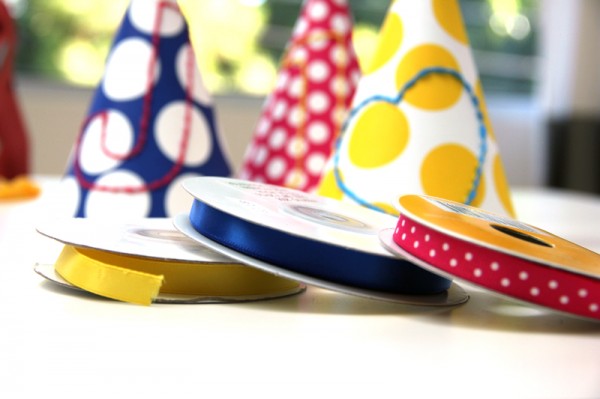
Roll your hat into it’s hat shape and slip the tab through the slit. Now add your ribbon or elastic as a fastner!
I did so by poking a hole on each side of the hat, slipping ribbon through and tying a knot on the inside of the hat to secure. If you want to include a hat topper (and you really should, so cute!) hot glue a pom pom on top or fringe a small piece of tissue, roll it, and hot glue it inside the small hole at the top of the hat. And then, it’s time to partay!
All Photos by Studio DIY
Looking for more DIY projects? Check out the Project Gallery and Free Printable Gallery!


Erin | House of Earnest says
Kelly – these are adorable! I love the concept and have been meaning to try this on something! Thanks for the inspiration!
Kelly says
Thanks Erin! I’ve been dying to try it too, and party hats fit the bill! =)
Kelly
Jessica @shimmerkai says
Love these! What a great way to customize a party hat…
Deepthi says
I love you party Hats! Where did you get the Cardstock? My daughters birthday is coming up! I want to try these
Kelly says
Thanks so much! I purchased that cardstock in a pack of multiple patterns at my local Michaels. I can’t guarantee they still carry it but I’m sure they will have something similar if they don’t have these exact ones!
If you make these hats, I’d love for you to send along a photo! My email is kelly{at}studiodiy{dot}com.
Happy Crafting!
Kelly