Today’s post is sponsored by Scotch Colors & Patterns Duct Tape.
It’s time for part two of this super fun collaboration with Scotch Color & Pattern Duct Tape to get kids thinking creatively, and like an entrepreneur! (Did you see the balloon stand yesterday!?) Since Quinn will be headed back to school in a few weeks, school supplies were on the brain. Sure, you can get all sorts of fancy supplies nowadays, but why not buy the simple ones and jazz them up yourself!? That’s just what we did, and then we set them up in our same stand to sell to other kiddos in the neighborhood! We kept everything super simple, the kids could spend just a few hours getting these all ready, and then the next day selling their creations! Whether it’s on the sidewalk, or set up at a school event and trading supplies, the kiddos are going to love filling up their backpack with these, and have a blast selling some, lemonade stand style, too!
I’ll be teaching you how to make all the school supplies, plus the decor and how we put together the stand! Starting now!
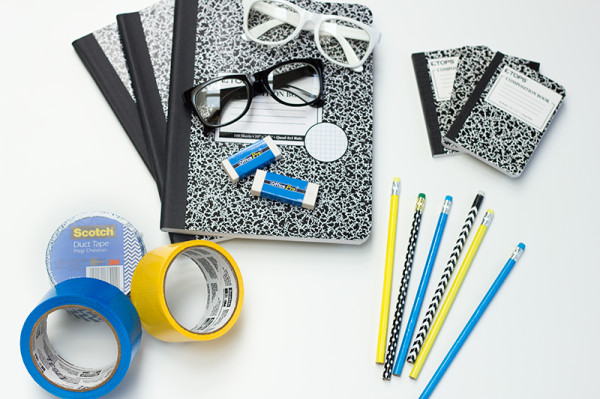
Scotch Color & Pattern Duct Tape (We used Sunshine Yellow, Pearl White, Sea Blue and Prep Chevron!)
Notebooks, Pencils, Erasers, Glasses and Other School Supplies
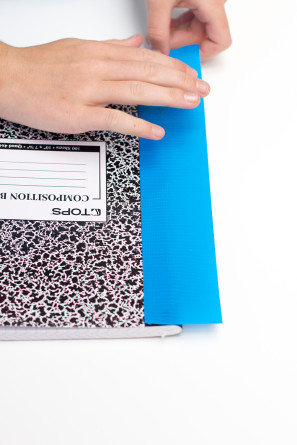
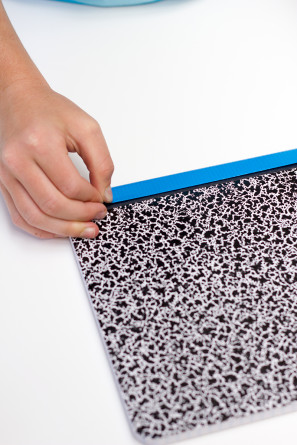
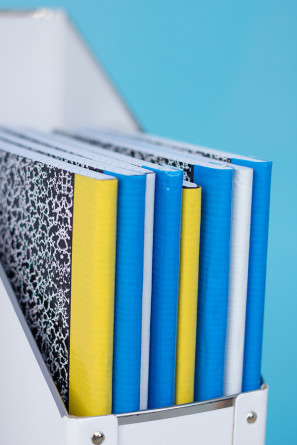
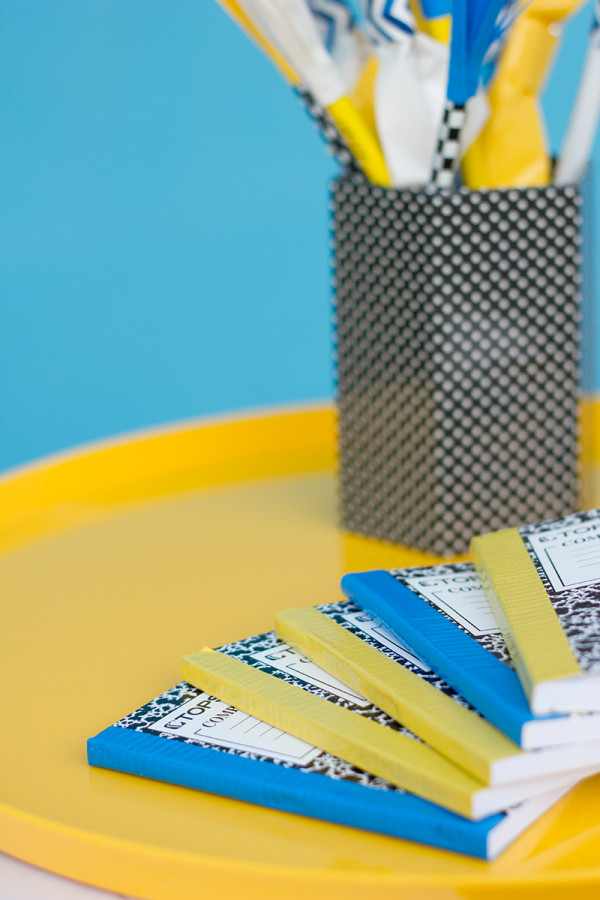
To jazz up marble notebooks, cut a length of tape the same length as the notebook and wrap it around the spine. It fits almost exactly, width-wise!
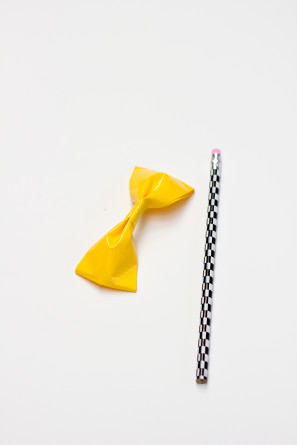
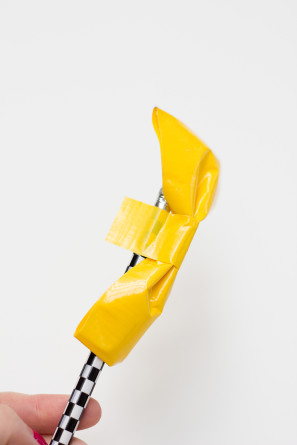
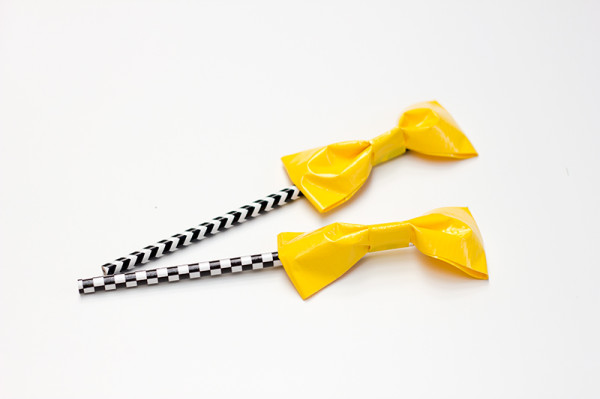
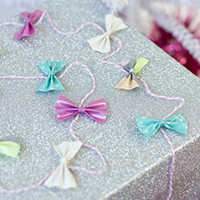
To make the bow pencils, use yesterday’s bow tutorial and then use an additional piece of tape to attach it to the pencil.
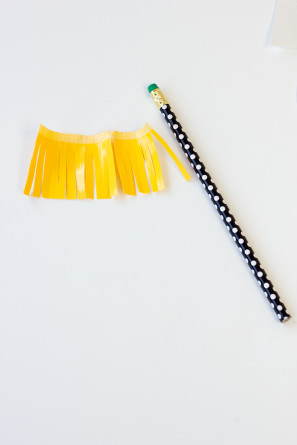
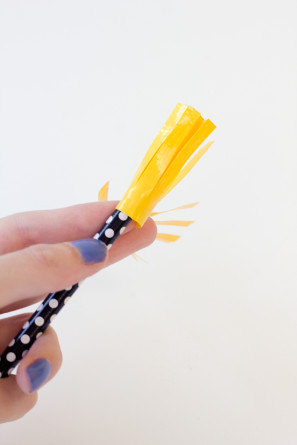
To make the fringe pencils, cut two three inch strips of tape. Adhere one to the other, leaving about a 1/4″ of exposed adhesive at the top and bottom. Fold under one exposed side and leave the other exposed. Fringe the strip (leaving the overhang of tape intact) and use that exposed tape to wrap it around the pencil and adhere.
Scotch Color & Pattern Duct Tape
Cardstock Cut into Letter or Number Shapes (Optional)
Rotary Cutter + X-Acto Knife
Cutting Board
Twine
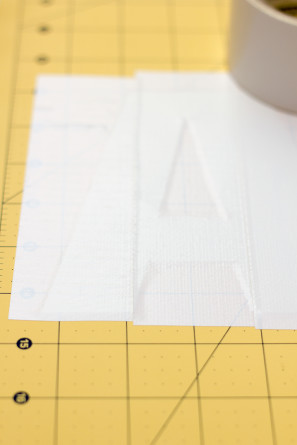
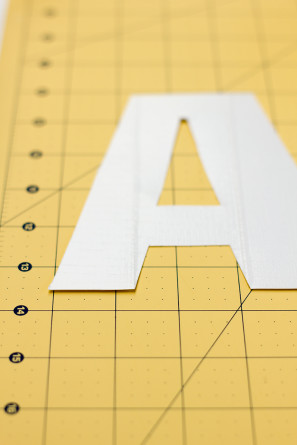
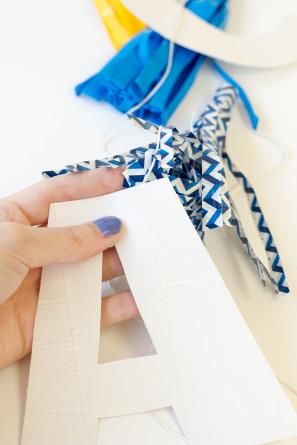
If you’re making a letter or number tassel garland like I did, cover your letter in strips of tape. You can do this on one or both sides, depending on how it will be displayed. You’ll be able to see the outline of the shape through the tape. Use your rotary cutter or X-Acto to cut out the letter shape from the tape.
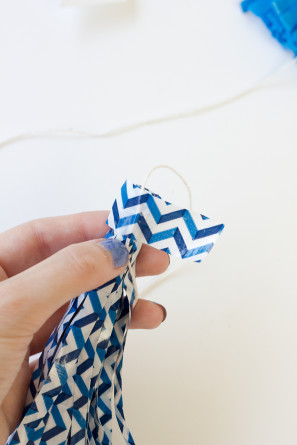
Make your tassels according to yesterday’s tutorial. Attach the tassels to twine by wrapping a piece of tape around the tassel and twine together (for vertical garlands, pictured here). For a traditional tassel garland, wrap a piece of tape over top of the tassel, sandwiching the twine in between. Tape letters on as desired (if desired!).
Cardboard Stand
Scotch Color & Pattern Duct Tape (We used Sunshine Yellow for the stand!)
Decorated School Supplies
School Supplies Faux Chalkboard Sign (Black Poster Board + Chalk)
Display Items + Accessories
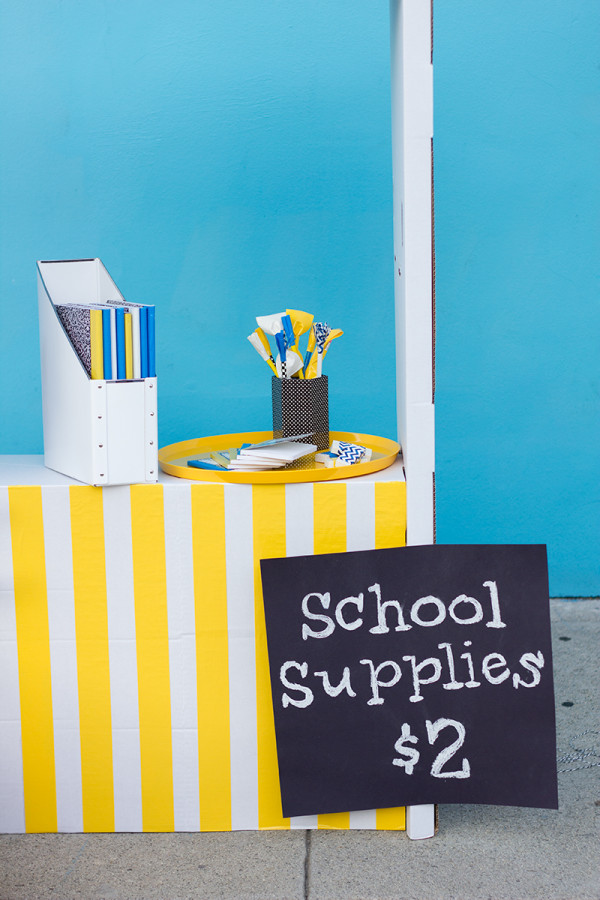
We used the same stand from the balloon stand. This time we hung our ABC garland on one side, and tied a 123 garland to a giant balloon, weighted by rolls of tape. We used a pouf to display accessories, and trays and office items to display our school supplies. To complete the stand, we made a faux chalkboard sign by writing with chalk on black poster board.
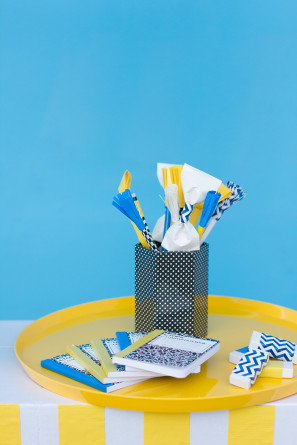
For the glasses, I picked up some pairs in the Target Dollar Spot and we simply wrapped tape as desired around them. Quinn loved cutting out those itty bitty triangles to add the the front, and to jazz up one of the sides!
Wouldn’t it be so fun to get a bunch of kids together to craft some school supplies and exchange them with each other, too? Or to let each kid set up their own mini stand at a back to school extravaganza!? Quinn set up the stand for a third time to sell her products at their recent garage sale. It was a hit!
All Photos by Studio DIY
And that’s a wrap! I gotta tell you, Quinn and I had so many more ideas for what to do with this stand. You may just see it popping up here again in the future! Show it to your kiddos and see what ideas it sparks in them! I’d love to hear.
For more crafty ideas using Scotch Colors & Patterns Duct Tape, check them out on Facebook, Twitter and Pinterest.
This post is a collaboration with Scotch Colors & Patterns Duct Tape. To see more creative projects, visit ScotchDuctTape.com.
Thank you for supporting the sponsors that keep the Studio DIY party going! Read more about my editorial policies here.
 .
.












 ,
,  and
and  .
.




Brittni says
That first photo is priceless. I think you’re going to have to do more of these lemonade stand alternatives in the future because they are my fave.
Leah // Freutcake says
This is just the cutest! What brilliant uses of duct tape!
Michelle says
Wow!!! What a great post!
Tracy says
Simply amazing, both your crafting and photography are amazing! We would love to have you share this our Saturday Link Party. It starts Fridays at 6pm, hope to see you there!
Tracy
lyndsay // coco cake land says
i’ve never seen duct tape look cooler in my LIFE. this is an amazing photo spread- so many fun ideas! i LOVE the little kiosk. you work hard, lady, and it shows in your awesome content!! 🙂