Today’s post is sponsored by Scotch Colors & Patterns Duct Tape.

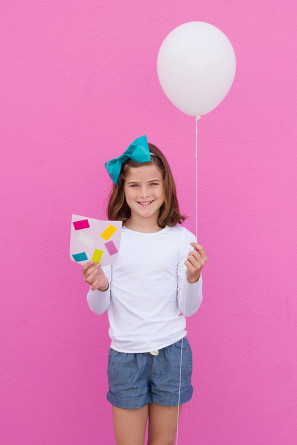
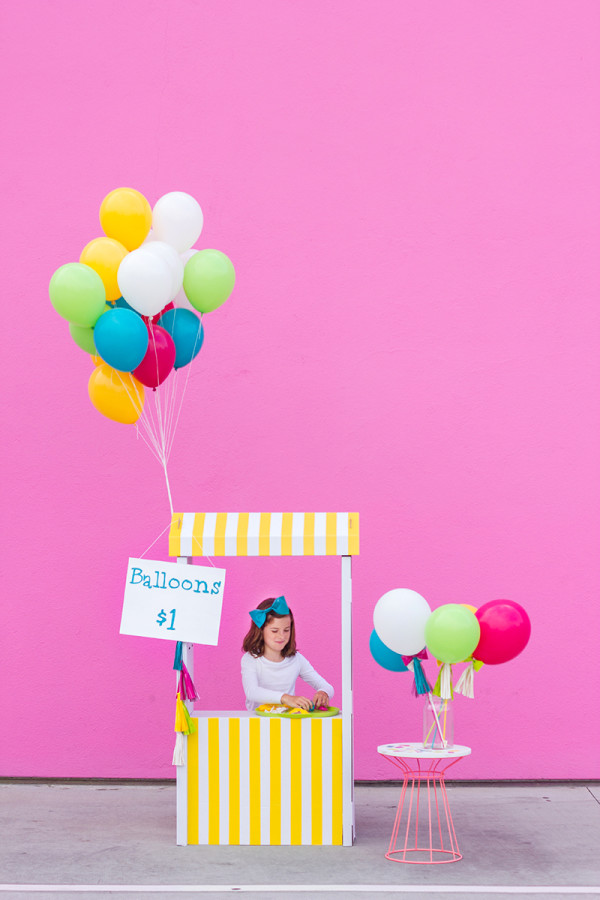
I’ve been an entrepreneur since I was in elementary school and my best friend and I started a “paper crafts” business that we ran on the side of the road, lemonade stand style. It’s been pretty exciting for me to see my niece, Quinn, have this same entrepreneurial spirit from a young age. Her business of choice? Duct tape. The girl is a duct tape whiz and when Scotch Color & Patterns Duct Tape approached me about working together, I knew Quinn and I had to team up and give all you guys a little inspiration beyond the lemonade stand to keep kids crafty and creative as we close out summer, and right on through the school year, too! We’ve created two stands that aren’t your average sidewalk business. That’s right, first up is….a balloon stand! Who could resist pulling over to pick up a balloon wand, or a few balloons and some stickers to decorate it themselves!? Nobody! Here’s the full scoop.


I’ll be breaking down all the DIYs for the products we sold at our balloon stand, and the DIY for the stand itself. Starting now!

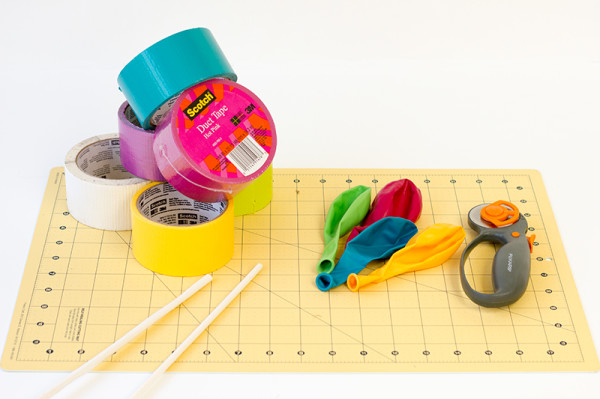
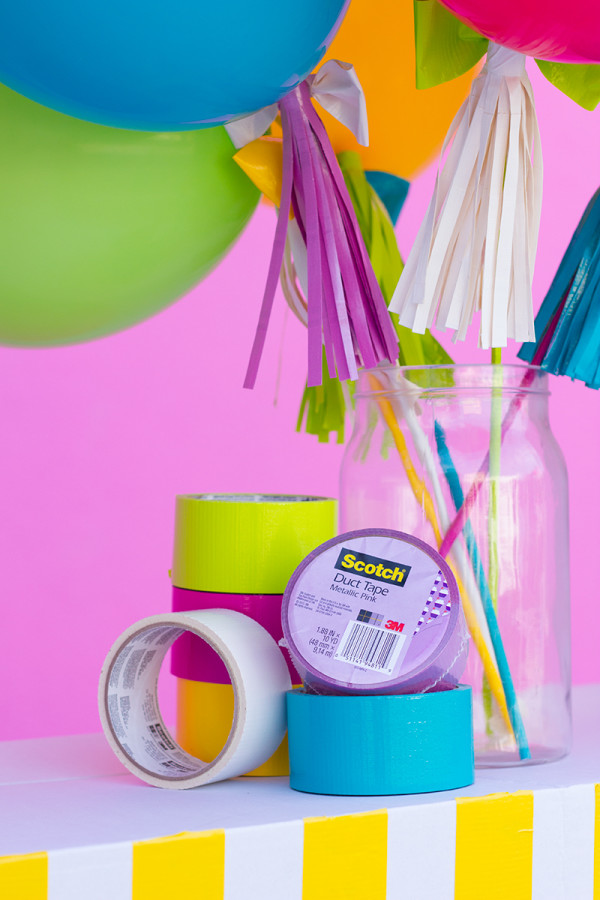
Scotch Color & Pattern Duct Tape (For this project we used a mix of Hot Pink, Sunshine Yellow, Green Apple, Blue Turquoise, Metallic Pink and Pearl White!)
Cutting Board
Rotary Cutter
Balloon Sticks (You can get these at any party store.)
Balloons
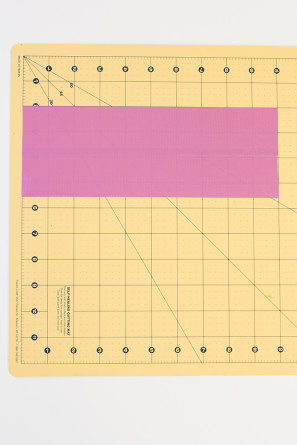
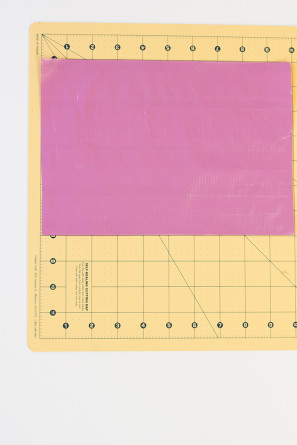
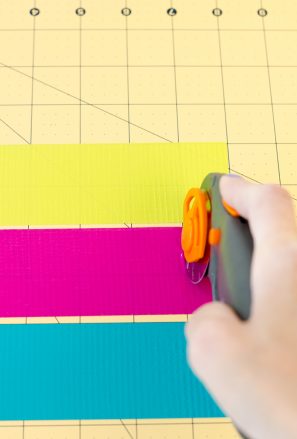
To make the tassels, start by cutting one strip of tape, 10″ long, and adhering it to your cutting board. Cut a second 10″ strip and overlap it slightly with the first.
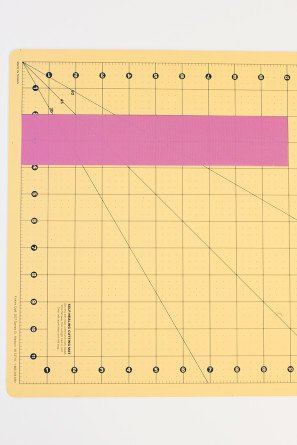
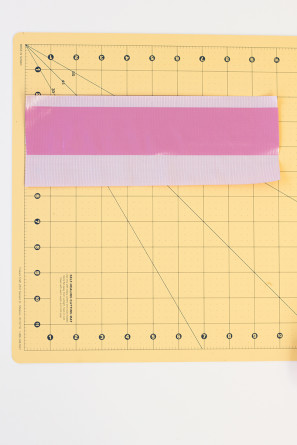
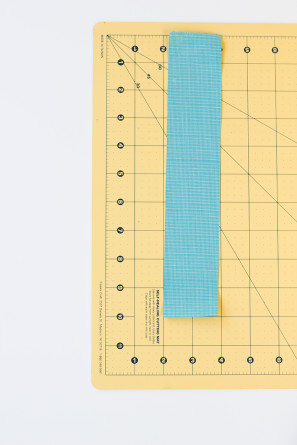
Peel these off your cutting board and flip over, and adhere another 10″ strip to the back. Followed by another, overlapping slightly just like before.
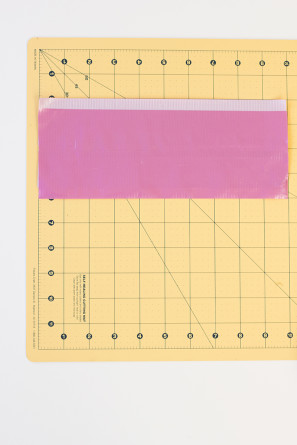
Repeat these steps, flipping back and forth until you have a section that’s about 7″ long. Fold over the exposed sticky edges if there are any.
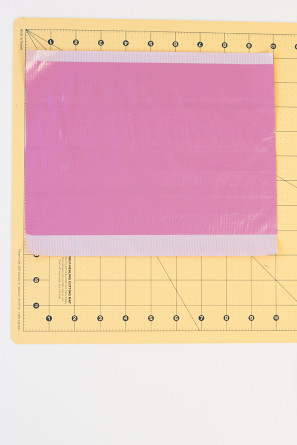
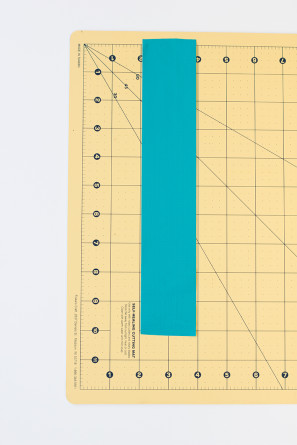
Use your rotary cutter to cut 1/4″ fringe strips, leaving about a 1/2″ attached at the top. If you aren’t making a wand and just want to make a tassel, at this point you’d roll up the fringe (along the 1/2″ of tape that is uncut) and secure it with a small piece of tape wrapped around the top.


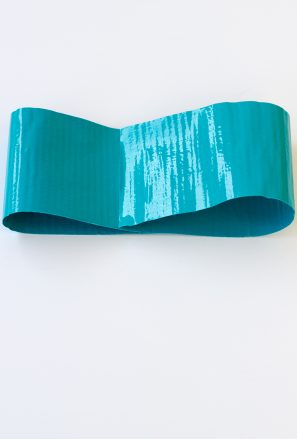
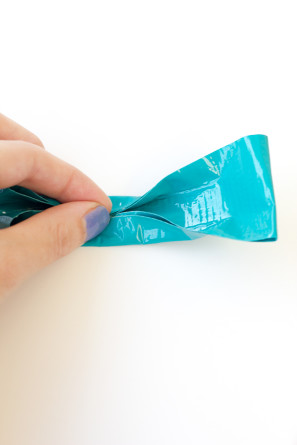
To make the bow, start with another 10″ piece of tape. Adhere a second piece directly overtop of it so you have one, two-sided 10″ strip.
Fold the strip in half, letting the ends overlap about a 1/2″ in the middle. Fold in both edges to meet in the center.
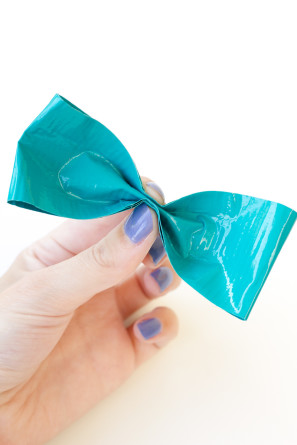
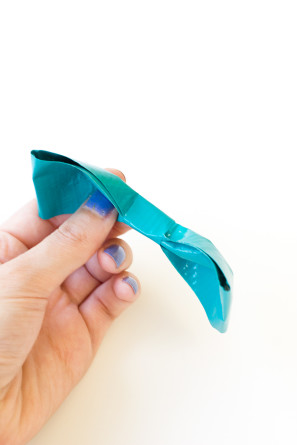
Then fold or pinch in half to form your bow shape. Wrap around where you pinched with a small piece of tape.
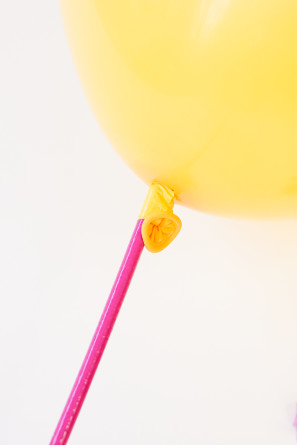
Go ahead and cut your wands to your desired size and wrap them in a long strip of tape, if desired. Also blow up your balloons (with air, not helium) and tie with a knot.
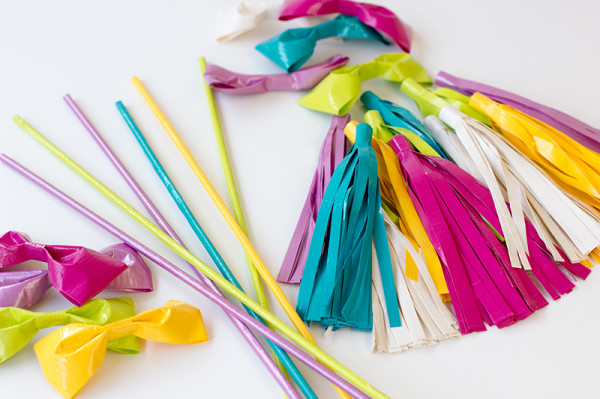
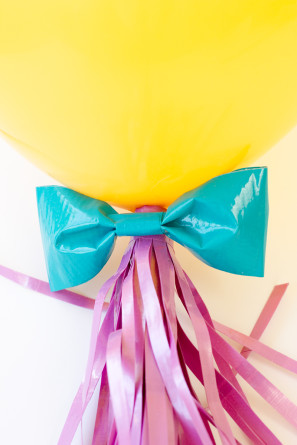
Use a small piece of tape to adhere the balloon to one end of the wand. Take your fringed piece and wrap it around and around both the balloon tail and the wand, forming a tassel. Secure with a strip of tape around the top of the tassel. To finish, use a small piece of tape to attach your bow!

Scotch Color & Pattern Duct Tape (For this project we used a mix of Hot Pink, Sunshine Yellow, Green Apple, Blue Turquoise, Metallic Pink and Pearl White!)
Cutting Board
Rotary Cutter
Parchment Paper
You can make Scotch Color & Pattern Duct Tape in any shape or design you want. I chose to make confetti stickers (of course) and simply cut 1″ wide strips of tape in all different colors. Adhere the stickers to parchment paper to make sticker sheets.
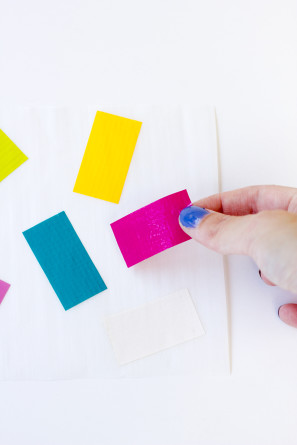
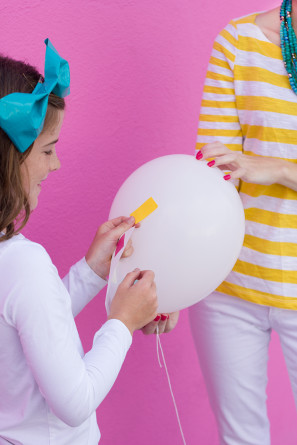
To adhere to balloons, just peel and stick! Don’t try to move these stickers once they’re on the balloon, it will pop!


Cardboard Stand
Scotch Color & Pattern Duct Tape (We used Sunshine Yellow for the stand!)
Balloons + Helium, Balloon Wands + Balloon Stickers
Balloon Sign (Poster Board + Marker)
Display Items + Accessories

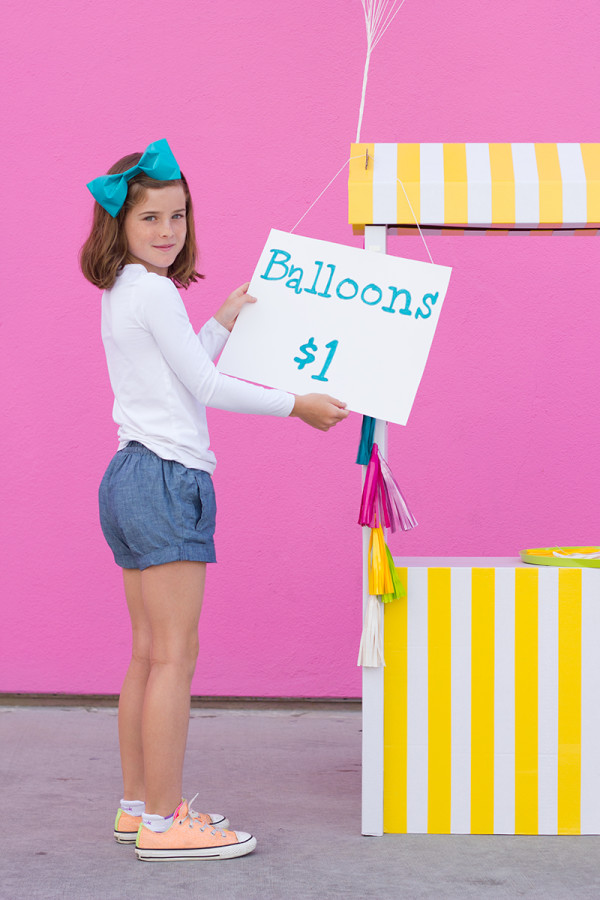
We covered up the red and green stripes on the stand we bought with the Sunshine Yellow tape. We tied a bunch of balloons to the stand, and displayed our balloon wands on a small table along with the balloon stickers (so people could DIY their own!). Then we made a sign using poster board and a marker and hung it up as our final touch.
And then we were ready to sell! This stand would also be great fun at a school event or a party to hand out balloons and let kids decorate them with all sorts of stickers.

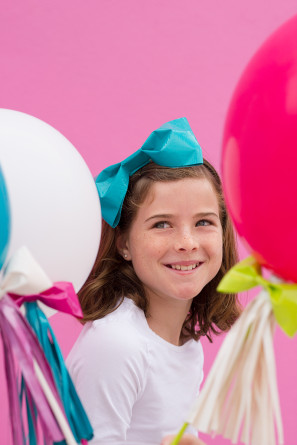
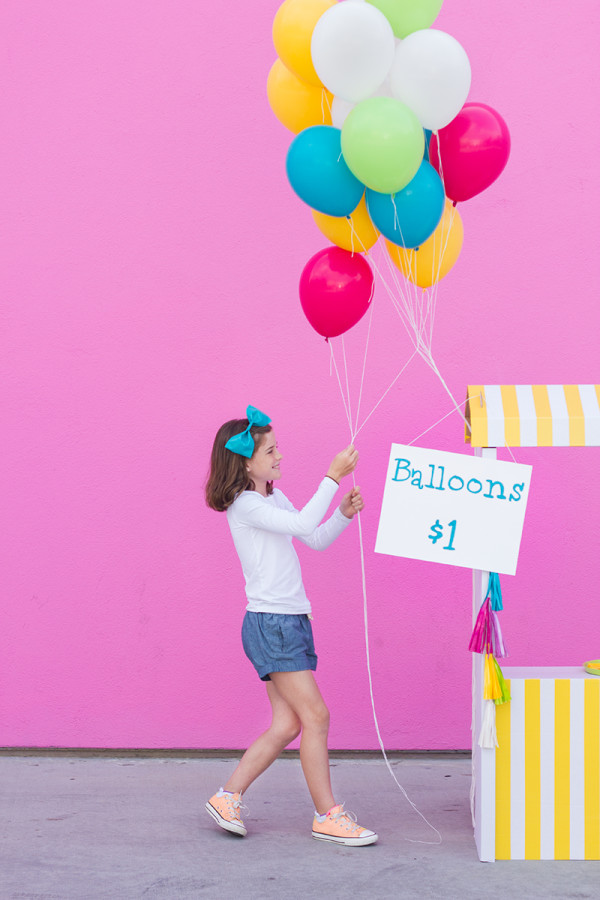
Quinn’s giant bow was made using the same method outlined above but we attached it to a headband with another piece of tape.
All Photos by Studio DIY
Did you ever have any businesses as a kid!? Or do your kids have any now?? Check back tomorrow for another DIY sidewalk stand you’re definitely going to want to see!
For more crafty ideas using Scotch Colors & Patterns Duct Tape, check them out on Facebook, Twitter and Pinterest.


This post is a collaboration with Scotch Colors & Patterns Duct Tape. To see more creative projects, visit ScotchDuctTape.com.
Thank you for supporting the sponsors that keep the Studio DIY party going! Read more about my editorial policies here.


Brittni says
Could this be any more amazing? I don’t think so. If I saw a stand like this on the side of the road, I would buy them ALL in a heartbeat.
Stevie says
This is hands down my favorite DIY you have ever done. I am OBSESSED!! Love. Love, LOVE!! I
Kelly says
Thanks Stevie!! I think it’s one of my favorites too… if I’m allowed to play favorites! 😉
LARY@Inspiration Nook says
This is just plain awesome! I want a balloon stand myself! Love it!!! Love all the colors 🙂
Haeley @ Design Improvised says
Wow – truly fantastic. The idea of a balloon stand is so sweet, and the photos and color palette are drop dead gorgeous. You rock!
Rachel | 52 Weeks Project says
Ah, I love this! Great tutorial, excellent colors, just flawless! Also, why aren’t all walls pink?
Kelly says
Right!? I ask myself that question every day. All walls should be pink, or at least extraordinarily colorful.
Sydney says
i wish i had had an aunt like you! this looks awesome!! xoxox
http://www.wethinkthereforewecreate.blogspot.com
http://www.wethinkthereforewesparkle.blogspot.com
Kelly says
I am currently adopting extra nieces! 😉 Ha! So glad you liked it!
We Think Therefore We Create says
um I will totallllly take you up on that offer. (:
Heather - Chickabug says
This just made my heart melt! Every little kid should have their own balloon stand! : )
Alexis @ Persia Lou says
This is the greatest thing ever! Such a great idea and gorgeous photos!
classic car auto detailing says
It’s actually a great and helpful piece of information.
I’m glad that you shared this useful information with us.
Please keep us informed like this. Thank
you for sharing.
the best online shopping says
My brother suggested I might like this website.
He was totally right. This post truly made my day.
You can not imagine simply how much time I had spent for this info!
Thanks!
Miele Ersatzteile - Thomas Lohrum says
hard to believe what you can do with it!
I guess this Duct Tape can also be used for other things?
Not just to tinker, but also for the craft!
All in all, great thing!
greeting Tom
Kylha Lust says
I’ve been trying out make these work, but I can’t get the balloon to stay upright, it just flops over! Am I missing something?
86Maryanne says
I have noticed you don’t monetize your website, don’t waste your traffic, you can earn additional
cash every month because you’ve got high quality content.
If you want to know how to make extra $$$,
search for: best adsense alternative Wrastain’s tools