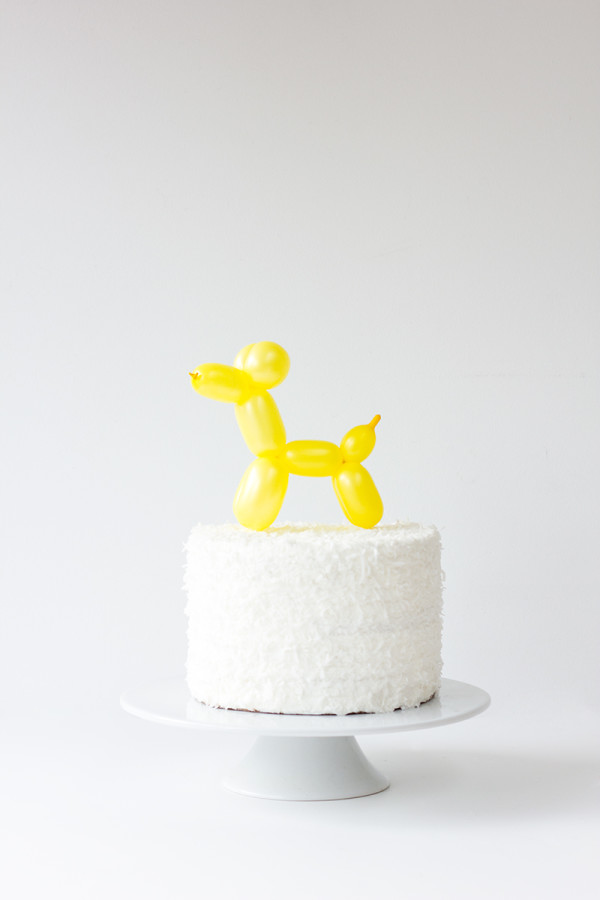
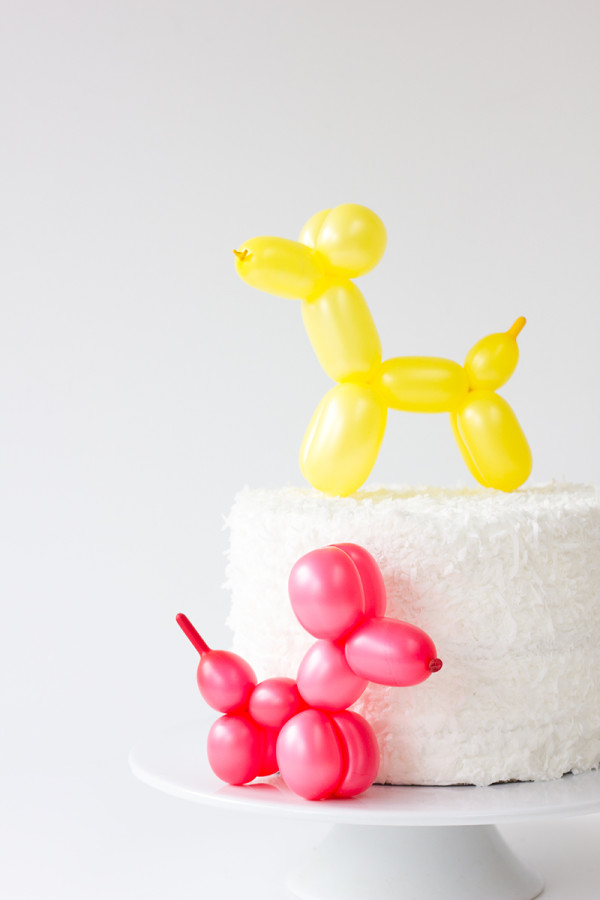
I would like to apologize for the fact that I have shared three cake-related DIYs in one week. Except for, it’s cake… so there’s really no reason to apologize. Because there’s nothing better than cake… except for donuts. And we already covered that. So! I bring you the cake topper of my childhood dreams… a balloon animal! My friend Michelle and I used to be obsessed with making balloon animals when we were kids. (We also went through an obsession with water balloons, but that’s a story for another day.) I was at the 99 Cent Store a few weeks ago and impulsively grabbed a balloon animal kit. Finally had the time to break it out this weekend and, well, the obsession quickly returned. Except this time, I decided the balloon animals belonged atop a cake! And then I made that happen.
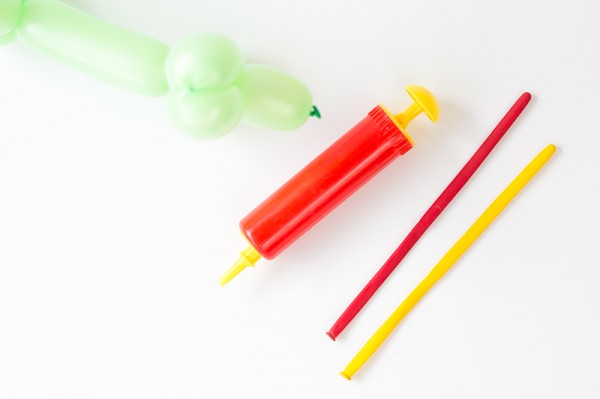
Twisting Balloons
Balloon Air Pump
(I used a kit from the 99 cent store that came with both!)
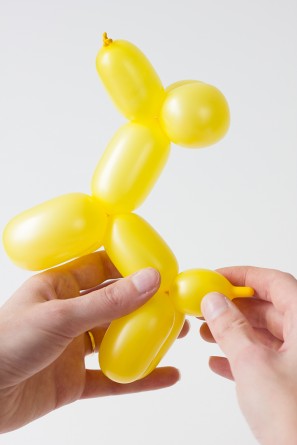
Blow up your balloon, leaving a good few inches “tail” at the end. The amount you leave not blown up, along with how you twist the balloon, will determine what the balloon animal’s tail will look like at the end! I made a few different dogs here, but each one uses the exact same method, just with different lengths for each section. The instructions pictured and written here are for the dog you see on top of the cake. To start you’ll need to twist three sections, starting at the tied end of your balloon. Twist off a two-inch section, then two 1 1/2″ sections.
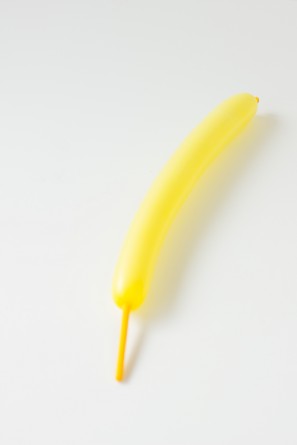
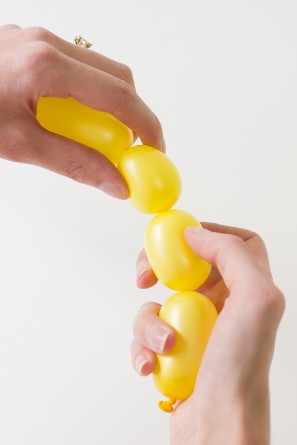
Fold the balloon over where the two 1 1/2″ sections intersect and lock together the first and third twist you made by twisting them around each other. This forms the nose and ears of your dog! Now, you’re going to make three more twists, each about 2 1/2″ and repeat the same process (fold over and twist the first and third sections together) to form the neck and legs!
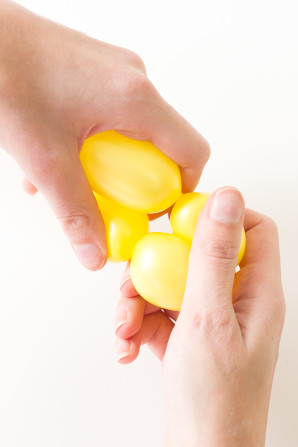
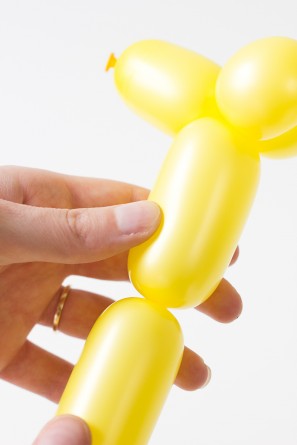
Repeat the three twist method, each section again measuring 2 1/2″, to form the back legs. The leftover balloon you had at the end of your third twist has now become the tail!
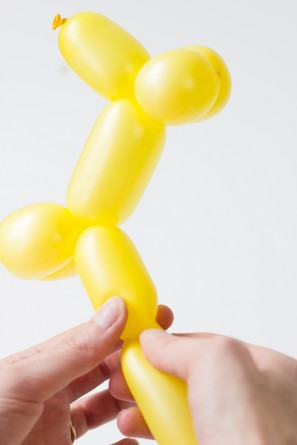
Place on top of your cake and you’re done! In regards to food safety: I’d recommend wiping down the balloon animal’s “feet” with water before placing on the cake. Since you often use your mouth to blow up balloons, it didn’t bother me that the balloon was touching a very tiny portion of the cake’s frosting. If you really don’t want the balloon touching the cake, cut out two small circles of parchment paper and adhere one to the bottom of each set of legs with a glue dot. Then set on top of the cake.
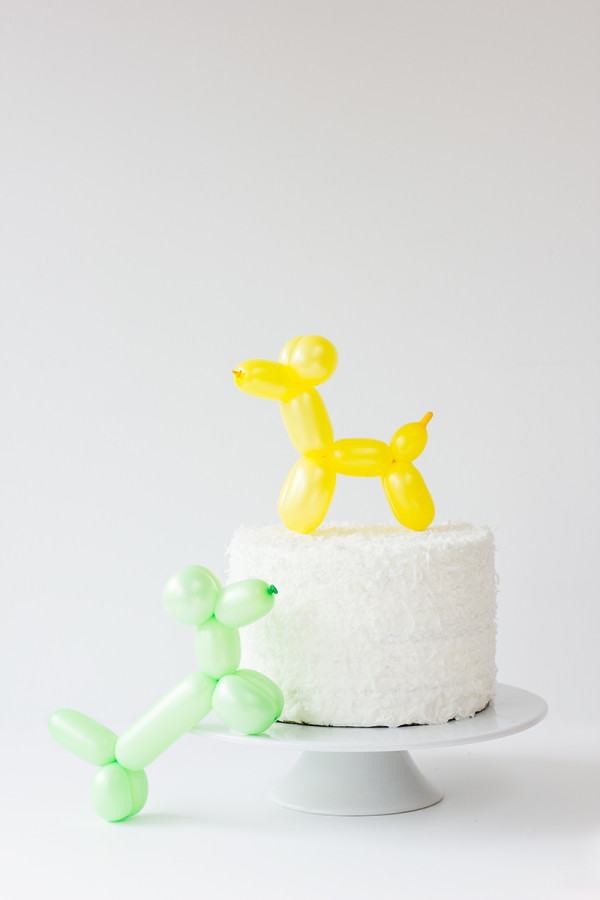
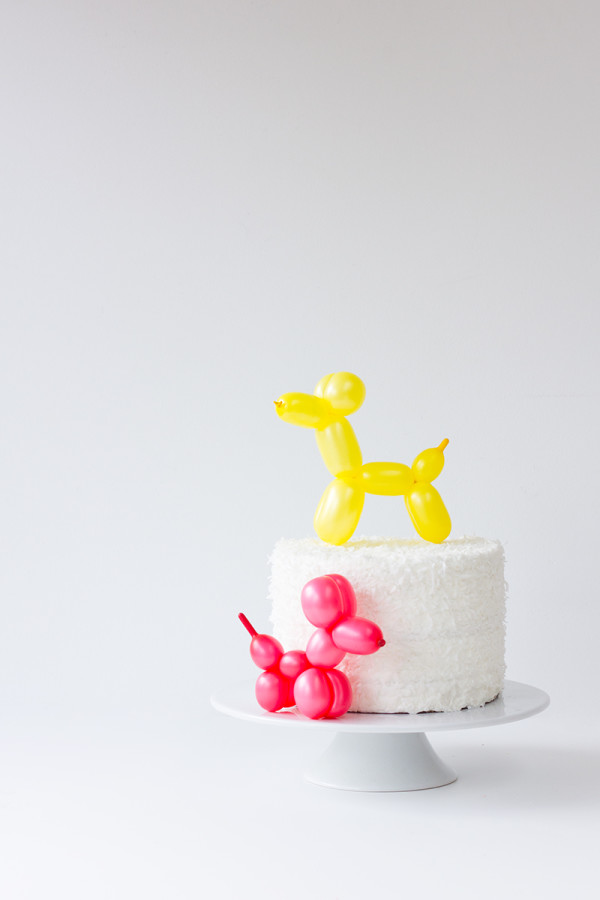
All Photos by Studio DIY
I had SO much fun with these… you might be seeing more around these parts soon. Could this be the next donut!? Ha! You never know with me, do ya? (p.s. Have you ever made a balloon animal and let it hang around for a few days? It shrinks into probably the cutest, tiniest little balloon guys EVER. The one time when a balloon deflating is a good thing!)
For more balloon projects, head on over here!
And thank you all so much for your excitement and advice about my new studio space!!! I can’t wait to share more with you guys about it! Eeeek!!!



Brittni says
Oh my gosh. I can’t even handle it! The cuteness…oh the cuteness! I’ve been loving the cake topper DIYs you’ve been doing lately Kel.
heather j says
Kelly! This is so awesome.
Terrie says
Super cute and so fun!
Audrey - This Little Street says
love this Kelly! Olivia’s birthday party is this weekend, thinking about actually giving these as little prizes after a treasure hunt we’re having.
Cynthia says
Never thought of doing this before! I have so many balloons left over from my childhood!
lyndsay // coco cake land says
too CUTE! and of course i will always be a fan of any cake related DIYs… ^__^ !! such a sweet and simple way to rock a cake topper! xo
Colleen Pastoor says
Super Cute! I used to love making balloon animals… And who can’t get enough cake?
Shelley Makes says
Hi there,
I just wanted to let you know that I’ve used your cake topper tutorial in an inspiration round-up over at my blog, Shelley Makes: http://shelleymakes.wordpress.com/2014/02/23/diy-cake-topper-inspiration/
Thanks so much for this awesome post!
Shelley x