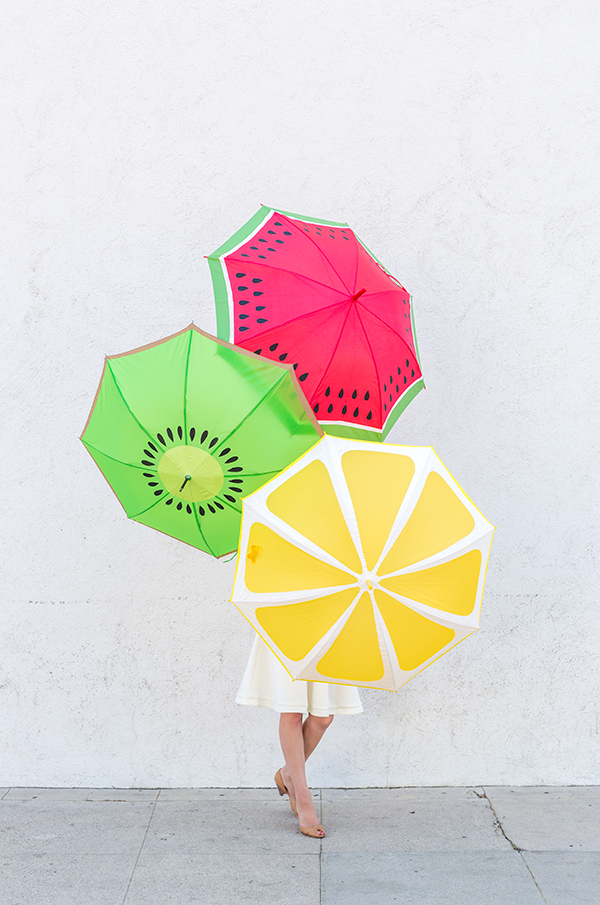
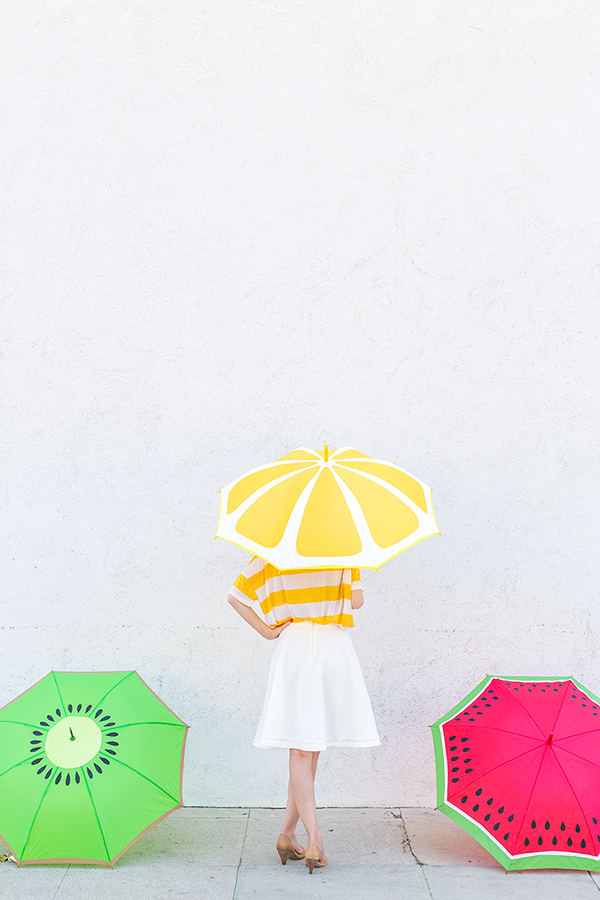
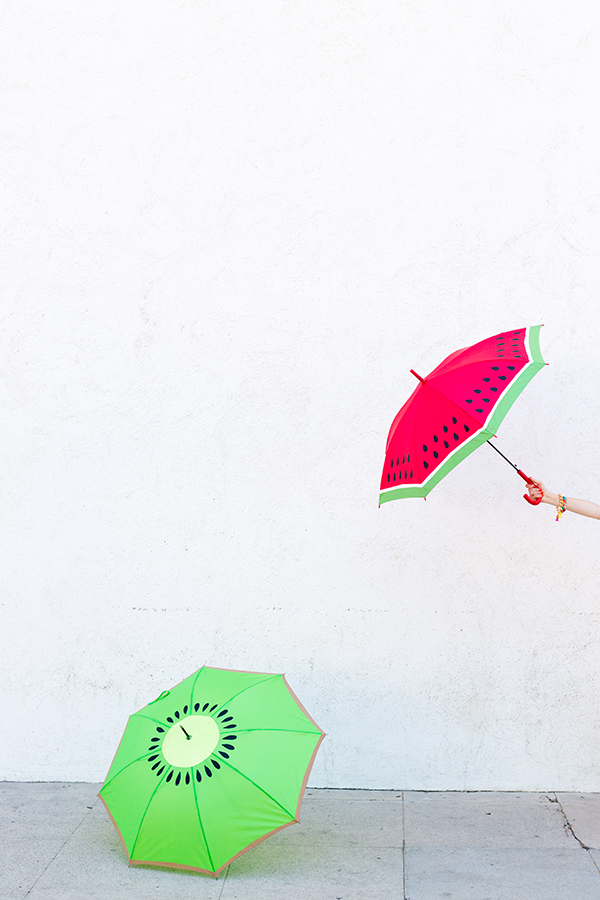
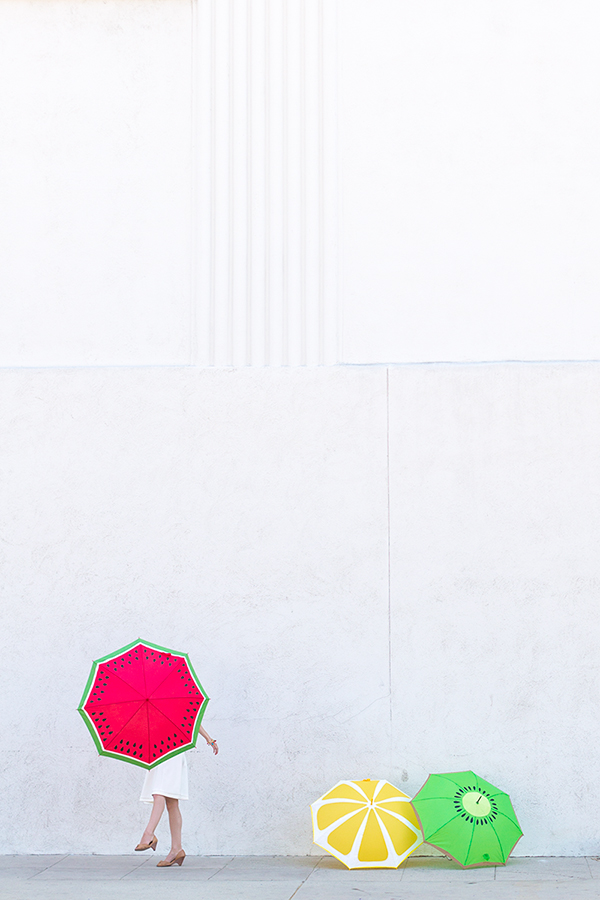
Fruit. Slice. Umbrellas. OH YES! I’m so excited about my latest fruit escapade. I teamed up with ScotchBlue™ Painter’s Tape to turn some plain umbrellas into ones that look good enough to eat! A lemon, a watermelon and a kiwi… because nobody ever gives any love to the little ol’ kiwi! Am I right!? Let’s make some gigantic fruit slices!
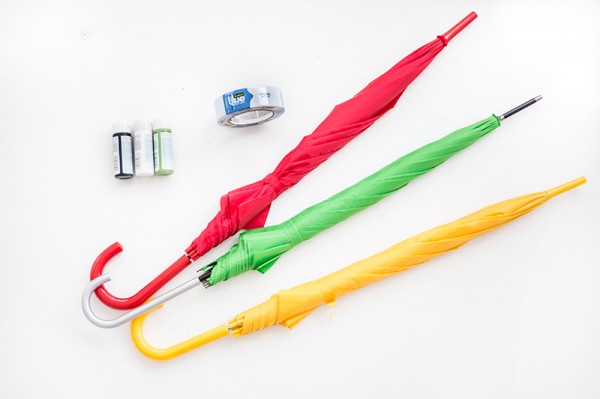
Umbrellas (I found mine here and here!)
Scotch Blue™ Painter’s Tape Original Multi-Use (2090)
Fabric-safe Craft Paint
Scissors
I have a step-by-step for each umbrella so skip on down to the fruit of your choice, or make ’em all!!!
Lemon Slice
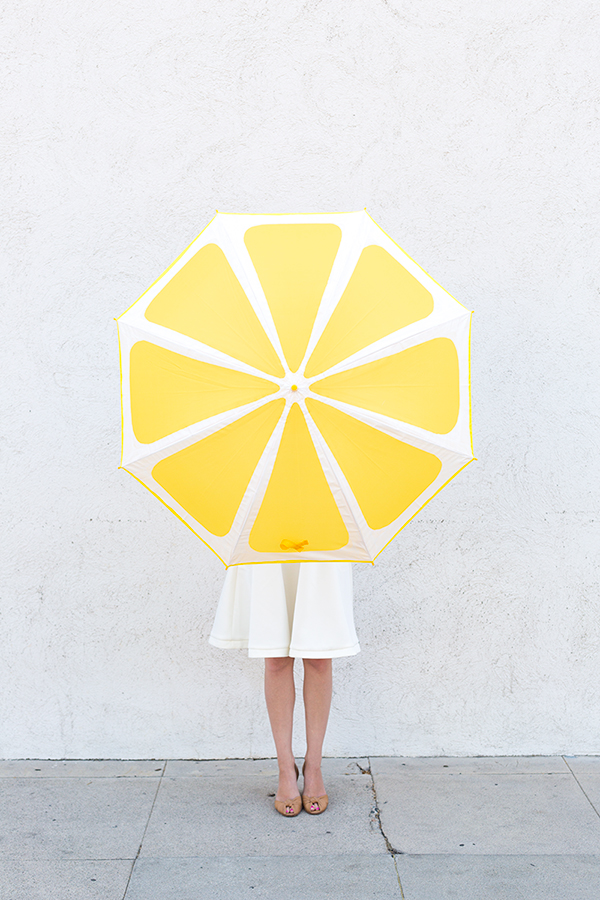
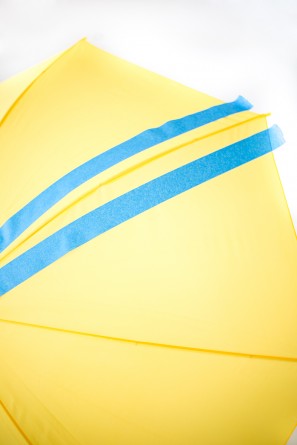
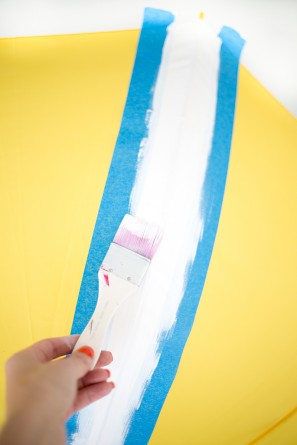
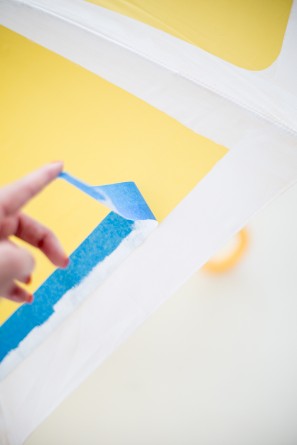
1. Tape off a section around one spoke of the umbrella. It should start at a point at the top of the umbrella and widen to about a 2″ section at the bottom.
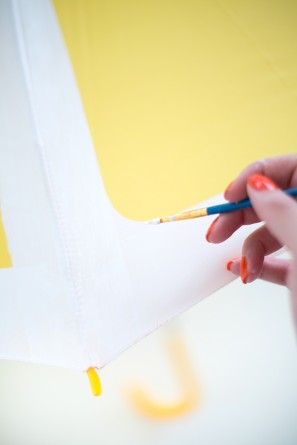
2. Paint within your tape lines using white or pale yellow paint. Peel off your tape and tada! Perfect.
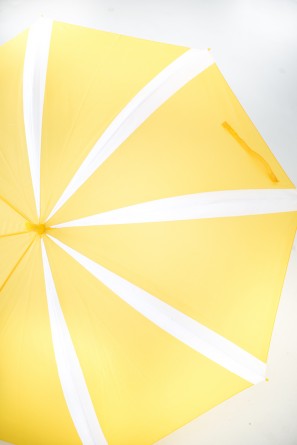
3. Repeat this with each spoke of the umbrella. It’s best to go one by one, versus taping all sections at once, so you aren’t running into any tape overlapping at the top.
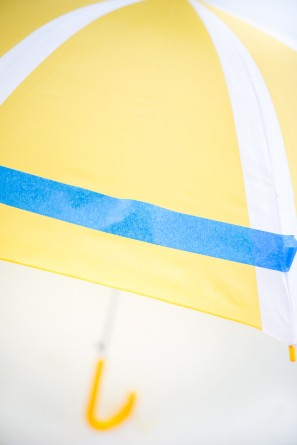
4. Now you’re going to create the white rind around the bottom! To do this, run a piece of tape a few inches from the bottom of each section of the umbrella (Again, I recommend doing this section by section.), curving it slightly if desired.
5. Paint the entire section below your tape and remove! Repeat with each section.
6. To give a curved look to each “wedge”, I went back in with a small paint brush and hand-painted a slight curve on each corner. This gave it a more realistic lemon look!
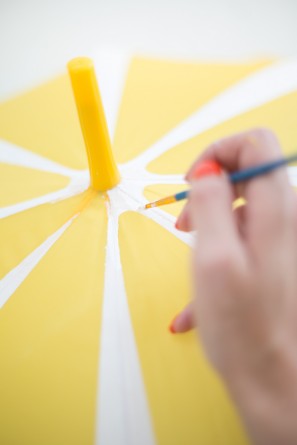
7. I also curved the top point of each wedge and filled in the center around the umbrella’s peak with paint too.
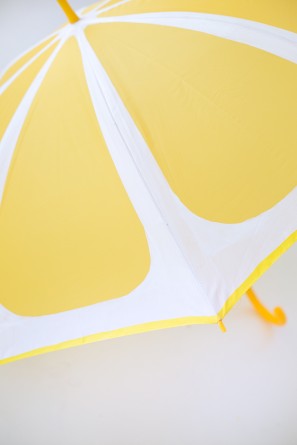
8. To finish it off, I painted a small strip of yellow along the bottom of each to look like the edge of the lemon peel!
Watermelon
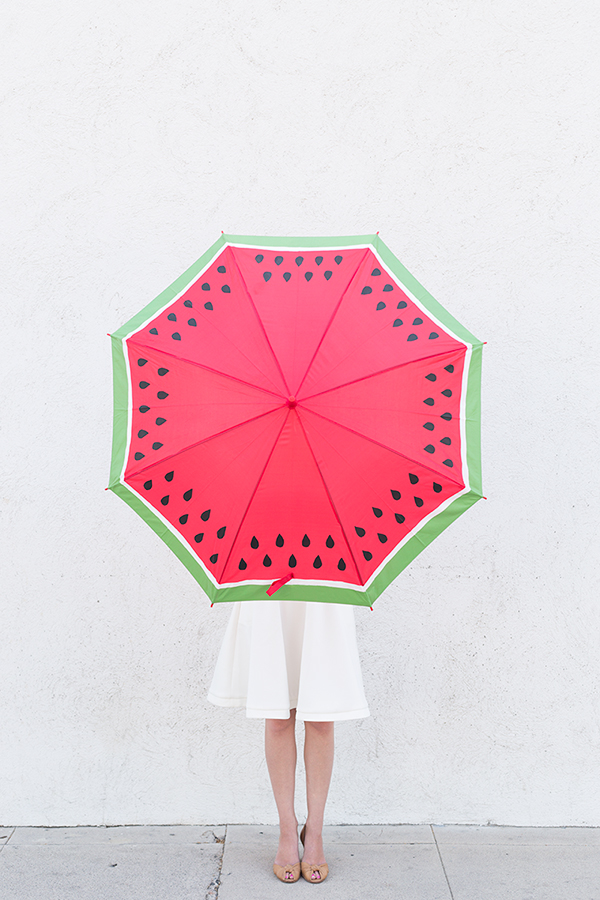
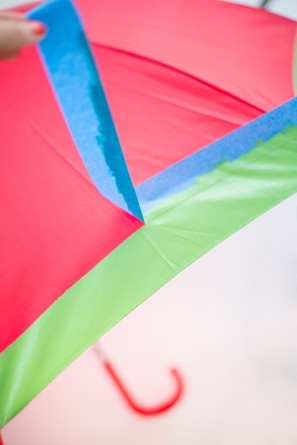
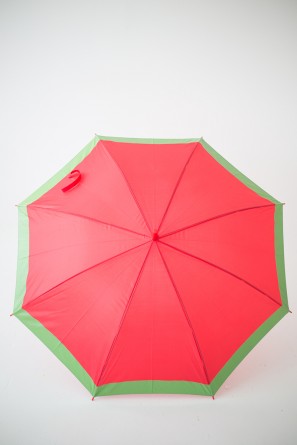
1. To paint the bottom edges green like a watermelon rind, run a strip of tape a few inches from the bottom of each section (working in individual sections). Paint everything below the tape green and remove.
2. Repeat with each section, following the curve of the bottom of the umbrella. Let dry.
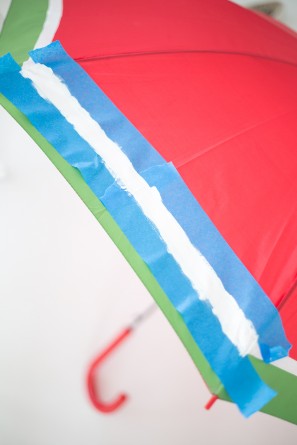
3. Now to add the white! Run a piece of tape along the top edge of your green section, just below the edge so that you don’t have any red peeking through. Then run a second piece of tape about an inch above it. Paint the section in between white and repeat all the way around the umbrella.
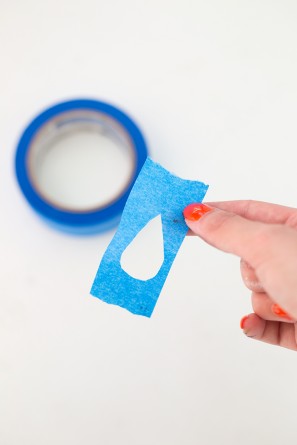
4. Seed time! I wanted my seeds to be uniform so I used the tape to create an adhesive stencil by cutting out a seed shape. You’ll need a few of these as there’s lots of seeds to paint! To make multiple stencils at once, layer a few pieces of tape on top of one another and cut through all of them, then carefully peel and separate.
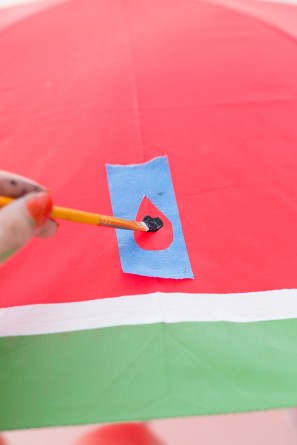
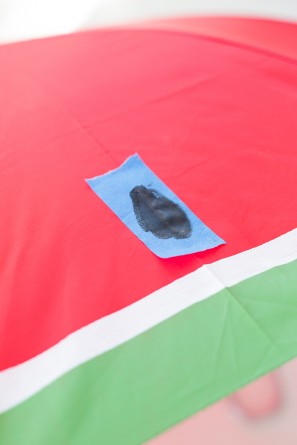
5. Place the stencil where desired and paint with black paint.
6. Repeat with as many seeds as you want. I started in the middle of each section then worked my way out, creating two layers of seeds with five on the bottom and four on the top. Done!
Kiwi
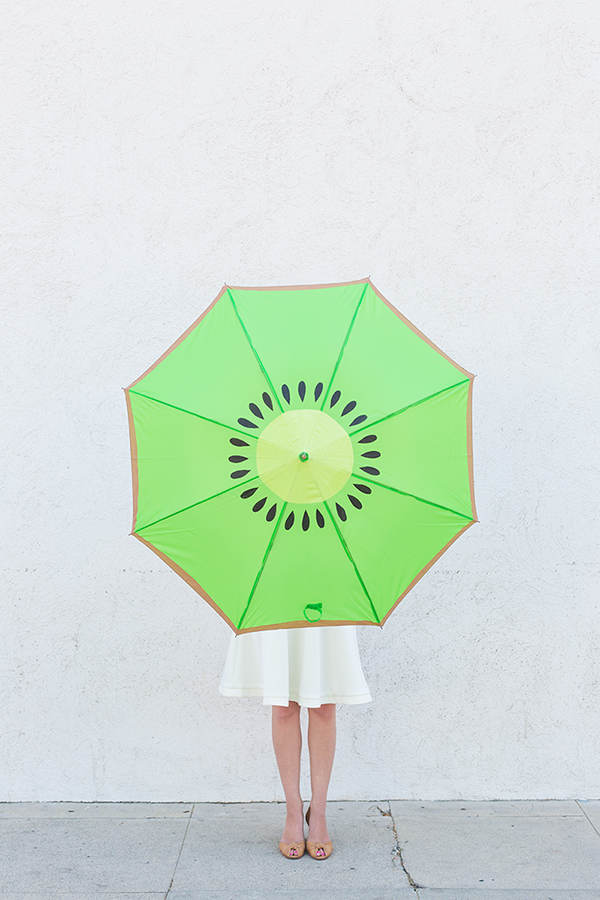
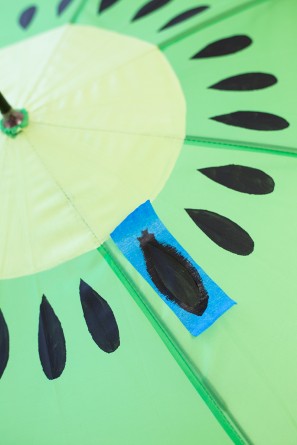
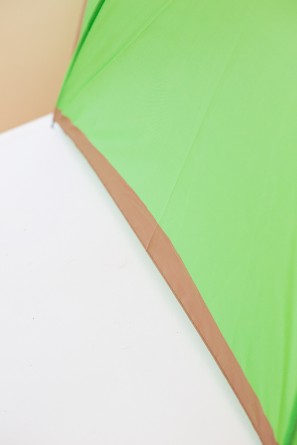
1. To create the center of the kiwi, paint a circle of white or light green around the center of your umbrella. I poked a hole through a paper plate, slipped it on top of the umbrella and traced it, then freehand painted within the guideline I made. Then it was time to add seeds! I cut a seed shape out of tape to make a stencil (see above for how to create multiple stencils at once!). Work your way around the inner circle, painting each seed black. I painted three seeds in each umbrella section.
2. To finish off the kiwi, run a piece of tape about an inch from the bottom of each umbrella section and paint brown below your tape line. Done!
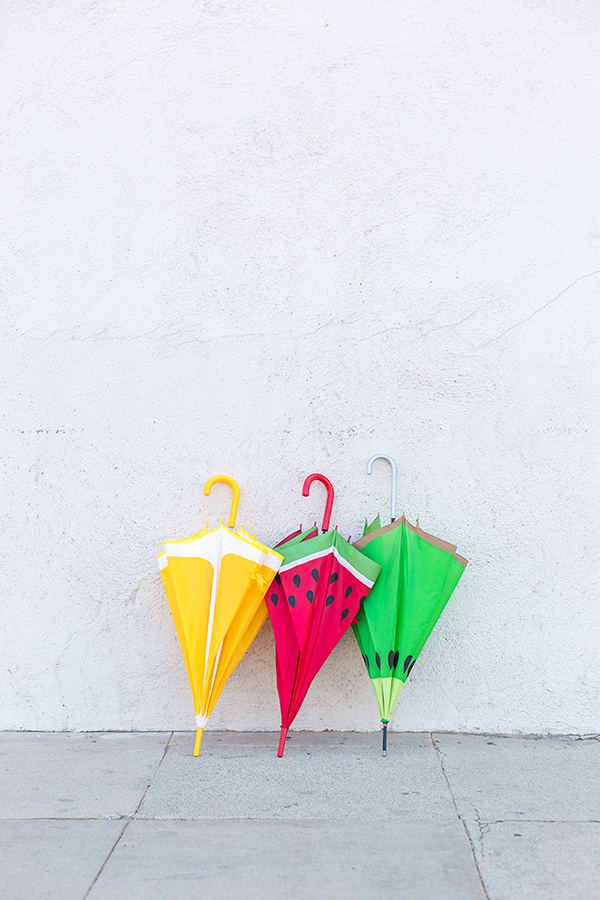
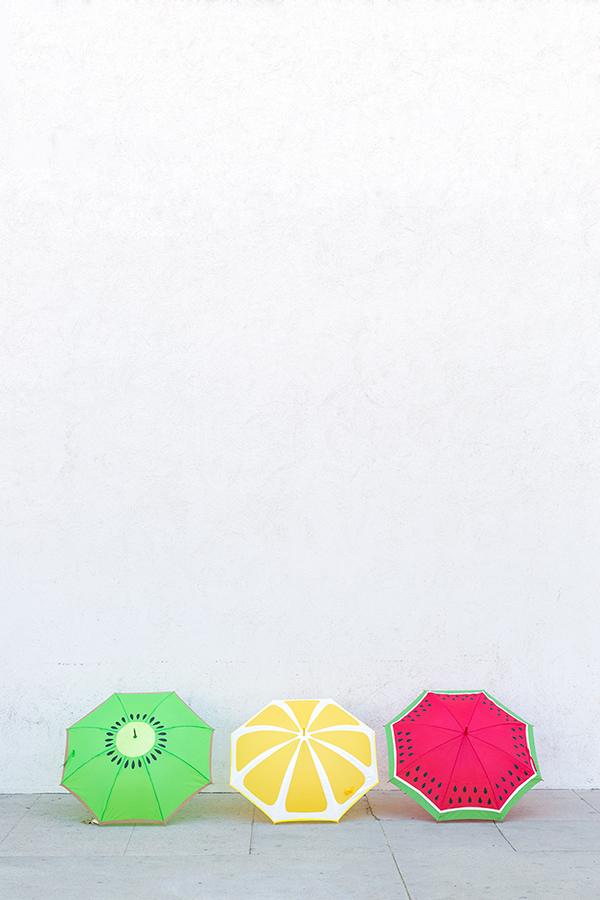
Don’t they look just as cute all folded up!? Make sure you let them dry fully before collapsing them, though!
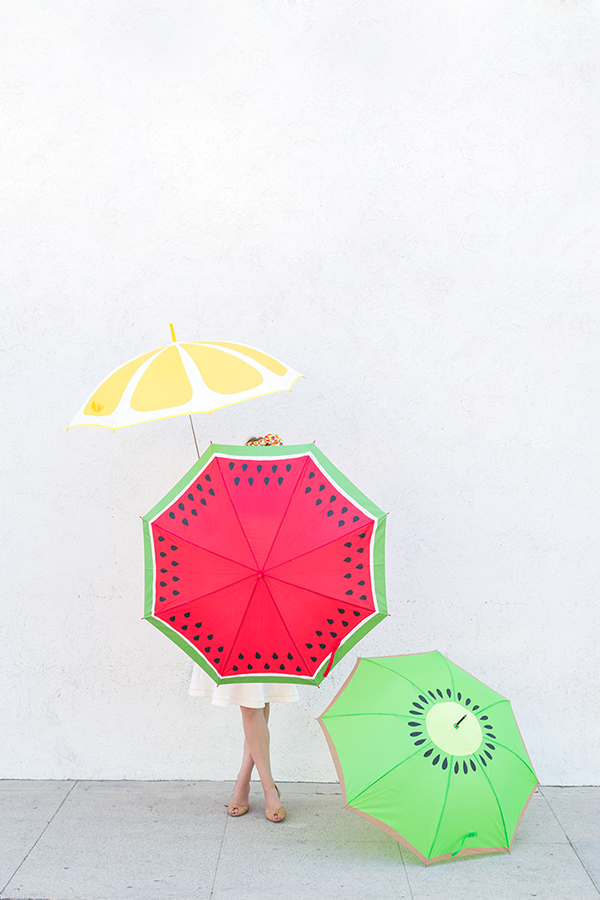
All Photos by Jeff Mindell for Studio DIY
I think it would be awesome to do a whole citrus variety, with orange and lime slices too! What would be your umbrella fruit of choice!? Hope you’re all spinning around on the side of the road with some fruity umbrellas SOON!
I am proud to be a 3M sponsored blogger, and, as part of my responsibilities, I get the opportunity to evaluate ScotchBlue™ Painter’s Tape. Opinions are my own and additional products used in the project were selected by me.




Emma Peake says
These are the single most awesome things I have EVER seen. Love all your DIYs but I think this one tops it!!
Mo says
This is really one of the BEST diy’s you’ve done!
It’s really a pretty simple project from a crafting perspective, I know, but these umbrellas are honestly just making me SO happy right now. I love them! 😀 I want to make them right now!
Claireabellemakes says
These are pretty darn awesome! Although it never rains in LA so you probably wont need them right? Here in the UK however, we are known for our rainy summers. I need to get umbrella painting quick!
Brittni says
These are so clever. I’m thinking grapefruit would be another fun one to paint too because of the colors, but I love all three of these.
Marifer de la Borbolla says
OMG!! I totally agree with the ladies above!! this is one of your top DIY!!!! I absolutely adore them!!!! I think my favorite is the watermelon! thank you so much for sharing! you were right yesterday about a new post that will make up for your absence! ha! 🙂
Delia says
Love this! You are a genius!
Leah says
I mean seriously, your talent is unreal! So cute Kelly!
Ashley | Sugar & Cloth says
Love these Kel!
sonia says
Spettacolo!!!! idea strepitosa!! :)))
Laurel (@abubblylife) says
so flipping cute!
Mary Costa Photography says
You. Are. Brilliant. SO CUTE!!!!!!
Helen says
Woah dude, these are incredibly cool. Nice work with this diy, easy and effective! Now I’m dreaming of watermelon 🙁
Asia3city says
Niesamowite parasole, bardzo smakowite – nie wiedziałam że jest taka farba do tkaniny impregnowanej. Mniam…
Lauren Hughes says
love this idea, however, I am sure if I attempted this it would look nowhere near as good 🙂 xo
http://www.hikinginheels.co.uk
Theresa @ AMomInTheMaking says
Wow! It is super impressive that you painted those! I really love them 🙂 Everything you make is such an inspiration of color and joy!
onel says
These are the BEST umbrellas I’ve ever seen!! Very fun!!! Love all the beautiful shots too!
Ana says
Ridiculously amazing! The colors and graphics are so cool and I love the tape stencil for the seeds. So smart 🙂
Regina says
That’s such a cute idea! And the photos are beautiful!
Claire @ The Simple, Sweet Life says
What a fun project! I’m definitely pinning this to make the lemon slice one later!
Anna says
I would consider making one of these since I live in Nebraska and we get quite a few rainy days. My only concern is that the paint doesn’t hold up and cracks easily or it runs off the umbrella on a rainy day. Any testers who can say neither of these hypothetical situations happened?
Kelly says
Hi Anna!
The paint I used was water and weather resistant, so it should definitely hold up on a rainy day! Just make sure you check the label on your paint before using to make sure it says the same!
Kelly
Lindy says
This might be my favourite DIY you’ve ever done! I love them! Such a great idea!
Elsa says
Awwww!!! This is literally the most amazing and cutest DIY ever!!!!!! I NEED to make one of these cause they are legit adorable! I already have a yellow umbrella so I’ll make the lemon, but the watermelon looks awesome too so I’ll probably buy a red umbrella to make one! And BTW, you’re right, kiwis don’t get enough love…
Congrats to you for having the best idea ever <3
Love, Elsa
Kelly says
Perfect!! Be sure to share photos if you make them, Elsa! Would love to see!
Kelly
Anna S. says
These are too adorable, I will be putting this on my never ending craft list!
Grace says
LOVE these umbrellas! They look juicy enough to eat. And they will be sure to brighten up any rainy/stormy day!
(Just one small question – do we have to seal the paint/make it waterproof for bad weather days, or is the fabric-safe paint good enough? Thank you~ :))
Kelly says
Hi Grace!
Thanks!! The paint I used is water and weather resistant, so it will absolutely hold up to the rain! I recommend checking out the label on your paint to see if it’s water resistant as well!!
Kelly
Grace says
Ok cool – thanks so much for the reply!! Looking forward to try this out! <3
Terrie says
These are genius! They look so fun =)
Bettijo @ PagingSupermom says
Love this so much! My basic conclusion is that you need MORE posts with umbrellas! XOXO
Jamie G @ SnapGinger says
I would love to make these! Maybe something exotic line a star fruit would be fun!
xo
Jamie @ SnapGinger
Isabelle says
They look so so pretty but it’s just for pictures because the rain will delete the paint, people! Think a bit (no hate) :>
Sarah D says
Freaking love these. So gorgeous. Winter is nearly over on this side of the world but they would make great gifts over the summer to prepare people for winter! x
Rosie says
These are fabulous! I want to make a whole fruit bowl!!
gerry says
Like them. Let it rain.
http://www.maverickblog.net
Gucki says
I love so much this your DIY!! I’ve shared on my blog: http://gucki.it/2014/08/26/lets-enjoy-the-rain/
Super cool job! With these umbrellas I’d almost like the rain… singing:
Now that it’s raining more than ever
Know that we’ll still have each other
You can stand under my umbrella
You can stand under my umbrella
(Ella ella, eh eh eh)
Under my umbrella
(Ella ella, eh eh eh)
Under my umbrella
(Ella ella, eh eh eh)
Under my umbrella
(Ella ella, eh eh eh eh,eh eh)
ahahahah!!
Autumn is coming, we are ready thanks to Studio DIY!
Cheers
Gucki!
Gina says
These are absolutely amazing! I love them!
XO,
Gina
popcornandpandas.com
Erica says
you could do oranges also, like how you do the lemon ecxept with an orange umbrella
vëmyo says
Thank you a lot for sharing, I love them. I posted the link on my facebook page!
https://www.facebook.com/vemyohandmade
vëmyo
Ceciel says
Wauw wat zijn ze geweldig. Heel je blog!Ik hebje toegoevegd aan bloglovin: super om je te volgen!!
grazynkawelma says
what a beautiful umbrella’s colors, Now Rain will not be terrible
Aga | Passion shake says
You are a DIY genius! 🙂 Love this idea so much, so happy and fun! I would go for the lemon one x
Kathryn @ Hungry Little Bear says
These are incredible! So cute! I think the kiwi one is my favourite 🙂 You’re so creative with your DIY projects but this one is one of my favourites!! Might have to make one of these soon, ready for the next rainy day! My only question is how safe is the paint in the rain? Does it run? Or is it okay once the paint sets?
Kendall says
Kelly,
Do you have a particular brand/color of paint to use for each of the umbrellas? Can you please let me know what brand you used. I’m trying to buy a bunch of umbrellas to do as a craft project with my family next week
Thanks!
Maureen says
this is beautiful! One of the nicest DIY i’ve seen!
Thanks
http://pourdesprunes.wordpress.com/
Jen says
LOVE these soooo much, I would buy them in a heartbeat… This years winter in Sydney is very wet so any of these tasty fruit designs would look amazing 🙂
laura says
GENIAL! Soy de Argentina y me gustaria saber que marca de pintura o que clase de pintura se usa. Pueden ser acrilicos o pintura para tela?
La felicito x su excelente trabajo.
Gracias x su respuesta
Madeline Kerins says
Hey Kelly,
Do you make these umbrella’s in bulk at all or was it a one-off project?
piknu says
Best idea ever!! These umbrella is so cute!! My kids will love it!!
http://piknu.me/
Macrame bracelet step by step says
What fun ways to compose the rain, are very cute
Anuki Dissanayake says
What if it’s weatherproof and water-resistant?