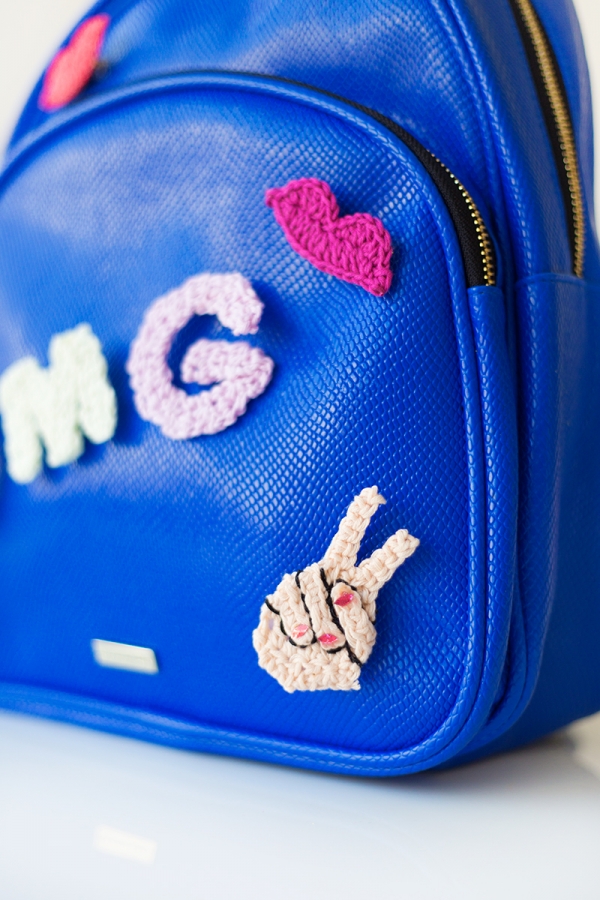
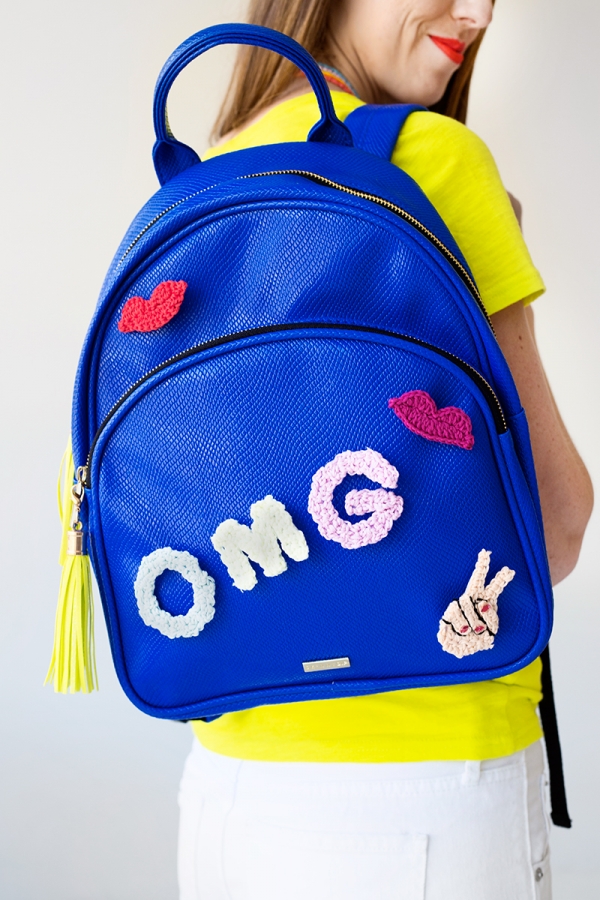
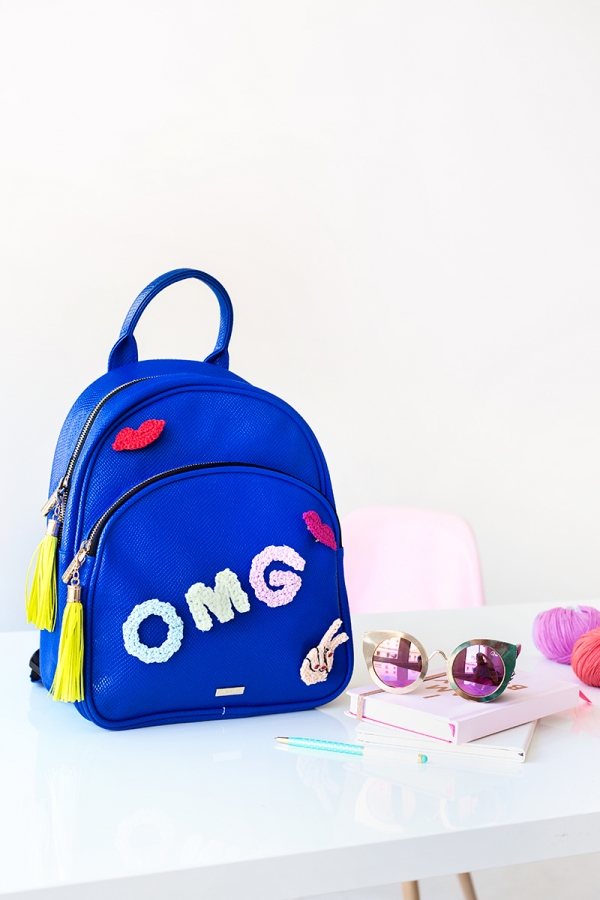
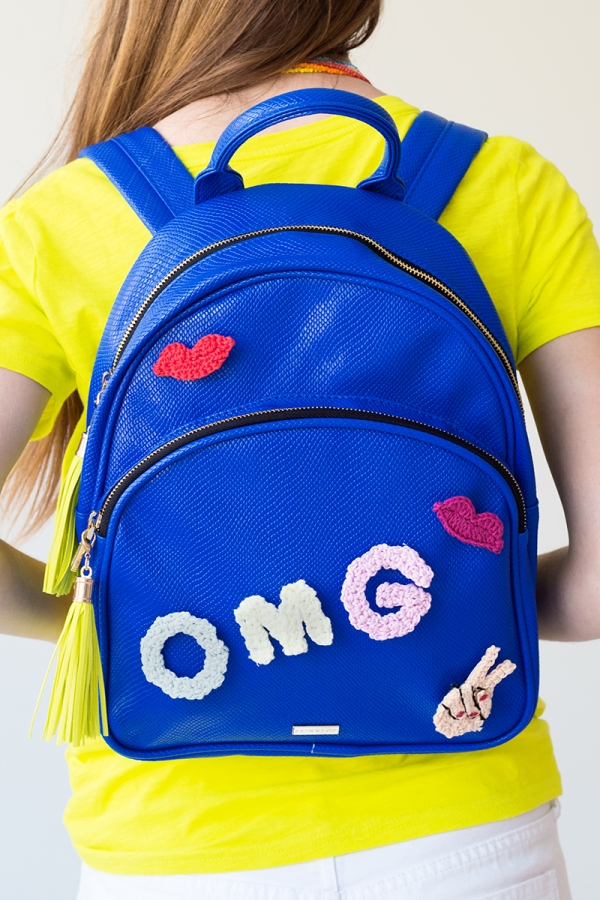
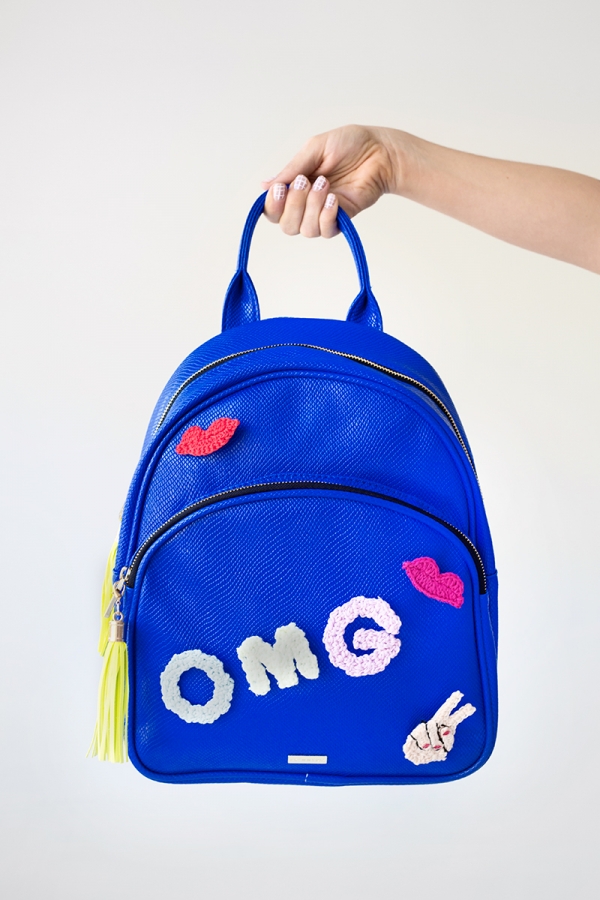
I know a lot of you have already gone back to school (or already sent the kids back!) but where I grew up, the Tuesday after Labor Day was always the big first day. And in honor of THAT, I’m closing out back to school season with one last DIY…. crochet backpack flair!!! Yes, you heard that right.
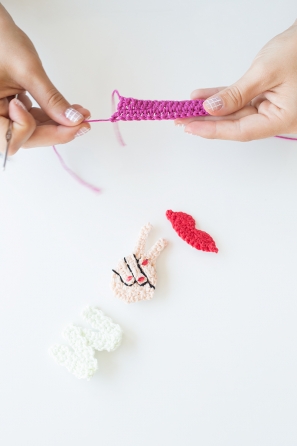
When I did my reader survey way back when, several of you asked about putting my Studio DIY spin on crochet so when Commonthread by DMC asked me to do just that I finally took it as my cue to get a move on! We even made peace sign fingers, you guys! AREN’T THEY AMAZING!? The three pins we made range from super duper easy to a little more complex so you can put your skills to the test and trick out your backpack with the coolest pins in school.
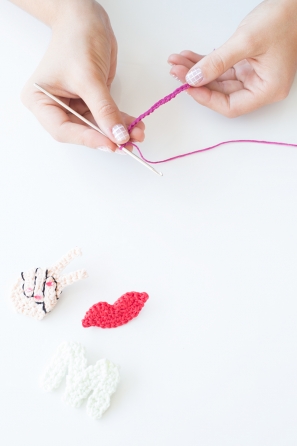
To make the flair you’ll need an understanding of several basic crochet stitches. If these projects have inspired you non-crocheters SO MUCH that you want to learn to crochet, there are a TON of awesome tutorials on YouTube to follow along with. But for those of you who already know the basics, here’s a glossary of the terms and stitches we’ll be using here:
ch: chain stitch
sl st: slip stitch
sc: single crochet
hdc: half double crochet
dc: double crochet
The lips are the easiest, followed by the letters, and then the peace sign which is a little more complex! Ready!?
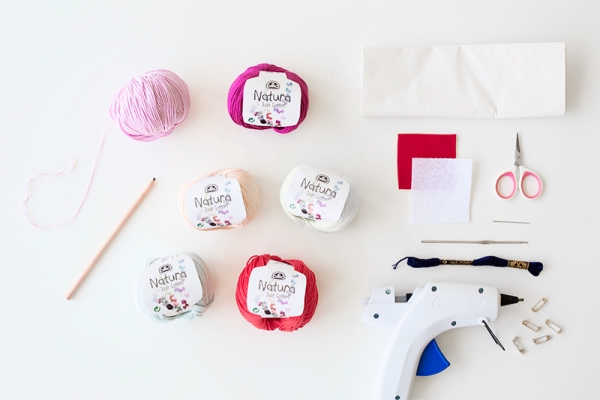
DMC Natura Just Cotton Yarn in Desired Colors
3mm Crochet Hook
Felt
Iron-on Adhesive
Iron
Pin Backings
Hot Glue or Fabric Glue
Needle + Embroidery Thread , Sequins (For Peace Sign Only)
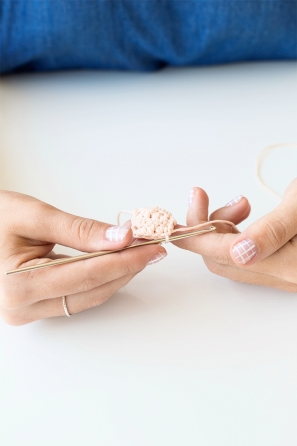
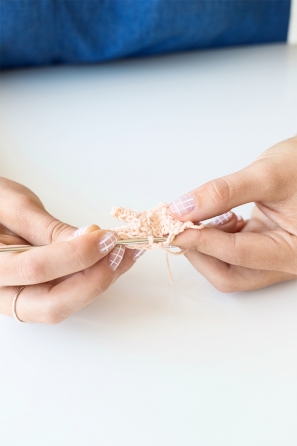
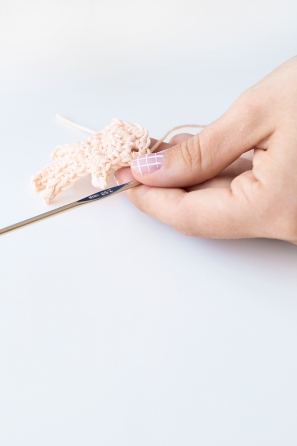
Ch 6
Row 1: sc in second chain from hook, hdc in next, dc in next, hdc in next, sc in next, chain 1, turn
Row 2-4: Repeat Row 1
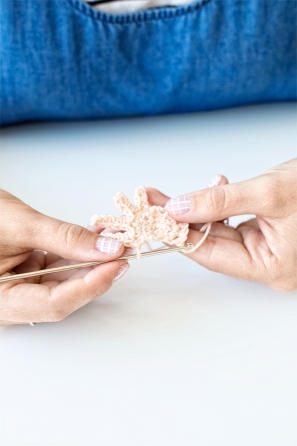
Pinky Row 1: Ch 3, take out hook, turn work, and insert hook back into 3rd ch
Pinky Row 2: sc in first ch from hook, sc in next, sc in next, sc in last ch 5 of 4th row (last chain of row 4)
Ring Finger Row 1: sc in ch 4 of 4th row, ch 4
Ring Finger Row 2: sc in 2nd ch from hook, sc in next, sc in next, sc in ch 4 of 4th row
Middle Finger Row 1: sc in ch 3 of 4th row, ch 4
Middle Finger Row 2: sc in 2nd ch from hook, sc in next, sc in next, sc in ch 3 of 4th row
Index Finger Row 1: sc in ch 2 of 4th row, ch 4
Index Finger Row 2: sc in 2nd ch from hook, sc in next, sc in next, sc in ch 2 of 4th row
Thumb Row 1: sc in ch 1 of 4th row, sc in the side of ch 5 of 3rd row (the hole below ch 1 of 4th row), ch 3
Thumb Row 2: sc in 1st ch from hook, sc in next, sc in next, sc in the side of ch 5 of 3rd row, sc in the side of ch 1 or 2nd row, sc in the side of ch 5 of 1st row, sl in very first ch, cut yarn, pull through, weave in ends.
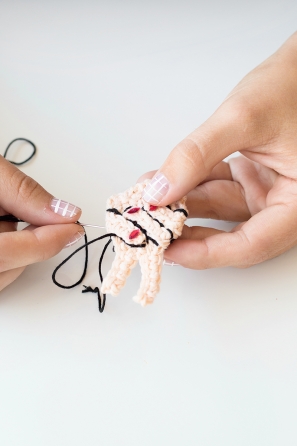
Fold down ring and pink finger, glue. Fold down thumb, glue. Attach sequins to fingertips and stitch around the edge of the three folded fingers with embroidery thread to “define” the fingers, if desired.
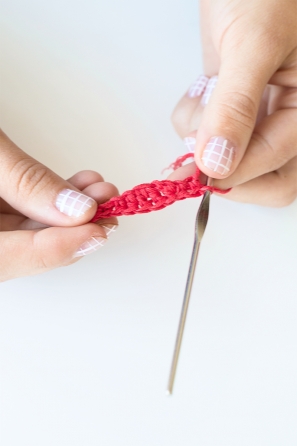
Ch 10
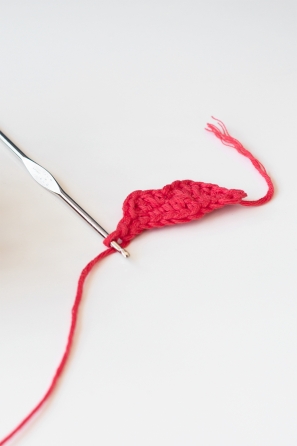
Bottom Lip: sl st in 2nd ch from hook, sc in next, sc in next hdc in next, 2 dc in next (2 dc in same st), hdc in next, sc in next, sc in next, sl st in next
Top Lip: (working in back side of the same chain used for the bottom lip) ch 1, sl st in 2nd ch from hook, sc in next, 1 hdc 1 dc in next (same stitch), 1dc 1 hdc in next (same stitch), sl st in next, 1 hdc 1 dc in next (same stitch), 1 dc 1 hdc in next (same stitch), sc in next, sl st in next, sl st
Cut yarn, pull through, weave in ends.
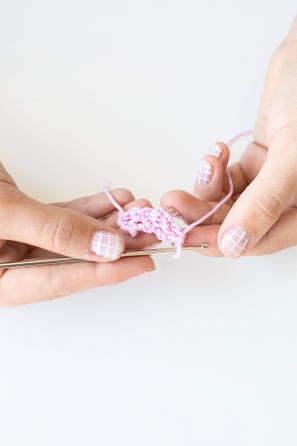
FOR THE O:
Ch 3
Row 1: sc in 2nd ch from hook, sc in next, ch 1, turn
Row 2: Repeat row 1
Row 3: sc in 2nd ch from hook, dc in next, ch 2, turn
Row 4: dc in 2nd ch from hook, sc in next, ch 1, turn
Rows 5 – 20: Repeat rows 3-4
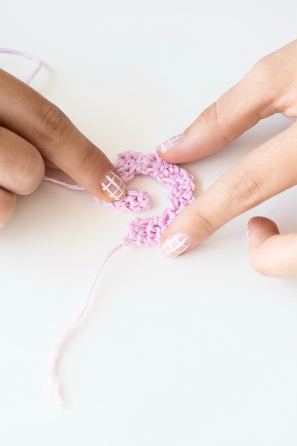
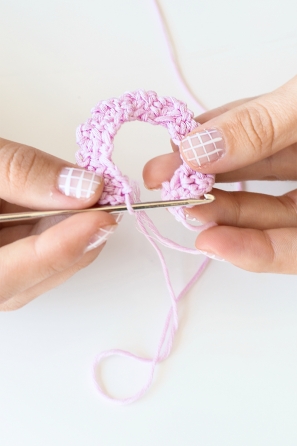
Either stitch or glue halves of O together, weave in ends
FOR THE G:
Ch 3
Row 1: sc in 2nd ch from hook, sc in next, ch 1, turn
Row 2: Repeat row 1
Row 3: sc in 2nd ch from hook, dc in next, ch 2, turn
Row 4: dc in 2nd ch from hook, sc in next, ch 1, turn
Rows 5 – 18: Repeat rows 3-4
Cut yarn, pull through, weave in ends, fold end over into inside of the circle at row 16 (the fold will cover row 15) to create the crossbar of the G, glue in place.
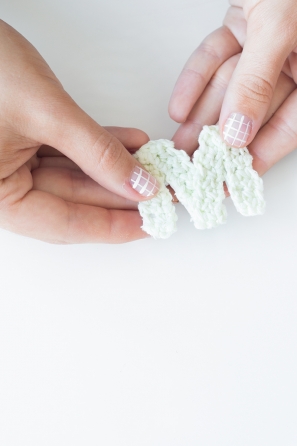
FOR THE M:
Ch 3
Row 1: sc in 2nd ch from hook, sc in next, ch 1, turn
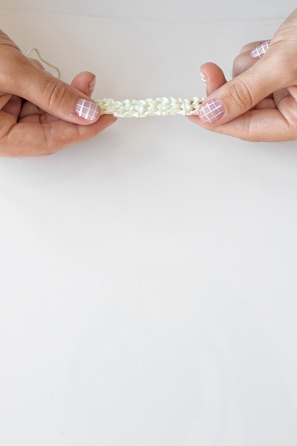
Rows 2 – 40: Repeat row 1. You may need more or less rows, depending on how tight your stitches are. We recommend folding your strip into it’s M shape to check it’s size against your O and G before cutting your yarn, incase you need more rows. If you need less, gently pull your yarn to undo a few rows.
Once at desired length, cut yarn, pull through, weave in ends.
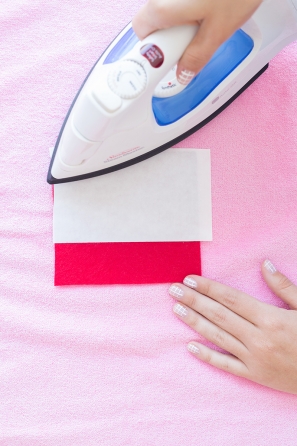
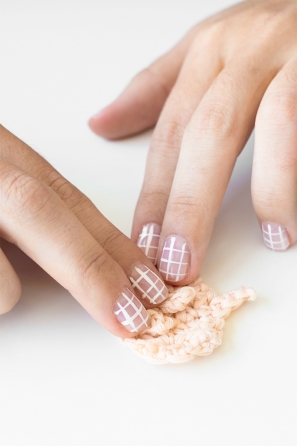
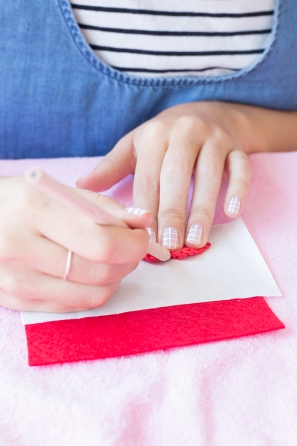
1. Cut a small piece of felt and a small piece of iron-on adhesive. Iron the adhesive on to the felt per the package instructions.
2. Trace your crocheted shape onto the adhesive backing, then cut out your shape.
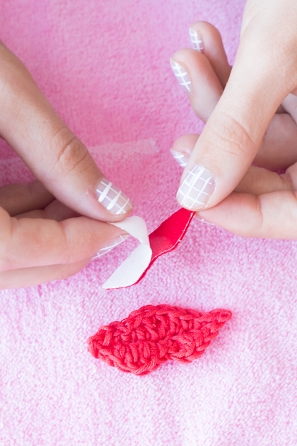
3. Peel off the backing of the adhesive and iron it onto the crochet shape per the package instructions.
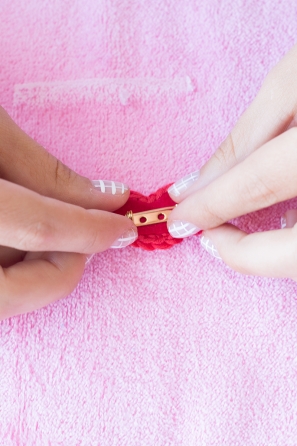
4. Use fabric glue or hot glue to adhere pin backing to the back of the felt.
Photos by Jeff Mindell
I may not be ready for fall, but I am MOST DEFINITELY ready for some backpack flair in the form of kisses and peace signs. 😉
This post was created in partnership with Commonthread by DMC, All content and opinions are that of my own! Thank you for supporting the sponsors that keep the Studio DIY party going! Read more about my editorial policies here.








Monique | WritingMonique says
The backpack looks absolutely brilliant! Great DIY!
Lila&Sirena says
OMG! This is awesome!!! I loved it, thanks for sharing.
Love from MX,
Lila&Sirena
www.lilasirena.blogspot.com
Lexy | Proper says
Stop it right now. These are so amazing! And that blue backpack is so baller. I wanna be the kid that wears that!
Nadin says
amazing DIY!
www.killthemwithchic.com
Anniina says
Those are so amazing <3 <3
Can I share the translate of the pattern in my blog?
http://handcraftaaja.blogspot.fi/