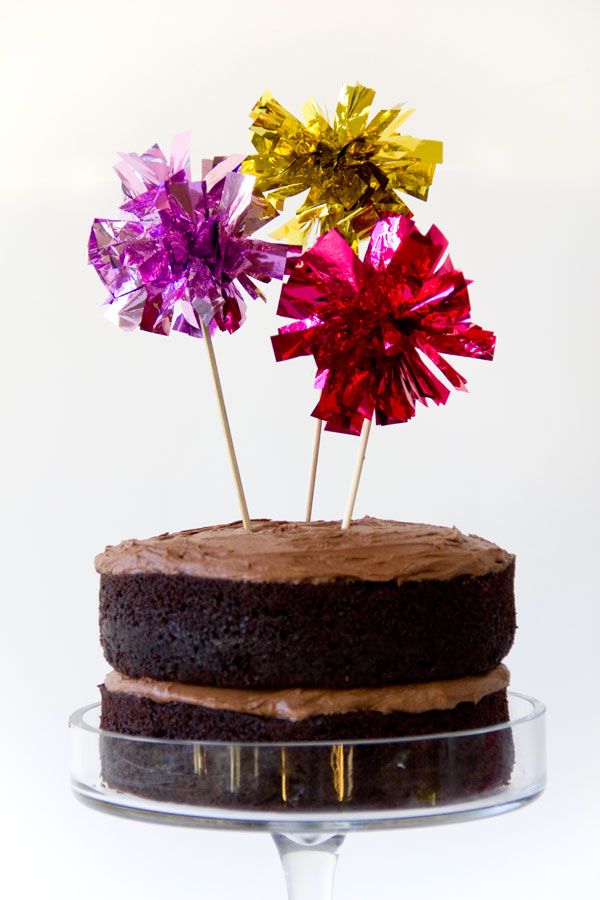
Hey, those look familiar! Cheater! Yep. Total cheater over here. But you guys loved the DIY mylar fringe poms so much, I had to make a mini version! And it had to go on top of a cake. Because, you see, I had a huge craving for chocolate cake, so I need a “work” excuse to make one. Man, I have the best job. Nonetheless, these toppers are darn cute bunched up on a big cake or individually popping on cupcakes. Or both, if you like to go all out!
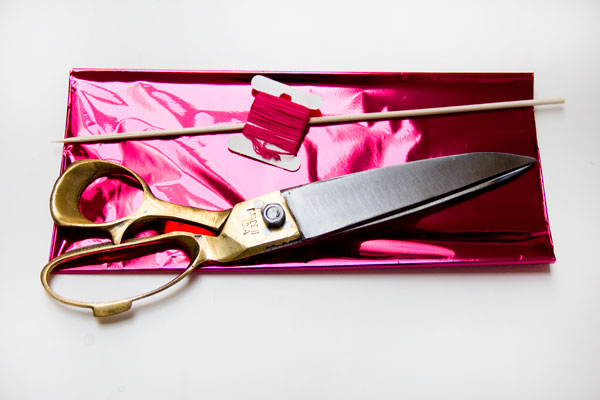
Mylar Tissue Sheets
Scissors
Embroidery Floss (preferably in a color that matches your mylar!)
Bamboo Skewers
Hot Glue
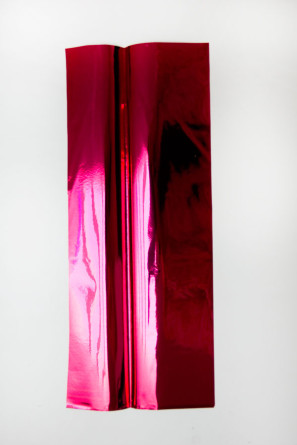
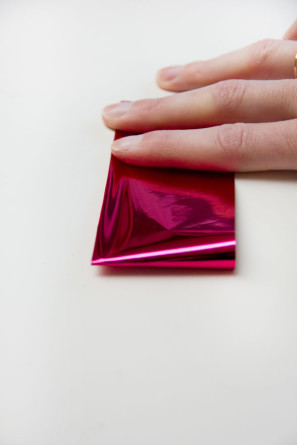
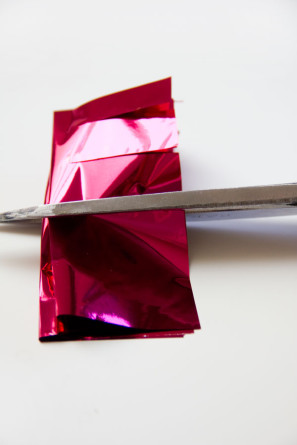
For each pom you will need to cut three pieces of mylar, each about 15″ by 4″. Stack all three on top of each other, then fold in half lengthwise and then fold again, width-wise.
Fringe fringe fringe away, leaving the pieces connected by about 1/4″ at the top. Open up your fringe pieces (carefully!) so it lays flat.
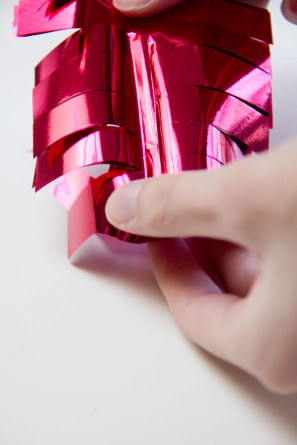
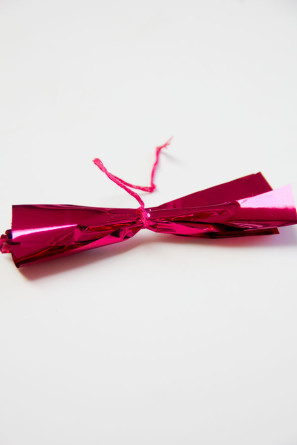
But not for long! You’re folding again. Fold in half width-wise and fold in half width-wise again. Then take a piece of embroider floss and synch your fringed mylar in in the middle and tie securely. Now carefully pull apart your fringeys one by one. If a few rip or tear a little bit, it is ok. You won’t be able to tell once everything is fluffed. And if your pom has weird gaps, you probably missed a few pieces of fringe while pulling them apart. So go in and find those suckers!
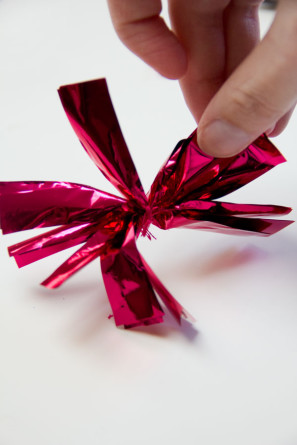
Once you’re pom is all pretty and fluffy, you can go ahead and string a mini garland version of this or you can make these toppers. For the toppers, spread the fringe a bit so you have a solid point in the center of your pom. Place a dot of hot glue there then attach your bamboo skewer (cut to length before this step) and hold until it is dry and secure.
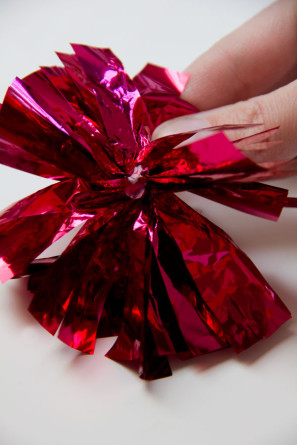
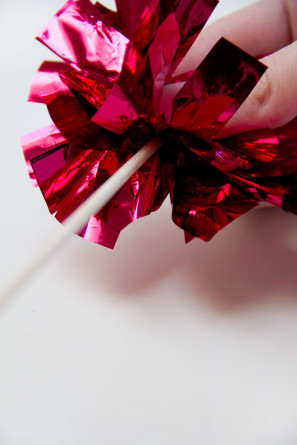
Then have fun, as I apparently did, playing with the different ways to top your cake! Or your cupcakes. Or, again, both.
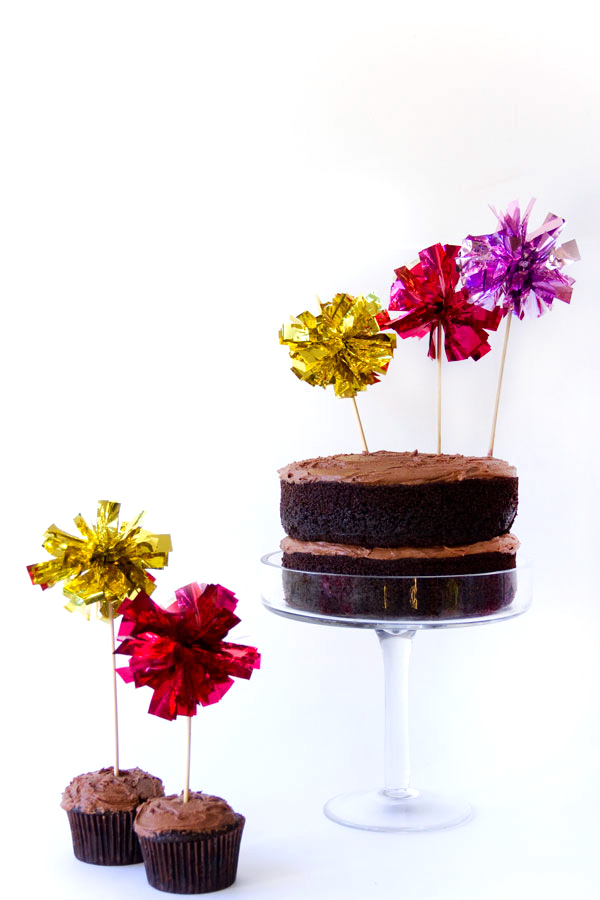
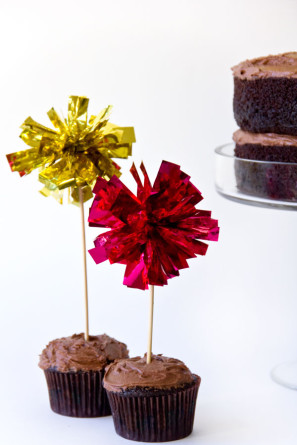
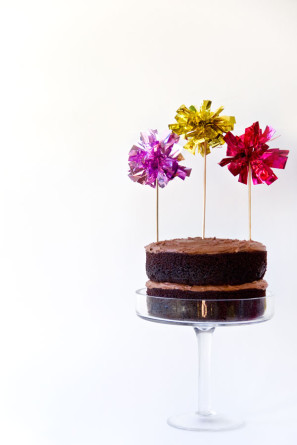
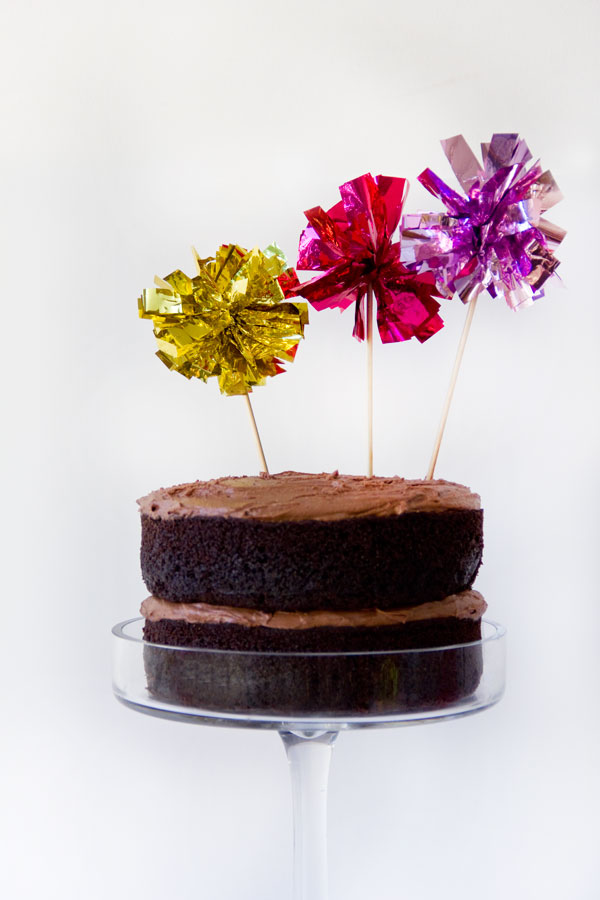
All Photos by Studio DIY
What’s you’re favorite way I tested out!? Man, cake is great. Time to eat! (psst.. for the chocolate cake I used this recipe and I topped it with this frosting. And it is amazing.)
Looking for more DIY projects? Check out the full project gallery here!


Monica says
Very pretty! You could color code them for certain holidays, like pink/red/white for Valentine’s Day and that would be a hit.
Kelly says
Love that, Monica! Glad to see others already on the Valentine’s Day thought train with me! 😉
Kelly
Sara : Confetti Sunshine says
Those are too fabulous.. mini is always best!
Kelly says
Agreed! I go crazy for anything mini-sized!
Kelly
lici says
So sweet and just perfect for my little sister’s birthday!
May invite you to take part in my guestblogging challenge? I’m looking for great DIYs, topic is recycling/upcycling. Maybe you would like to take a look:
http://lysmdesign.blogspot.de/2012/12/xmas-zukunftiges-schmuck.html
Greetings,
lici
stephanie @ Baba Souk says
Totally adorable!! So fun and fresh! Keep up the lovely work.
Helen says
Genius! So so simple but effective. I love them even more than sparklers!
Debie Grace says
These are nice for mini parties at home! Thanks for the idea 😉
Manu We Are Party says
How to turn a simple cake into something very colorful. Love it.
🙂