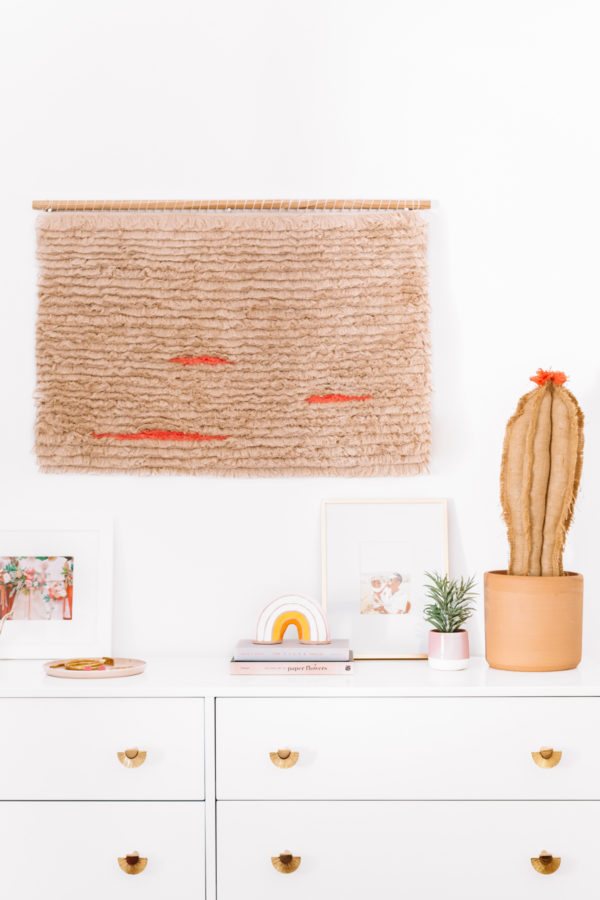
I think I’ve said 45 times that our master bedroom is almost done but it really almost IS now! Just finishing up our gallery wall and I will share the full room! But today I wanted to share a quick tutorial for how I made our fringe wall hanging. I almost didn’t share this, to be honest, because it feels so simple but I know some of you followed along with process on my stories so I wanted to share all the deets! I’m really happy with how it came out. It’s simple and much more neutral than most things I do or make but I wanted our bedroom to feel serene and relaxing so it fits right in. And compared to the rainbow wall hanging which took me almost a year, this one took me only a few hours. BAM!
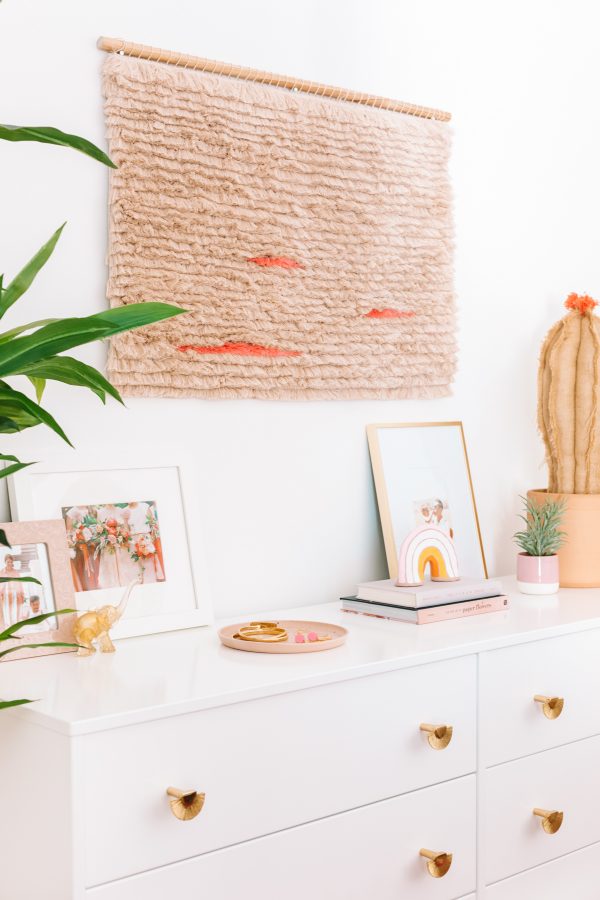
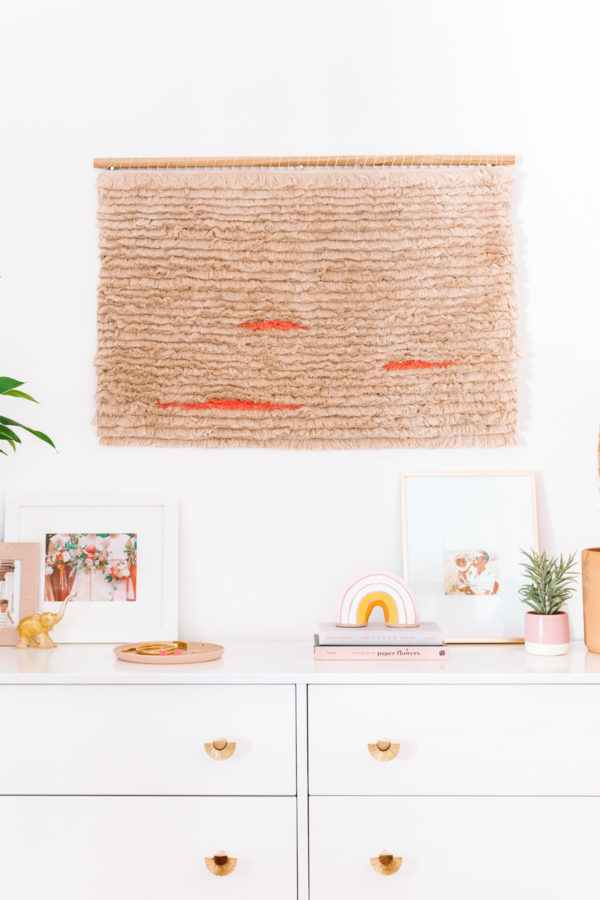
How To Make a Fringe Wall Hanging
Total Time: 3 Hours (ish?)
Supplies
Approx 38 Yards of Cotton Brush Fringe (I used this but just found a MUCH more cost effective option here that looks similar!)
1 Yard Contrasting Fringe Trim (I used this! The color is so pretty.)
2'x3' flatweave rug (The one I bought is sold out now! But any neutral flatweave rug will work.)
Hot Glue Gun
Scissors
36" Wooden Dowel
Thin Cotton Rope (like this, but you can find smaller quantities at a craft store!)
Large Embroidery or Yarn Needle
Directions
1. Hot glue a strip of the cotton fringe right along the long bottom edge of your rug.
2. Hot glue another strip about 1/2" to 1" (depending on how dense you want the fringe to be!) above the last. Repeat until the entire rug is covered in fringe.
3. Now add your contrasting fringe. Cut a few small strips and lay them on top to decide where you want them. I only wanted a couple and I wanted them to be varying lengths and densities.
4. Once I figured out where I wanted the contrast, I hot glued them right on top of the other fringe I'd already added. I made each one have a few layers (so the color was really visible) and the longest one has even more (shorter) layers just in the center of it!
5. To hang the wall hanging on the dowel, lay it on a flat surface with the dowel sitting above it. Cut a long piece of cotton cord and thread it through the large needle.
6. Tie a knot on one end of the cord and poke it through the back corner of the wall hanging, about 1/2" down from the top. Then loop the needle and cord through the front and over the dowel and back through the back, about 3/4" away from the last stitch. Repeat until you've stitch across the entire top and end with a knot in the back again.
7. Hang with large nails or hooks!
(Ignore the large cotton piping pictured below, I had another plan for this project before it started! Ha!)


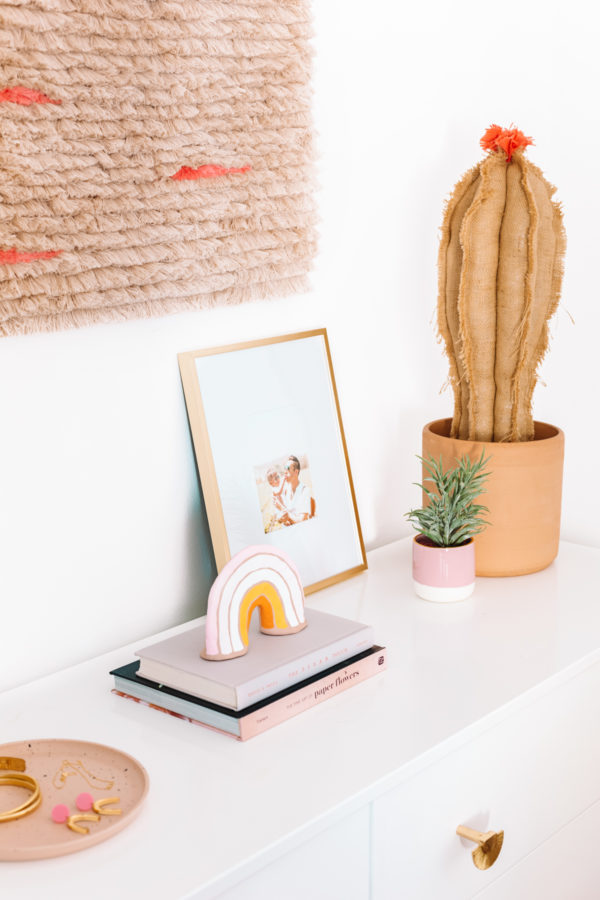
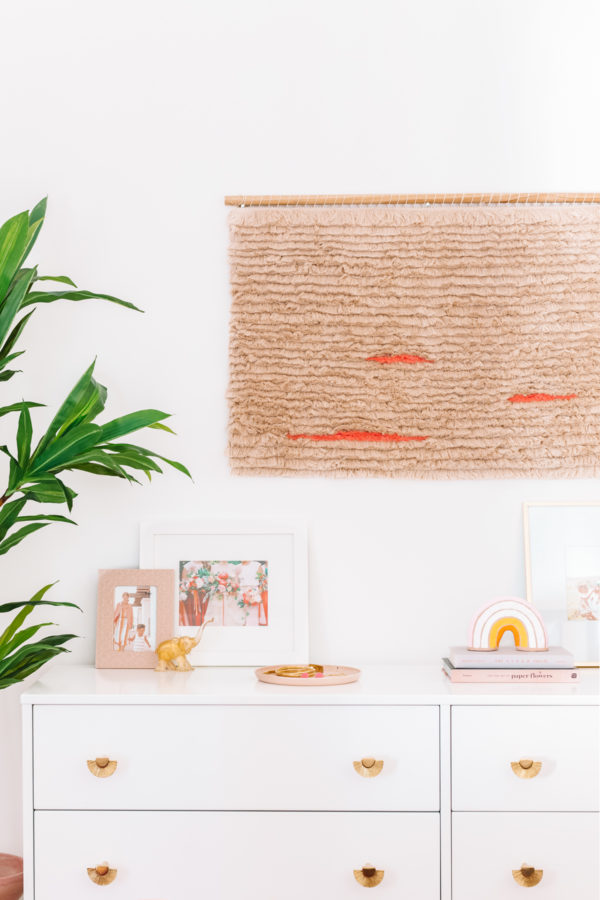
Photos by Jeff Mindell
Other Sources: Dresser | Drawer Pulls | Cactus
Faux Tree | Ceramic Rainbow | Ceramic Plate
I have one more wall hanging in the works (for my office!) and then maybe someone needs to take the yarn and trim away from me!? Ha!





Paulina says
Please keep us posted on how to keep this dust free. Cause I want to make it, but I hate dusting.
gmail email login says
Love this DIY so much!! The fringe wall hanging is so beautiful and fun to make. But I think I should find a solution for my shedding cat problem before trying it 🙂 Thank you for sharing!
Amy | Delineate Your Dwelling says
I AM SO IN LOVE WITH THIS!!!! I adore the small pops of coral. I have all the supplies in my Amazon cart right now.
iCloud Sign in account says
On my first visit, i really got surprised while stumbling upon these categories of blog reviews written here, And your pictures are awesome.
Malisha Mishel says
How sweet! I have fallen in love with it!!! I’m an avid DIYer and always try to be busy with some new projects. Was searching for a unique idea of making a Fringe Wall Hanging. Yours made me stop and crazy to do it asap! In a hurry to start. Wish me a good luck! 🙂