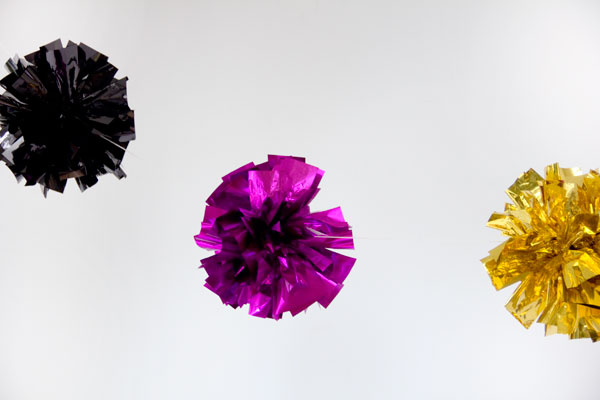
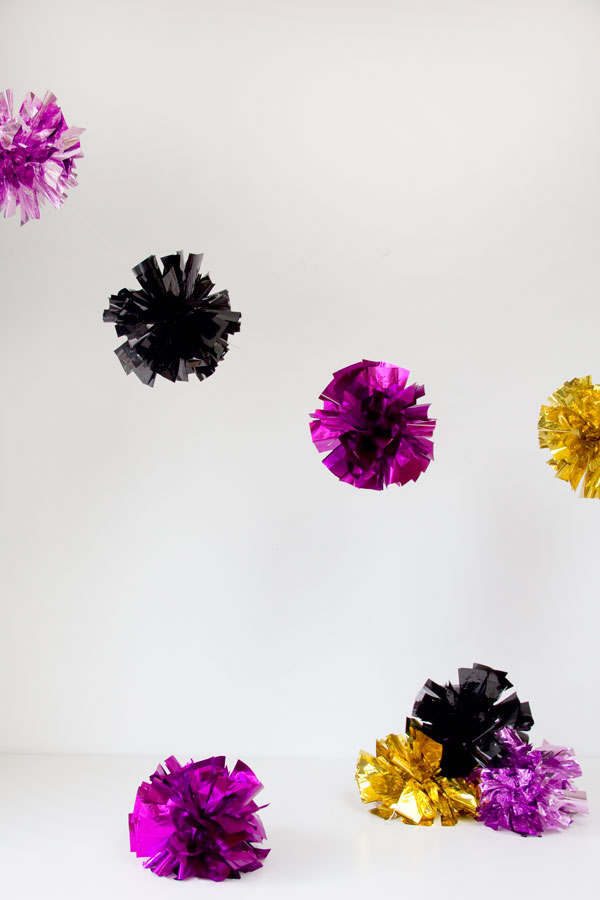
What is this, you say? This doesn’t look like Christmas! Nope, I’m looking on ahead to New Years today people! To be honest, last year I totally forgot about the big NYE bashes out there because I was so wrapped up in Christmas cheer so I’m making up for it today! These DIY fringe mylar poms would make such awesome New Year’s party decor because they are so darn shiny! I love mylar for NYE, don’t you? Here’s the how to for a new take on those poms that have taken the party world by storm!
Supply List:
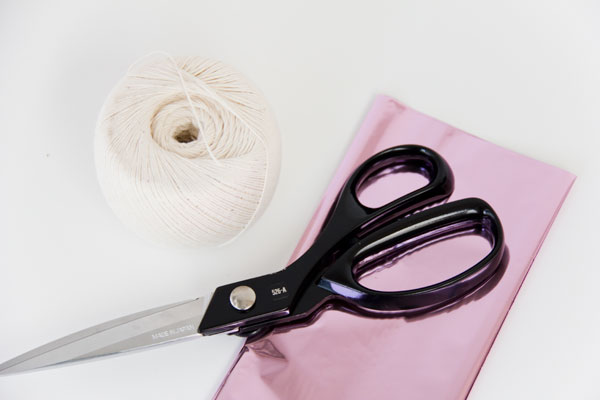
Mylar Tissue Sheets (you’ll need three half-sheets per pom)
Scissors
Twine
To Make:
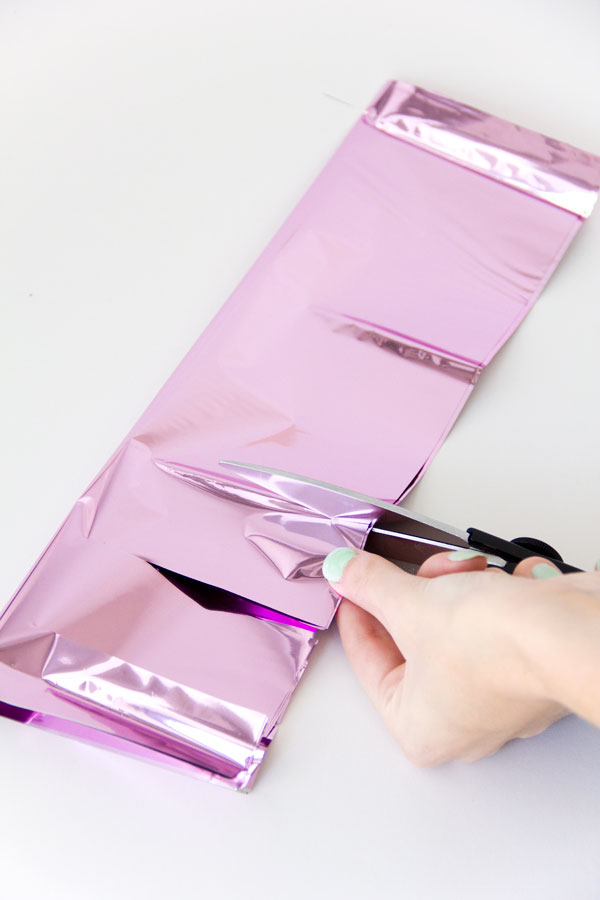
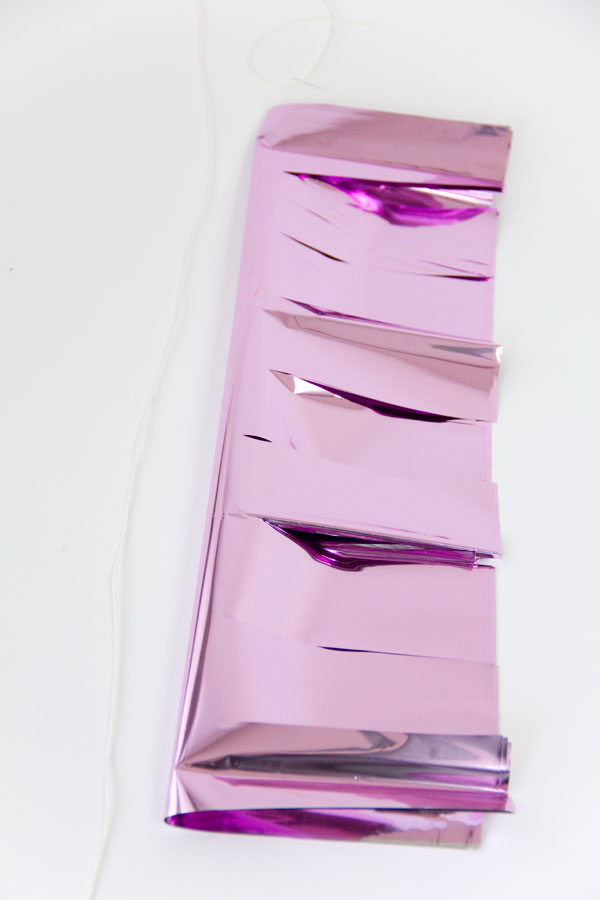
You’ll need to cut your to make them the appropriate size. Mine were 18″ by 30″ to start so I cut mine in half to be 9″ by 30″. Take three half sheets, layer them on top of eachother and fold in half, lengthwise.
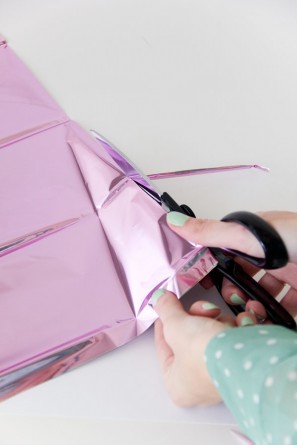
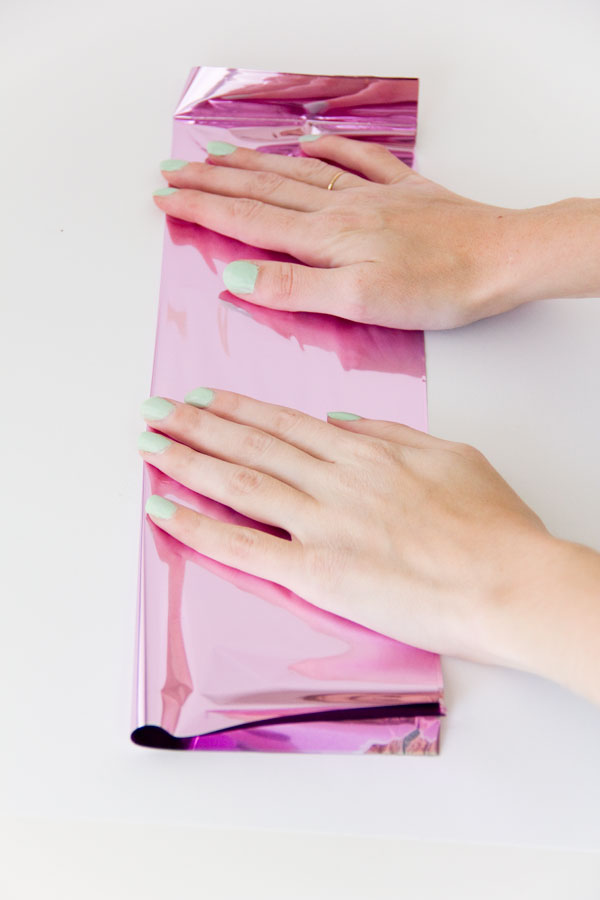
Fringe through all six layers at once, spacing each strip about an inch or more apart, and leaving the sheets attached along the top. IMPORTANT! While your sheets are still folded in half, lay a piece of twine lengthwise next to the fold.
Unfold your sheets so the center is over the twine. (See why I made you do that above!?) Carefully pull up your ends of your twine and tie into a knot, gathering in your mylar as you pull.
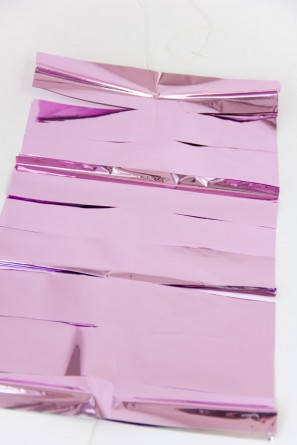
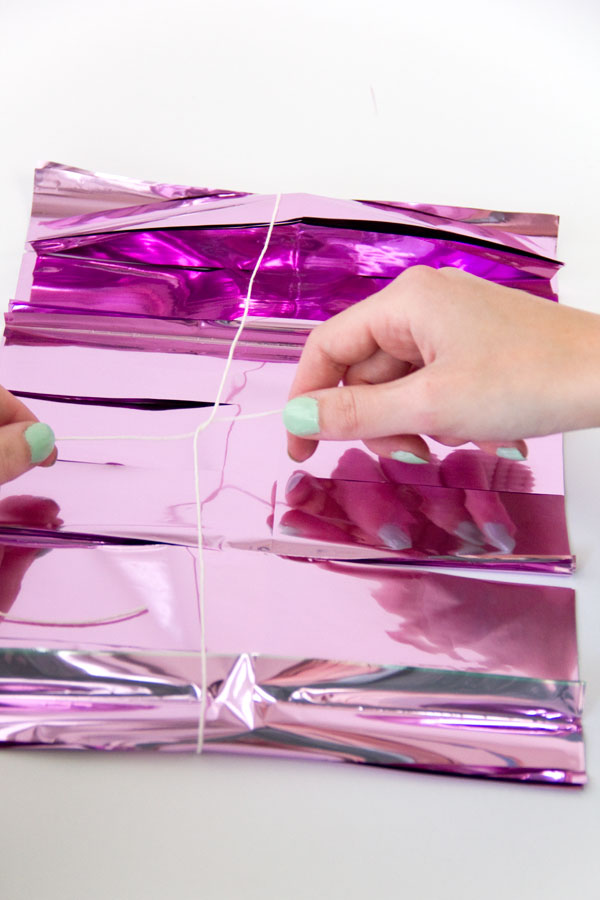
Double knot to secure. Now Separate your fringe pieces to form an X. This doesn’t have to be perfectly even, just guesstimate! Now take that same piece of twine and tie it the opposite way, perpendicular to the direction you had tied in before.
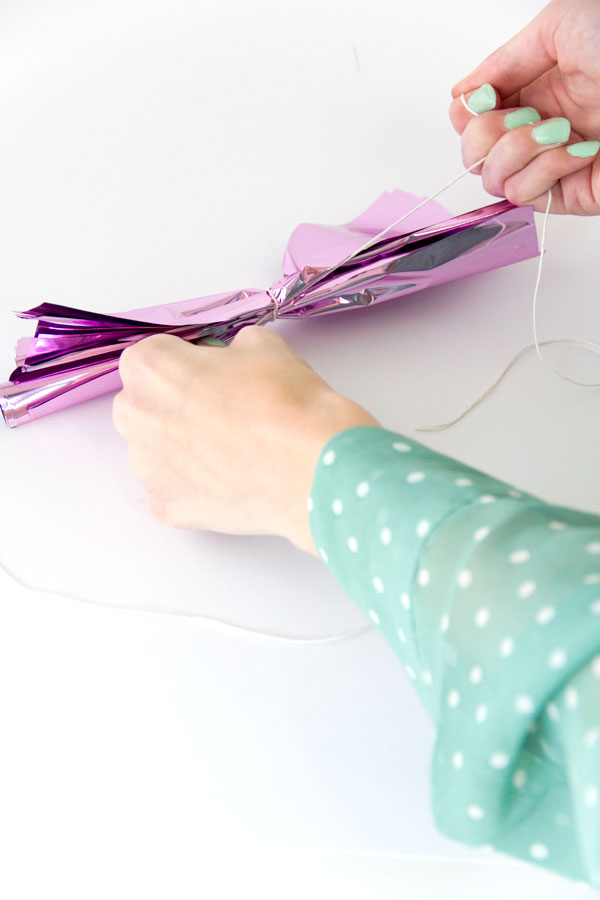
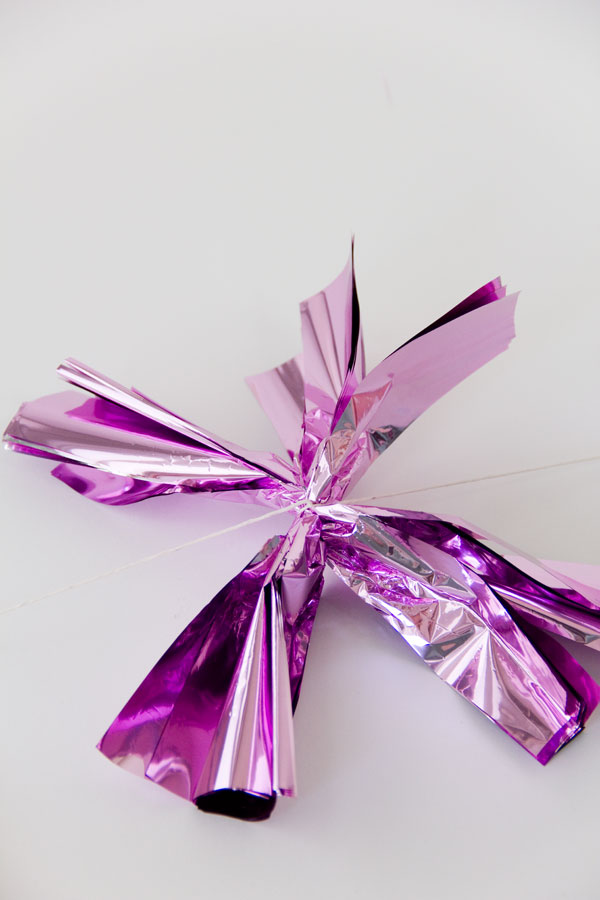
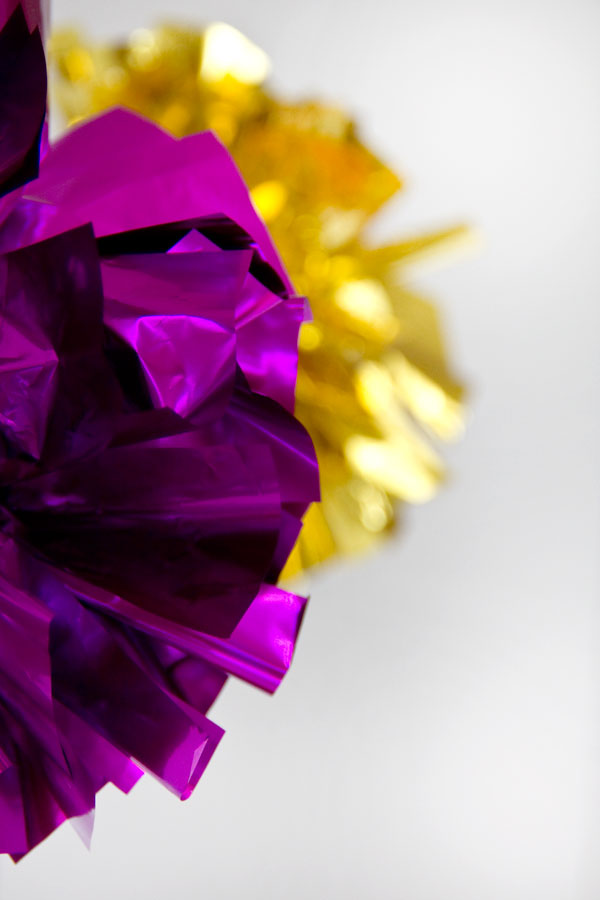
Now to fluff! You need to do this carefully and meticulously. Mylar likes to stick together so you’ll have to take extra care when doing this. Carefully pull apart all of your fringe pieces, one by one (It sounds more intimidating than it is!) and keep fluffing along the way by rubbing your hands over the fringe pieces. Fluff, fluff, fluff and trim any pieces that may be longer then the rest if you didn’t tie it perfectly in the middle. If there’s a weird spot with a gap, there’s probably a few pieces still stuck together.
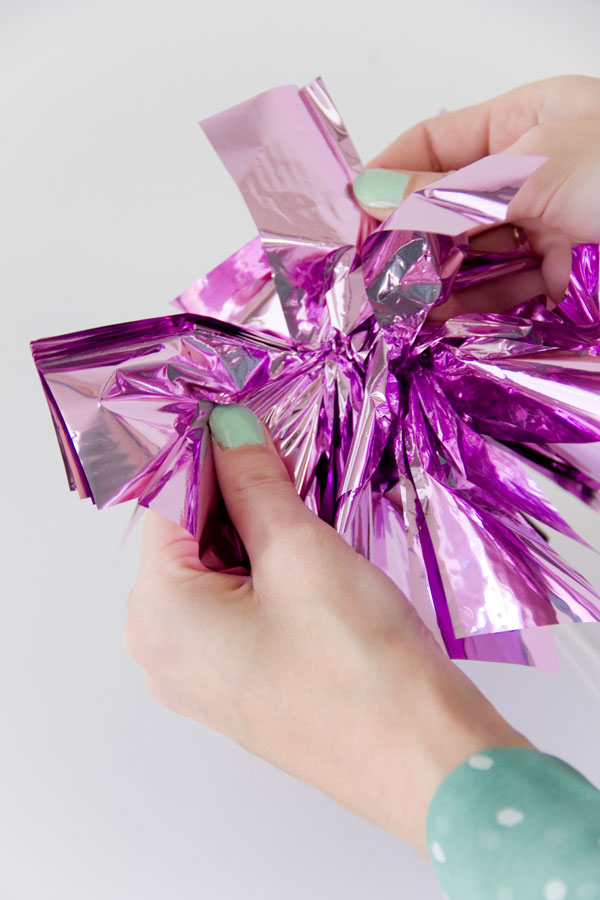
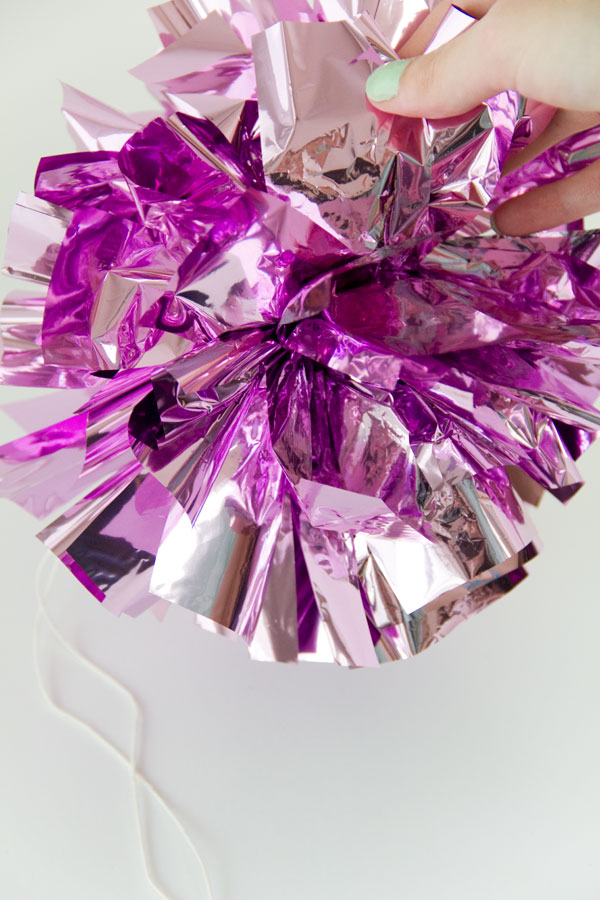
Now you can leave that excess twine to hang or you can cut it off at the base and string a separate piece of twine right through the middle of each pom to form a garland!
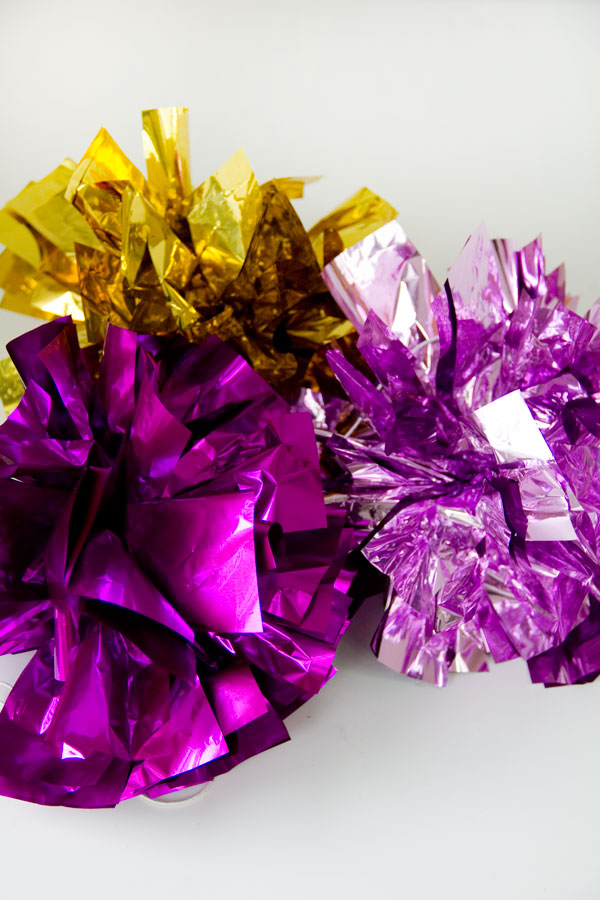
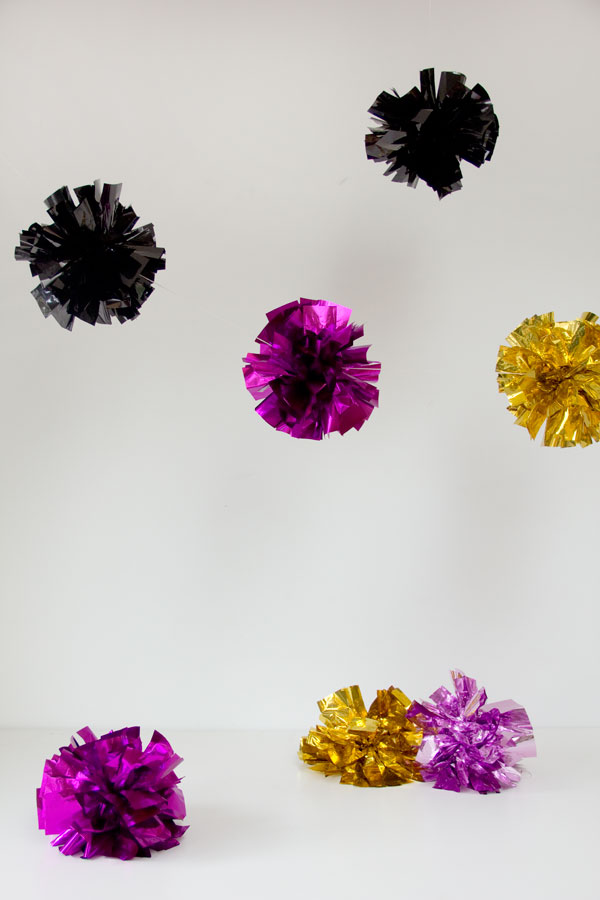
And then it’s time to countdown and boogie down!
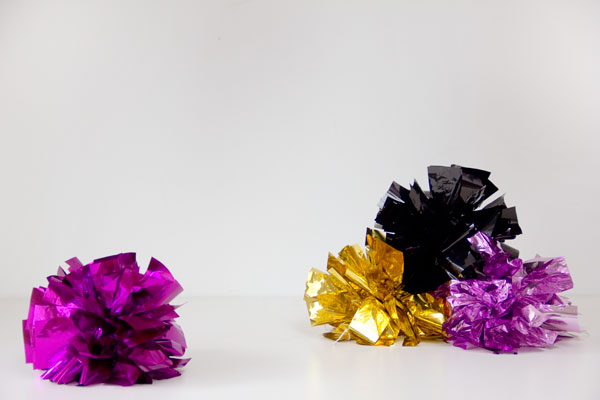
All Photos by Studio DIY
You could also re-purpose these post-party for the little cheerleader in your family. That’s where my inspiration came from! And tomorrow we will be back to our regular Christmas programing. For now…
Looking for more DIY projects? Check out the full project gallery here! And if you’re looking for some serious holiday cheer, you can get a hefty dose of that right here.


Hannah says
I found this post through papernstitch, love how they look – bet they looked perfect on NYE!