An alternate title for today’s project would be, “I was avoiding the work I really needed to do and walked to the fabric store across the street from my studio and found a mecca of sequins and polka dots.” But, that’s an awfully long title. This project wasn’t planned, and my haphazard step-by-step photos show it, but I just loved how they turned out so much (imperfections and all!) that I had to share. The tutorial will just explain how to make the basic heart, but guess how I turned them into conversation hearts!? I used my Cricut Explore that I’ve been secretly playing around with for an exciting upcoming partnership. The new machine went on sale on HSN last night and sold out in a FLASH! And I can see why… it cut these letters in seconds and it can also draw and cut simultaneously. WOAH! All I had to do was press a button, and then iron them on. But we’ll talk more about Cricut in the coming weeks. For now… let’s make some plush hearts!
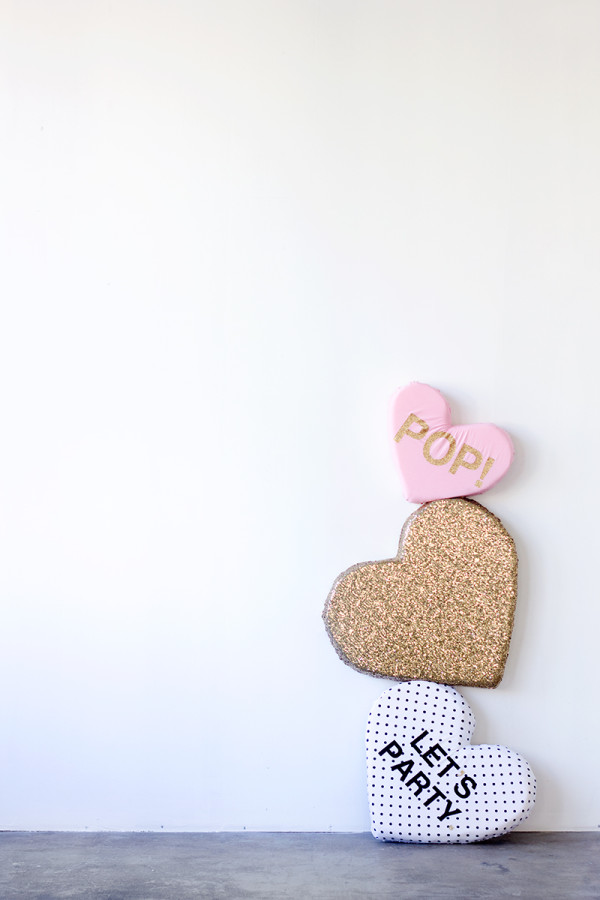
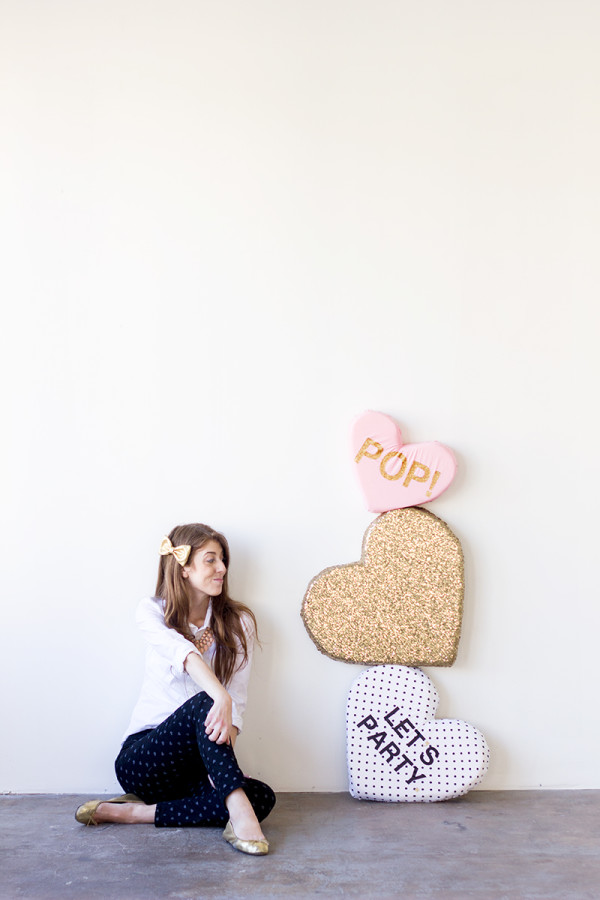
Hearts on hearts on hearts! As it should be…
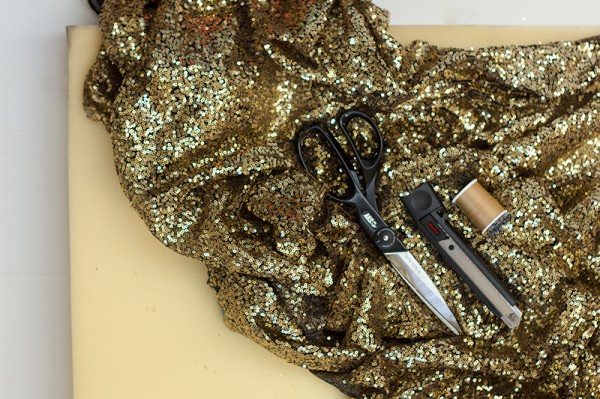
Fabric with a Stretch To It (I used regular cotton for the non-sequin pillows, but the stretch of the sequined fabric definitely worked better with the foam!)
Foam or Pillow Stuffing (I used 3″ foam!)
Sewing Machine
Utility Knife (One with a long blade is best, gives a smoother cut!)
Scissors
Needle + Thread (for hand sewing)
Cricut Explore™
Various Colored Cricut Iron-on Material
![]()
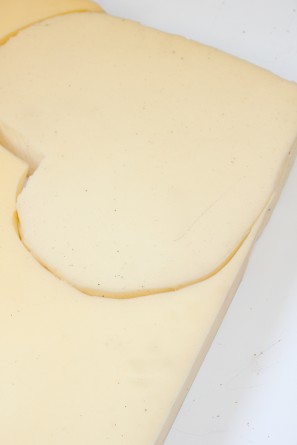
I’d like to preface this with the fact that the way I covered these plush hearts was kind of the lazy way, and every sewing teacher I’ve ever had is probably cringing reading this! But you know what? I like the imperfections of these guys. NOW! To start, cut out your heart shape from the foam using your utility knife. (You can make a paper template to help out with that. And if you’re just using stuffing, skip this step!) Fold your fabric in half, good sides together. Lay your foam on your fabric and cut around it through both layers, leaving about a 2″ border if using 3″ foam (or more or less depending on your foam’s thickness).
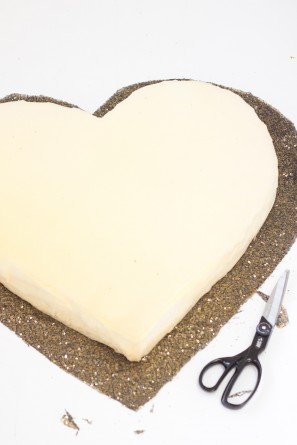
Pin your two pieces together as is, and it’s time to sew it up! You need to leave the majority (like 3/4) of one side of your heart open so you can slip it over the foam. Keeping that in mind, sew up the rest using your machine.
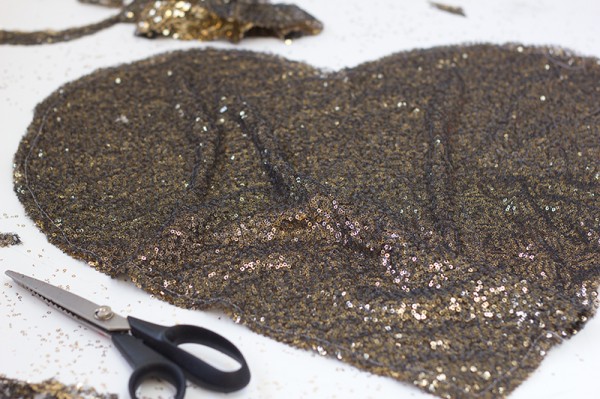
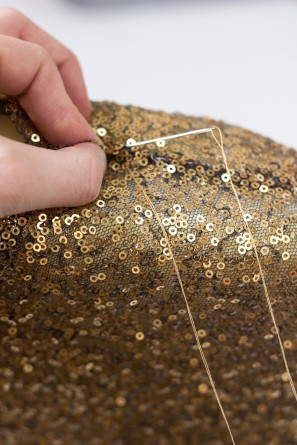
Turn your heart fabric so it’s right sides out. NOW! If you want to turn them into a conversation heart, you have a few options. Open this file in Cricut Design Space and follow the instructions to cut out letters/words of your choice. (Remember, everything needs to be cut “Mirrored” so when it’s ironed on, it is correct!) Then follow the package instructions for ironing the letters on to the front of your heart shape. After that’s done, slide the cover over the foam. It’s going to take a little pulling and maneuvering, but you’ll get it (this is why a fabric with stretch is best)! Then all that’s left is to hand stitch the other half of the heart. Fold the raw edges under and pull the fabric taught and sew it up! I used a slip stitch so it was largely hidden.
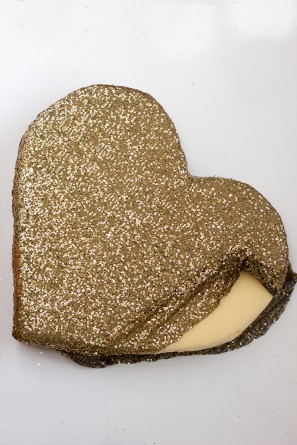
And there you have it! A haphazard tutorial with some pretty sparkly results! I think all three of these pillows will find a permanent home in the new studio!
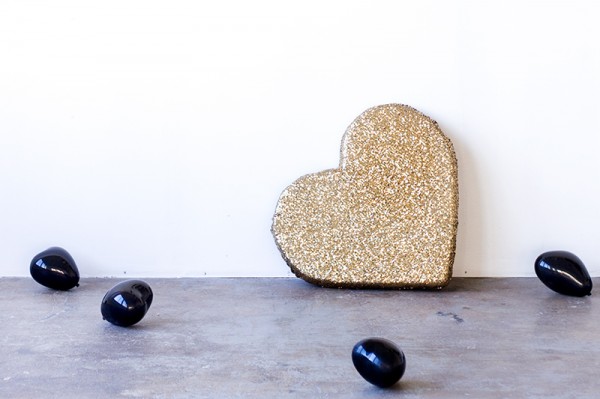
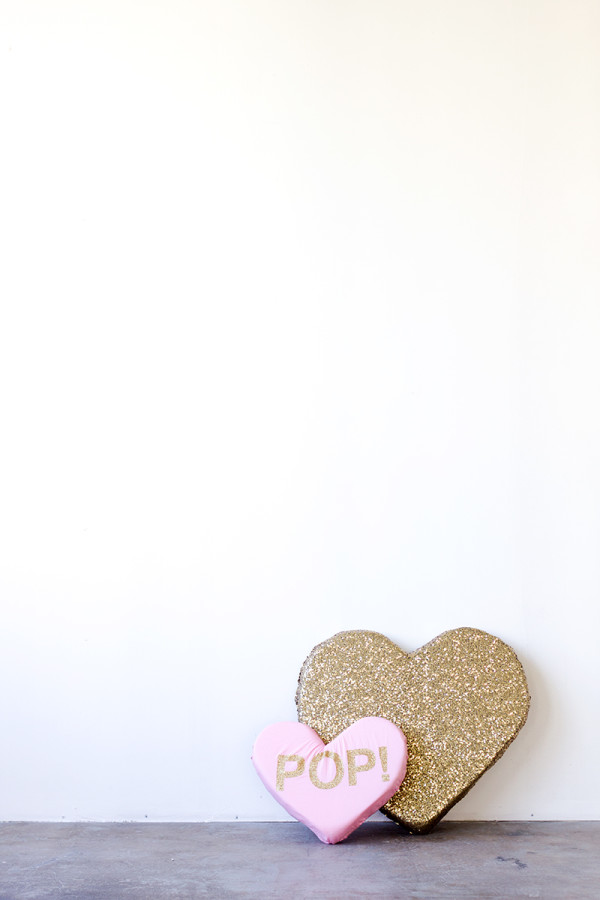
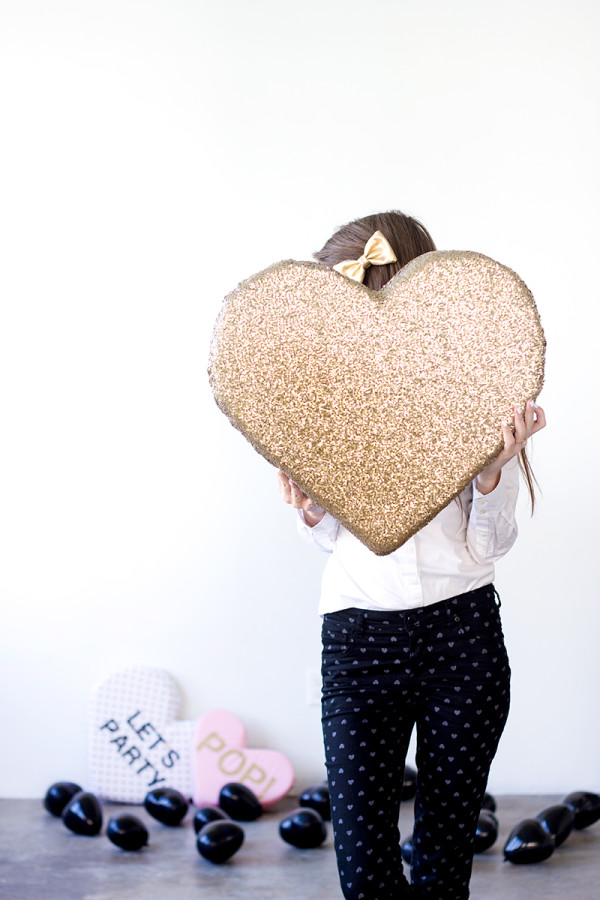
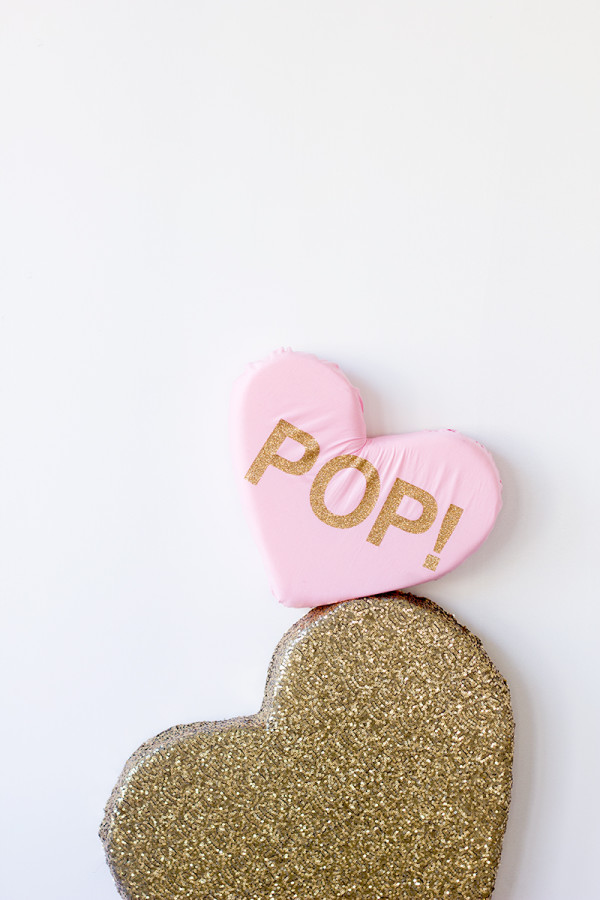
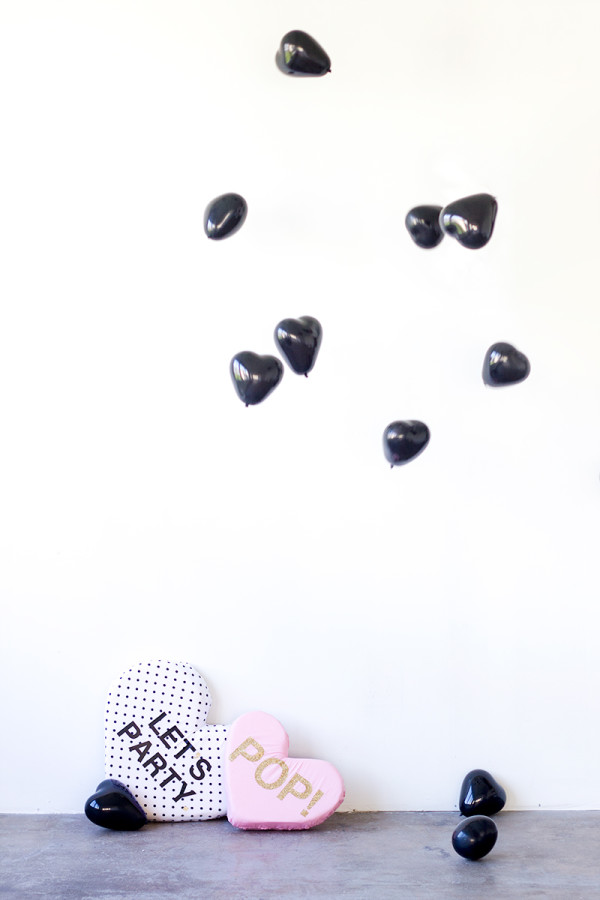
And in honor of the very first post from the new studio space, I had to hop in for a few! Learning to shoot in a new space is always tough for me, but I’ll get there! In the meantime, at least I have some sparkly pillows to stare at…
All Photos by Studio DIY
Eeeek! Only two more days until Valentine’s Day! Though as evidenced above, I totally think these work long after February 14th… so keep ’em in your arsenal for future gifts, or photo props even!
For more Valentine’s Day DIYs, head over here!
 This post was created in partnership with Cricut, All content and opinions are that of my own! Thank you for supporting the sponsors that keep the Studio DIY party going! Read more about my editorial policies here.




Brittni says
These are SO cute. And it’s making me want to break out my new Cricut immediately…just got mine yesterday and am looking forward to using it.
Anyway,the new studio looks great Kel. Cannot wait to see it in person…in less than two weeks!
Lexy | The Proper Pinwheel says
I love you in those heart pants, Kel! So cute! And these hearts are perfect. I’m dying to use my Cricut. Just got it yesterday and am scheming up all sorts of projects! Wahoo!
emi says
cute cute cute! love it! Xo
the well-traveled wife ♥
LARY@Inspiration Nook says
So adorable! Love them! 🙂
Kelly says
These are adorable!
xx Kelly
Sparkles and Shoes
Domestic cleaners Chiswick says
Great diy project! These are so cute!
Cara says
So cute and amazing 🙂 http://fashionpelau.blogspot.com/
Gabrielle Crystal RoseBonniee~ says
Nice decoration ♥ Lovely photos ! Great post <3 🙂
Seth says
How adorable are these! http://www.craftlikethis.com