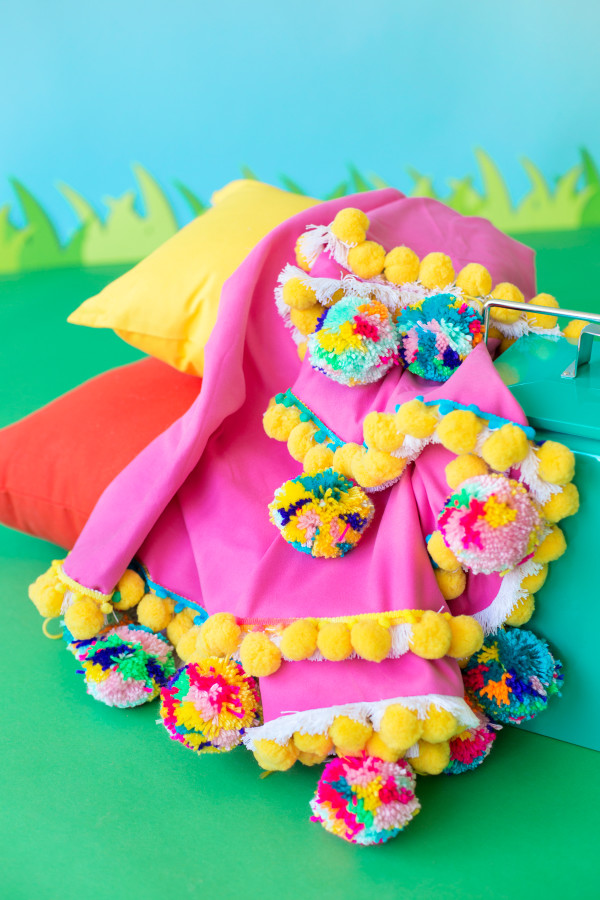
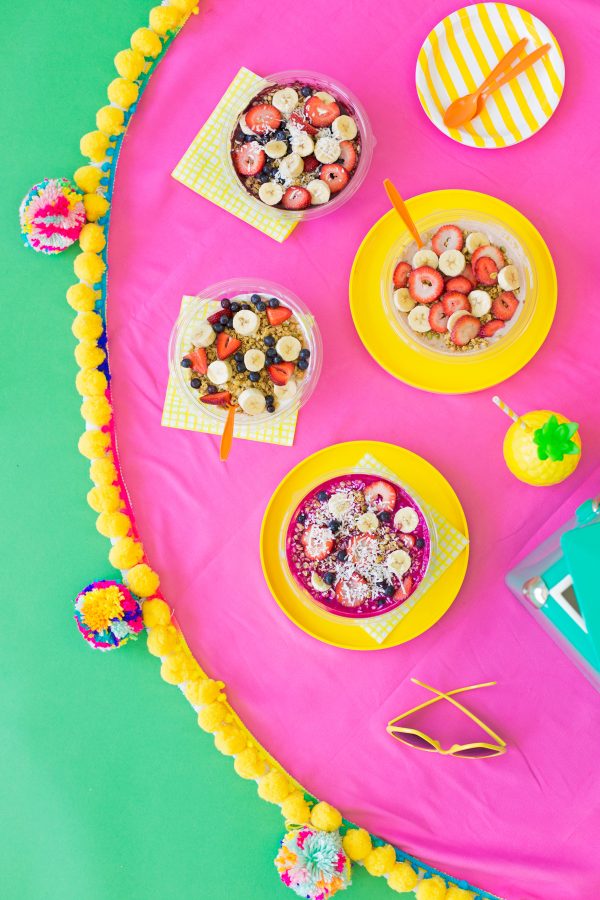
‘Tis (kind of) ALMOST my favorite season and I’m ready to kick it into full gear. We’re working with Jamba Juice and their yummy energy bowls today to get your picnic ready!!! I don’t know if you’ve been seeing this whole round beach towel/picnic blanket trend but I am ALL about it so we decided to DIY one!!! It gave me an excuse to break out my new pom pom maker which, if you follow me on Snapchat, you know is now my favorite thing. Pom poms just make everything so darn fun and festive!!!
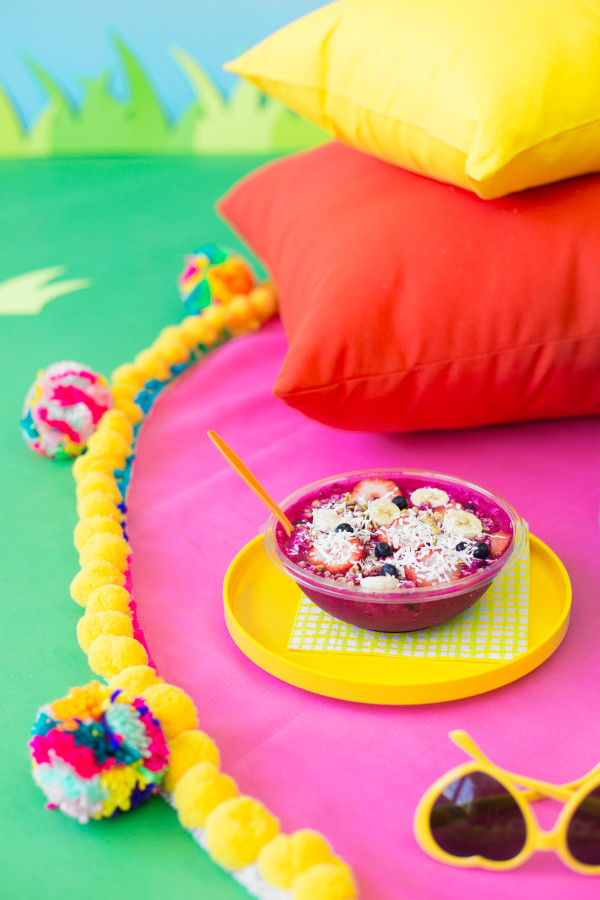
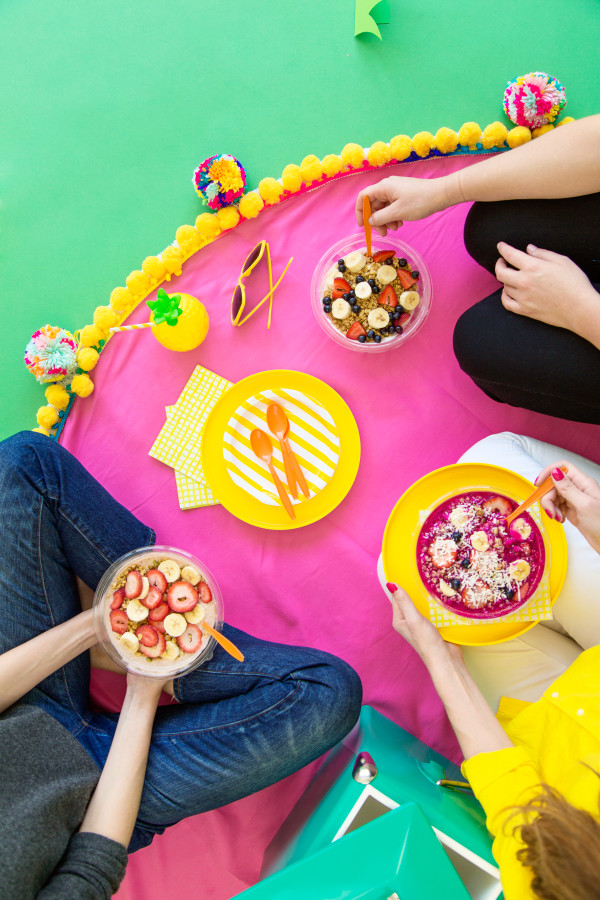
We got to try out all four of Jamba Juice’s super healthy (and pretty!) energy bowls for this project. It’s a TOUGH job, but somebody’s gotta do it! 😉 We got the Island Pitaya Bowl, the Açaí Primo Bowl, the Chunky Strawberry Bowl and the Fruit and Greek Yogurt Bowl. They all come in the perfect picnic-ready to-go containers, too!
The team favorite was the Island Pitaya Bowl. Not only was it tropical and delicious, but it has 3.5 servings of fruit, antioxidants AND it just so happens to be signature Studio DIY pink. 😉
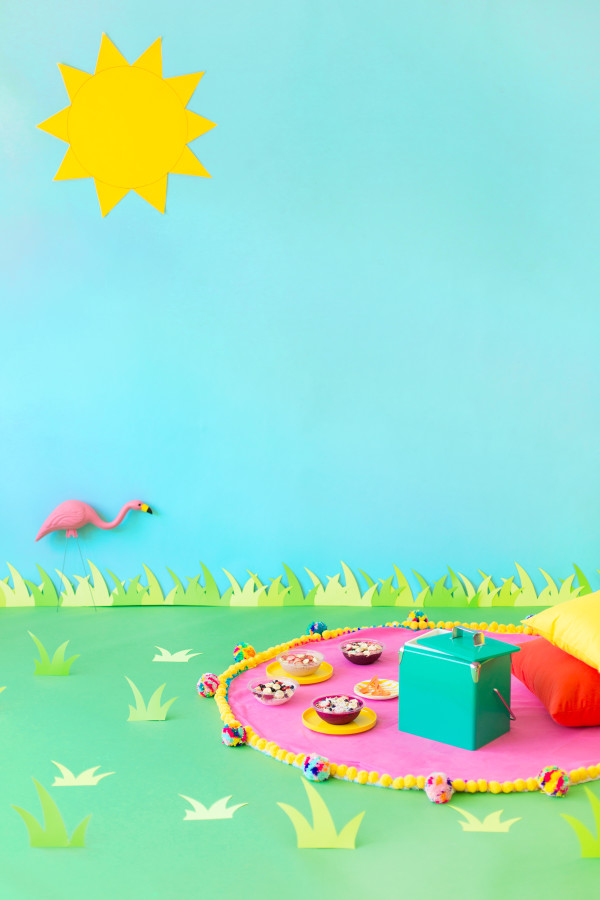
DIY Pom Pom Picnic Blanket
Total Time: 60-90 Minutes
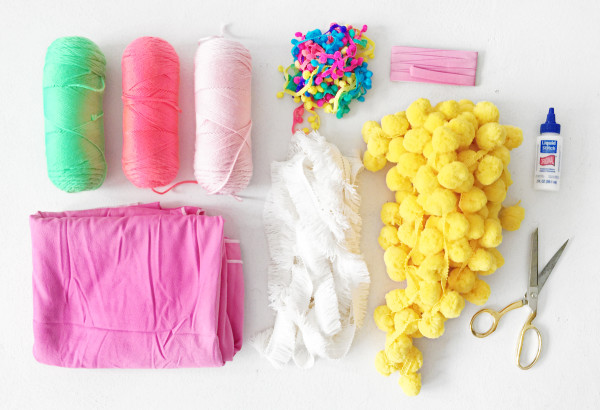
Supplies
2 Yards of 60" wide (or wider) Terrycloth, Microfiber or Other Absorbent Fabric
6 Yards of Double Fold Bias Tape (If you choose a fabric that frays)
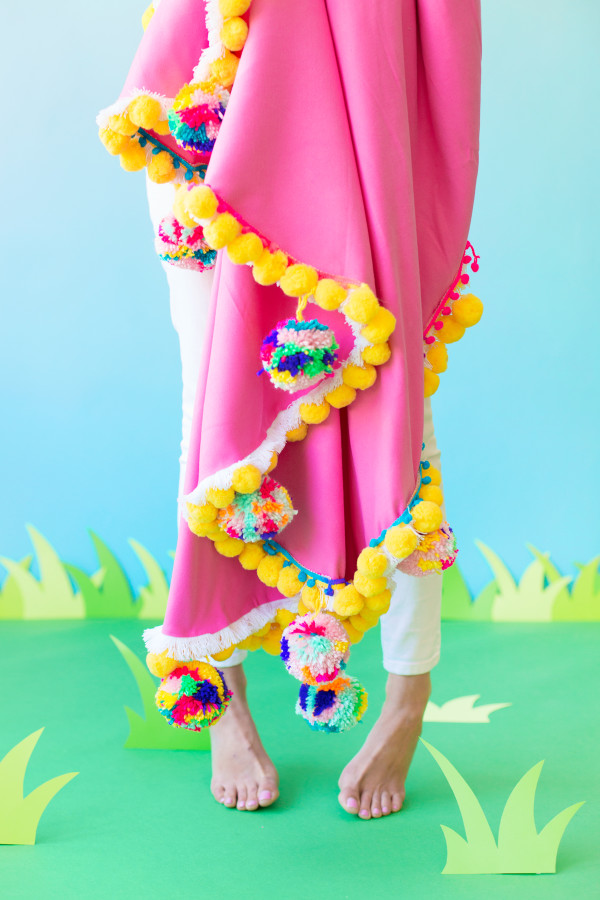
5 1/2 Yards of Each Trim of Your Choice (We chose fringe and two pom pom trims)
Yarn in Colors of Your Choice
Pom Pom Maker
Fabric Glue
Jumbo/Yarn Needle
Scissors
Pencil or chalk
Directions
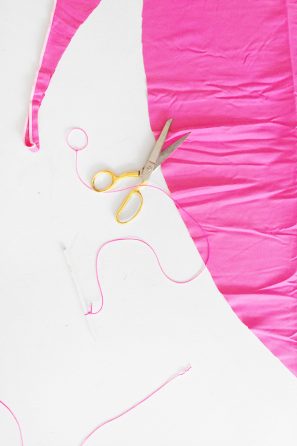
1. First you'll need to make a "compass" so you can draw your circle shape. Cut a piece of yarn 30" long and tie one end to your glue bottle and one end to your pencil/chalk.
2. Fold your fabric in half, good sides together. Hold the glue bottle on the center of the fold and, with the yarn fully extended, draw a half circle on your fabric with the pencil. The half circle should hit the fold on both ends.
3. Cut out the half circle through both layers of fabric and unfold... there's your circle!
4. If you're chosen a fabric that frays, you'll need to glue double fold bias tape over the entire edge of the circle. (We used microfiber and it was not necessary)
5. Follow the instructions that come with your pom pom maker to make the larger pom poms, if desired. To make multi-colored ones like I did, just continue adding different sections of color in "blocks" as you go.
6. Thread the yarn that you've tied the pom pom with through the needle and stitch onto the blanket. Or, if you prefer, you could also glue these straight onto the fabric and trim the excess yarn. We placed ours about one foot apart.
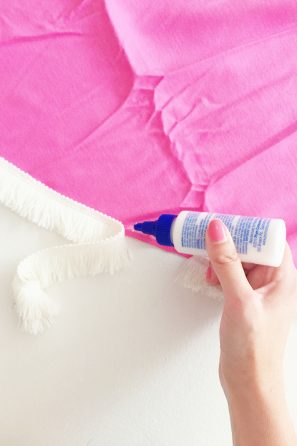
5. Then you're ready to add your trim! Glue the trim along the edge of your fabric (over the bias tape, if you've used it and over where the pom poms are attached) in small sections at a time. We started with fringe, than added pom pom trim.
6. Let dry completely and you're ready to go!
Photos by Jeff Mindell
So load up that cooler you guys and get to picnicking guys! A blanket with this many pom poms deserves to be put to good use.
This post was created in partnership with Jamba Juice. All content and opinions are that of my own! Thank you for supporting the sponsors that keep the Studio DIY party going! Read more about my editorial policies here.


Sarah says
Love this blanket! This is kind of a weird thing to say (and I mean it in the best way possible)- but this is a really fantastic sponsored post! Nice work 🙂
Kelly says
Thank you Sarah!!
Madam Merry says
I love it ! Definitely I will, so creative !
Renee says
I was just thinking that I needed to get a picnic blanket! Now I’m going to make mine! Pom poms are my spirit animal 😀
Kelly says
Yes!! Haha! I’m so obsessed with them now.
JaneEllen says
Guess after I get picnic basket painted will have to make your wonderful picnic blanket. Will have to go digging in fabric stash to find perfect piece to make it with. You’re just inspiring me left and right.
Supposed to be rainy weekend here so good time to keep myself occupied.
Have great weekend Hope can make as pretty pom-poms as you did. tata
Michelle says
It’s so colorful, and perfect for a picnic outside! Wonderful idea!
https://www.makeandmess.com/
Nicole says
What pompom maker did you get to make them? I think this would be a supper fun DIY for table runners at our wedding!!
Kelly says
I used this one!
Nicole says
Thanks!!!!!!
Arianna says
So adorable thanks for sharing! www.themoderndaygirlfriend.com
Melissa says
Sometimes I feel like you should include more pictures of the actual DIY process because I get lost reading the instructions without having any visual cues to go along with it, even if after a while I can figure it out, having more images would be a hell of a lot easier. On another note, I really love pompoms and give the aesthetic of this blanket an A+.
Madison says
I love this!! But you couldn’t throw this in the wash I’m assuming, right?
Alexus says
I love the so much! Where did you buy your yellow pom pom trim? I can’t find any that large.