This post is sponsored by Bing.
Now, I’m sure you were expecting this. At Meet/Make/Do, I was in Palm Springs, with a boat load of giant balloons (Thanks Shop Sweet Lulu!), and a gigantic helium tank all at my disposal. Talk about paradise! A balloon project was necessary. As was shooting in front of that yellow door that I wanted to box up and take home with me! With a little research, a bit of inspiration and a whole lot of helium… these pop-up message balloons were born!

I had seen some fun pop-up style accessories and party supplies lately so pop-up messages were on the brain, and I wanted to bring the idea to a balloon. Did I want them on top of the balloon? On the side? In front of the balloon? The possibilities! I did a little research with Bing Image Search to check out some pop-up inspiration and decided I wanted the letters popping off the top of the balloon. And then I got to work!
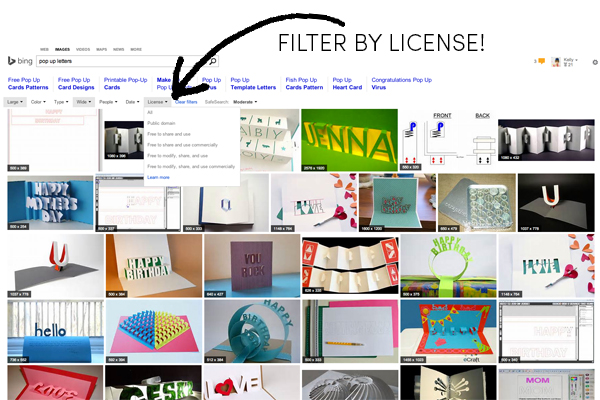
psst… It didn’t apply to this project, but I wanted to point out this awesome feature that Bing Image Search has. If you’re a blogger or designer, it’s a great one to know about! Within the search, you can filter by license which is super helpful if you’re looking for an image to incorporate into a design or project. Which means if you can filter by photos that are public domain, free to use commercially and even free to modify commercially. BAM!
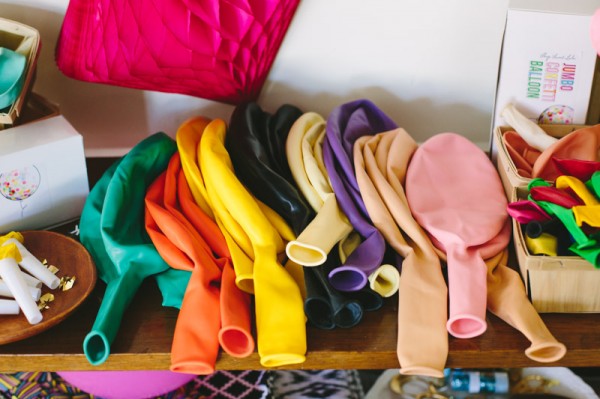
36″ Round Balloons (Filled with Helium! Most party stores will do this for you if you bring your own balloon in!)
Cardstock
Pencil
Scissors
Double Stick or Clear Shipping Tape
I made my letters the good old fashioned way… I freehanded them. If you prefer, you can print out letters in a font you like from a text-editing program, but drawing ’em on works just great! Just make sure they are drawn/printed on cardstock so they’ll stand up! After you draw out your letters, you’ll need to add about 3/4″ to the bottom of each. (See below.) Once they’re all drawn out, cut out your letters and fold under the extra 3/4″. This will be the part you tape to the balloon.
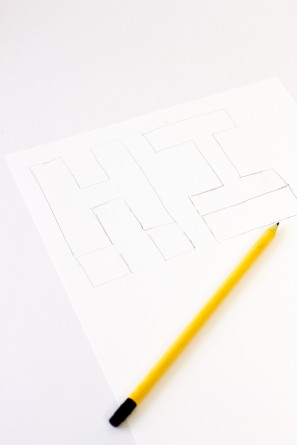
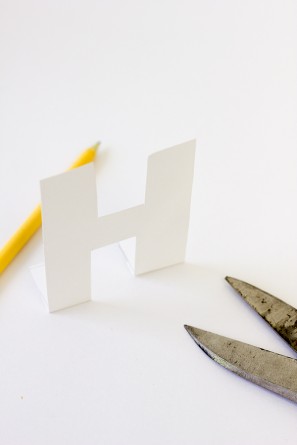
Put a piece of double stick tape on the under-side of each tab (or a roll of clear shipping tape if you don’t have double-stick). Start with the middle letter (or letters) and work your way to the ends, taping each tab so your letters are popping off the top of the balloon. FYI! Once you stick the tape on, don’t try to pull it off. The balloon WILL pop! And let me tell you, 36″ balloons are a heck of a lot louder “POP!” than the regular ones.
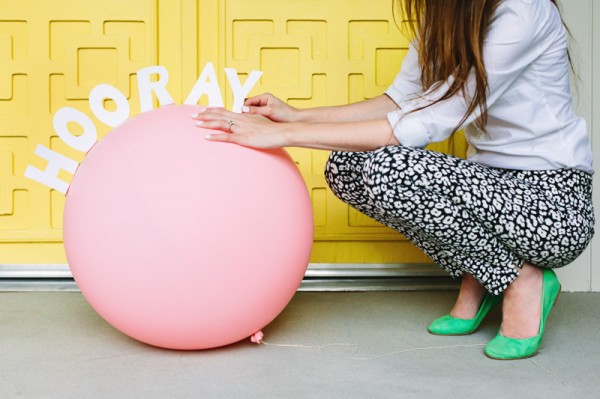
Tada!!! You can spell out Happy Birthday, a graduation year or school name, or any sort of fun message! These are so easy to make once you get your hands on some giant balloons! I want these at all of my future parties, please!
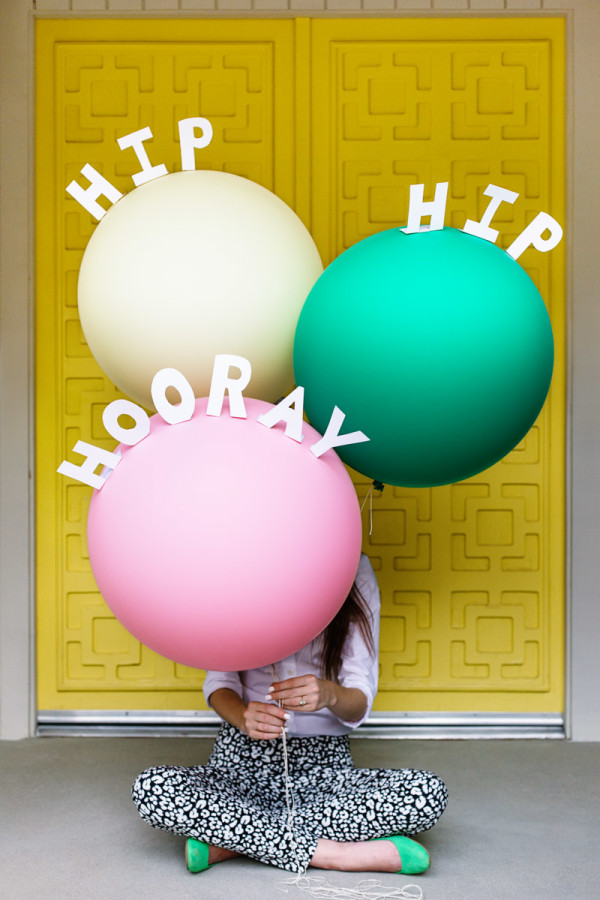
3rd + 4th Photo by Studio DIY, All Other Photos by Mary Costa Photography
This post, and event, is sponsored by Bing. All content and opinions are that of my own! Thank you for supporting the sponsors that keep the Studio DIY party going! Read more about my editorial policies here.




Brittni says
I love how this turned out Kel. You are the master of balloon DIYs… The HOORAY one is my fave.
Carly says
Cute! The last photo of the “hip hip hooray” balloons is adorable!
Marta says
haha great idea! My sisters birthday will be soon, so this comes in handy ! Thanks for sharing!
www.stylesandbox.com
debie grace says
This DIY excites me so much! You are clever!! Thanks haha 😀
WANICULLEN says
Too cute to not love!
tableaupanorama.blogspot.com
Katie says
This is such a cute idea! Can you please let me know the size of your letters? Thanks!
Dakota says
I’m wading through your entire blog (because I’m obsessed) and I freakin love this one! SO MUCH!!!
thank you!
xo
Dakota Barber
www.stateandoccupation.com
Nisha says
I was wondering if you could let me know the names of the colors that you used? That pink and that green are perfect for a baby shower I am planning and I want to make sure to purchase the right shade.
Erin says
Love this so much!! Which colours did you order from Shop Sweet Lulu? Ivory, Ballerina Pink and which was the greeny/blue? Such an awesome idea :D. Thanks for sharing!