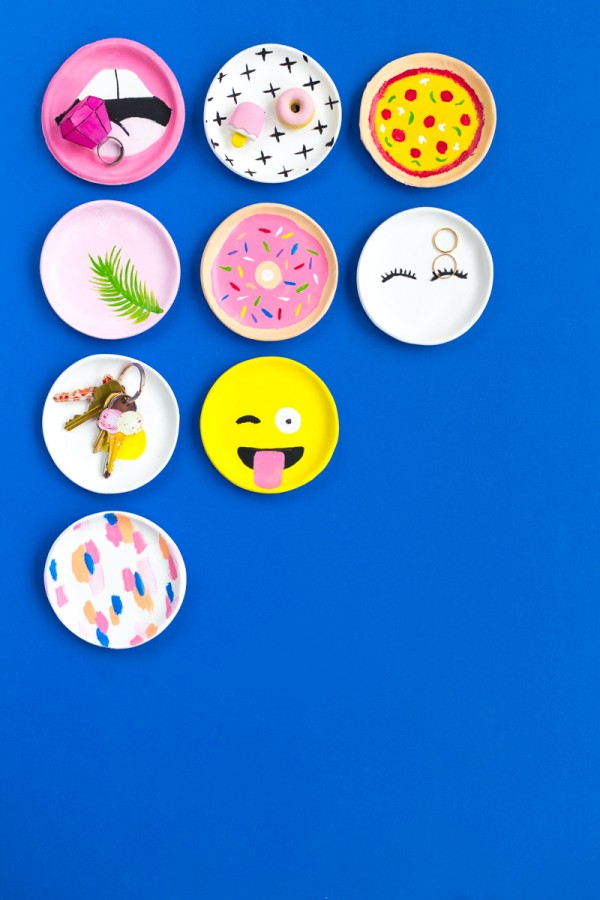
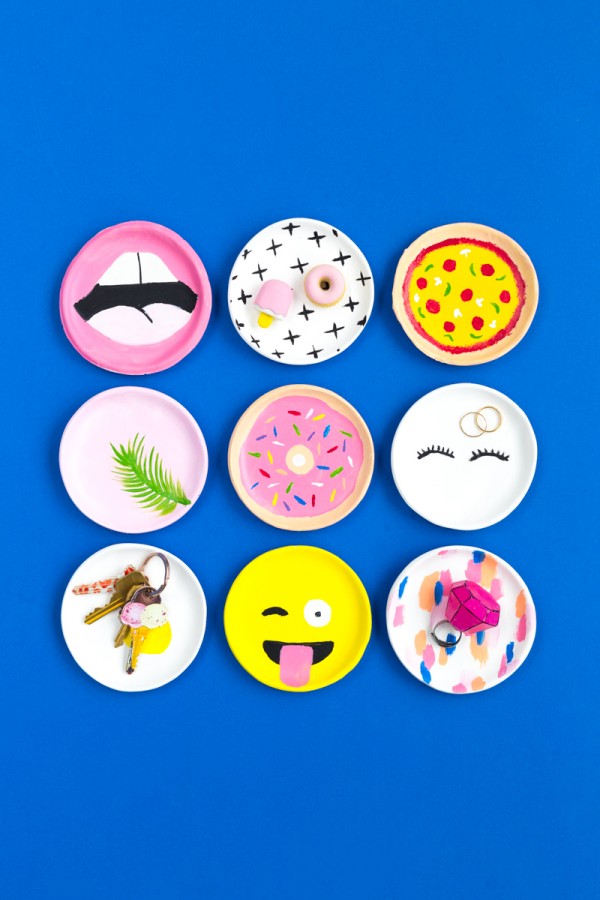
A few weekends back, I hosted a fun little Mother’s Day event at Anthropologie! We made these cute little trinket dishes and I wanted to share the tutorial today because I just LOVE how they turned out! Wanna know what they’re made out of? MODEL MAGIC! You know, that awesome, not-messy clay you played with in elementary school? Turns out it makes a pretty schnazy ring dish, too.
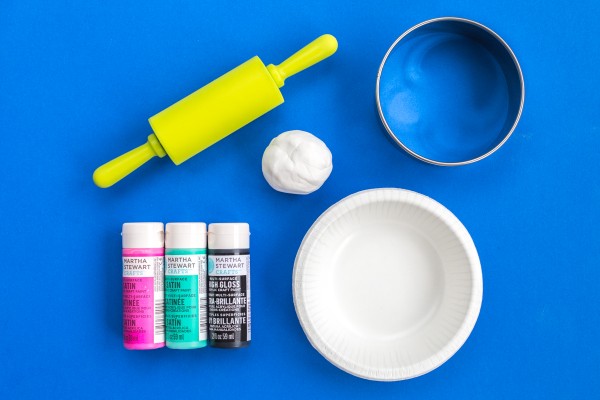
Model Magic
4.5″ Cookie Cutter
Disposable Bowl
Rolling Pin
Craft Paint
Wax Paper
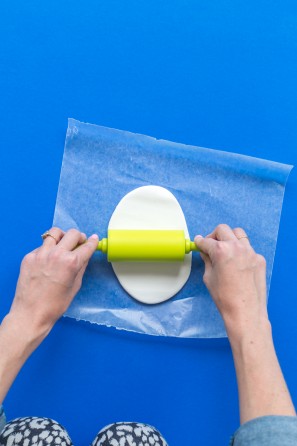
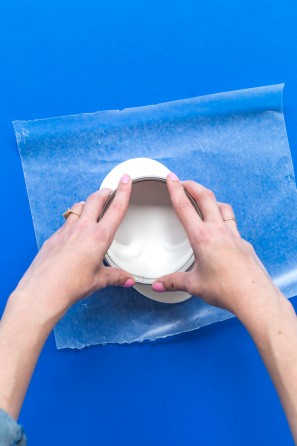
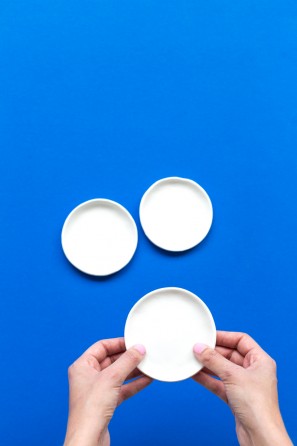
1. Grab a piece of Model Magic, a little bit smaller than a tennis ball. Roll it out with a rolling pin on wax paper until it’s about 1/4″ thick.
2. Use a cookie cutter to cut out a circle.
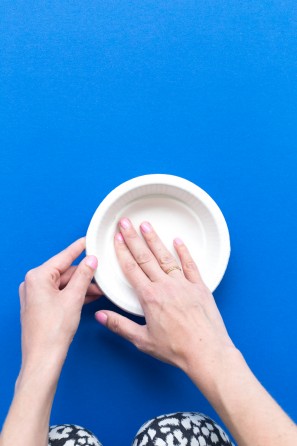
3. Place the circle in the bottom of the bowl and use your fingers to form it to the shape of the bowl, forming a little lip around the edge.
4. Let dry for 24 hours and them remove it from the bowl. Place upside down and let it dry completely, about 24-48 hours more. Model Magic, in case you aren’t familiar, is very light and spongey. The dish will be hard and dry, but it will still be very light.
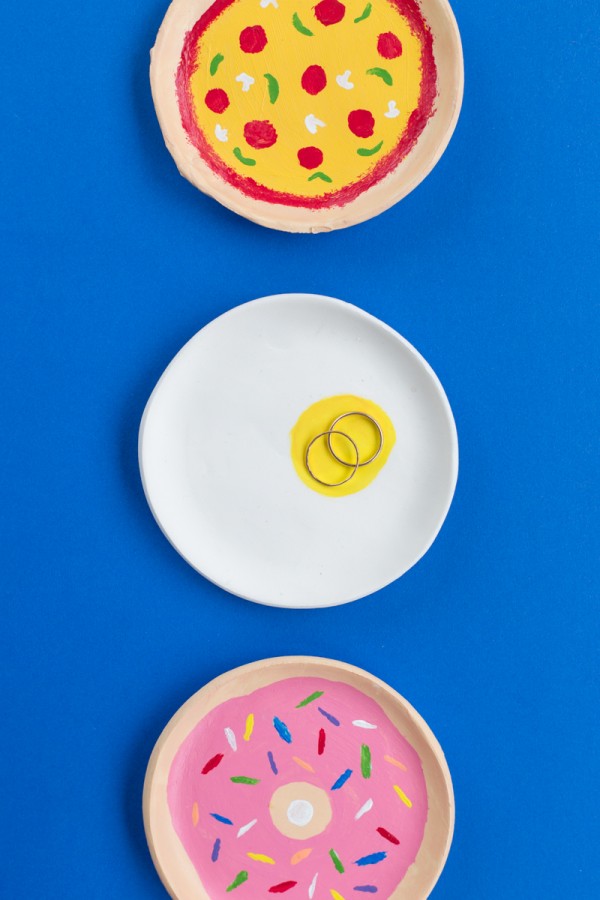
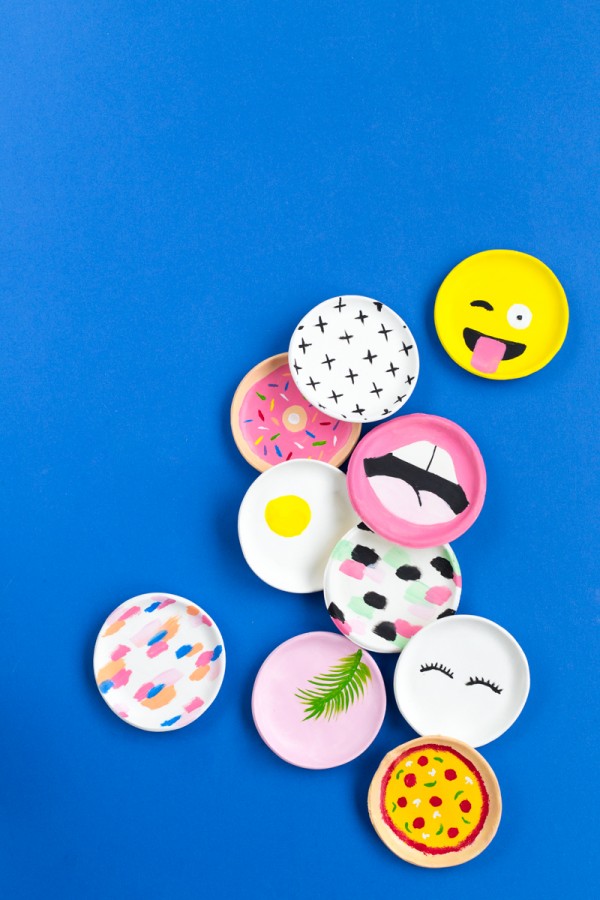
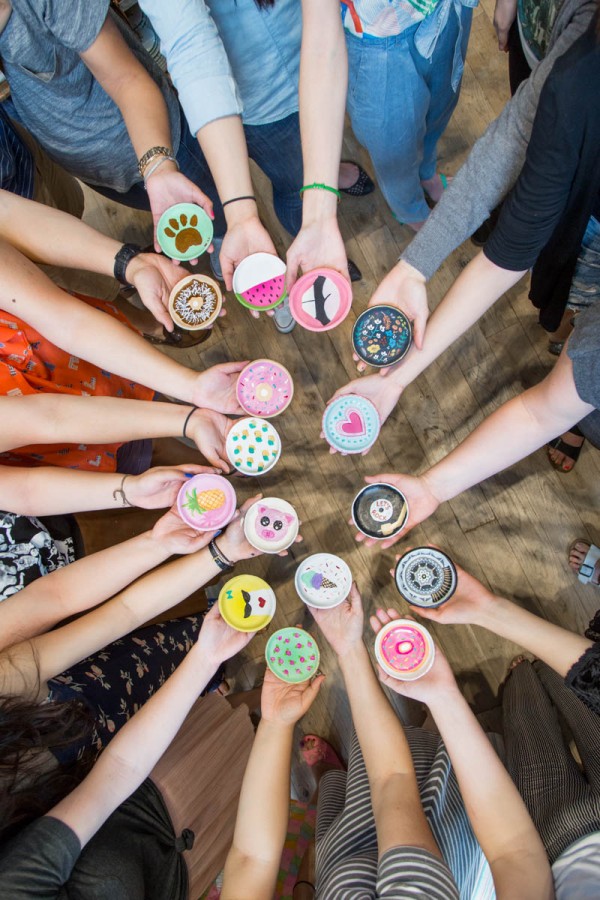
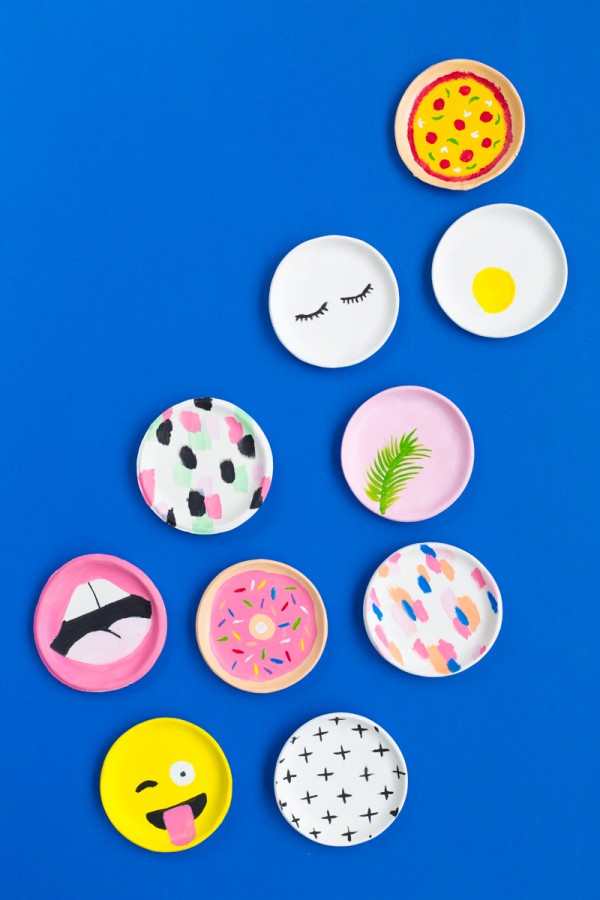
After that, use craft paint to decoate as you so chose! As you can see, we did food, emojis, abstract patterns, lips.. gang’s all here! Below is a pic of all the dishes of those who attended! It was SO fun to see everyone’s different designs!
Photos by Jeff Mindell
I’m wearing these pants (That I am obsessed with) and this shirt (It has beach umbrellas on it!) from Anthro!
And there ya have it! A huge thank you to Anthropologie for having me and to everyone who attended the event! I hope you try out these little dishes for yourself. They are SO EASY. No excuses! Be sure to share a picture on Instagram with #troopstudiodiy if you do!




Veronica says
These are so cute! My favorite is the one with the eyelashes.
brittni says
Love these, Kel. And all of the Anthro attendees look like they rocked their designs too. So fun.
Yolonda says
so cute and cool
Helen says
These trinket dishes are too cute! I also love how easy they are to make. This seems like a fun weekend project, and I can’t wait to decorate my space with a few of these. 😀
-Helen
http://www.sweethelengrace.com
Stephanie R says
Super cute. I have got to make one of those emoji ones for my daughter, she would just flip out for one.
Molly | TLP says
How cute Kelli! I’m obsessed with your outfit too!
What do you use for your backdrops? Just paper?
Mary Costa Photography says
Love love love these! Such fun!!
honey&gazelle says
Oh, so cute and poppy! Looks like a really fun DIY project!
Pear Tree Greetings says
These are so cute!! Fun to make and fun to use. Love it!!
Jenny says
LOVE these!! Would you mind sharing where the yellow rolling pin came from?! Thank you for sharing!!
Kelly says
It’s from Daiso, a Japanese dollar store here in LA!
Gilly @ Colour Saturated Life says
These are so adorable!
Monique | WritingMonique says
These are all absolutely perfect!
Elsa says
these are so cute. My favorites are the donut one and the really simple one with the pretty lashes
bi says
They are so pretty! I’ve got a question though! Can I use them as plates for food?
Kelly says
Unfortunately these are not food safe!
Kayla says
This is such a fun and easy craft to do! It’s perfect as a gift or even to decorate your home. I absolutely love these and hope to make one this summer! Thanks for the DIY post! 🙂
Sabi says
I love all your diy!!! *-*
boxnovel says
Very delicious and attractive candy. Very eye-catching colors. I really like this candy.