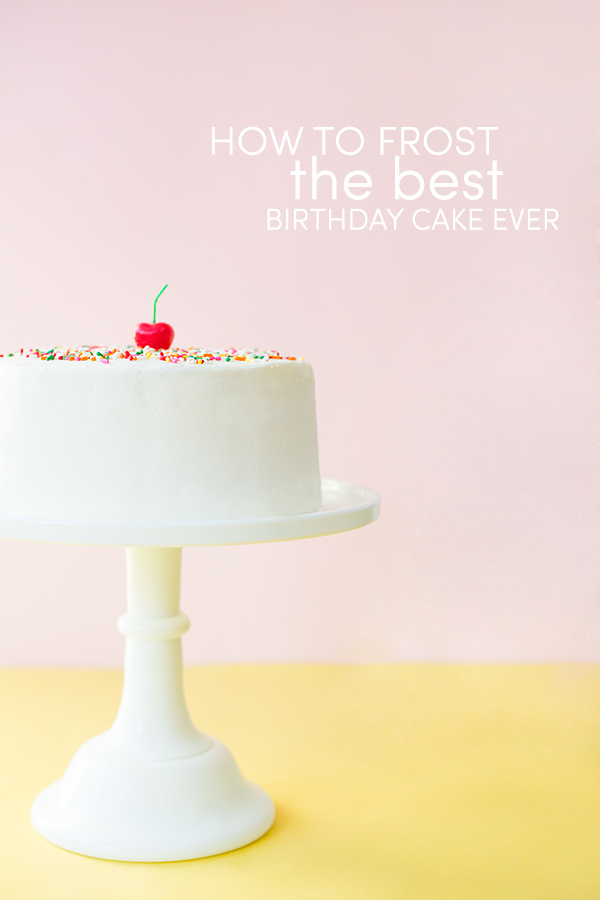
For two years now, I’ve been wanting to do a post or series on how to properly frost a cake. This is largely selfish, as… it’s a skill I personally am dying to improve. I love baking but I have just never taken the time to really make it look good. Like professional good. So when Craftsy asked if I wanted to try out some of their creative classes and test my skills… I saw there was a (FREE!) buttercream class and JUMPED! My chance to prove to myself that I can, in fact, frost a cake. So I signed up for Modern Buttercream with Joshua John Russell and I am pretty DARN proud of what I learned. Let’s chat.
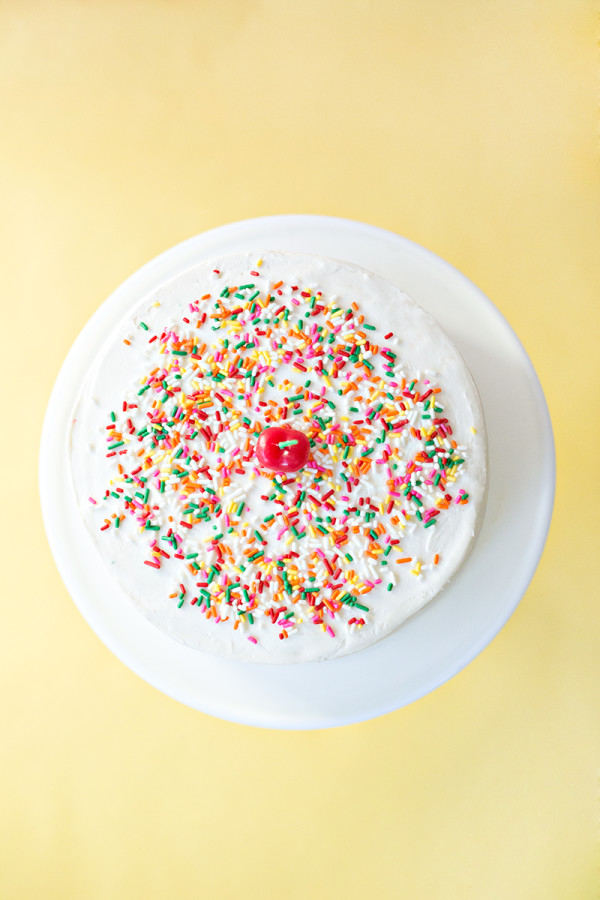
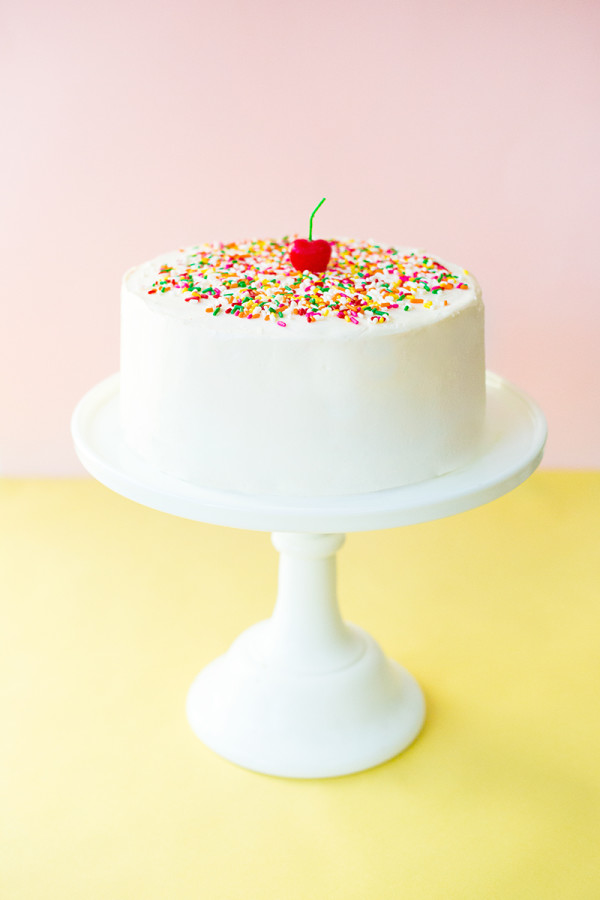
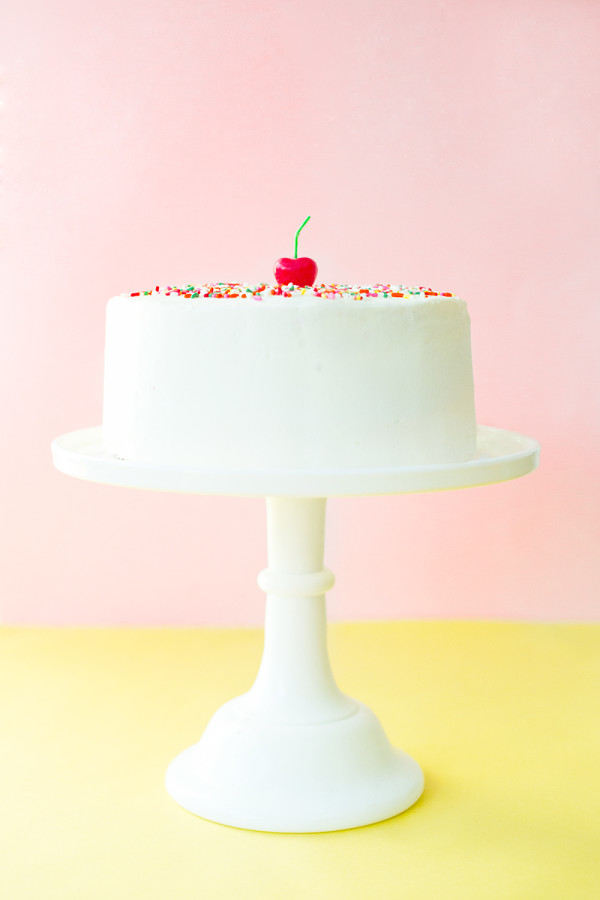
First, let me illustrate. An example of my cake assembling and decorating before (Don’t judge!!) and after:
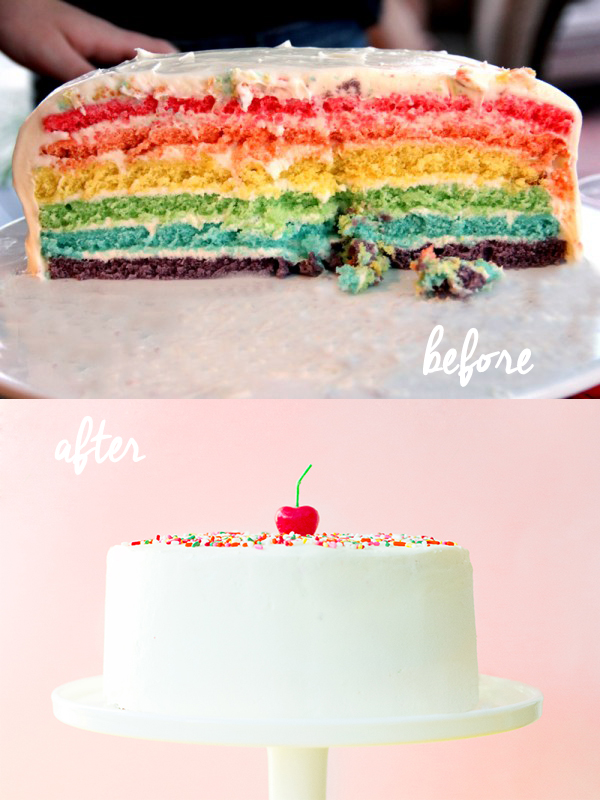
YOWZA! Big difference, huh? *Pats self on back.*
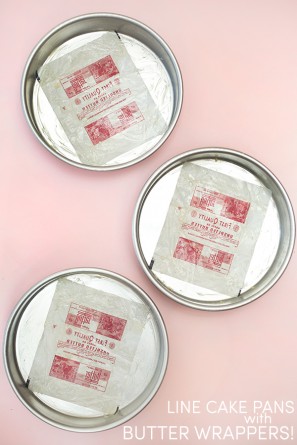
In the class, Joshua takes you through the basics of making buttercream, preparing cake layers for frosting, assembling a cake (a three-tiered cake no less! I stuck to one… for now!), frosting that cake and adding texture and decor elements to it. The class is FULL of quick little tips that kind of blew my mind. Like using butter wrappers as parchment paper in the bottom of your cake tins. WHY has nobody told me this before!? Genius. I stuck to the basics for this cake, simple frosted and clean… figured that didn’t leave me any room for covering up my mistakes with texture! If there’s one thing I learned, it’s that having the proper tools is really what makes the difference in frosting the perfect cake. His method of leveling layers was brilliant (better then my “eyeball and saw the top off” method, for sure) and he taught me the importance of making sure the layers are chilled inbetween most steps. I always only kinda did that part. Turns out, when you take the time to learn the right way… frosting a cake isn’t all that hard!
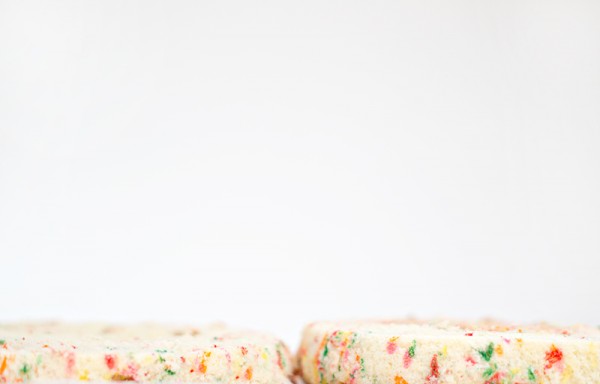
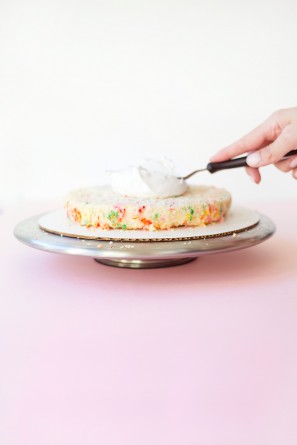
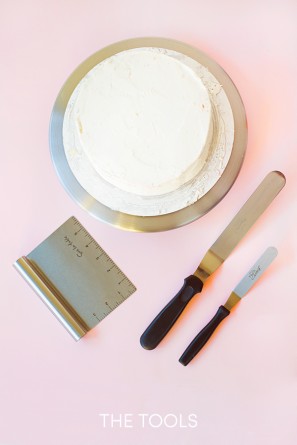
Above are some of the tools Joshua recommends for decorating. That decorating turntable is a GAME CHANGER for frosting cakes. I don’t know why I resisted buying one for so long. It also never occurred to me to use cake boards for regular old cakes and not just fancy wedding cakes.
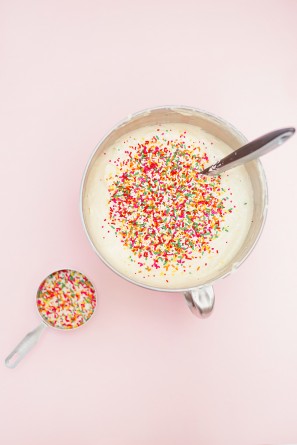
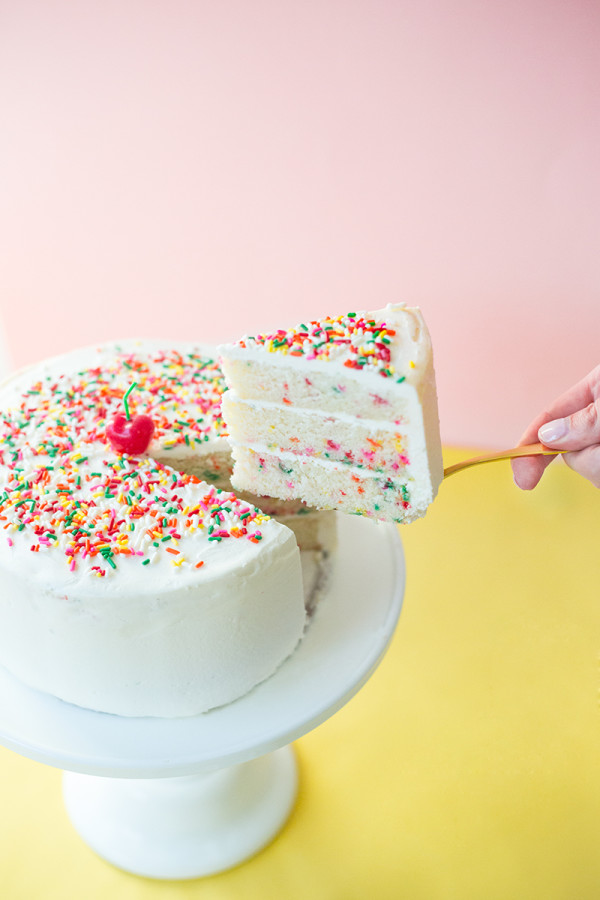
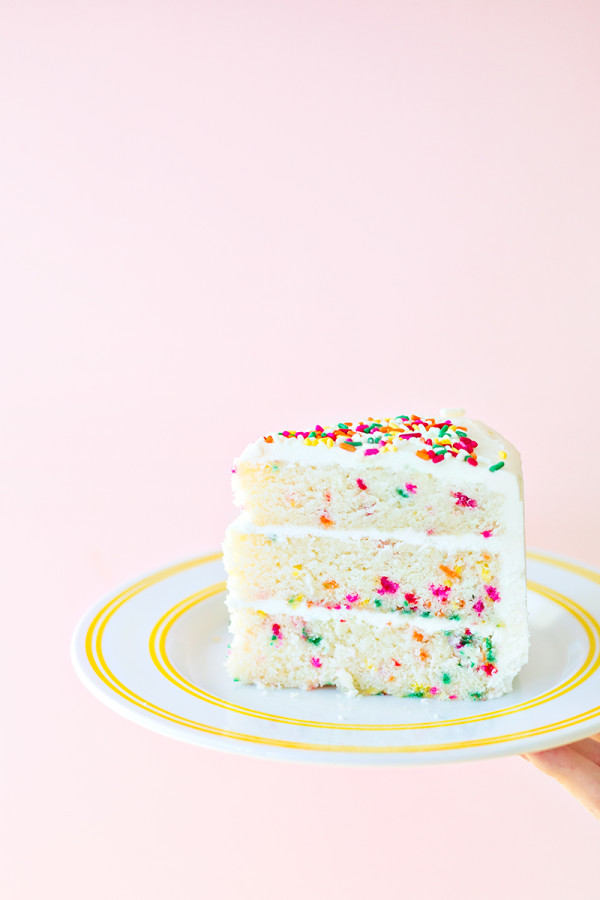
For my attempt, I used this funfetti cake recipe and Joshua’s buttercream recipe you get in the class. This was also my very first time making funfetti cake from scratch. And I can guarantee it won’t be my last.
Now, I know I’m not the only one who wanted to learn how to frost a cake! (In fact, in my past reader surveys, it was a skill many of you wanted to aquire!) So, let me invite you all to take Craftsy’s Modern Buttercream class by clicking right HERE! Remember, it’s totally free!!! It’s well organized so you can move through lessons easily and really soak everything in before gettin’ to work on your cake! If that before and after up there doesn’t prove that this class is worth it, I don’t know what does. Who’s ready to learn how to frost!?

This post was created in partnership with Craftsy. All content and opinions are that of my own! Thank you for supporting the sponsors that keep the Studio DIY party going! Read more about my editorial policies here.


Brittni says
Dang! That is a huge difference between the before and after. The ‘after’ cake looks perfectly frosted! Heading over to check out this class.
Jamie says
Stunning! Very impressed over here. With the right tools, you can do anything!
Courtney says
Dying. It’s amazing! Love the white + the sprinkles and the pink behind it! I so need to take that class.
Emily says
who would have guessed the butter wrapper trick? that is so smart! thanks for sharing all your tips. can’t wait to use them the next time i bake a cake.
www.vivreblog.com
Kelly says
RIGHT!? That trick blew my mind!!
Terrie says
Wow! Your cake looks amazing! Love the sprinkles =)
Lyndsay // Coco Cake Land says
hehe it’s PERFECT kelly! pat on back TOTALLY deserved! cake turntable is a total game changer indeed!!! xo
amanda says
woah! that cake almost looks too good to be true. gonna sign up right now!
Steph says
So you actually bake the cake with the butter wrapper on the bottom???
Heather Handy says
butter wrapper!?!?! Gah, amazing. Definately trying this next week for my daughter’s birthday. Such a great idea!!!!