This post was created in partnership with Truvia® Sweetener. All content and opinions are that of my own! Thank you for supporting the sponsors that keep the Studio DIY party going! Read more about my editorial policies here.
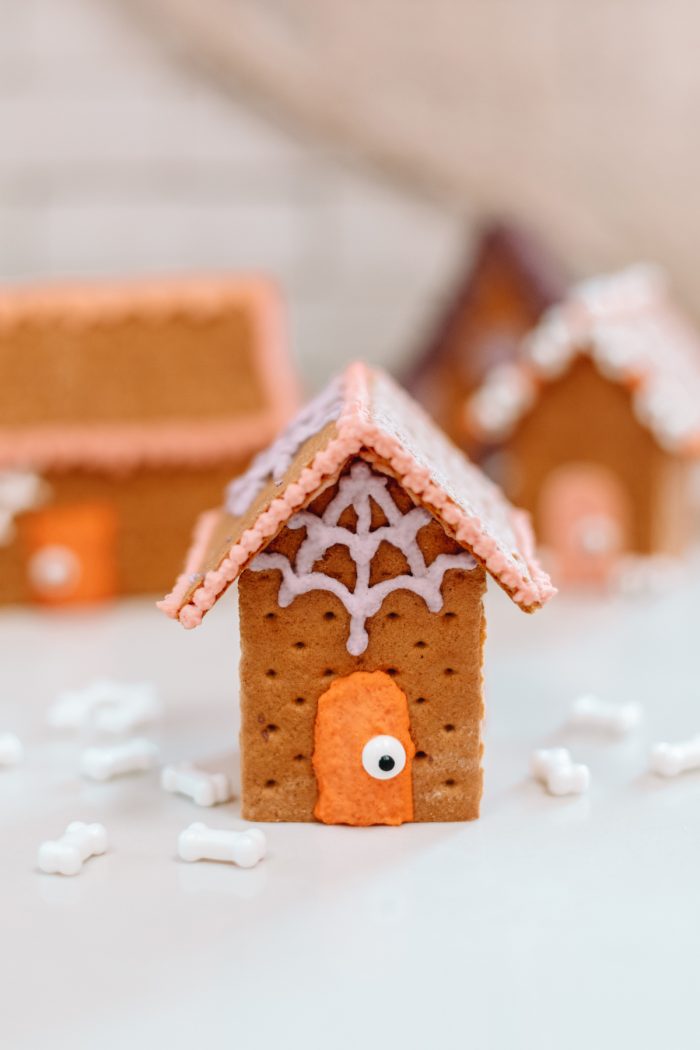
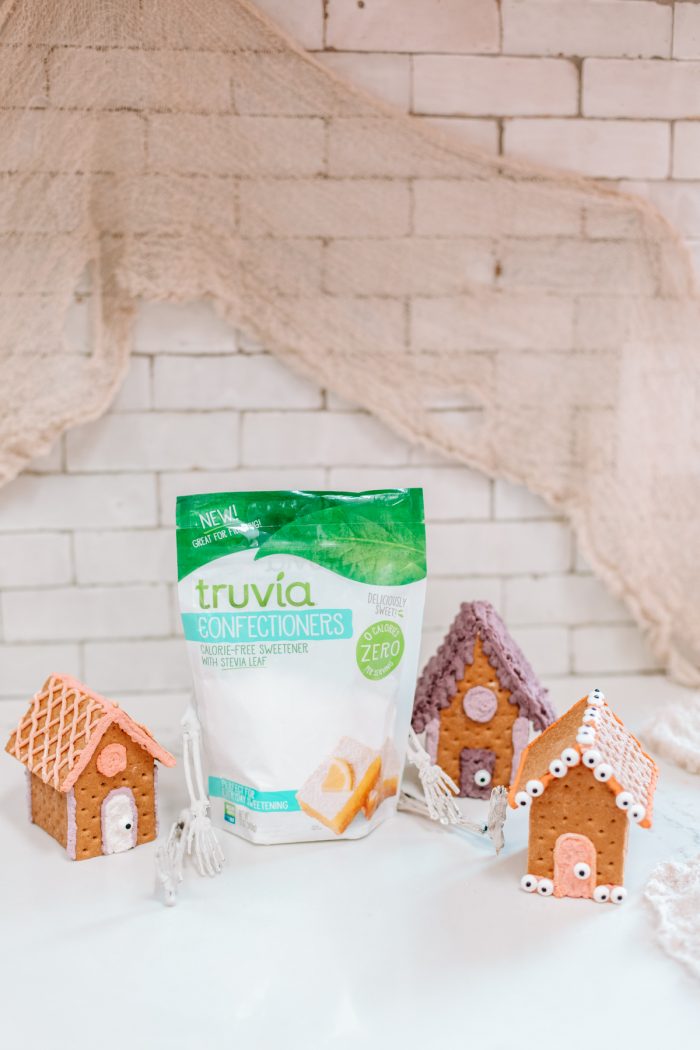
We recently had the best afternoon making these mini edible haunted houses for Halloween! I used simple store bought supplies like graham crackers and candies. Then I added one key homemade element: an easy, three-ingredient royal icing recipe using Truvia® Confectioners Sweetener, a new calorie-free powdered sweetener with stevia!
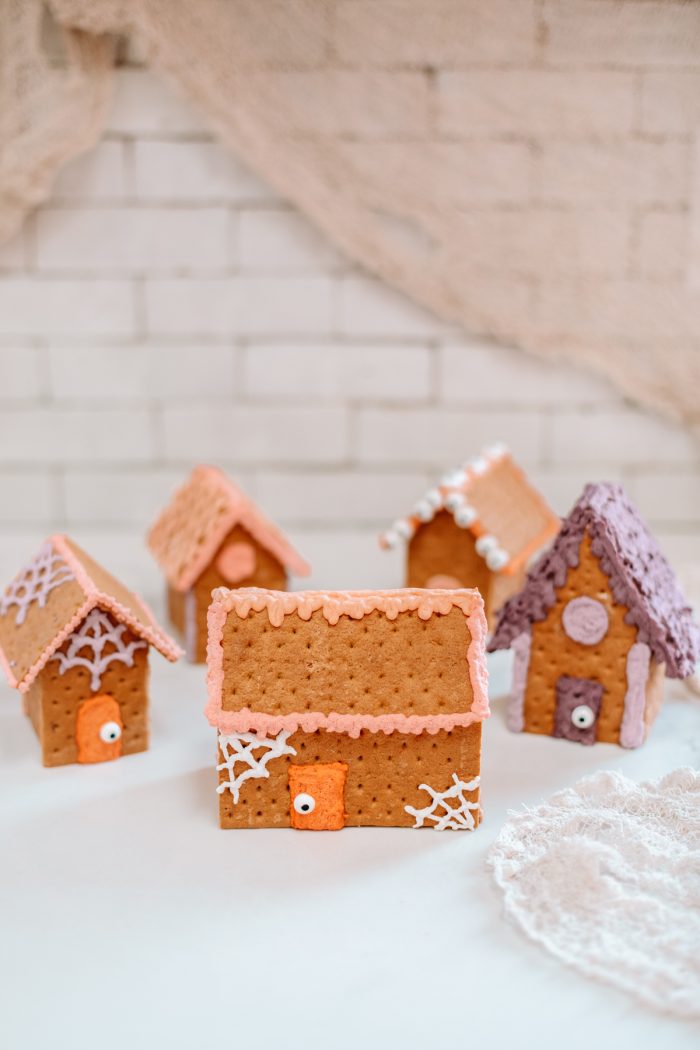
I love this because adults and kids can have fun with it, you can decorate them with fancy elements like spiderwebs and piping or let kids go to town, covering theirs in anything and everything they can get their hands on! Both results are fun, and you’ll see both here in this post to spark some inspiration!
Most of all, activities like this are a great way to bring Halloween into your home this year and take that festive spirit up a notch while you enjoy some time with your family!
How To Make An Easy 3-Ingredient Royal Icing Recipe with Truvia® Confectioners Sweetener
I wanted to keep this royal icing recipe easy and foolproof so you could quickly whip it together for your family. Here’s why this recipe is great.
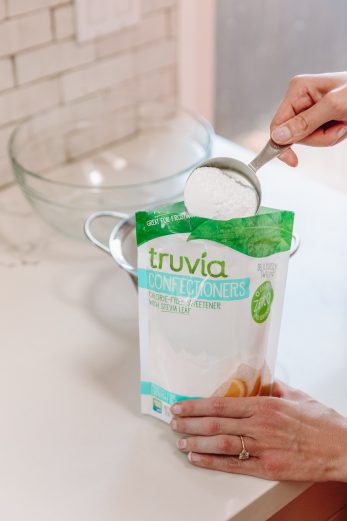
First, I used Truvia® Confectioners Sweetener, a powdered calorie-free sweetener. This is a must-have for this since it has the same sweetness without the sugar, which is key around Halloween when most of us are on track for a sugar overload. Truvia® Confectioners Sweetener measures cup-for-cup like traditional powdered sugar, so it’s super easy to swap into any of your favorite recipes.
Second, I used a meringue powder. Using meringue powder gives the same consistency as traditional royal icing, but without the hassle of working with raw egg whites!
You can view the full recipe at the bottom of this post. Since I used this royal icing exclusively for piping, and not for “flooding” any shapes, I kept the consistency thicker. If you wanted to use the royal icing for flooding, on cookies or otherwise, you’d want to thin out your icing with additional water, one tablespoon at a time.
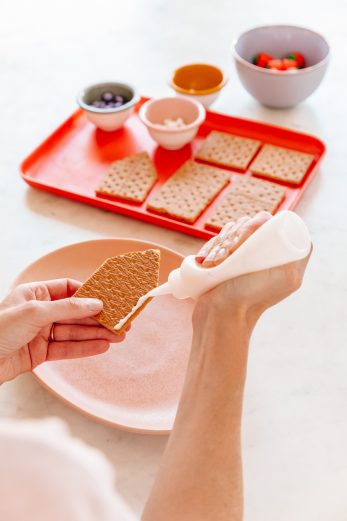
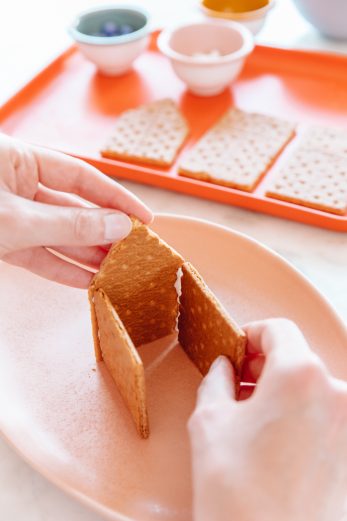
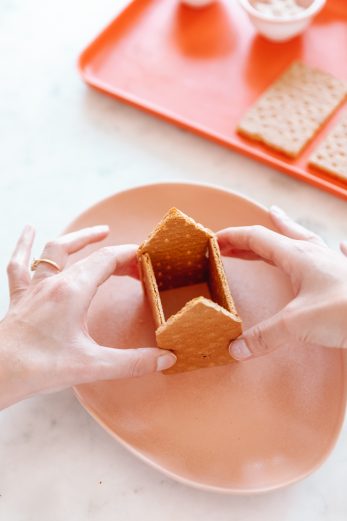
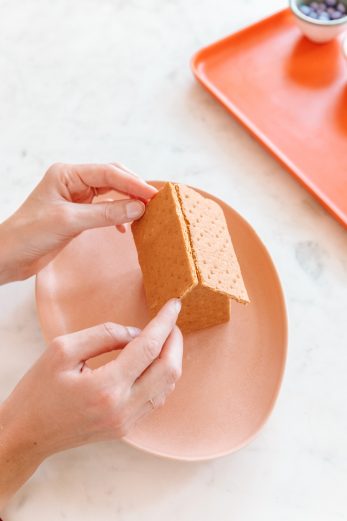
How To Build A Graham Cracker Haunted House
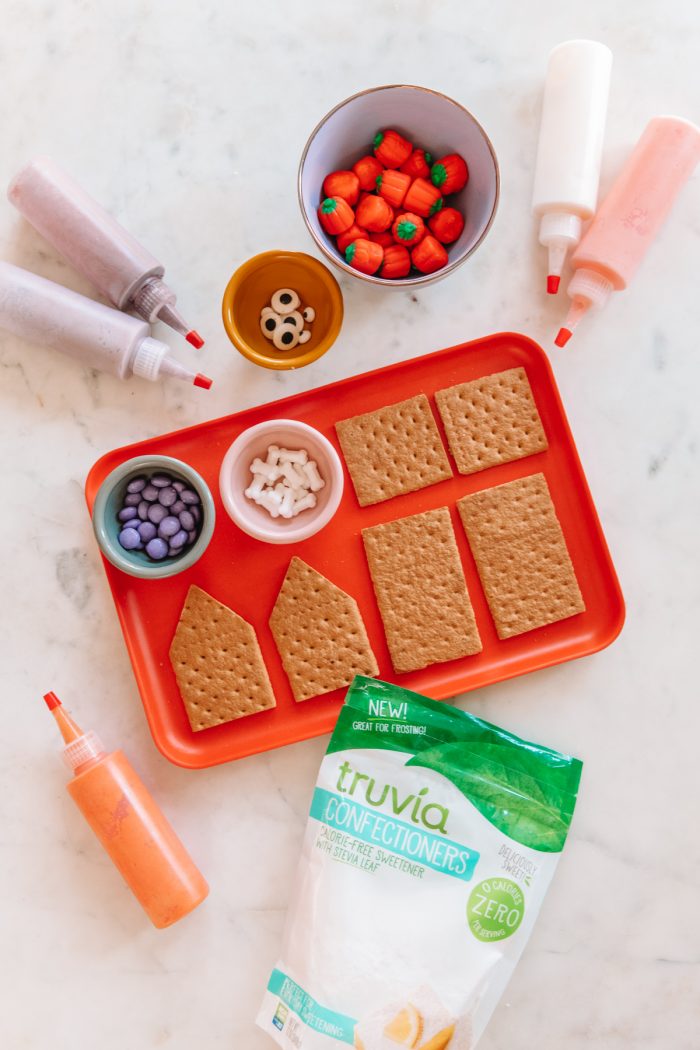
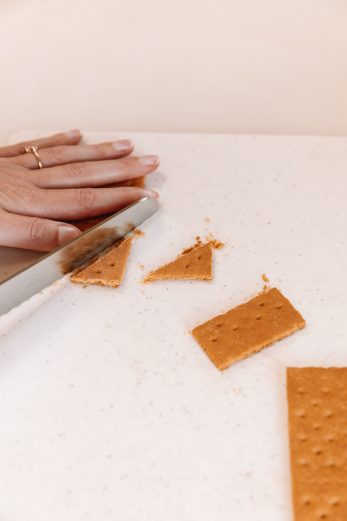
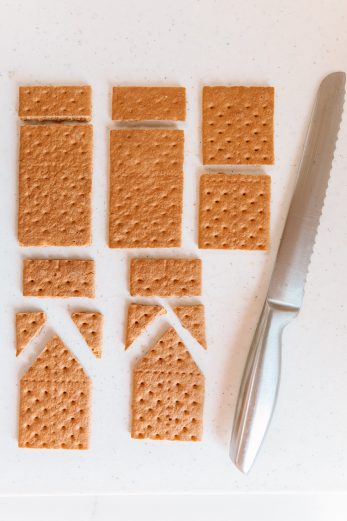
To make the traditional style graham cracker house you’ll need five graham crackers cut as follows (see the images above) using a serrated knife:
- For the front and back: Cut the top 1/4 off of two graham crackers. Then cut the remaining top 1/3 of the graham cracker into a triangle shape.
- For the sides: Cut one graham cracker in half.
- For the roof: Cut the top 1/4 off of two graham crackers.
Pipe royal icing down each side of the front piece of the house and attach to the two side pieces. Repeat with the back.
Pipe royal icing down the triangular tops of the front and the back pieces of the house and attach the roof.
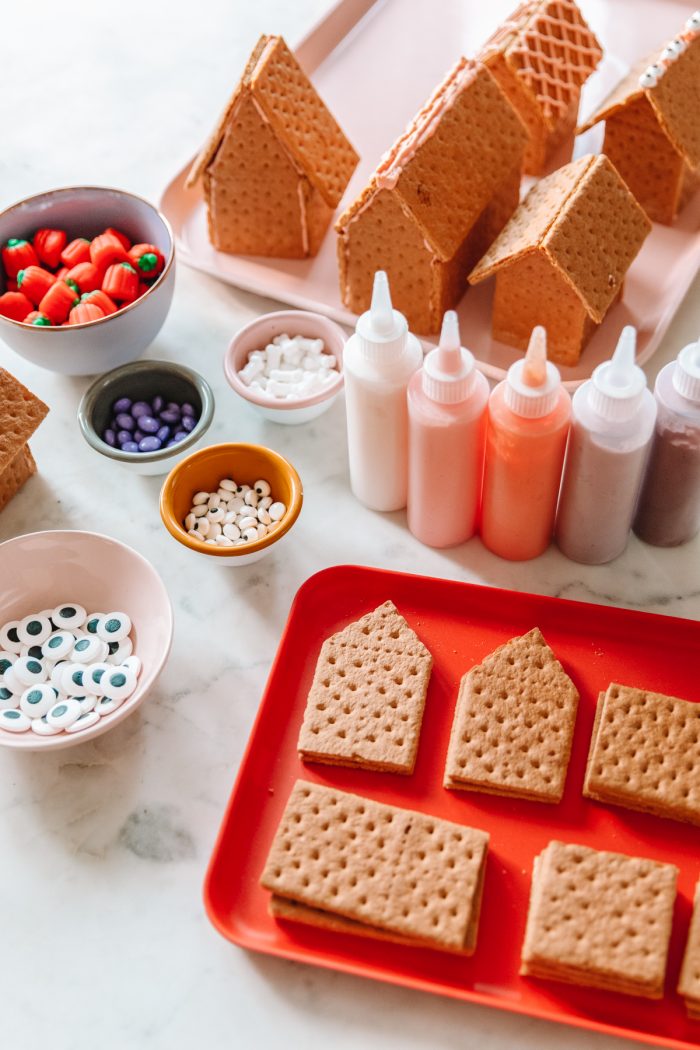
What You’ll Need To Decorate Your Edible Haunted Houses
Here are a few decoration supplies and tools that we used to decorate our edible haunted houses:
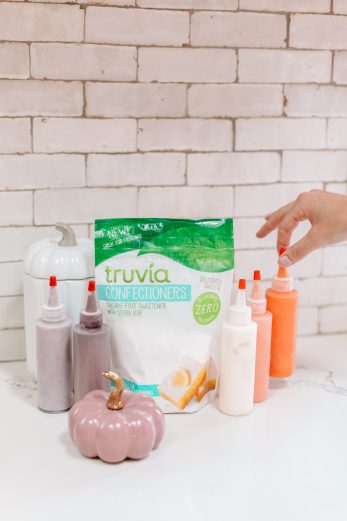
- Squeeze bottles for decorating: I love using squeeze bottles for our royal icing because they are easier (and cleaner!) for little hands to use!
- Food coloring: I made five different colors of icing, using just a simple 4-color set of food coloring from the grocery store!
- Edible eye balls: These make great “doorknobs” and kids always get a kick out of them!
- Candies: I love sticking to a color palette so no matter what, all the houses look great together and make a fun Halloween village. I used purple chocolate candies, orange pumpkins and white candy bones for our decorations
- Trays and mini bowls: Pull some trays, plates and mini bowls from around the house to keep everything organized when setting up for decorating! A large tray or cake plate is also a great way to display the finished houses.
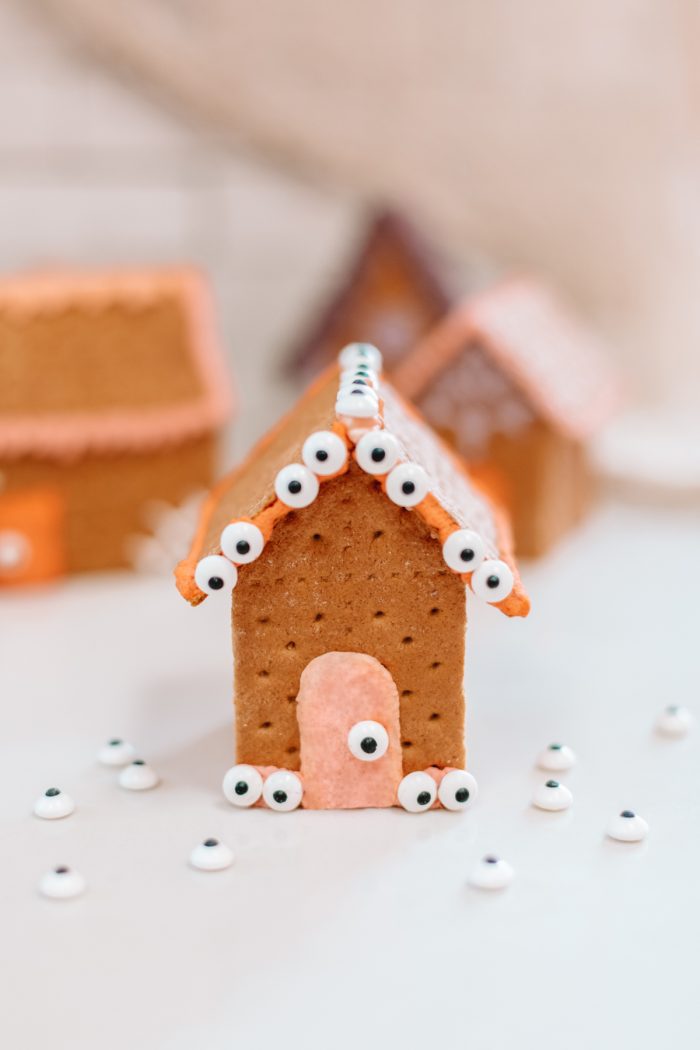
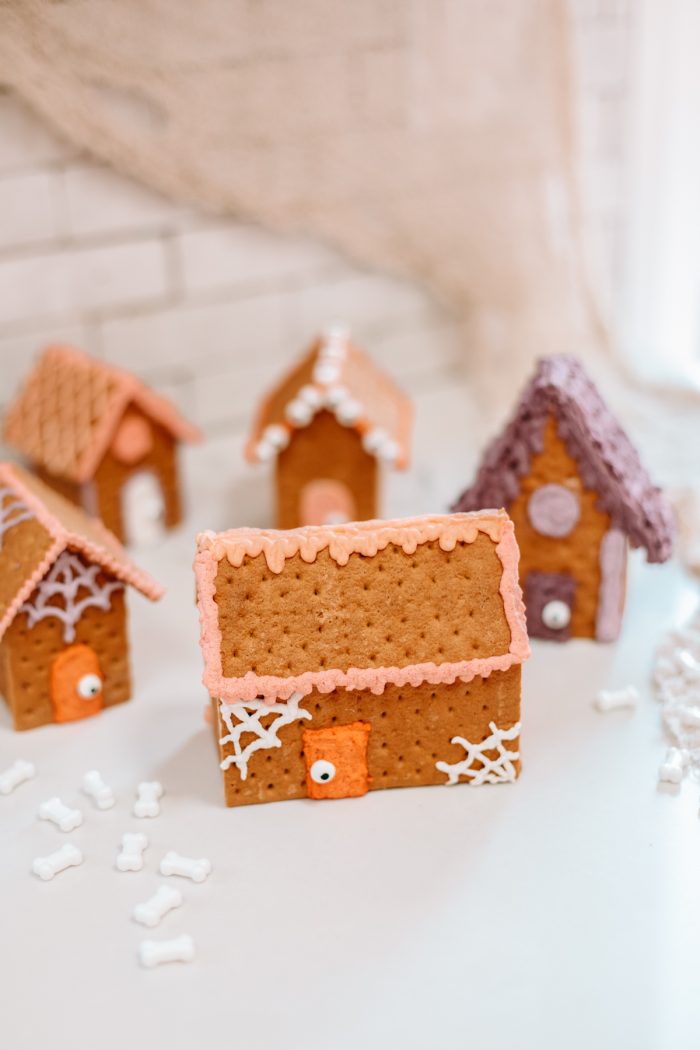
How To Decorate Edible Haunted Houses
Here are a few ideas for decorating different edible haunted houses:
- Use royal icing to create spider webs on the roof or across the top peak of your houses
- Make an edible eye border on the peak of your house, using royal icing as the “glue”
- Make a diamond or other pattern on the roof to resemble shingles or tiles
- Guide the royal icing so it looks like it is “dripping” down the sides of the roof, giving a spooky feel
- Thicken the icing with a bit more Truvia® Confectioners Sweetener and pipe “dots” along the roofline and sides of the house for a patterned border.
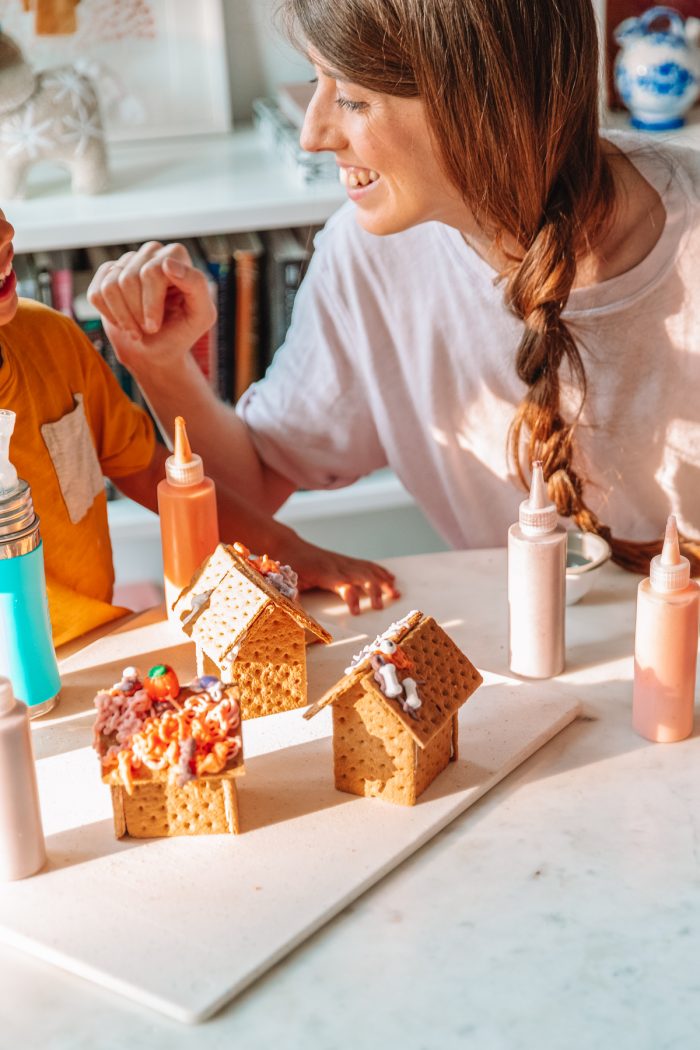
- Or take the toddler method and simply squeeze an entire bottle of royal icing on the roof and add 15 pumpkins. More is more! 😉
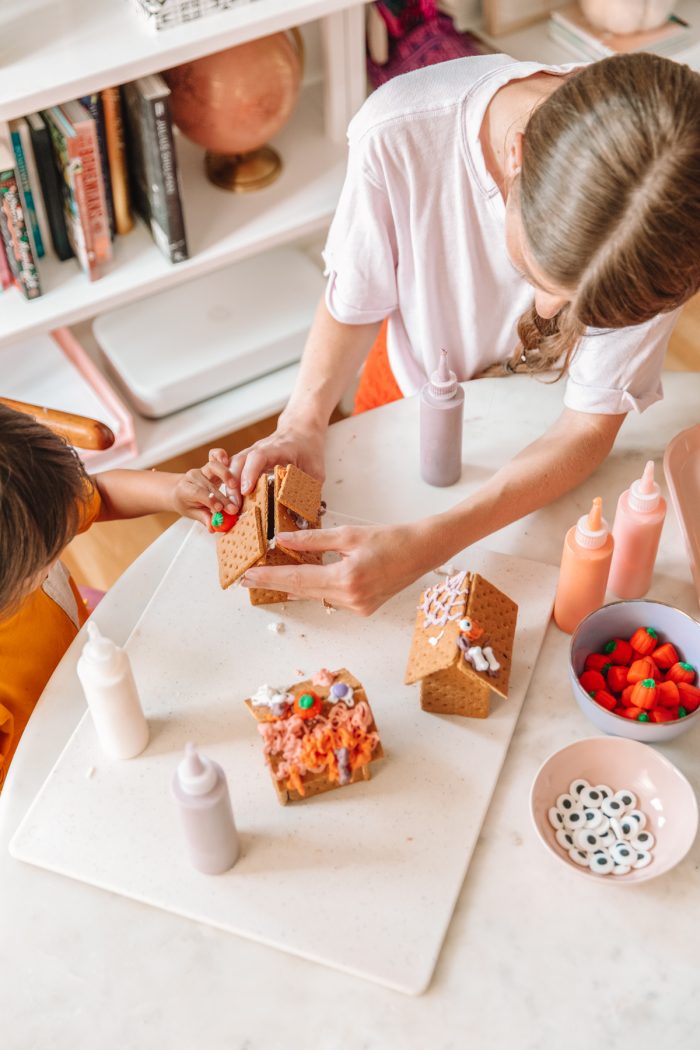
Can’t stop laughing at how many pumpkins are on that roof below, and how much royal icing is on that roof above! Love his vision.
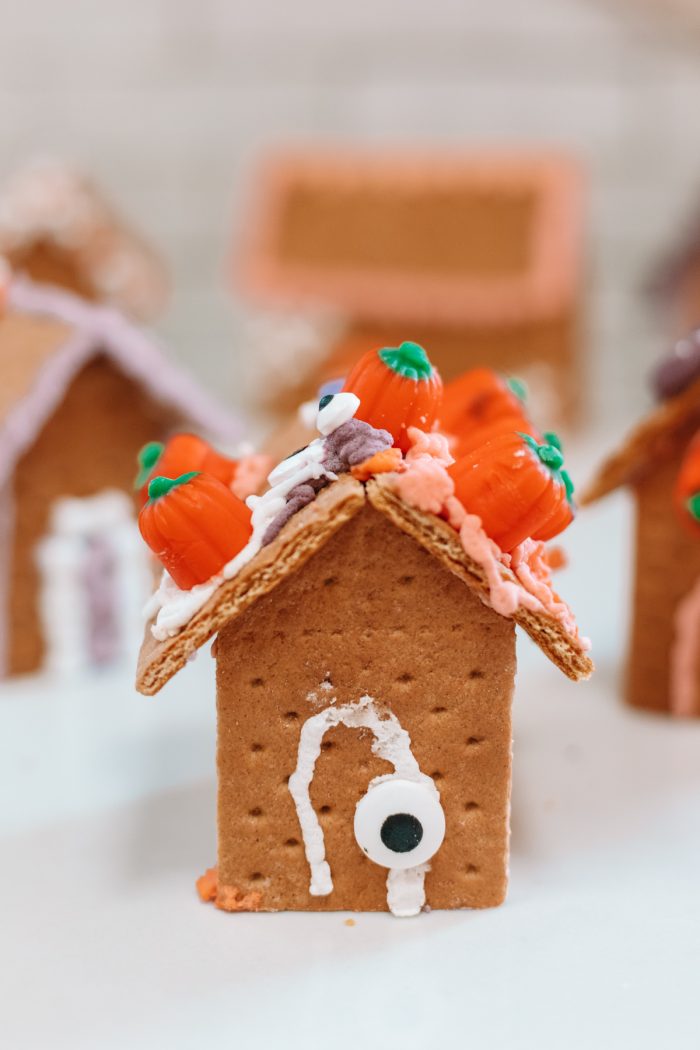
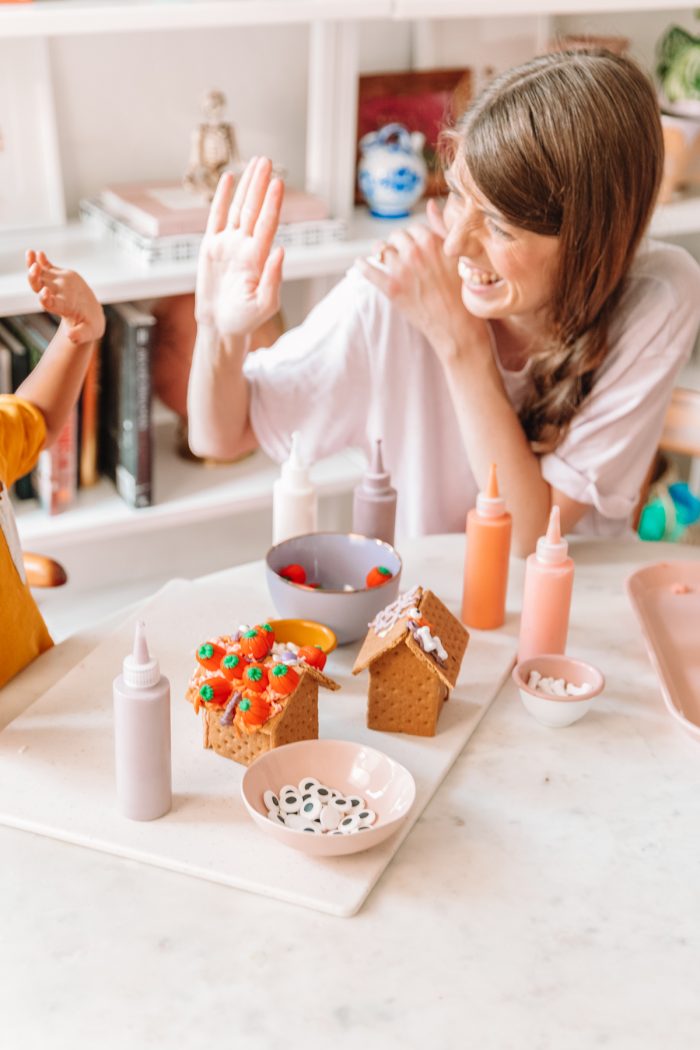
Photos by Jeff Mindell
If you’re feeling like you need some extra Halloween magic in your home this year, give this easy project a try! The whole family will have a blast, and you’ll have a whole haunted village’s worth of houses to display or devour!!
Royal Icing with Truvia®
Ingredients
- 4 Cups Truvia® Confectioners Sweetner
- 3 Tbsp Meringue powder
- 1/3 Cup Water (+ more if needed)
- 1 tsp Clear vanilla extract, almond extract or other flavoring (If desired)
- Food coloring
Instructions
- Combine Truvia® Confectioners Sweetner and meringue powder in the bowl of a stand mixer.
- Add the extract and water and beat on medium speed, periodically scraping down the sides, until the icing forms stiff peaks. Add additional water if needed, one tablespoon at a time, until the desired consistency is reached.
- Divide into bowls and use food coloring to dye to desired colors.
- If using decorating bottles, scoop frosting into a piping bag or plastic food bag with the corner cut off and pipe into the bottles to easily fill them. You're ready to build and decorate your haunted house!





typhoonn tv says
Great article… Keep sharing this kind of articles in the future…
Rhodes says
Used biscuits nucely
https://www.mysainsburys.me/