I am so darn excited to share this post with you today. Have you guys checked out Now That’s Pretty? It’s a pretty fantastic UK-based blog run by the lovely Ally, and I totally have a serious blog crush! I mean serious. She does some of the most amazing projects, like this fancy headdress, this pineapple lamp and this piñata pillow! Ok, I’ll stop gushing now and get to the point… she’s popping over here today to share a colorful guest post and it is AWESOME! But without further ado, take it away, Ally!
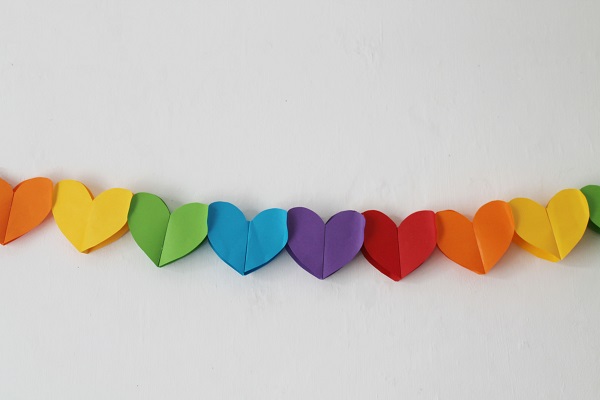
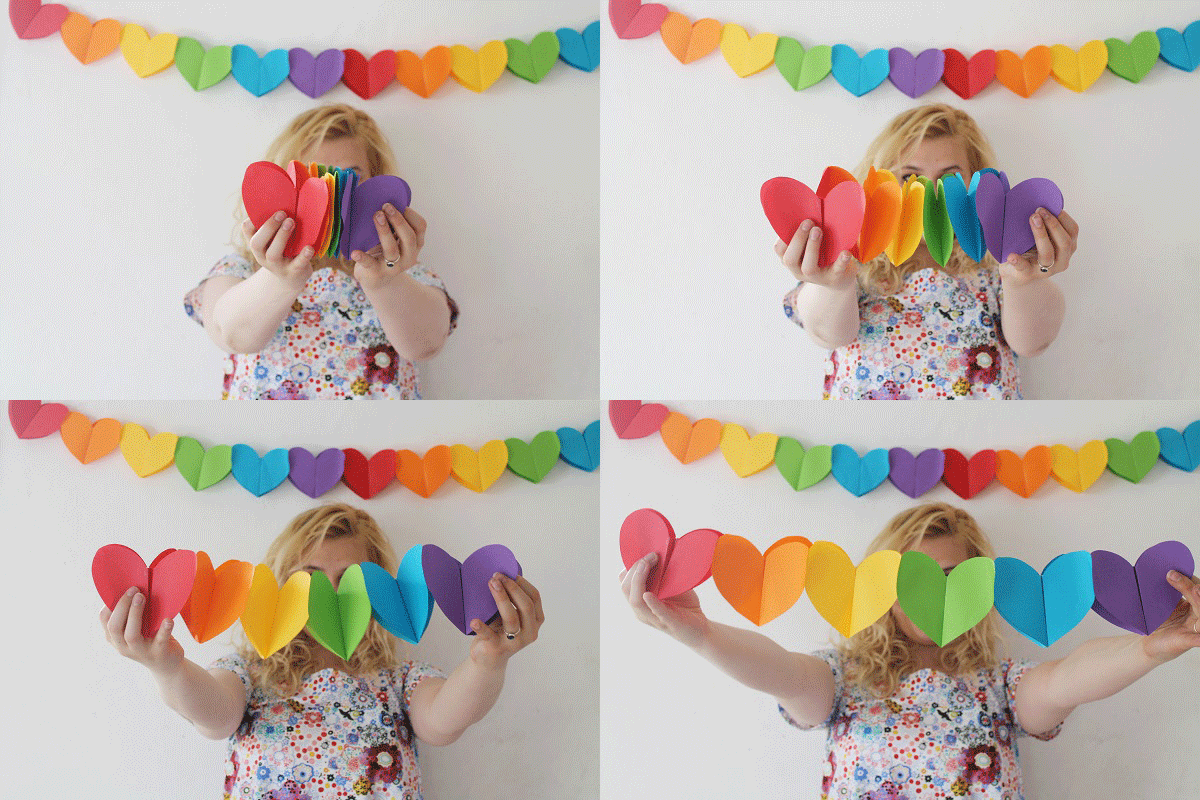
Whenever I have a quick party to throw together these are always my go to decorations. Paper decorations are wonderful in that they are cheap and extremely versatile but sadly they are often quite fragile- reusing them is often out of the question simply because they will fall apart or be too much of a hassle to pack up. That is why I love these garlands; after your party you can simply fold them up and keep them for next year. They can be made in any colour to suit your party, most shapes and any size. If anyone makes a giant one you must share- I’m picturing giant hearts everywhere!
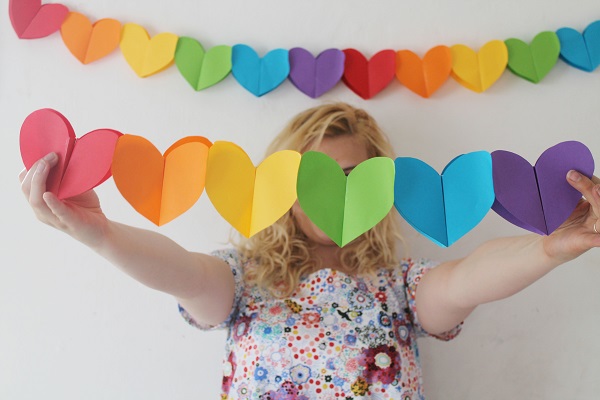
Paper (You can use tissue paper also but this does make the construction more fiddly and the finished project a little more fragile.)
Glue Stick
Scissors
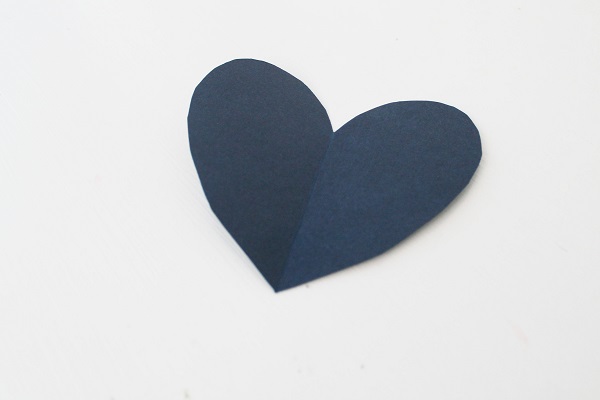
First make a template of the shape you wish to make your garland out of by folding a piece of paper in half. To start, it’s best to use symmetrical shapes, they are by far the easiest.
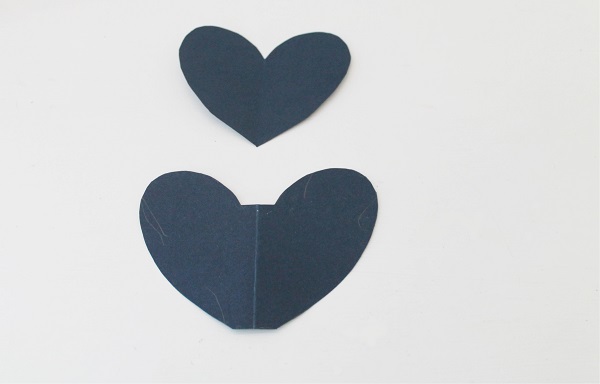
Now make a second template. Take your template when folded in half an place over another folded piece of card but leaving a small gap between the template and the fold. You want to end up with your finished shape but with a rectangle running down the centre.
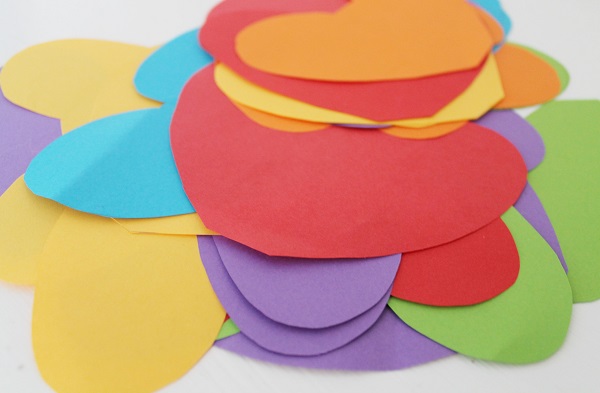
Go crazy and cut out a tonne of your template! You will need two shapes for each 3D link in the banner.
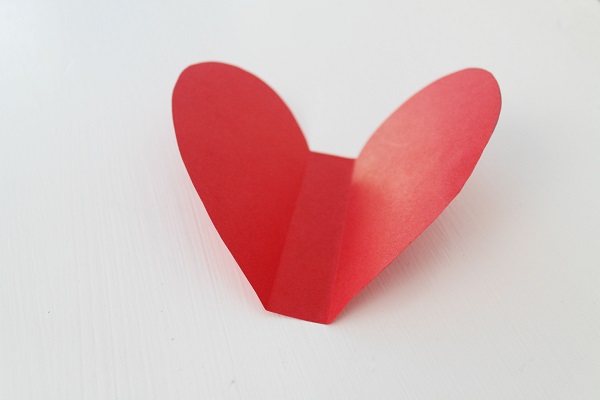
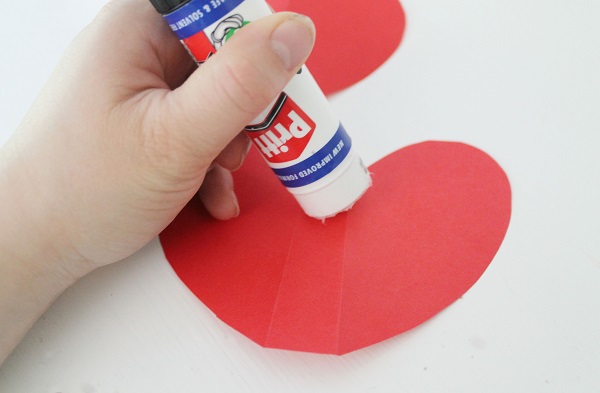
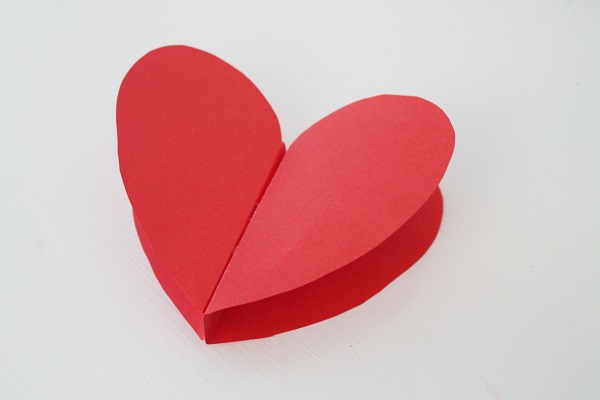
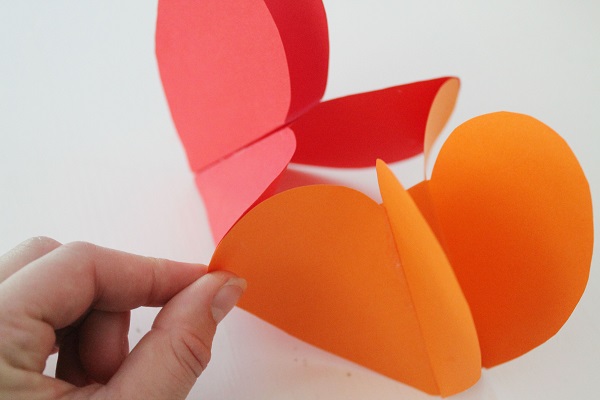
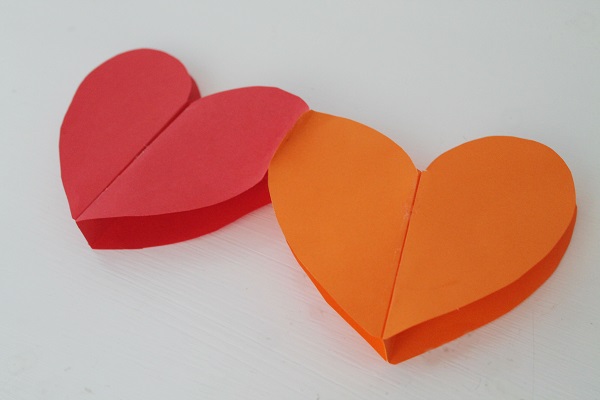
To assemble your shape simply make two folds along the sides of the rectangle you added in. Now add a strip of glue along this rectangle and stick two shapes together. You should now have a 3D shape!
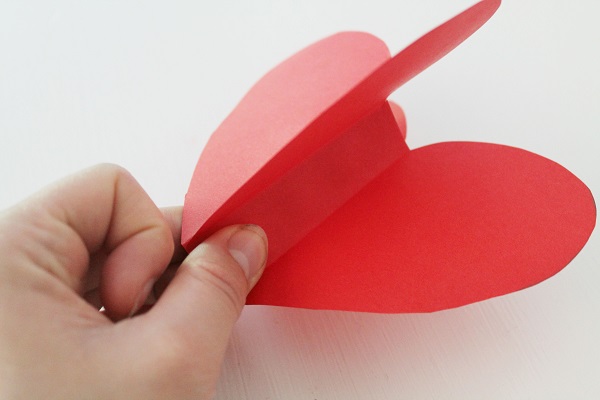
To stick two of your shapes together simply add a small line of glue on the inside edge of your shapes where they will touch. Then pinch the two shapes together and hold in place for a few seconds allowing the glue to dry.
Keep on linking until you’re happy with your length and you’re done!
All Photos by Now That’s Pretty for Studio DIY
Thanks so much, Ally!!! So do you guys have a blog crush now too?? Told ya! This idea actually inspired a few fun ideas of my own. Oooooh, aaahh!! Be sure to check out all her awesomeness right here on Now That’s Pretty!
Psst.. I’ve also featured Ally’s work here and here, and as always, you can head on over here for more DIYs!



Brittni says
What a cool garland! I love the rainbow colors. And that GIF at the end of the post? So cute! Ally is definitely someone to keep an eye on for DIY.
anja from das -tuten-der-schiffe says
such a beatytiful idea! love it. maybe i´ll try this for my birthdayparty i will have in a park. greetings from hamburg, germany, anja
Kathleen says
Loving these! And easy storage is such a plus – I feel like whenever I try to store garland I always crumple or tangle them.
Nina says
I love these! So simple for those of us that are somewhat DIY impaired 🙂
Bhawna says
So cute… I was wondering how they stay straight and still stick together showing a perfect heart. The flat grove in the center is such a smart idea.
Goody says
I love beautiful garlands especially rainbow garlands
Goody says
DIY is the best decorative website I as a computer guru has seen so far. I love you DIY