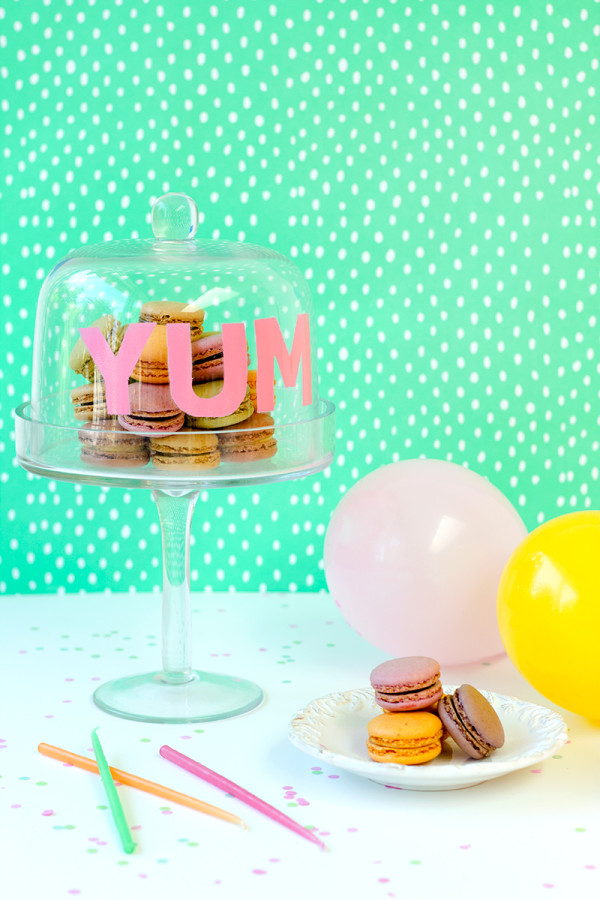
This month’s 12 Months of Martha box was chock full of glass paint and, even cooler, a glass spray paint kit! Oh yeah, now we’re talking. I took a look at the box and then took a look at my plain little cake dome and decided it needed a little makeover. And since I know that anything underneath a cake dome automatically elicits a “YUM” response, I figured why not just spell it out for everyone else, too. So on this fine Friday I encourage you to jazz up a cake dome, if for nothing else but the excuse to buy or make some sort of yummy treat to hide underneath.
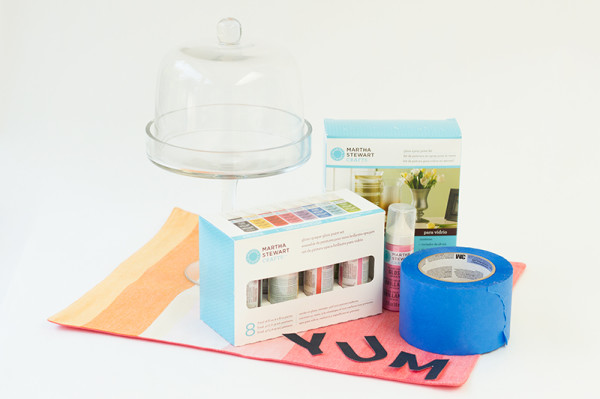
Glass Cake Dome
Glass Paint
Glass Spray Paint Kit
Wide Painter’s Tape
Letter Stencils (You can download + print out the YUM ones I used right here.)
X-Acto Knife + Cutting Board
Pencil
Garbage Bag, Tarp or Other Protective Surface
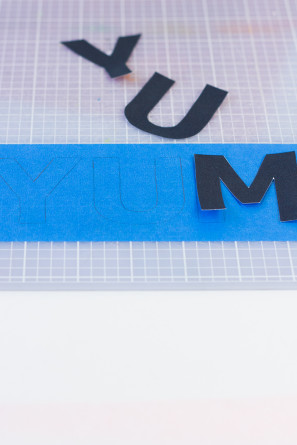
First you’ll need to adhere a piece of painter’s tape to your cutting board that’s large enough to fit all of your letters. (Alternatively, you can stencil each letter individually.) Trace your letters onto your tape as desired and cut out using your x-acto knife.
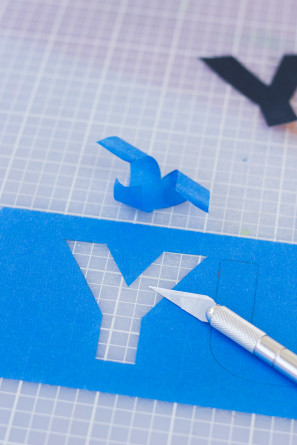
Very carefully peel your new tape stencil off the cutting board and adhere it to your cake dome. This can be a bit tricky depending on the letters you use. I recommend adhering from bottom to top, right to left. Cover the rest of your dome with tape too so you don’t get paint on it when you spray.
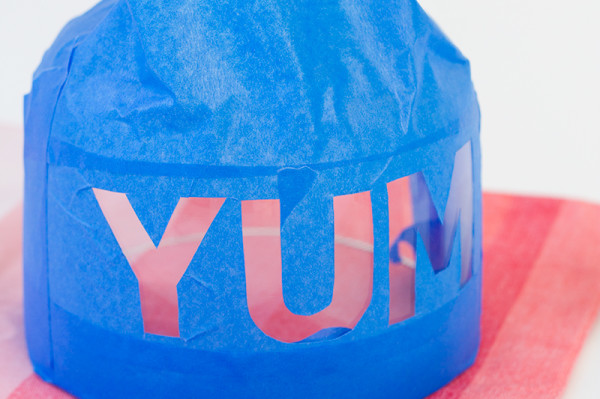
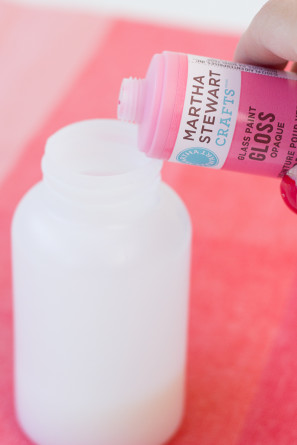
Now it’s time to prepare your spray paint! I think this is so cool. You’ll mix a 1:1 ratio of spray medium (included in the kit) and your paint color of choice in the mixing bottle.
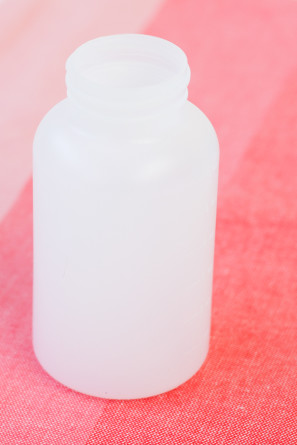
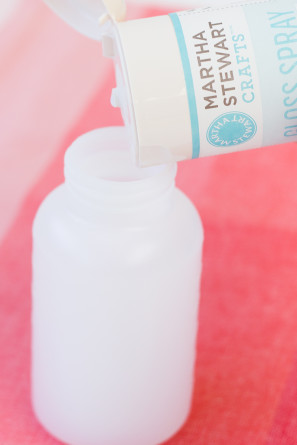
Shake shake shake until it’s all mixed up. Then remove the lid from the mixing bottle and screw on the spray bottle (with the plastic tube attached to the bottom).
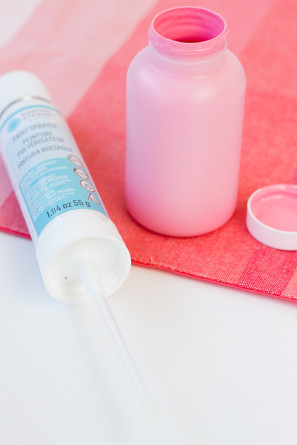
Lay down a garbage bag or other protective surface…
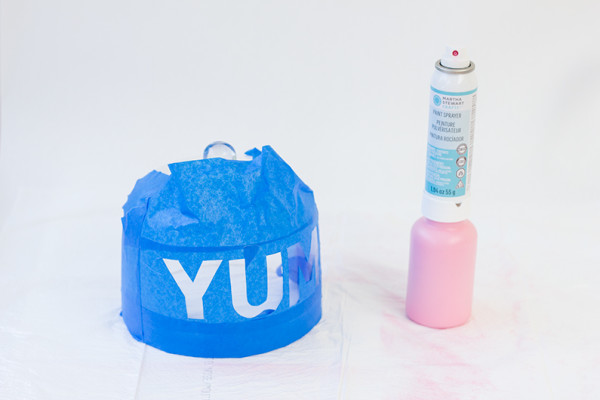
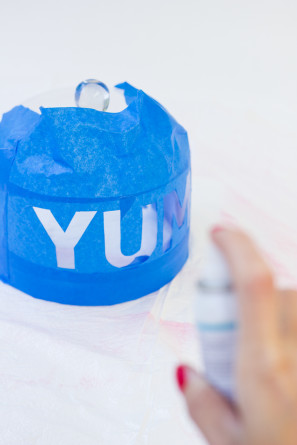
…and spray away! I recommend testing the spray bottle on something before spraying your project. It can be a little finicky at first. Make sure to hold the bottle a good 8-10 inches from your surface and spray evenly. Let dry and repeat with an additional coat or two if desired.
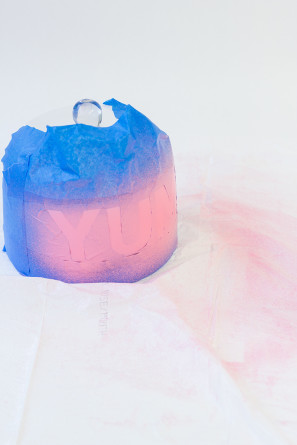
Remove the tape. (I did this before it was fully dry. I have no patience!) If you notice that any paint has leaked through the stencil you can use a q-tip and some nail polish remover to take it right off.
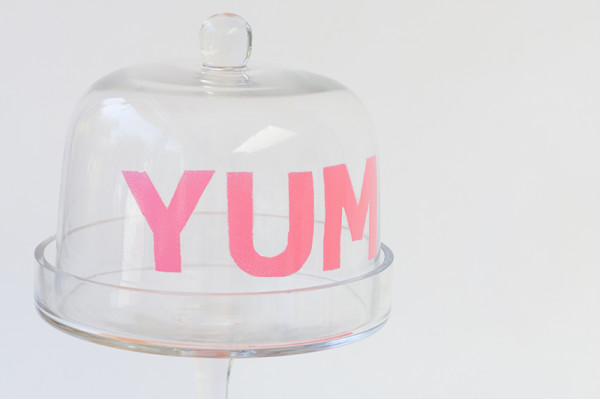
Fill with yummy treats and enjoy!
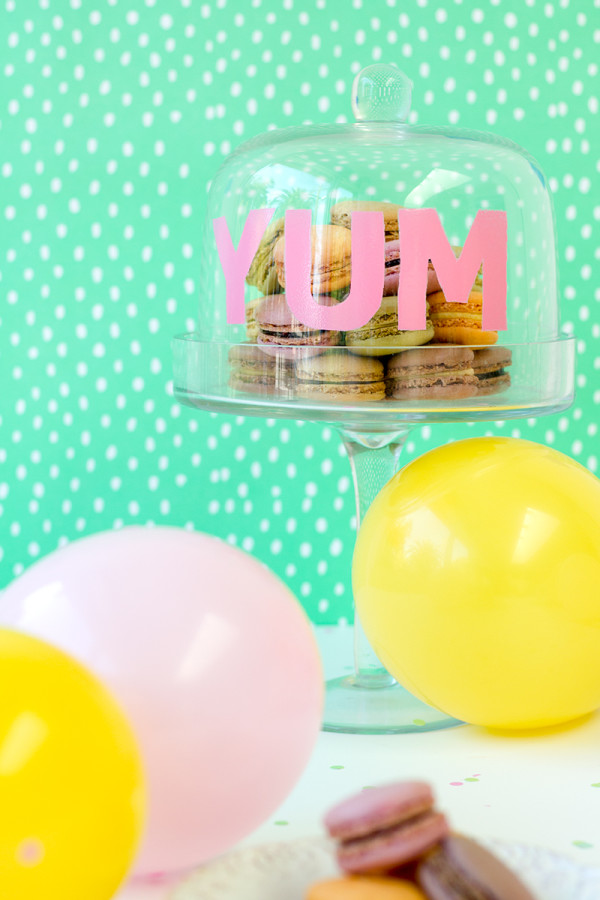
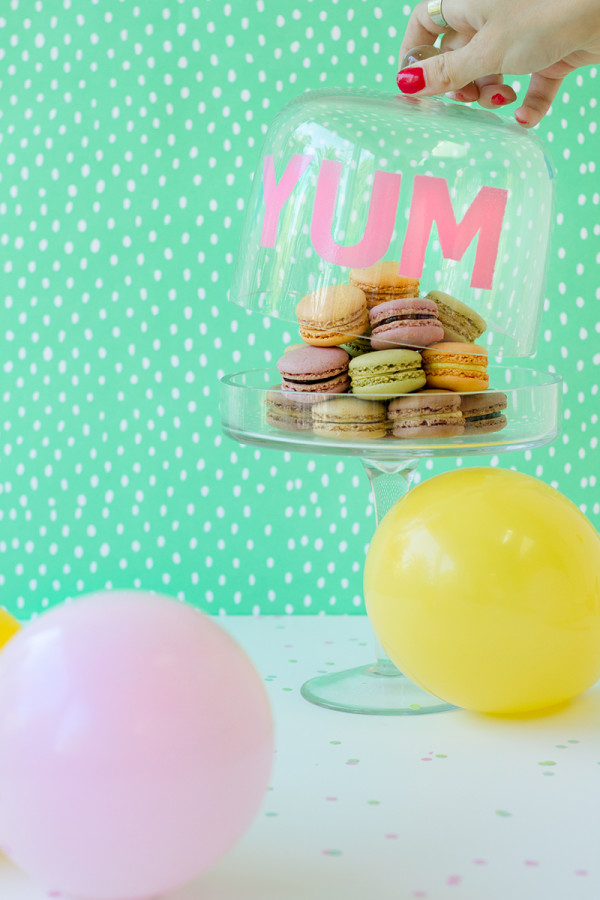
All Photos by Studio DIY
Wouldn’t it be fun to put a cake piñata under this dome!? Now that would be a surprise! In case you were wondering though, those macarons up there are from Trader Joe’s! Yes, the best grocery store on the planet sells frozen macarons… 12 for about $5! And they’re yummy too. Not that I sampled all of them or anything… Gosh I love that store.
For more sugar-coma inducing DIYs head on over here. And for more DIYs all around, head this way.
This post is a part of the 12 Months of Martha program, all content and opinions are that of my own.




Ally Ebdon says
This is such a lovely idea. I’d love to make a happy birthday one to put birthday cake under!
Kelly says
Love that idea, Ally!!
Brittni says
This is really cool Kelly! Love the typeface you used. And now, I have to get one of those spray paint kits….so many possibilities.
Jessica @ TSOP says
This is just all kinds of cuteness! And I love that it is still happy even when its empty. 🙂
Rachel | 52 Weeks Project says
Glass spray paint, how amazing?! Another great DIY Kelly 🙂
Amy Larkin says
A “yum” stenciled cake display? It would just give me another reason to eat too many slices of cake! hahah!
This is so cute.
Kelly says
The perfect excuse, Amy! 😉