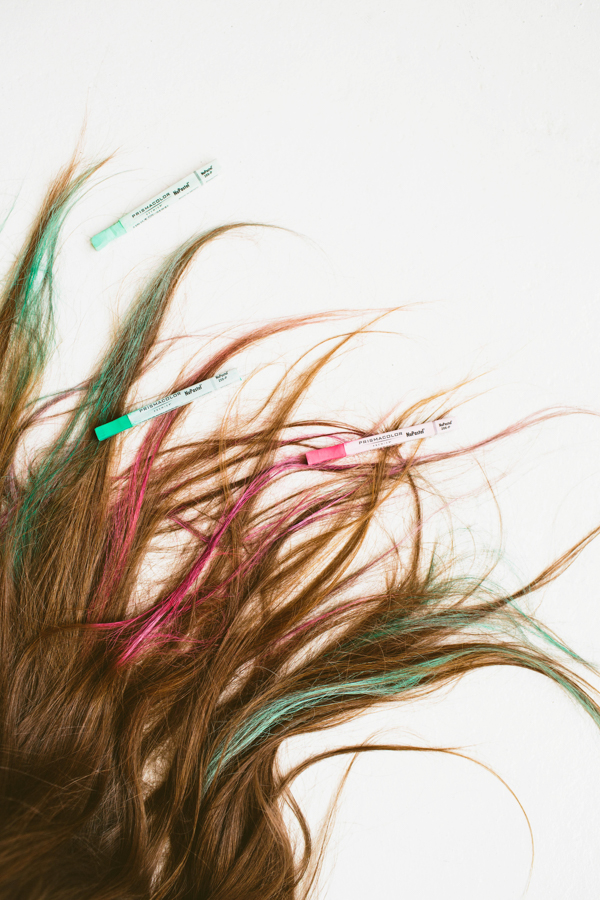
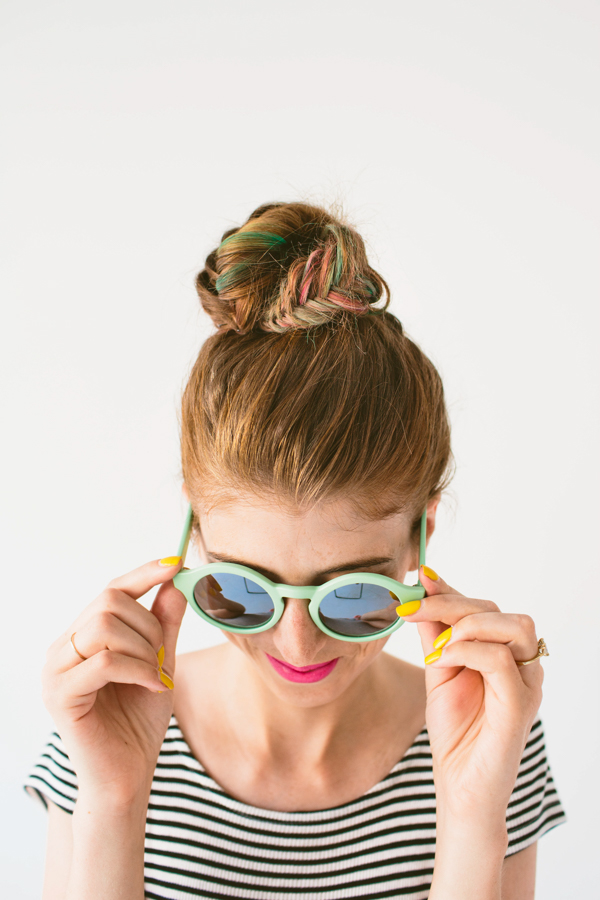
So apparently 2014 is the year that everyone decided to dye their hair pink. Am I right!? I was feeling all sorts of left out, because most people dyeing their hair happen to be blonde. When Tic Tac asked me to try “Shaking it up!” for a fun post, I knew I had to find a way to turn my not-so-blonde hair oh-so-very colorful! Of course, I wasn’t about to bleach my hair and dip it in pink just three months before my wedding (!) so I asked Joy of Page Beauty if she had another solution…. hair chalk! We had some fun shakin’ up my look, and styling it in the top knot to end all top knots (helloooo fishtail!) to show it off!
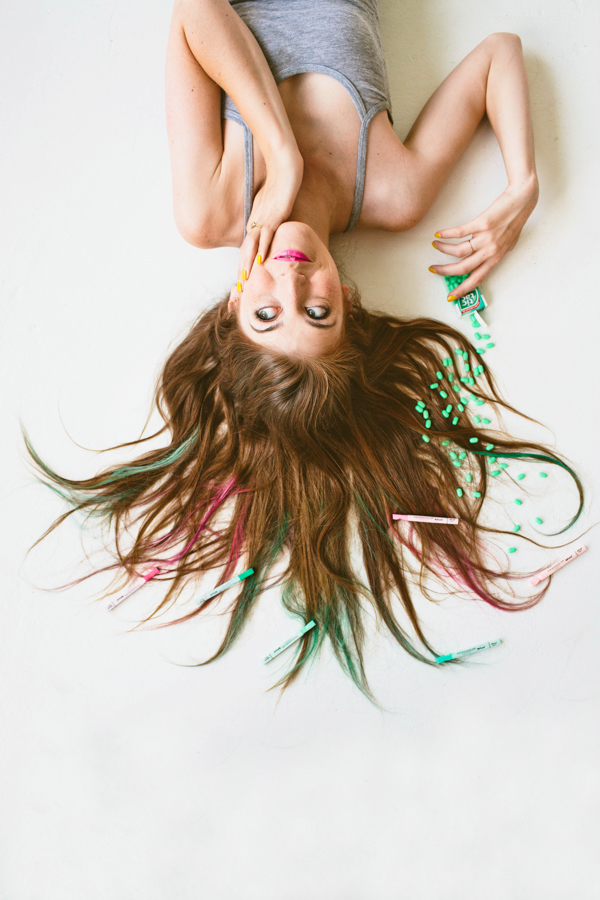
Find out how we made this happen, after the jump! (Yep, this button below is new hear! Click it to read more!)
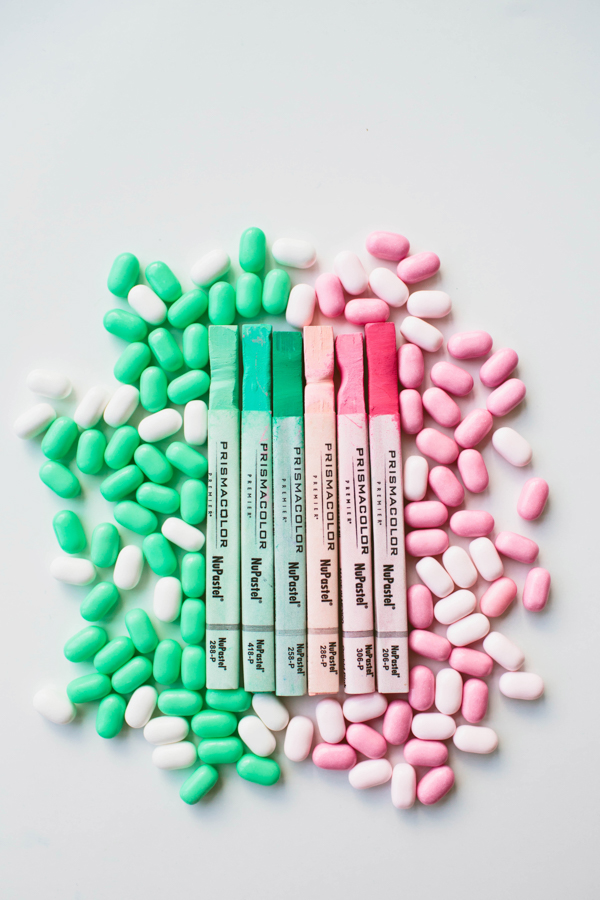
Finding the Right Hair Chalk + Getting Prepared
Now that chalking your hair has become so popular, you can pick up a variety pack of hair chalk at a variety of popular stores, including right here. However, if you’re looking for colors that don’t come in such packs… you can head right to your art supply store! Yep, that’s how Joy has been chalking for years! At the art store be sure to get pastels not oil pastels.
You’ll want to wear a robe or something you don’t care much about while applying, as the chalk can transfer. You’ll need a spray bottle filled with water and a heat source for setting (hair dryer, straightener, etc.).
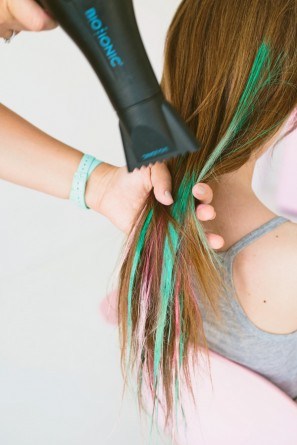
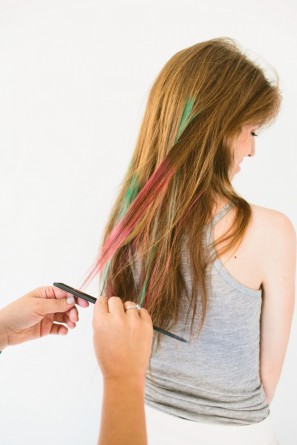
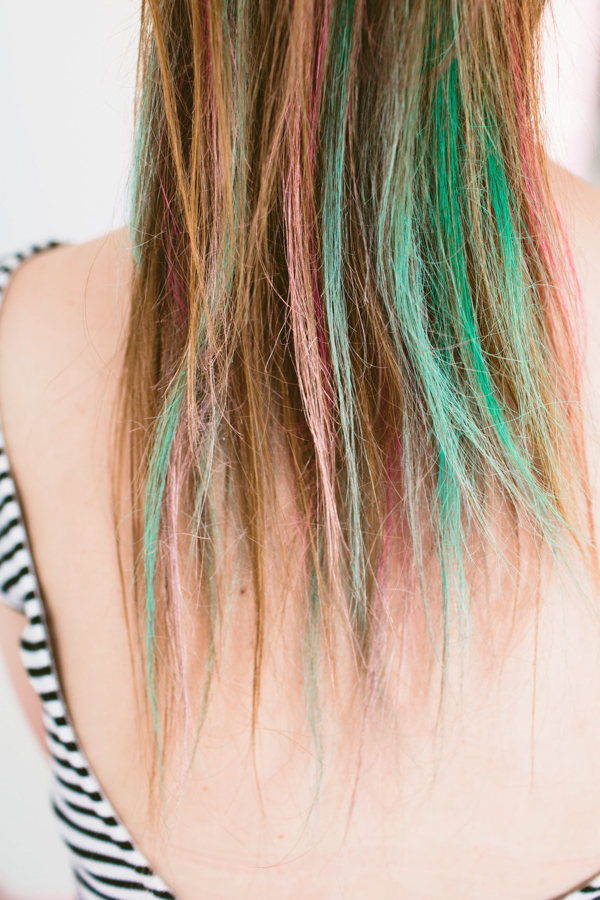
To Chalk Your Hair:
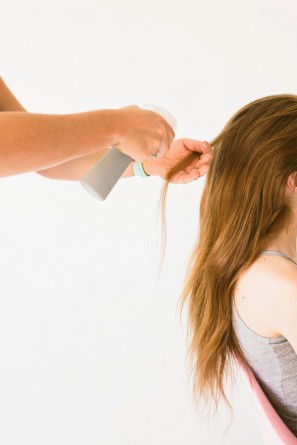
1. Pull a fine section of hair away from the rest and spray with water. (If you happen to be blonde, spray with leave-in-conditioner instead!)
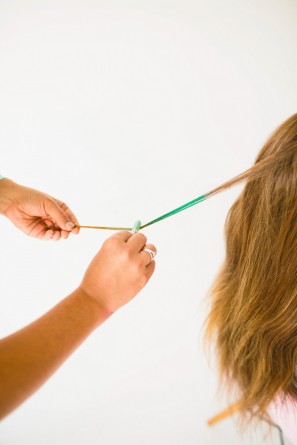
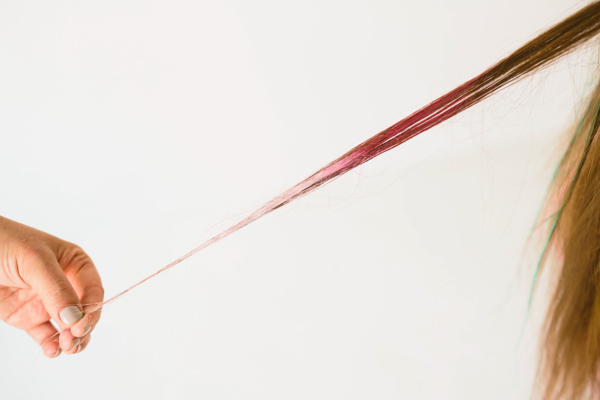
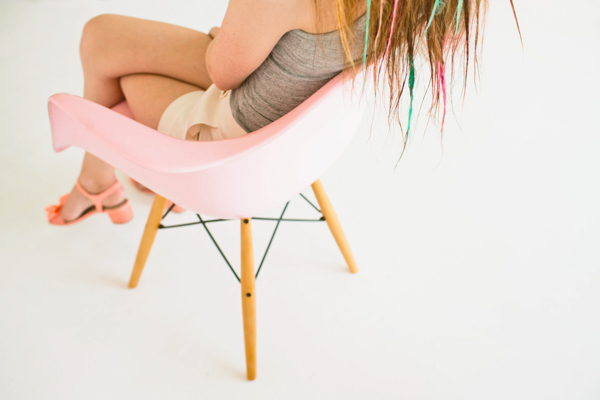
2. Create the colorful streaks by rubbing the chalk up and down your hair, then flipping and do the back side of the section. To acheive the same look here, start with the darkest shade of your color at the top and work your way to the latest shade at the bottom. If you plan to leave your hair down with the chalk in it, twist each section before chalking it as that will give a more soft and diffused line where the chalk begins. Be warned! The chalk can rub off on clothing or furniture, so that’s why we recommend putting your hair up after applying!
3. Let dry and then brush through each individual section. This is the messiest part, as it will get rid of any excess chalk. So be mindful of where you do this step!
4. Use heat (we used a hair dryer) to set the color. DONE! Now for styling!
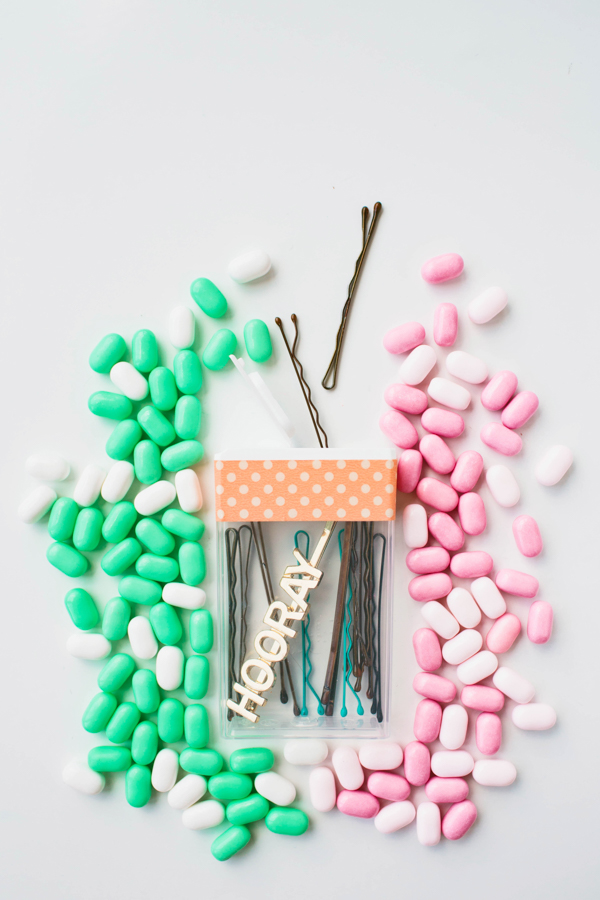
For the fishtail top knot you’ll need a hair tie and bobbi pins. Joy mentioned she, no joke, uses empty Tic Tac containers to hold bobbi pins! They are the PERFECT size, and clearly this collaboration was meant to happen. Right!? We used a strip of washi tape to jazz this one up.
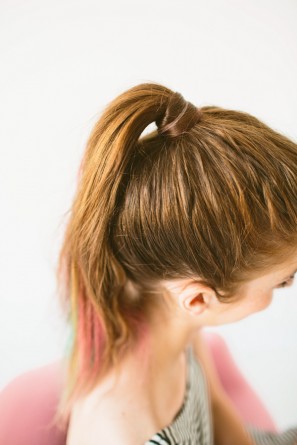
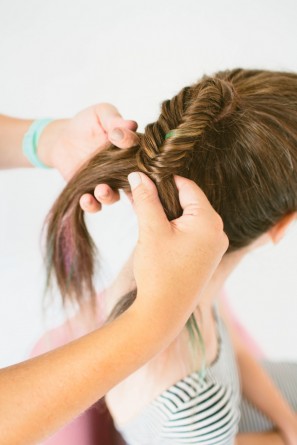
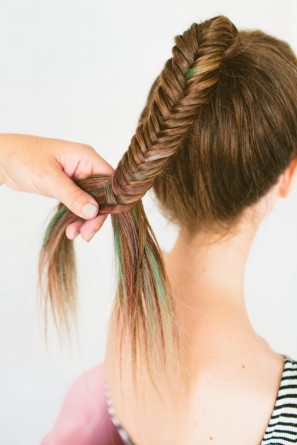
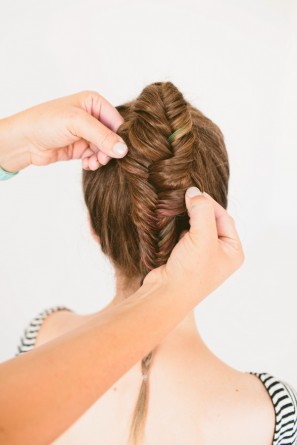

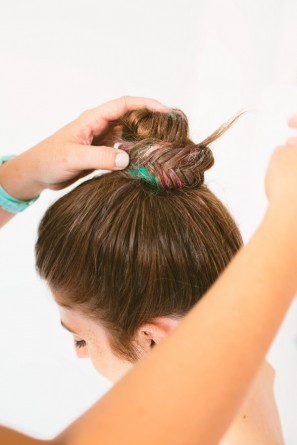

How-to: Colorful Fishtail Top Knot
1. Start with a high pony tail and take a small piece of hair from underneath and wrap it around the hair tie, securing with a bobbi pin.
2. Divide your hair into two sections. Take a tiny section from one side and cross it over to the opposite section. Then, take a tiny section from the other side and cross it to the opposite section. Continue all the way down! (The tinier the sections you cross over, the more intricate the braid will be.)
3. Secure with a plastic hair tie. If you plan to just stop here and leave your hair in a braid, you can wrap your hair tie in washi tape for a fun extra pop of color! GENIUS!
4. Expand your braid starting at the top and puling on each side to spread it out. This is so important for fishtail braids! Continue over and over all the way down and spray with hair spray.
5. To turn your braid into a top knot, make a loop with the braid and pull the end of the braid through (yes, literally a knot!). Secure the end with bobbis and then secure the rest of the knot to your head as well.
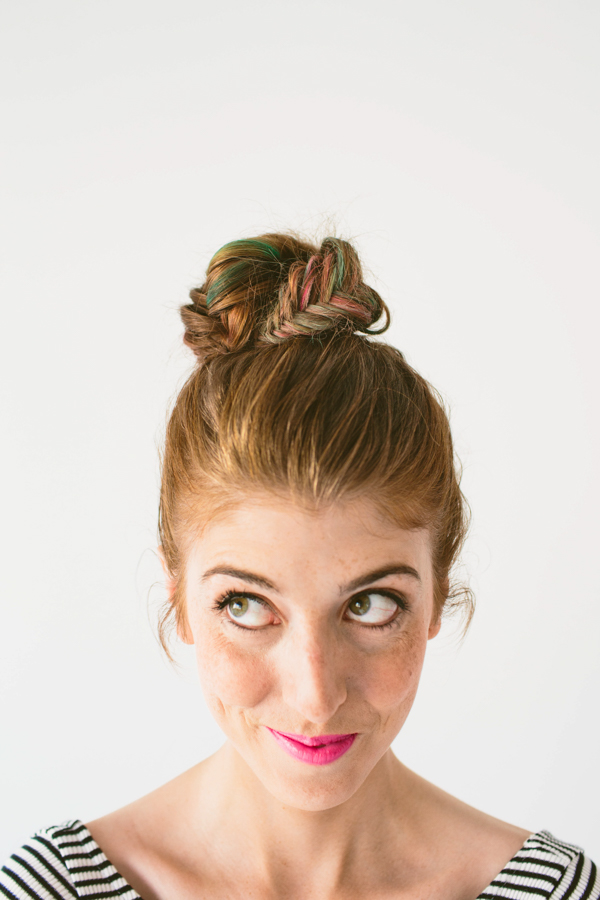
So how long does it last?
My color washed out after one wash. Be sure to wash your hair thoroughly to get all the chalk out! If you have lighter hair, it could take a few washes but you can always use a very cheap shampoo to wash it out quicker! The color is perfect for a special event or gathering!
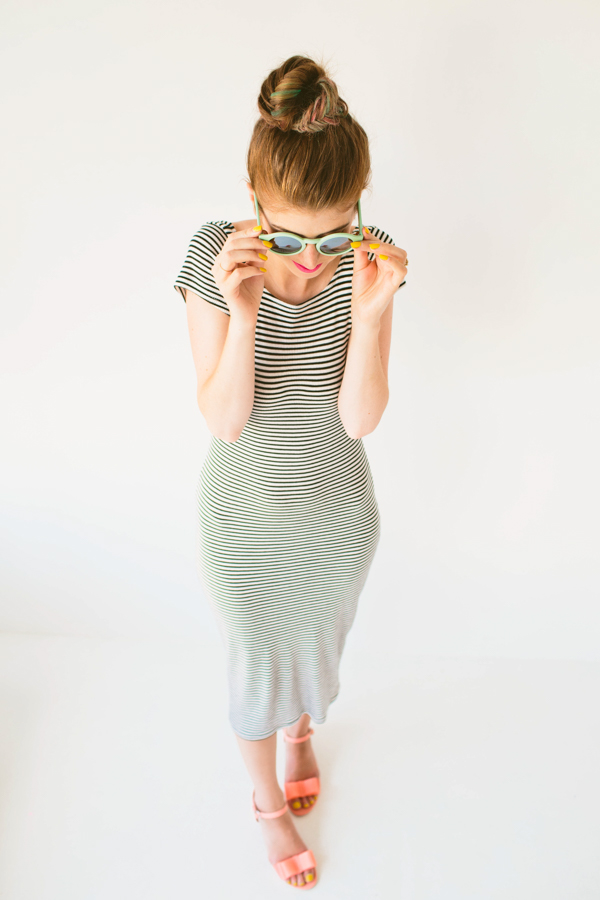
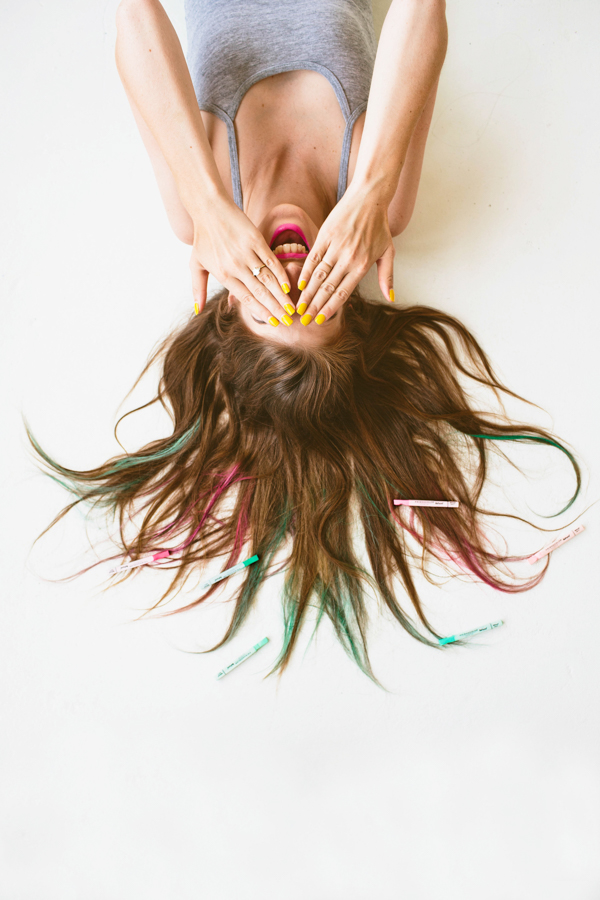
All Photos by Brittany Wood
I really love getting creative with awesome partnerships like this, and it was just too perfect that those little Tic Tac containers doubled as industry-known bobbi pin holders! I’m so excited I finally got to try out a little pink hair, without making it so permament that I was saying my vows a la Frenchie from Grease! Have you ever tried chalking!? Consider this proof to all brunettes that you now have no excuse not to go a little color crazy!
Hair Styling: Joy La Rosa for PAGE Beauty
Makeup: Tanya Bures for PAGE Beauty
Creative Direction + Modeling (Ha!): Studio DIY
Photography: Brittany Wood

This DIY project is sponsored by the makers of Tic Tac® mints. All content and opinions are that of my own! Thank you for supporting the sponsors that keep the Studio DIY party going! Read more about my editorial policies here.


Brittni says
I absolutely love everything about this. That top knot is amazing and the hair chalk looks great!
Laurel (@abubblylife) says
My three year old loved making my hair pink with chalk. I did not know it took several (SEVERAL) washes if you have blonde hair, haha. I had pink streaks for weeks (not that I am complaining, I love pink 😉
I love the last pic, looks like you are having so much fun.
Ellie says
So amazing *-*
I need them…the top knot looks so amazing 🙂
Stephanie says
How gorgeous! I wish I could get away with something like this with my curly hair!
Cynthia says
I love this!! I just found your blog and I AM IN LOVE!!!! <3
p.s. What is the name of your nail polish?
Kelly says
Hi Cynthia! It’s actually a gel nail polish and sadly I have no idea what the name is since the salon just shows a number for it! I’m sorry!! Glad you love the blog, welcome to the craziness!! =)
Cynthia says
No worries! But thank you for getting back to me! I have already sent my sister to your blog and she is so excited and has fallen in love as well!! Have a great day! xoxo
Zoe says
Hi! Why can’t you use oil pastels? I was just wondering because that’s the only kind I have at home. Thanks for your time. May your day be as wonderful as you are!