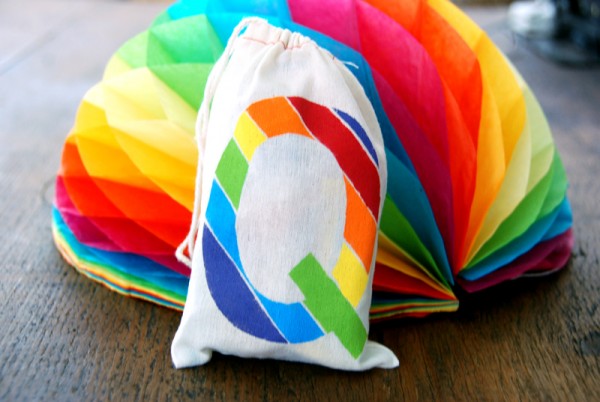
Time for project number one of three from Kellyn’s DIY rainbow birthday! I’ve been brainstorming an idea for a freezer stencil project for a long time and decided to put the concept to use for the candy bar. I got a list of the names of all the party guests and made custom rainbow monogram favor bags for each kid to take home. While I’m all about edible favors, it’s also nice to have a little something that lasts after the sweets are gone. These would be great as bags for small toys, travel or even snacks!
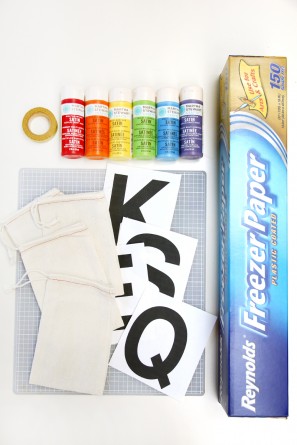
Supply List:
Computer printouts of letters (I recommend a bold font for the most impact!)
Freezer Paper (You can purchase this at the grocery store.)
X-acto knife (or scissors if you don’t have one)
Tape
Iron
Fabric Paint
Muslin Bags (You can order these online or purchase them at a local craft store or Paper Source)
To Make:
Tape your letter cutout to the matte side of a square of freezer paper.
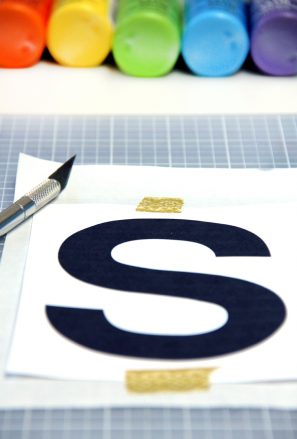
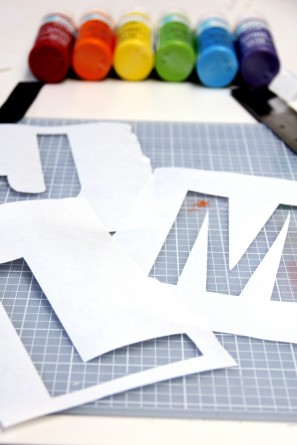
Using your x-acto knife, carefully cut around out your letter. You can discard the cutout, unless you have a letter like “Q” or “A” in which case you’ll need to save that middle part! Lay your new stencil of freezer on top of one of your muslin bags. Line it up all nice and even and then iron it on.
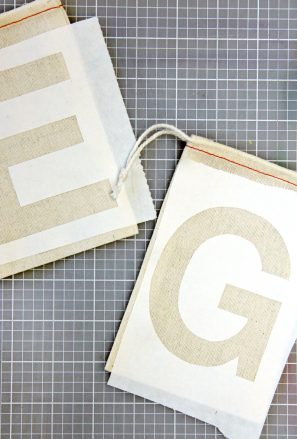
Before you paint, slip a piece of freezer paper or cardboard inside your bag so the paint doesn’t seep through! You could now simply paint your letters one color, but if you’re going rainbow like I did, you’ll need to tape off some stripes. For the size I was using, the width of washi tape was perfect so that was my tape of choice. I covered the entire letter in tape (placed in rows diagonally) then pulled off every other one. You’ll paint your stripes in two rounds. The first: purple, green and orange. Let dry completely and peel off tape.
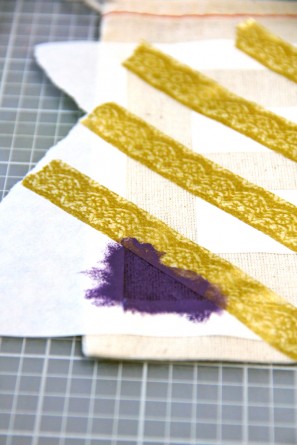
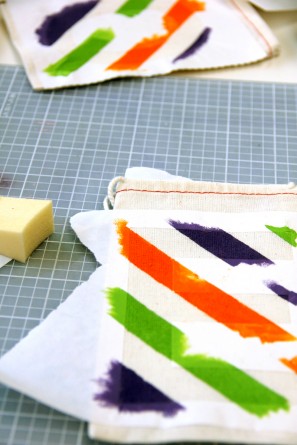
Then tape off your final set of stripes, blue, yellow and red. (You’ll be covering the stripes you already painted with tape, and you can also leave a small border between colors like I did). Let dry again. Remove tape and then carefully peel off your stencil…
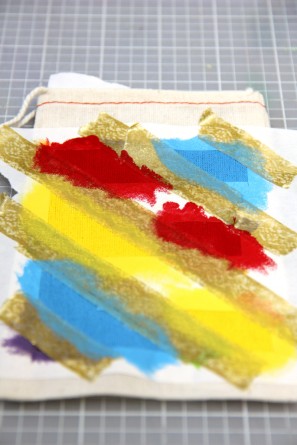
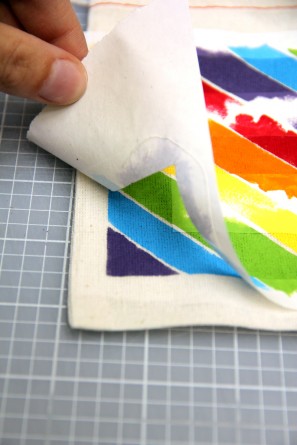
…and you have custom monogrammed bags!
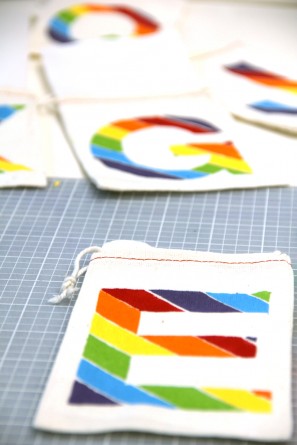
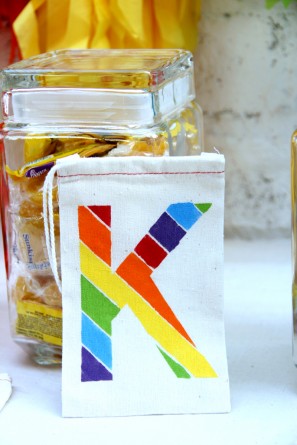
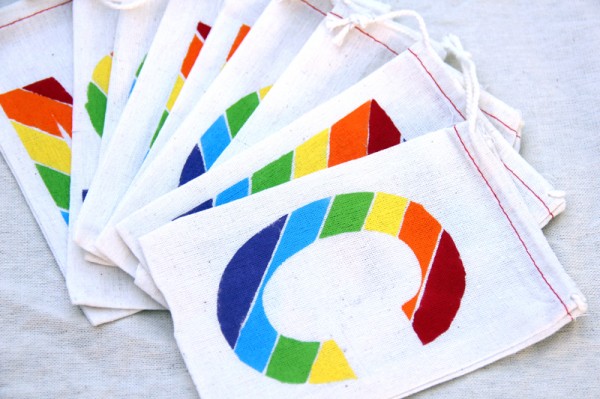
All Photos by Studio DIY
Looking for more color to love? Don’t miss all the rainbow birthday party posts!
Kellyn’s DIY Rainbow Birthday Party
DIY Rainbow Monogram Favor Bags
DIY Vertical Fringe Garland
DIY Rainbow Birthday Lawn Sign (Coming Thursday!)
Rainbow Birthday Party Tips (Coming Friday!)
Looking for more DIY projects? Check out the Project Gallery and Free Printable Gallery!


Melissa // the faux martha says
Love this idea! So cute.
Alicia says
I love the colors! so tired of ombre and chevron stripes! I used the same materials to throw a onsie party for a friend. Only instead of buying fabric paint (so much nicer than the old school puffy paint!) I bought a fabric medium that you mix right into the craft/acrylic paint! I saved money because then I reused the same paint for the party favors and swag! It can be bought at all of the craft stores!
Kelly says
That’s a great idea Alicia! And a onesie party sounds like a blast!!
Kelly
Lucy says
This is too cute! I can finally use my acrylic paints for something!
-Lucy
SJ says
hi! may i know the name of the red shade that you used for this project? it seems to be unavailable on amazon.
thanks!