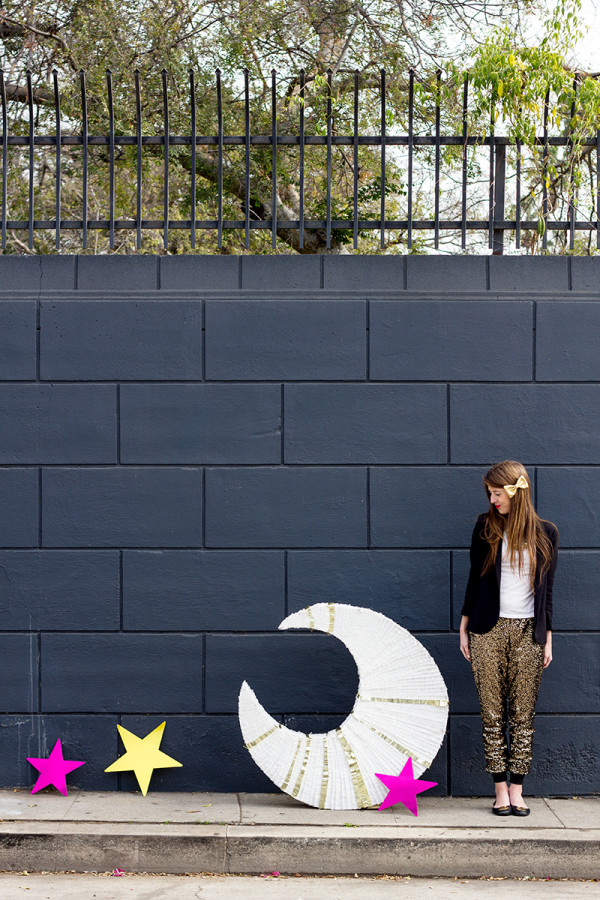
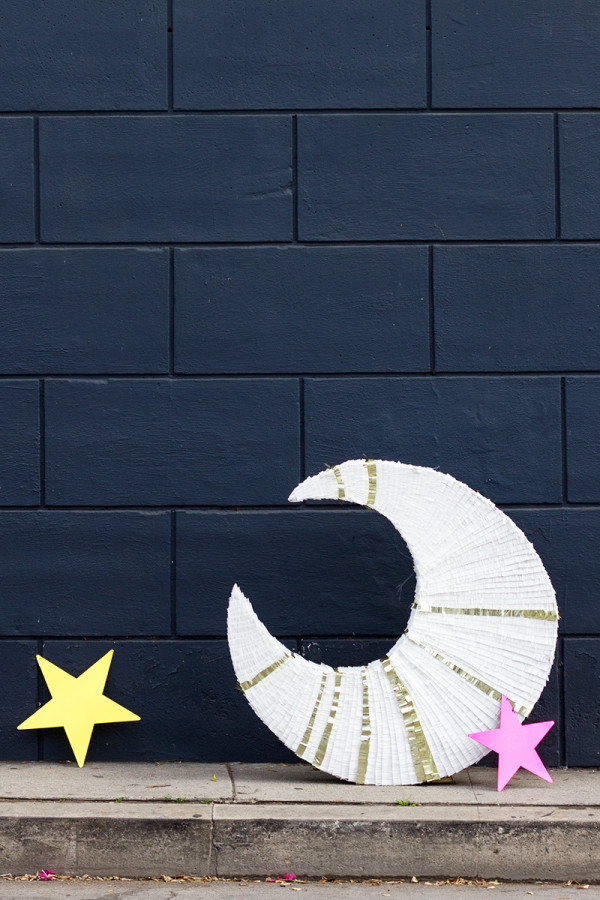
I mentioned here a few weeks ago that I was lucky enough to be asked by the awesome folks at The Land of Nod to design the spring windows for their South Coast Plaza store! Yowza! SO awesome! I was honored, and I got to work creating a not-so-typical “springy” window, which I have lovingly deemed “A Sparkly Starry Night.” And any starry night of Studio DIY’s needs a piñata, so this giant moon piñata was born! You can see it in all it’s window glory, and learn more about what went in to making the windows, over on the Land of Nod’s blog today, but if you’re interested in learning how to make it, well you’re in luck! I’ve got that for you right here.
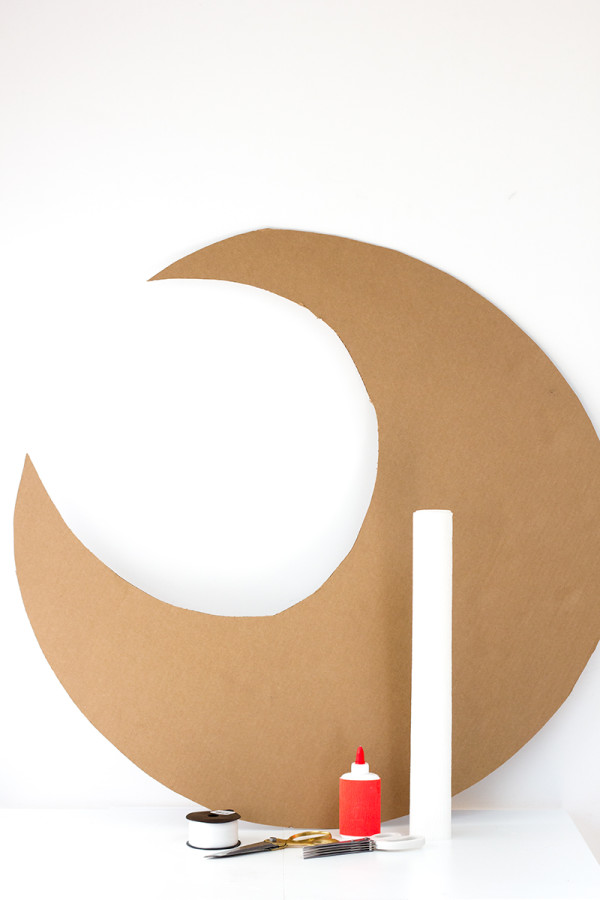
Cardboard (I buy 40×60″ sheets at Blick for $2. This needed two of those)
White Crepe Paper
Gold Mylar (Optional)
Fishing Line
Kraft or Masking Tape
Clear Tape (If using mylar)
School/Craft Glue
Scissors
Fringe Scissors (Optional, for making fringe cutting easy!)
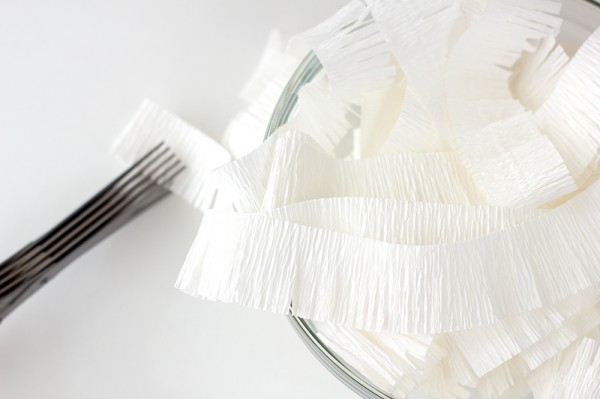
As with all piñatas, first thing’s first… cut that fringe! Cut 1.5″ wide strips off the bottom of your crepe paper folds and fringe using fringe scissors or regular scissors. You’re gonna need a LOT! I used about two and a half rolls for this moon.
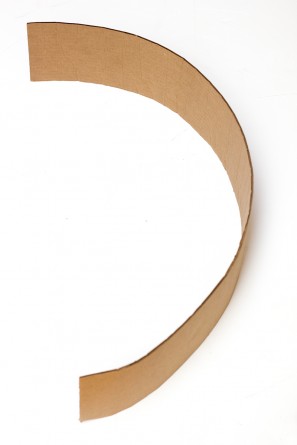
Cut your piñata pieces. You’ll need two half moon shapes, and several strips for the sides. To make my moon shape, I traced around a large pouf (Ironically from Land of Nod! Ha!) and then I traced a smaller circle to make the half moon shape. (There are no photos because in no way is it attractive to photograph me laying on a pouf tracing it. Ha!) Then cut your strips however wide you want your piñata to be. Mine were about 6″. Bend along each strip to give it a curve shape so it’s easier to assemble the moon. And then.. assemble it! Start at the top point of one of your moons and use kraft/masking tape to tape the strip along the edge. To add a new one, just tape it right next to the last and use some extra tape to secure the seam.
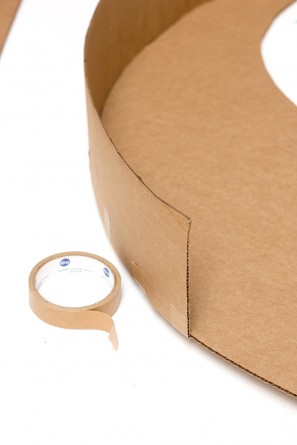
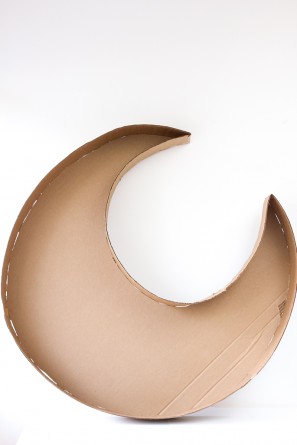
Once one side is secure, it’s smart to add fishing line for hanging it before you continue. Poke two holes in the top of the piñata and string fishing line through, then tie to make a loop. Then, repeat the same steps as above to attach the other moon. Before you completely seal it up, you can fill it with your piñata goodies! Alternatively, if you don’t want to fill yet, you can leave a piece of the side un-taped to make a flap, and just tuck it under after it’s fringed.
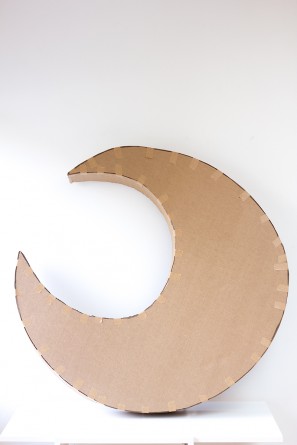
Now put that fringe to use! Start at the bottom and work your way up the front, following the curve. Because of the curved shape, your fringe strips should overlap more towards the inside circle of the moon, and less towards the outside. Use craft glue to adhere the crepe paper and adhere the mylar with clear tape. (NOT double stick! Despite what many people say, glue and double-stick don’t hold mylar permanently.)
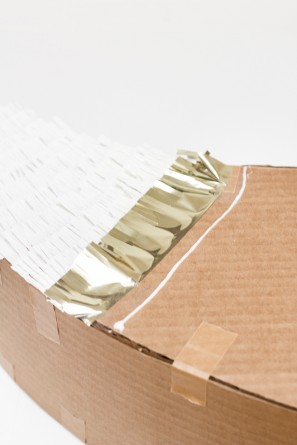
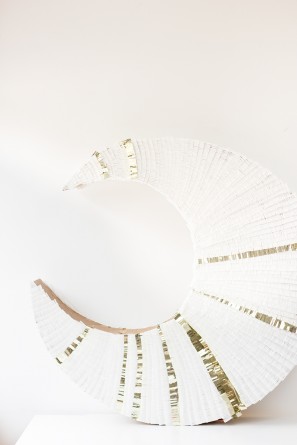
Once both the front and back are fringed, fringe the sides. Use the same method (except you’ll just be working in straight lines now, no curves!) and start at the bottom, working your way up.
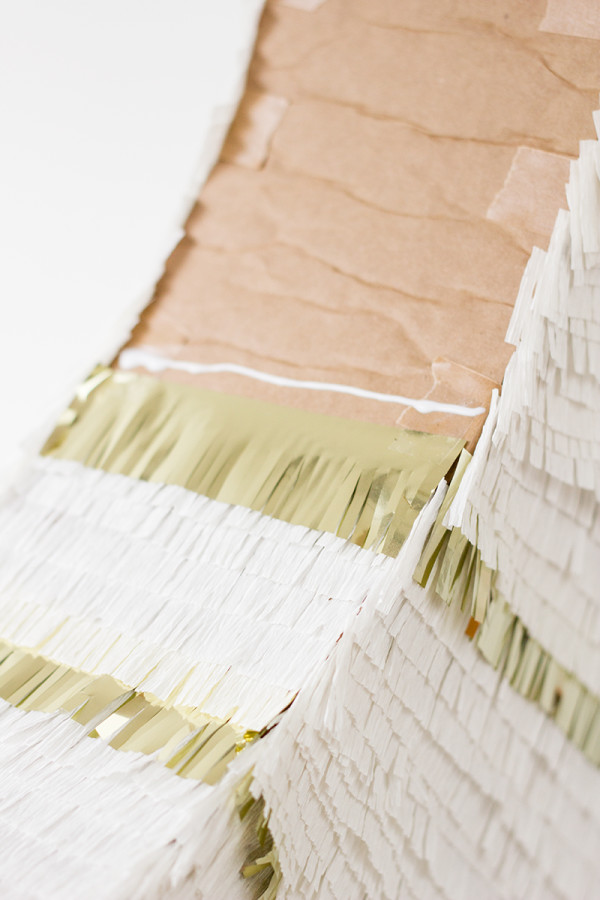
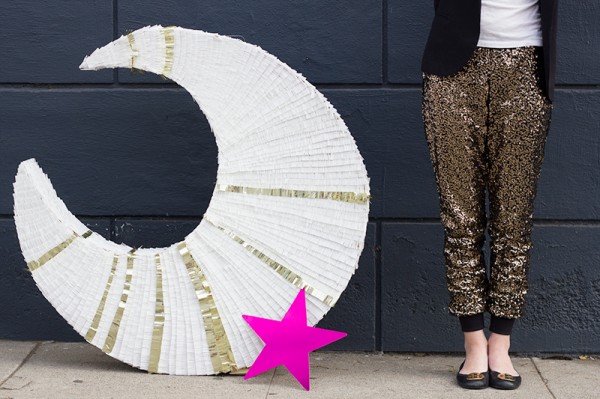
Done! Hang it up with some stars from the party store and you have yourself a sparkly party night’s sky!
Or you don’t hang it, and let your dog sit in it. Please do not attempt this after the piñata is hanging. No dogs were harmed in the making of this photo. They were, however, fed lots of treats.
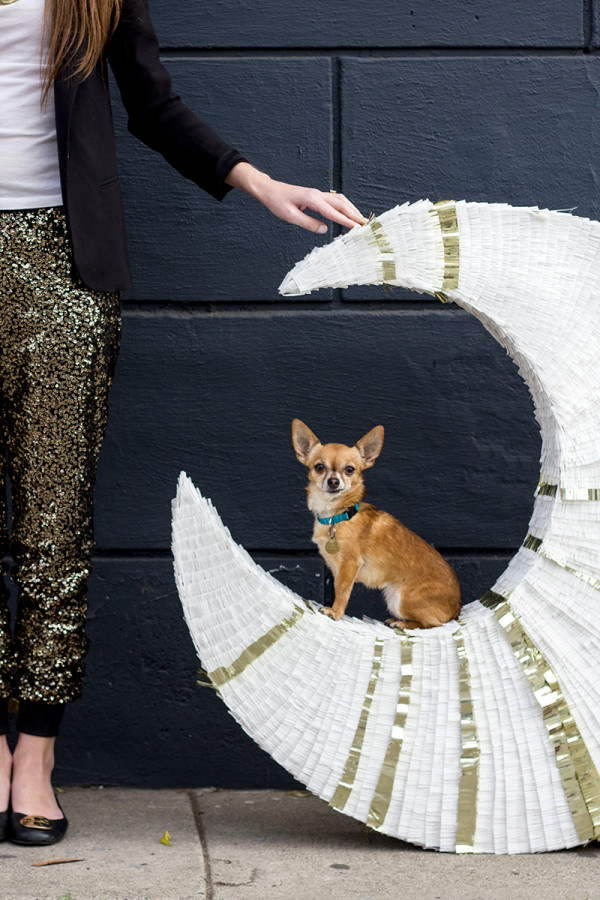
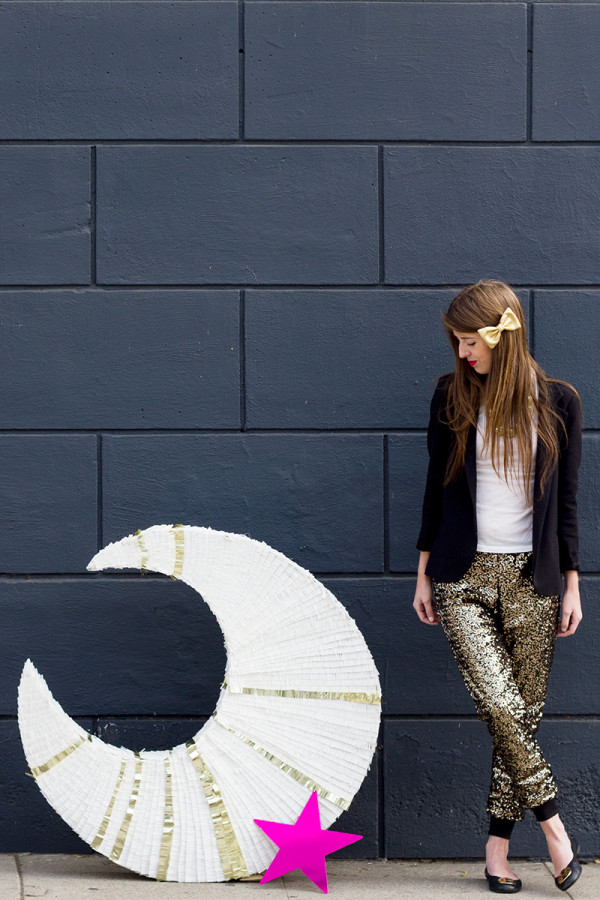
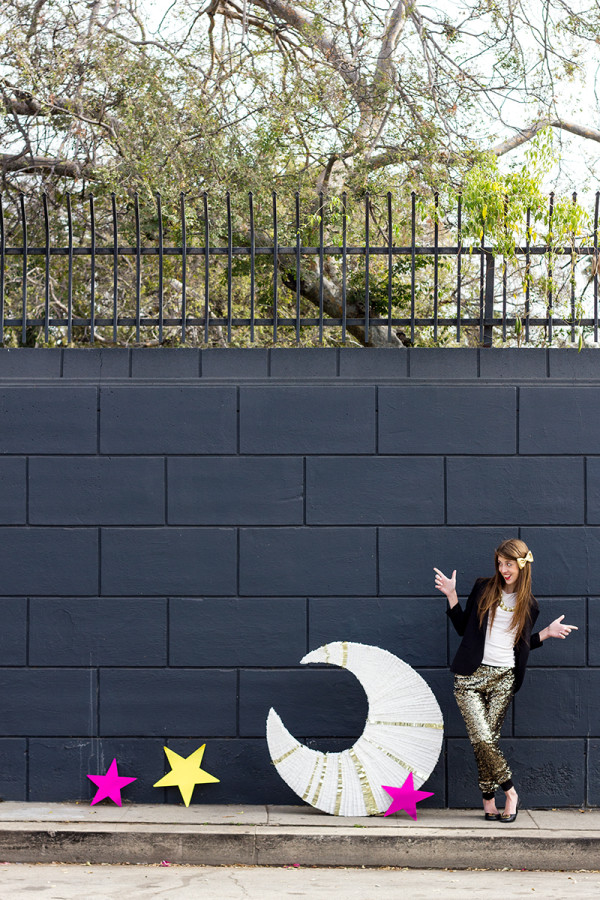
All Above Photos by Studio DIY
Remember, check out all the details about the Land of Nod windows right here! A big huge, gigantic THANK YOU to Katie, Danielle, Sara and everyone at Nod who invited and helped me with this awesome project! And a big ol’ hug to Mary, who spent the day on a ladder hanging stars and then snapped some photos so we could share it with you guys! Pssst… just a peek! Go see the rest!
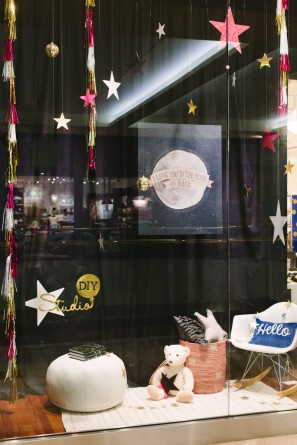
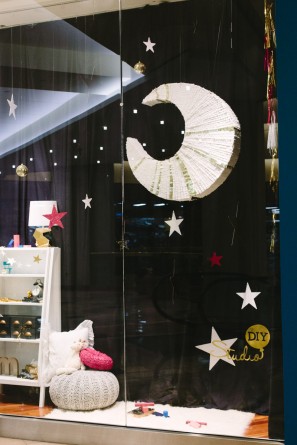
Above Two Photos by Mary Costa Photography
So, if you’re at the South Coast Plaza mall, you’ll just have to pop by and see ’em! And then go in and buy everything in the store, which is pretty much what I wanted to do when I spent the whole day their designing these!


Brittni says
This turned out AMAZING Kelly. Bella is so cute! I wish I could convince Luna to sit inside a giant moon piñata for a photo. But she would break it.
Laura says
This is adorable! I was at South Coast and saw this!! Thinking this would be perfect for my friends baby shower!! Thanks for sharing!
A Styled Life Blog
Marifer de la Borbolla says
I think I’m more obsessed with your pants than with the awesome piñata!! congrats for the project!
www.bazarika.wordpress.com
Erika Buckley says
So much fun! Growing up in LA, I got so spoiled by having my pick of fun and creative pinatas for parties. It’s a lot trickier to find fun stuff out here in Boston (although I still had a pinata filled with plastic booze nips for my bridal shower). Now I feel more confident that I can make my own for the next occasion!
Bethany says
This is SO fun. I didn’t think I needed this, but I will find a reason!!