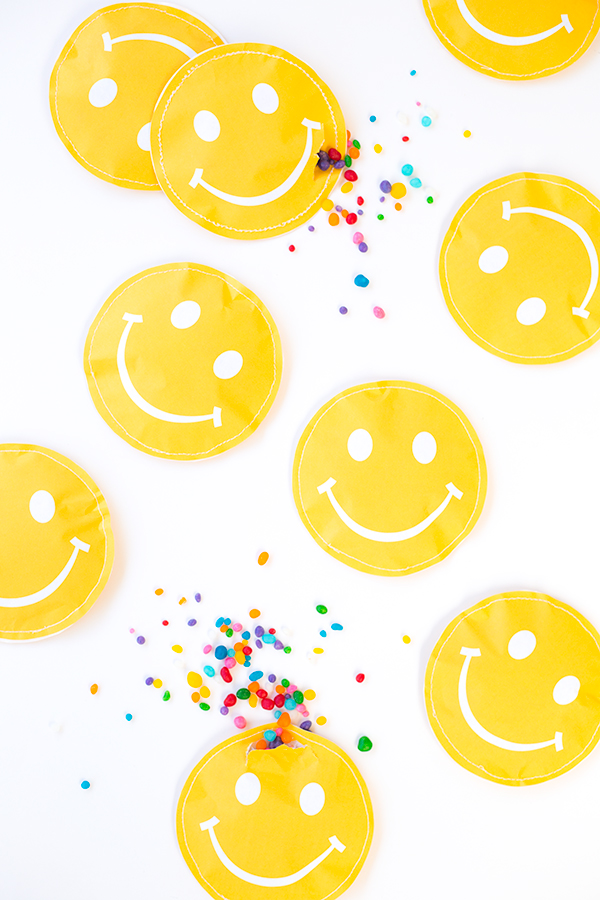
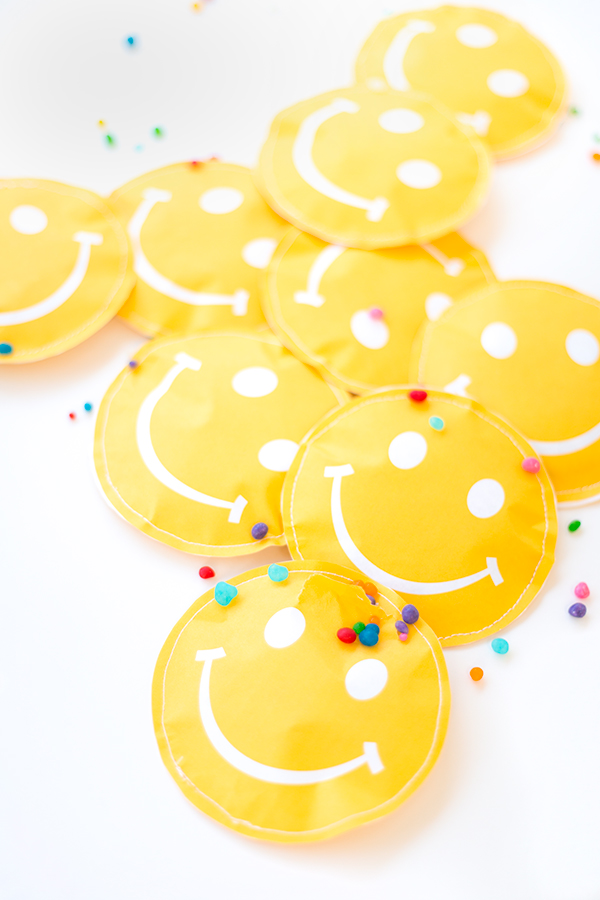
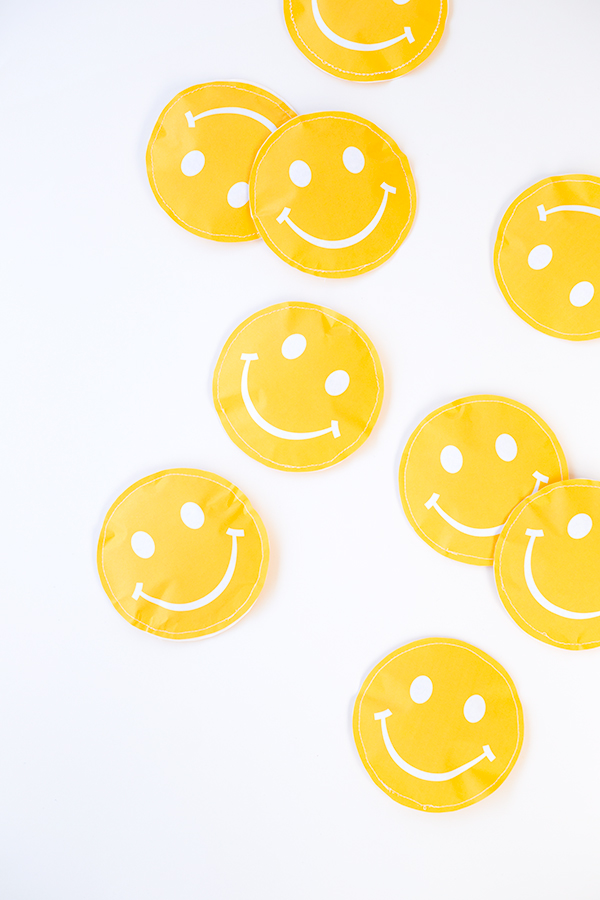
It’s color challenge day! I love this day! The six of us have teamed up once again and this time Mandi challenged us with my favorite color… yellow! Ooh! Ah! I actually use yellow, like, all. the. time. But for today I really wanted to make it the star! And I wanted to put a smile on everyone’s faces while doing so! Literally. Smile favor pouches!! Did you know you can sew paper? That’s actually how I learned to sew! It makes for a really easy way to seal up favor pouches, and when you slip a little wax paper inside too, you can stuff ’em with sweets! WIN! Aren’t these little smiley guys fun!? Let’s make some.
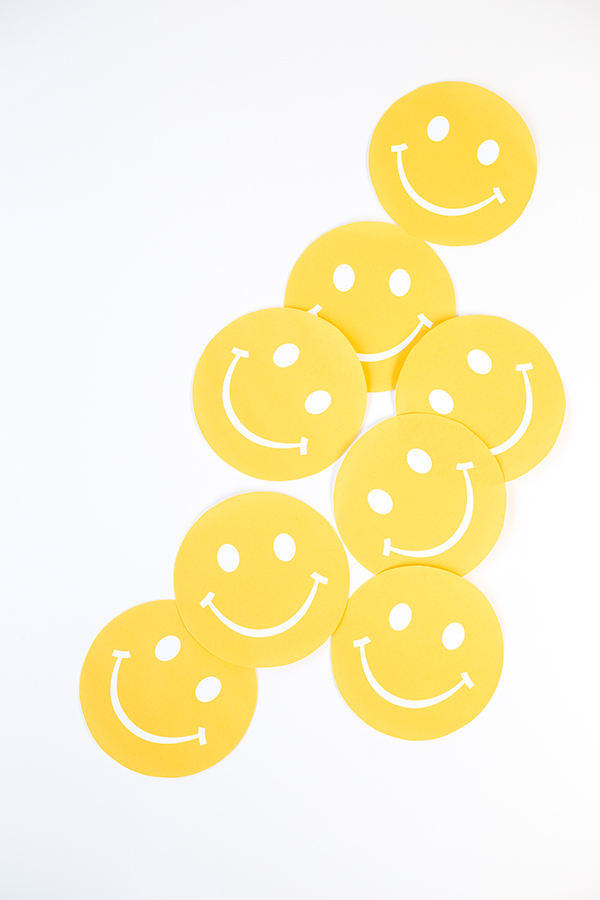
Free Printable Smile Face – Printed on Regular Computer Paper
Wax Paper (Optional if you aren’t stuffing with food products.)
Sewing Machine Threaded with White Thread
Scissors
Candy or Confetti for Filling
Funnel (Optional, for filling)
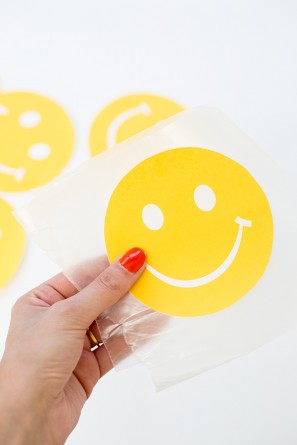


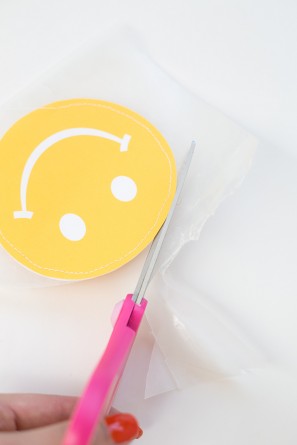
1. Cut out your faces. You’ll use two per pouch. And then cut out a long rectangle of wax paper, wide enough to span the width of the face and long enough to be folded in two. (The wax paper makes these food safe. If you aren’t filling with edible items, you can simple sandwich together your two faces and proceed with step 3.)
2. Fold your wax paper in half and then sandwich it between your two faces.
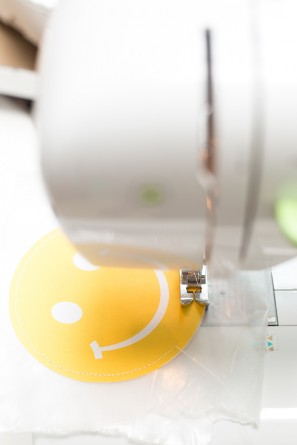
3. Stitch! You’re going to stitch all four layers together, about 1/4″ from the edge, leaving a 1.5″ opening for stuffing. When starting, make sure you’re tightly holding all four layers in place with one hand. Once you sew an inch or so around, they’ll stay in place! Sew slowly! Once you make a hole in paper, it doesn’t go away.
4. Trim off your excess wax paper, following the edge of your circle shape.
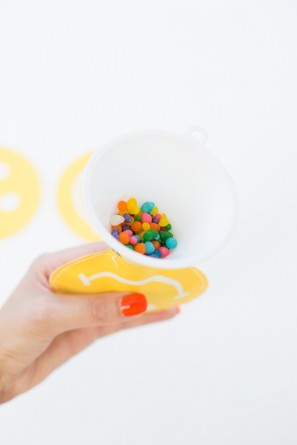
5. Fill your pouches! You can use a funnel to do so , or just fill by hand. Either way, make sure if you’re filling with food that you are putting the candy between the wax layers. Don’t stuff them too full. If you do, it will be very hard to sew the opening shut.
6. Go back to the sewing machine and sew your opening shut. Overlap a few stitches in the beginning and the end to make sure it’s secure! Trim the threads and ta-da!
*A bonus tips… sewing paper can dull your needle, so you may want to keep a separate needle for doing so. It also generates some hefty dust! Be sure to clear out your bobbin case after you’re done.
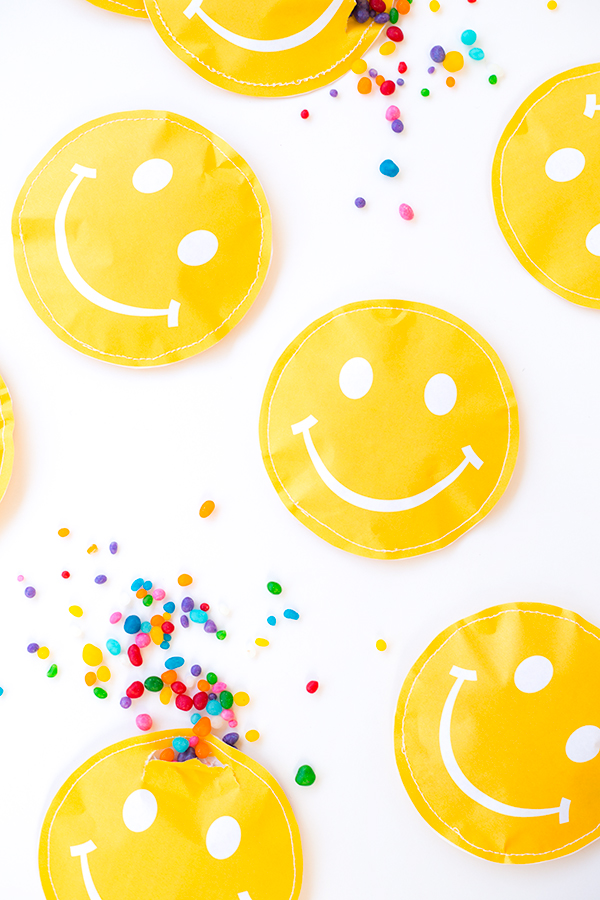
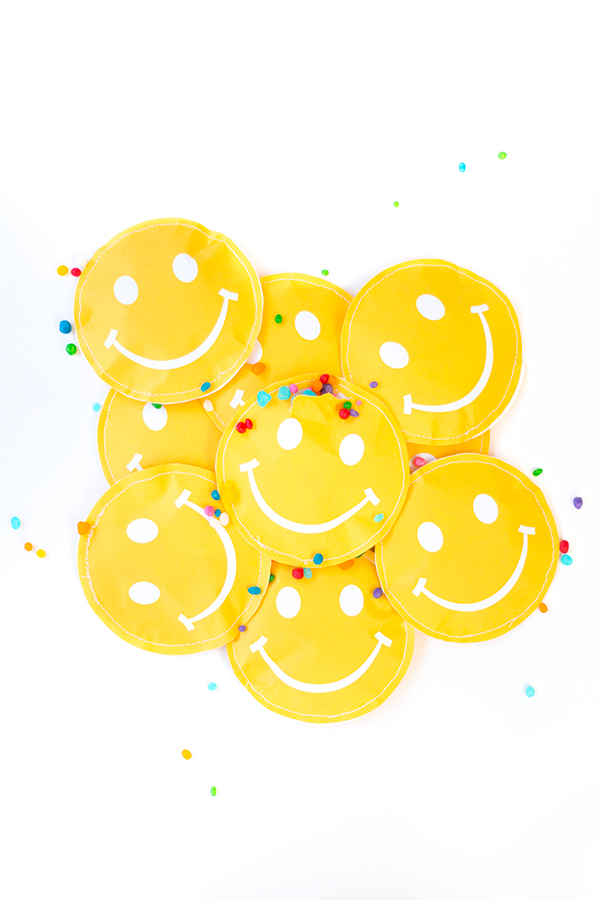
All Photos by Studio DIY
The perfect favor for a summer party if you ask me! Now, go check out the rest of the yellow color challenge posts below! YAY for yellow!




bridget {bake at 350} says
These are SO, SO cute! So happy! LOVE yellow!
Brittni says
I love all the color challenges that the six of you do!
Jamie says
Mission accomplished! These make me very happy, indeed!
Corina Nika says
Aw! just how adorable are those! <3
Terrie says
These are so cute!
Jamie G @ SnapGinger says
Def making these!
xo
Jamie @ SnapGinger