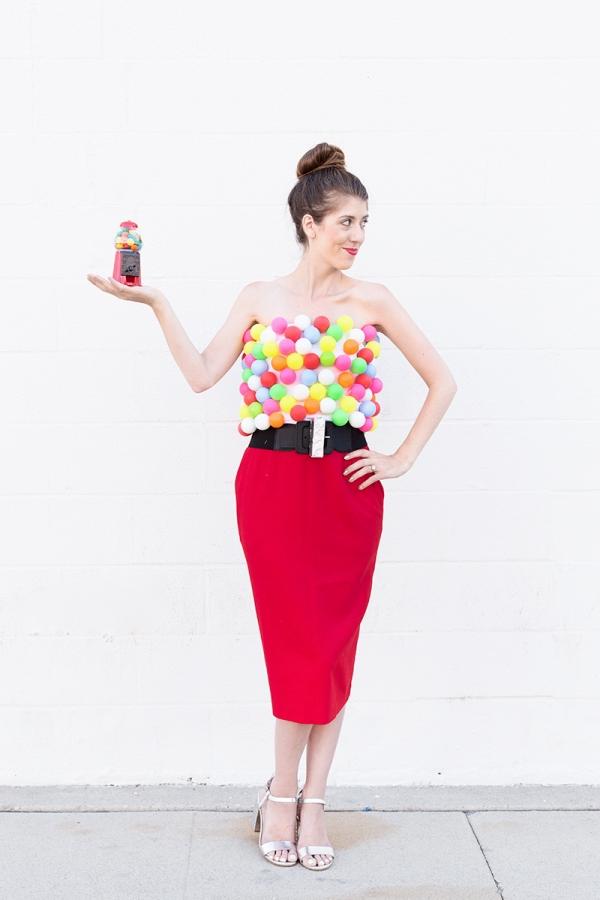
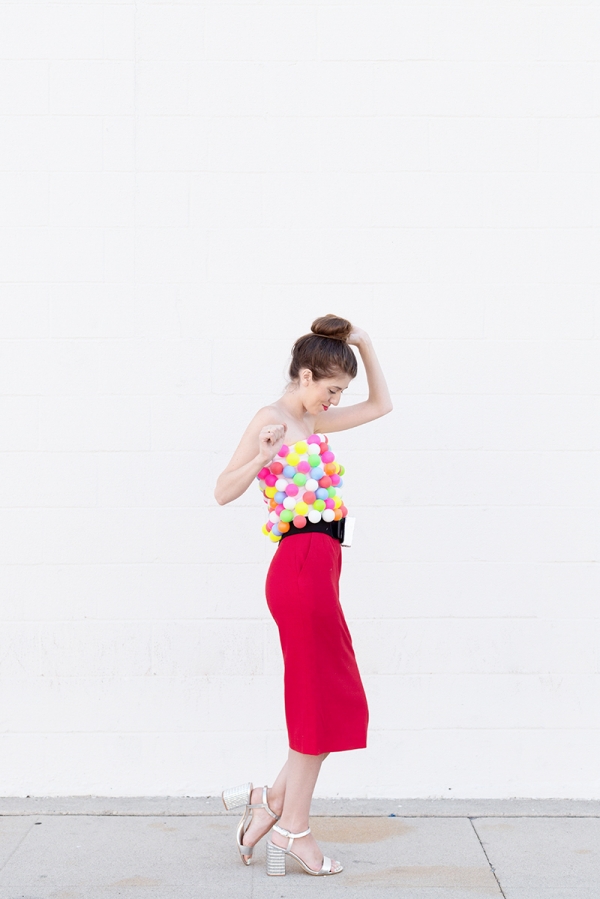
A few years back we shared a super cute gumball machine costume for the kiddos and ever since I’ve been dying to do an adult version! This year, Savers challenged me to create a costume using items from their family of thrift stores and all of the items I found were under $10! HELLO! When I spotted this red pencil skirt I knew that it was finally time to make that gumball machine costume of mine! Plus, we’re throwing the Ultimate Halloween Party with a couple of other awesome blog pals so this is only the beginning!!
Thrift stores, like Savers, are such a great option when you’re shopping for costume items (for this costume or any of my other ones!) because they are SO affordable that you aren’t afraid to have fun with the items you buy! Paint and glue on them OR buy something new even if it’s just for one night! So many DIY opportunities!!! The top, skirt and belt I bought were only about $12 TOTAL! They also have all sorts of new Halloween costumes and goodies, like a silver jumpsuit that would look MIGHTY fine with this disco ball costume. But back to the gumball machine…
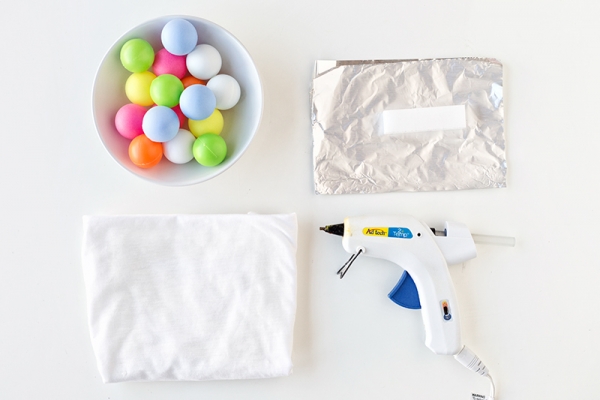
Red Dress
Wide Black or Silver Belt
White Tube Top
Ping Pong Balls in All Colors (We used these plus a few orange and white we bought locally!)
Nail Buffer (Yes, this makes the “crank” for the machine!)
Aluminum Foil
Hot Glue Gun
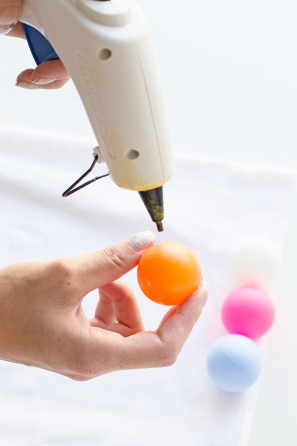

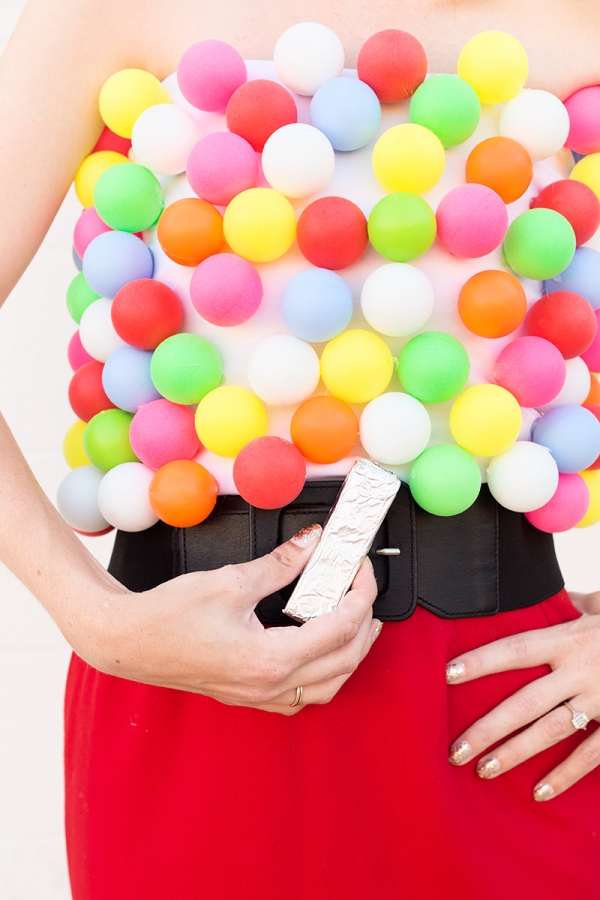
1. If you’re top is stretchy, we recommend putting a piece of cardboard inside while you make the costume to stretch the top a bit. Once that’s ready, heat up your hot glue gun and begin gluing ping pong balls along the top of the tube top. Make sure they are snugly against each other to minimize gaps.
2. Continue gluing ping pong balls all the way along the shirt until it’s covered OR if you’ll be tucking the shirt into a skirt (like we did) only glue ping pong balls on the part of the shirt that won’t be tucked in.
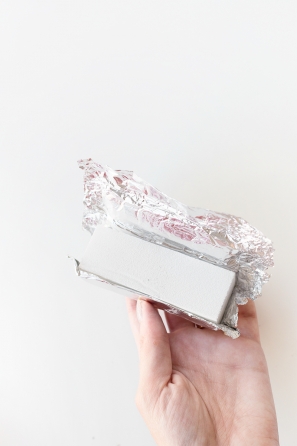
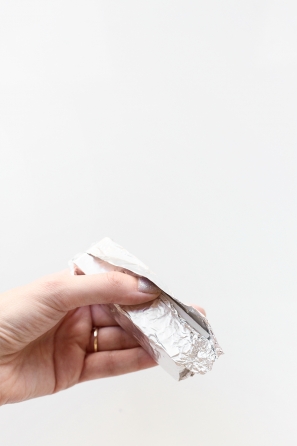
3. Cut a piece of foil big enough to cover the nail buffer and begin wrapping it like you’d wrap a present.
4. Fold in the leftover ends, again like a present, and attach to your belt. If you are using a belt like mine with an adjustable buckle, you will have to wait to attach the crank until after the belt is on you!
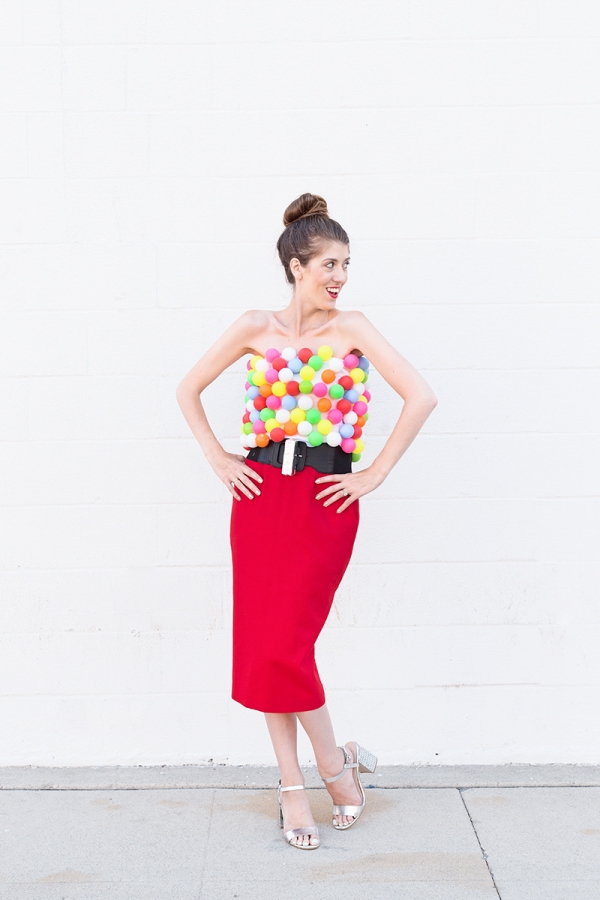
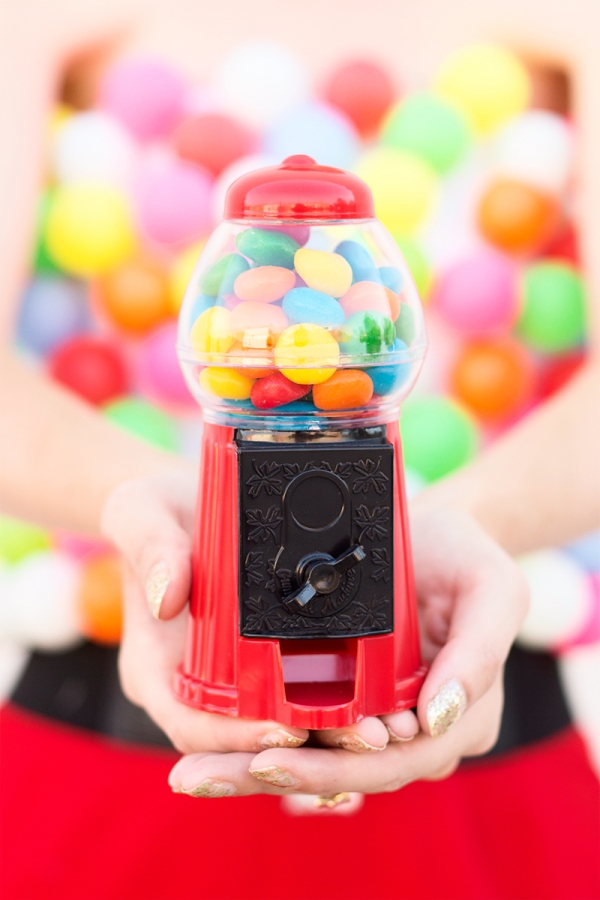
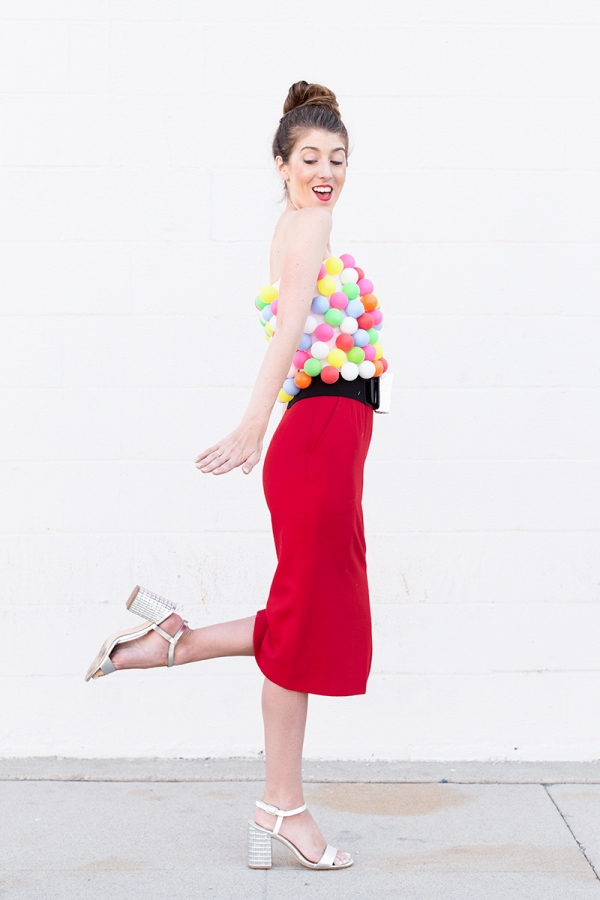
Photos by Jeff Mindell
Now that you’ve got your costume ready, it’s time to plan the rest of the par-tay! Be sure to head over to Savers’ Ultimate Halloween Party on Pinterest where Sugar & Charm, Jenny Cookies, Poppy Talk and I are getting you all ready for the best Halloween bash EVER! And don’t forget to share your Halloween happenings with the tag #thriftortreat! Tomorrow I’ve even got a pumpkin DIY coming at you that’ll look mighty fine with that costume up there!
This post was created in partnership with Savers, All content and opinions are that of my own! Thank you for supporting the sponsors that keep the Studio DIY party going! Read more about my editorial policies here.
If you make a Studio DIY costume, share it on Instagram with #studiodiyincostume to be featured here on the blog (and for a chance at some other cool surprises we have in store!)!!



Natalie | Natalie Was Here says
This is the CUTEST thing I’ve ever seen. Please stop. Just kidding, please don’t.
xo,
Natalie | Natalie Was Here
http://nataliewashere.com/
Monique | WritingMonique says
Wow. Wow! Gorgeous, so cute!
Danica says
What revisions would you suggest for a male outfit. No, he doesn’t want to wear a red pencil skirt so I’m thinking red shorts but what style of white top?
Kelly says
I’d suggest a white t-shirt!