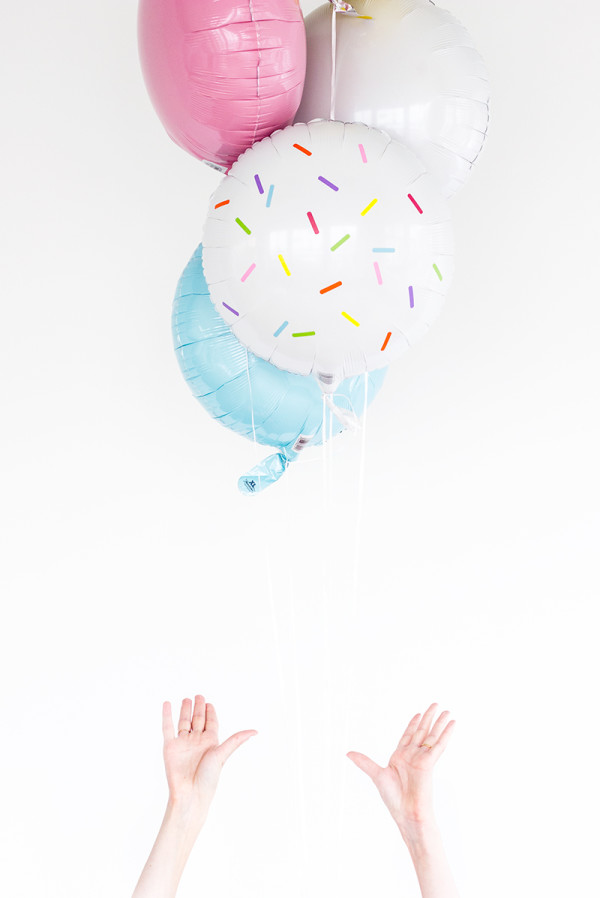
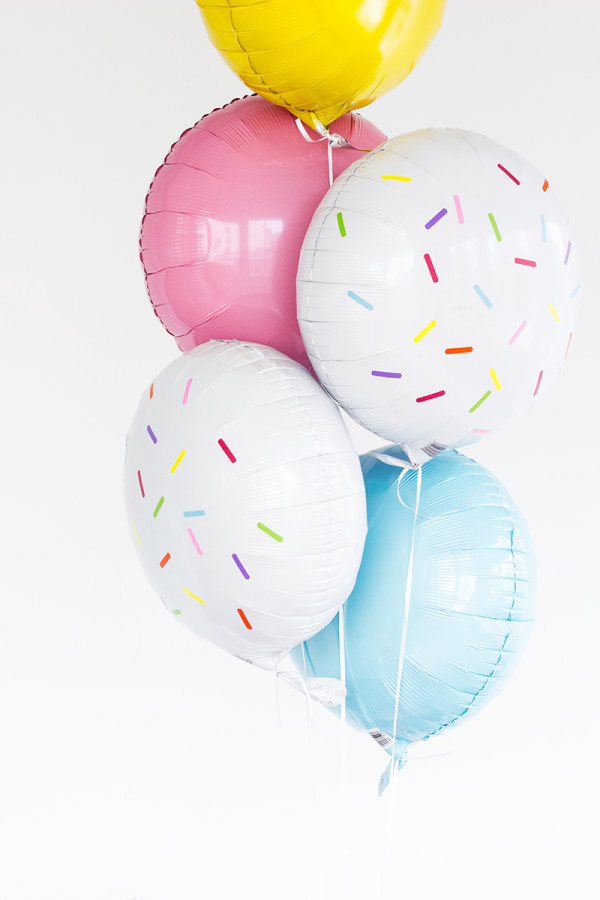
WOO-WEE! It’s been quite a weekend. We moved all of Studio DIY HQ to it’s new home and then went to the Meghan Trainor concert where I fell even more in love with her, danced my butt off and simultaneously lost some of my hearing. (Kidding, mostly. I’m secretly 90 years old.) So today, for those of you who’ve had a hectic weekend like me, I’m keeping it simple with a new Cricut project as easy as the kiddie sticker books you used to do! Except better, since these stickers go on balloons! Sprinkles + two more tasty treats to adorn my (and hopefully your!) favorite party decor with!
Click through for the full tutorial!
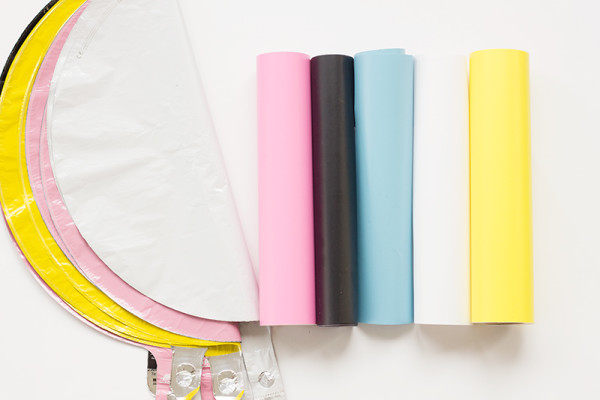
Adhesive Vinyl in Desired Colors
Cricut Explore™ + Cutting Mat (*** See note below the instructions if you are not a Cricut owner!)
Mylar Balloons Filled with Helium
String/Ribbon
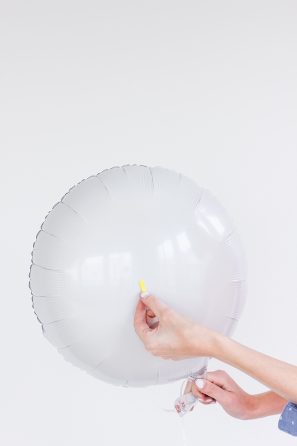
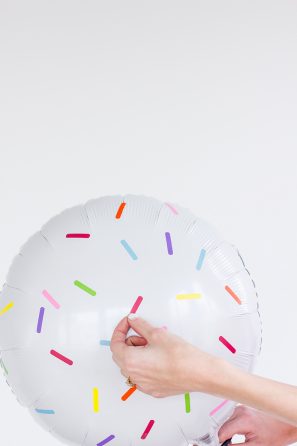
![]() 1. Open this project in Cricut Design Space and follow the instructions to cut the shapes out of vinyl.
1. Open this project in Cricut Design Space and follow the instructions to cut the shapes out of vinyl.
2. Remove the vinyl stickers from the backing and adhere to balloons as desired. YEP! That’s it!
***A few of you have mentioned that you don’t have a Cricut and would love a way to still be able to make the projects I share in partnership with them. Good news! I have a solution for you thanks to the new Print and Cut feature. If you’d like to make one of these projects and you don’t have a Cricut, follow the steps below. This will allow you to purchase the file (just $0.99!) and print and cut it by hand. I will warn you that this will be a bit more laborious as you will be hand cutting everything, but it’s a great solution for those of you who’ve asked!
1. Click the “Make It Now” button for the project you want to make.
2. Press the “Customize” button.
3. Select all images and click the “flatten” button in the pop-up menu on the right.
4. Hit “Go” and then hit “Print and continue”. At this point, your printer menu will pop up and you can print the image. After you hit print, it will ask you to make sure you have connected your Cricut Explore, but you can just ignore this as you are all finished! Once you’ve printed the template, you can trace it on to your vinyl and cut out the shapes by hand. Tada!!!
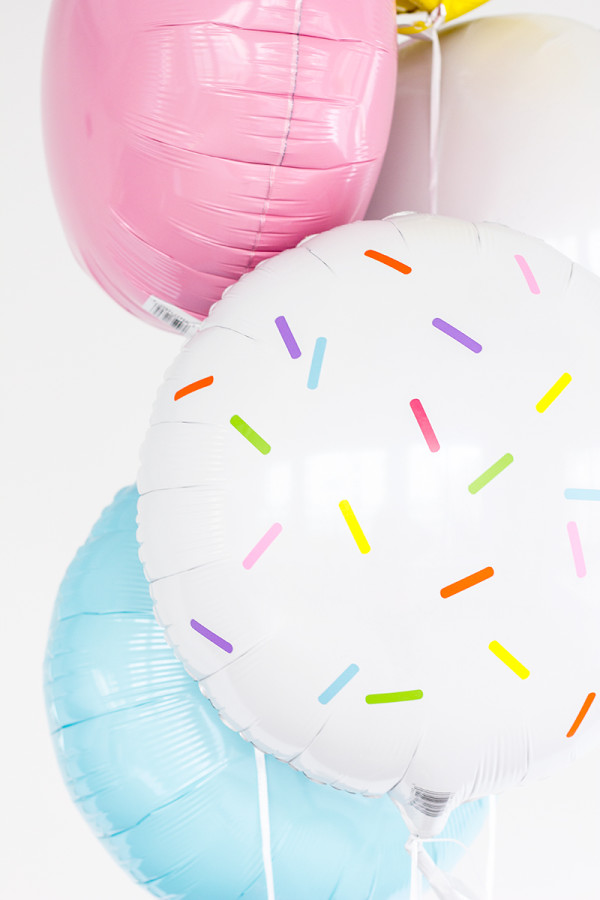
I used this technique for two other sugary balloon treats! Click the link below each one and follow the above instructions to make ’em!
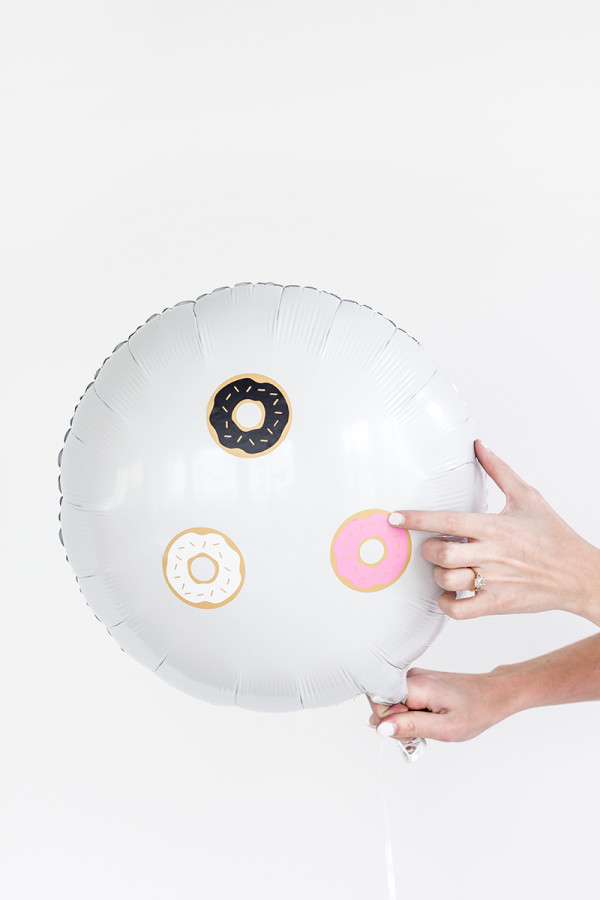
Donut balloon Stickers! Click here to make ’em.
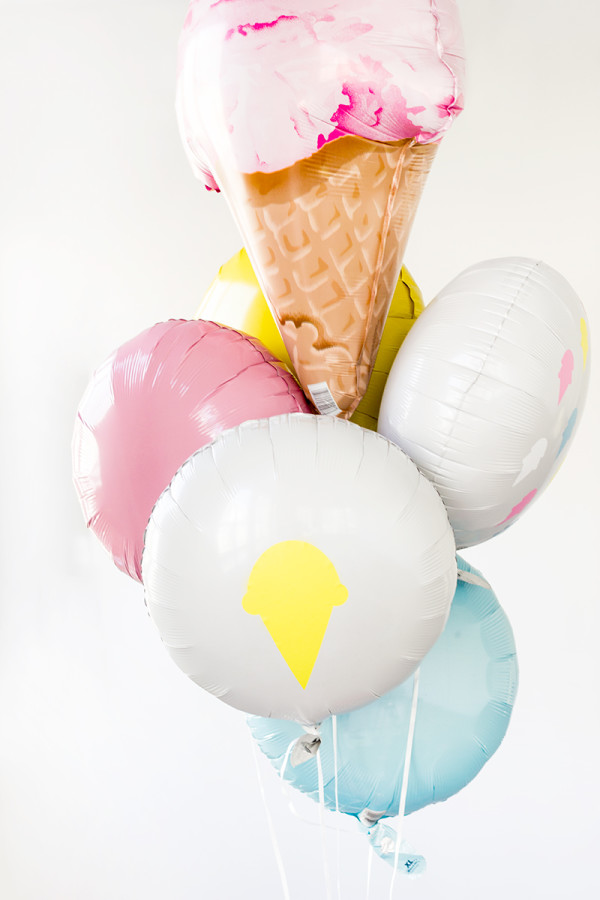
Ice Cream Balloon Stickers! Click here to make ’em.
Photos by Studio DIY
 This post was created in partnership with Cricut, All content and opinions are that of my own! Thank you for supporting the sponsors that keep the Studio DIY party going! Read more about my editorial policies here.



Brittni says
So adorable. I love how easy these are!
Veronica says
Super simple and sweet!
Gilly @ Colour Saturated Life says
Love these….they just look so freakin adorable!
Monique | WritingMonique says
Aah! So adorable! I love these!
Lisa says
LOVE the balloons!
Nickeya says
Oh Man! this definitely looks sooooo fun to make! 🙂
Malissa says
Oh I love these soooo much!!
Neiman says
Love this so much! Would I be able to use a silhouette cameo to make those sprinkle shapes?
Sara says
Hi,
This is such a cute them and I want to use your balloon sprinkle idea. Is this project still up to use w/Cricut? I clicked on the link and it didn’t lead me to anything, but the homepage of the design studio.
Thanks.
Amanda Hansley says
Hi,
I love these!! However, when i click on the cricut link it does not open your designs. Can you please tell help.
Thanks
Amanda
Danielle Littlejohn says
Hi the link to the cricut project isn’t working for me. Can you please give us the name of the project so we can search for it on there?