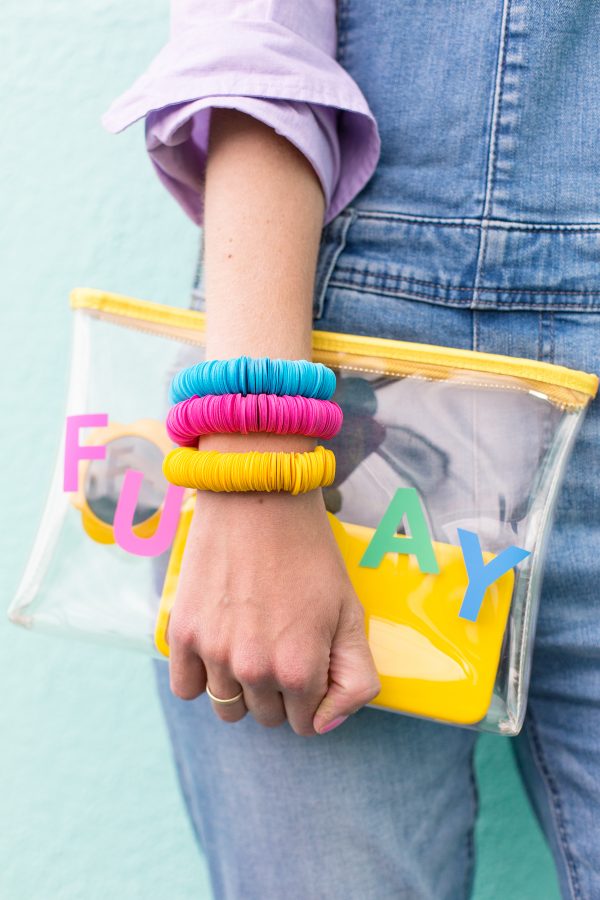
My friend Brittany Jepsen is the QUEEN of paper crafts over on her blog The House That Lars Built. Her talent is completely and totally mind-blowing. She recently wrote a book called Craft The Rainbow and every single project in the book is made of paper… but you wouldn’t know it!!!! There’s projects to wear, to gift, for your home and the photos are stunning. In honor of it’s launch, I decided to try out one of her tutorials… for these super simple (but so fun!) DIY paper disk bracelets!!! Check it out below and head here to grab a copy of the book!


DIY Paper Disk Bracelets
Total Time: 1 Hour
Supplies
Cardstock in various colors
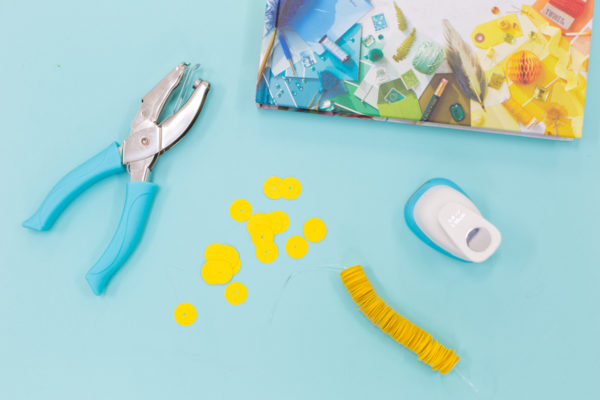
3/4" Circle Punch and Mini Hole Punch or paper-cutting machine
Scissors
Directions
1. Cut out 350 to 400 disks from cardstock, depending on the size of your wrist. You can do this with a circle punch, by hand using the template (see page 171) or with a paper cutting machine. Make sure the hole in the center of the disks is large enough for your elastic to fit through. If you're cutting disks with a machine, make a 3/4-inch (2-cm) disk, and slice a smaller disk onto the middle.
2. Thread the paper disks onto the elastic until it is long enough to fit around your wrist. The disks should be packed together very closely.
3. Cut the elastic and secure the ends with a square knot. Trim ends. Wear in good health.


Tutorial from Craft The Rainbow | Photos by Jeff Mindell
I’m dying to make more bracelets and fill out the rest of the rainbow!! This would be a great DIY for a craft night and it’s simple enough to do with kids, too!





Michelle says
What a cool idea to make jewelry out of paper, the bracelets look fun!
https://www.makeandmess.com/
Kelly says
Right!? So in love with them!!
Kristina B says
In Step 1, “yardstick” is cardstock, yeah?
This looks so fun I will have to grab her book. I didn’t know it was ALL PAPER. Now yer talkin’ my language!!
Kelly says
Ha, doh! Yes!! You don’t want to cut 300 discs from yardsticks, you mean? 😉
You’ll LOVE this book!!!
sugmy says
Amazing craft by paper.