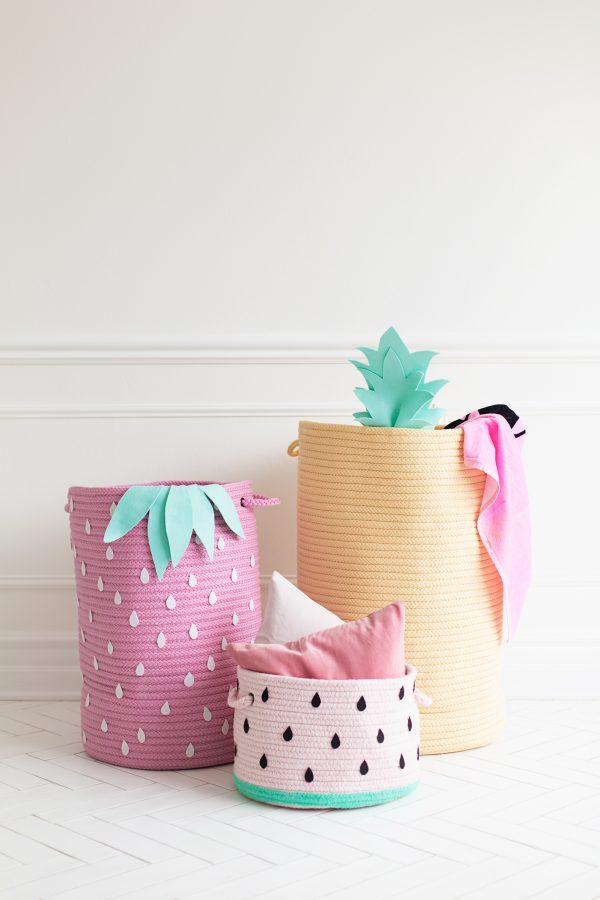
You know the drill! Summer time means we gotta get our annual fruit-inspired DIY on! This time, it’s one for the home! I’m gonna show you how to make these fruit-inspired storage baskets!!!
This DIY was inspired by a new crafting show geared at kids called The Big Fun Crafty Show on Universal Kids. I can’t tell you how happy it makes me to see a kid crafting show coming out! My mom got me started on crafting pretty much from the time I could sit up on my own (LOL) and I think using my creativity when I was little was so integral to who I am today. It helps kids foster independence, uniqueness and confidence. The show is a competition series that puts three teams of kids to the test tackling fun crafting challenges with the items available to them. It’s hosted by Carly Ciarrocchi who helps the kiddos think outside the box.
It is SO fun to watch and will give you and your kids so many ideas for getting creative, especially as we head into the summer months! Since the show is all about using what you have and we have approximately 4,000 baskets in our house since Arlo came around to store everything from toys to clothes to books, I thought I’d give them a little makeover! Several years ago I had an amazing pineapple basket that I sold and have never been able to find again so that sparked the inspiration for this basket upgrade. It’s crazy easy and would be adorable in a kiddo’s room. Ready!?
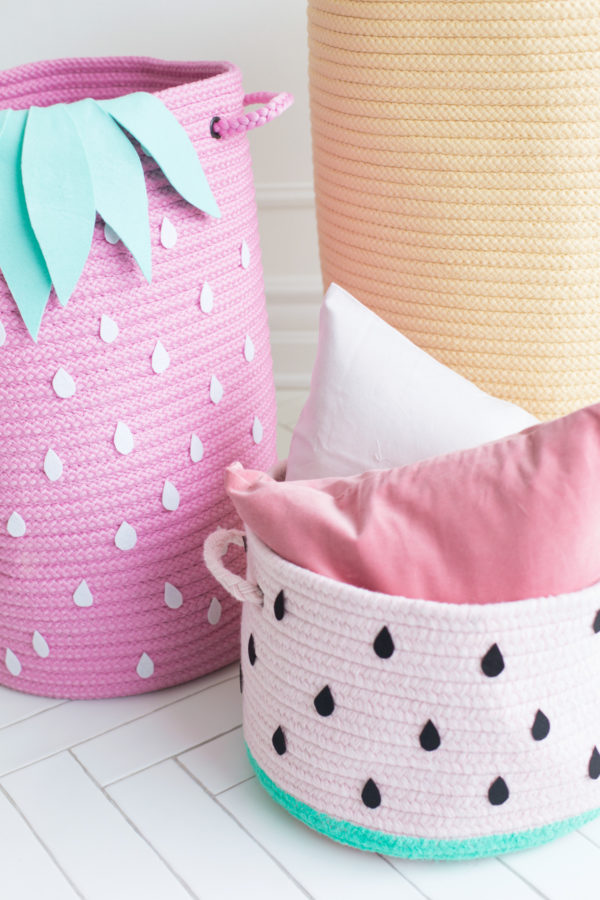
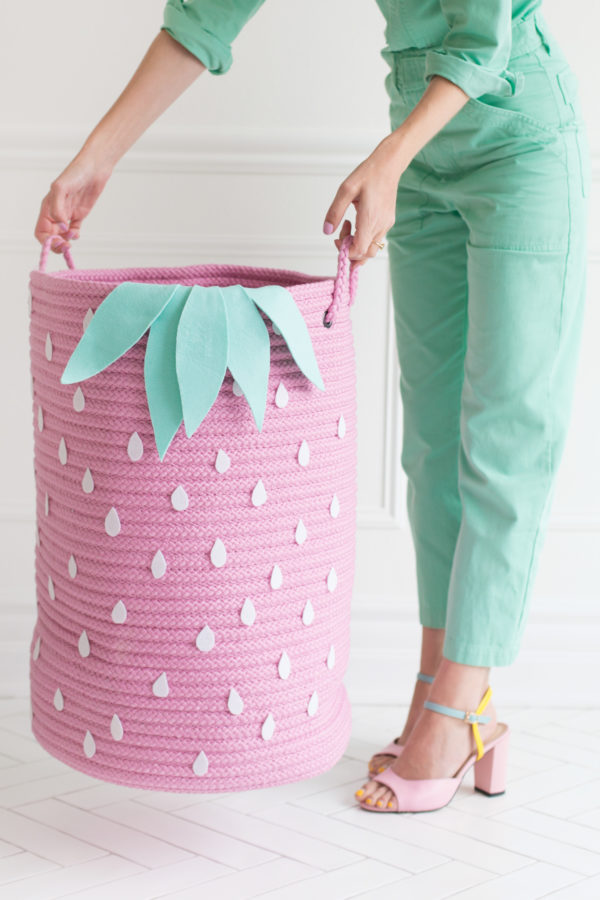
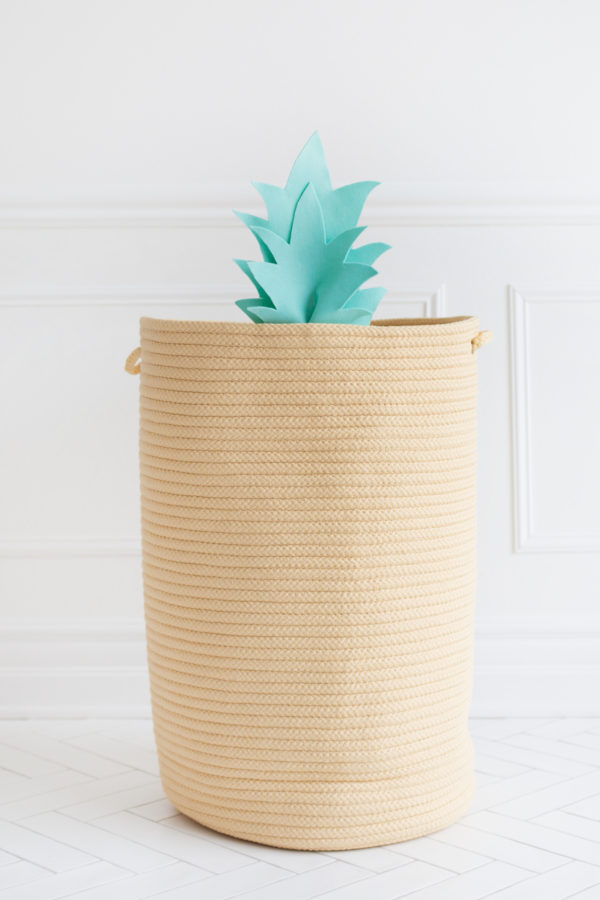
DIY Fruit-Inspired Storage Baskets
Total Time: One Hour
Supplies
Woven Storage Baskets in Desired Color(s)
Felt in Desired Color(s)
Fabric-Safe Paint (If making the watermelon!)
Needle + Embroidery Thread, Hot Glue or other Fabric-Safe Glue (Your preference! We used hot glue!)
Scissors
Directions
1. Cut out the felt shapes you need for your fruit, either leaves, seeds or both! For seeds, you can fold your felt in half and cut through two layers at once so you get 'em done faster! The size of the shapes will depend on the size of your basket. If you want to do a test-run, just use a piece of computer paper to cut the shapes first so you can get the size right without wasting your felt!
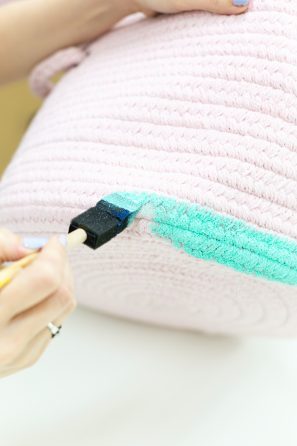
2. If making the watermelon, paint the bottom 1/4 section of your basket with fabric-safe paint. Let dry completely.
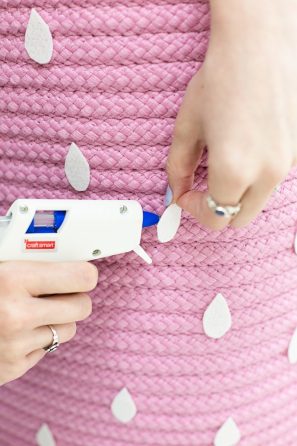
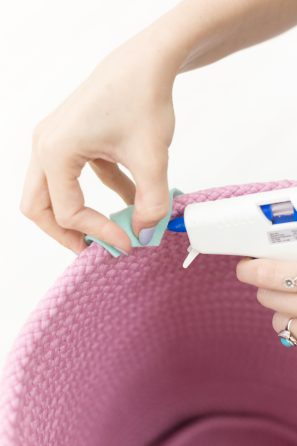
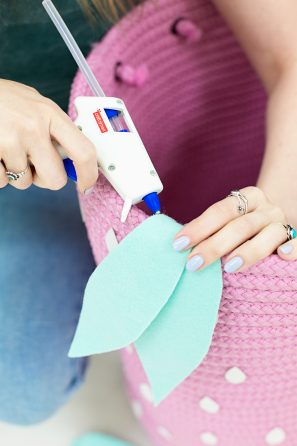
3. Glue or stitch the seeds to your basket, if applicable. Then, if using leaves, glue or stitch the end of each leaf to the inside of your basket so the edge is hidden!
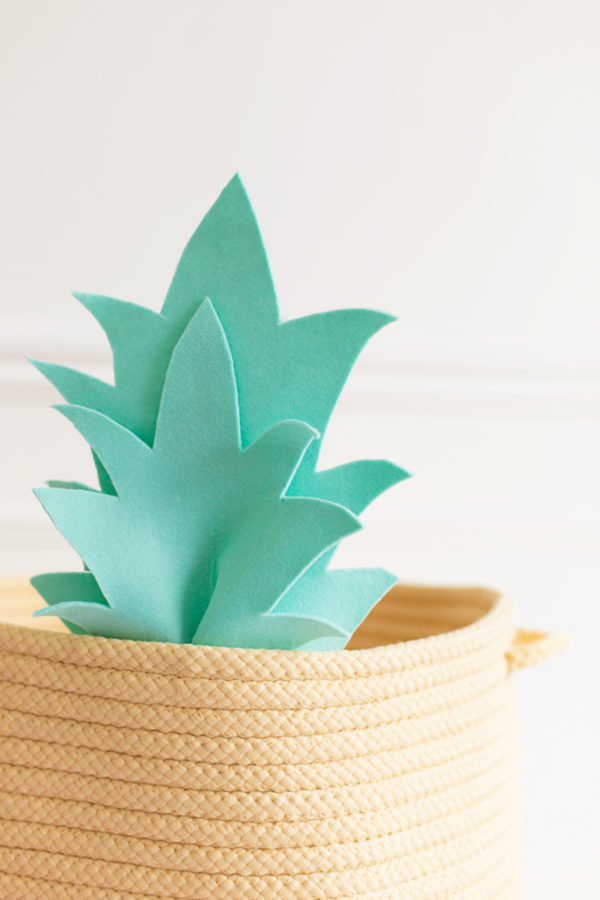
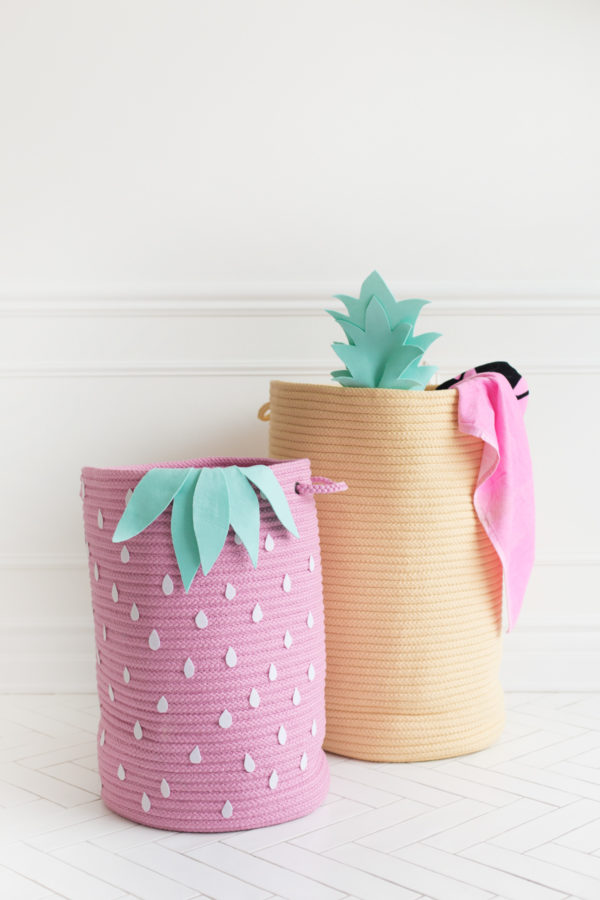
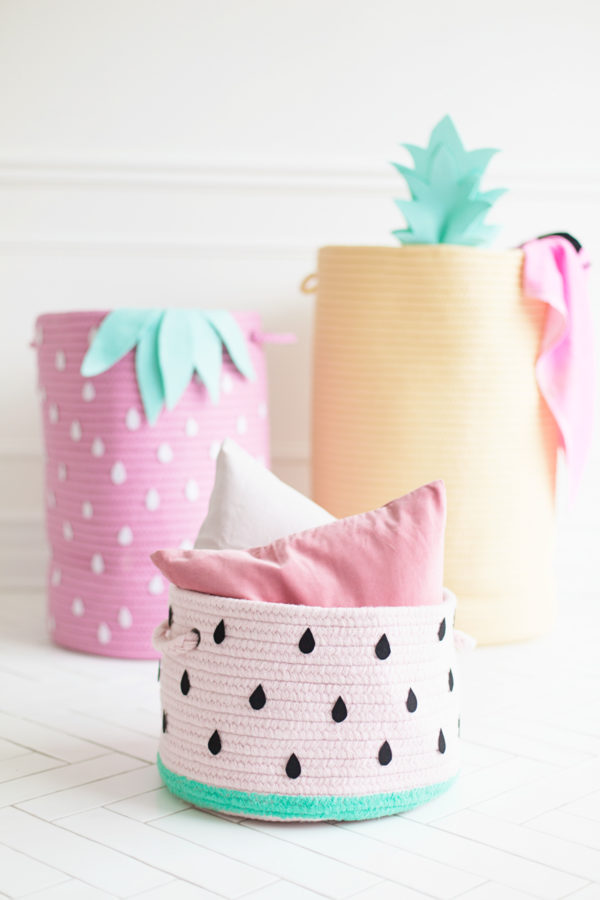
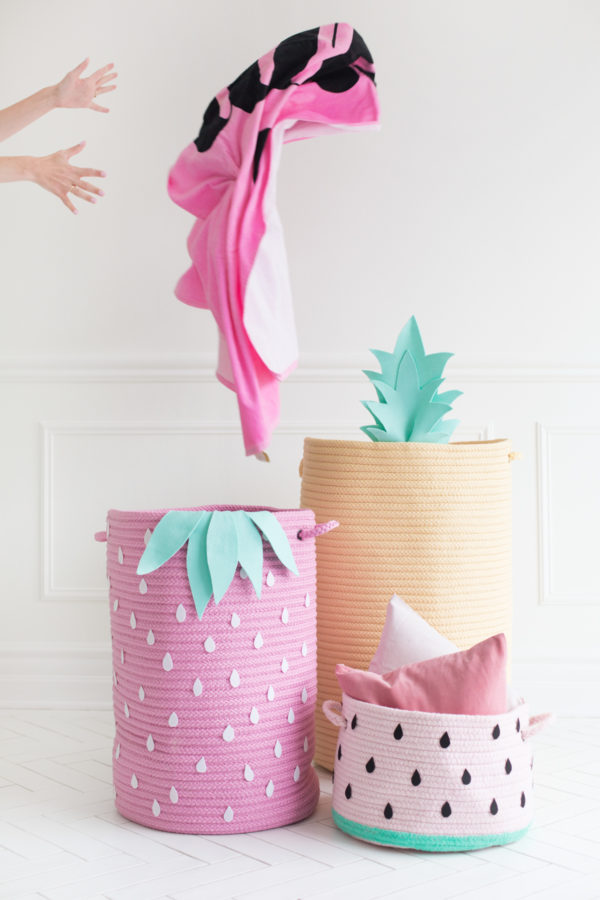
UGH are they cute or what!?!? If you make one, you gotta share a pic and tag me so I can see! And don’t forget, The Big Fun Crafty Show airs Monday-Friday at 5:30pm ET/4:30pm CT on Universal Kids. I highly encourage you to tune in with your family, it’s such a blast and will hopefully spark some inspo for ever more summer crafts for you guys!
This post was created in partnership with Universal Kids. All content and opinions are that of my own! Thank you for supporting the sponsors that keep the Studio DIY party going! Read more about my editorial policies here.


Michelle says
They look so adorable, I just love the idea! My favorite is the strawberry!
https://www.makeandmess.com/
Kelly says
Thanks Michelle!! I think the strawberry is my fave too! 😉
Mia S says
I love these so stinking much!!! The watermelon one is SO cute. I wonder if I can convince my husband we need these….
Kelly says
You OBVIOUSLY need them! Haha!
Erin Dolan says
Love these! I can’t find any fun colored baskets. Where are these ones from?
Thanks so much!
Cinzia says
I love this idea. <3
Impossible game says
that’s so cute! I will try to make it with my daughter
canlitv.center says
A really great thing for me i got from thsi amazing blog, its indeed for me i really in the search of some amazing banners page, i want it for my websites.
gmaillogin says
Looking forward to reading more.. Great post. Really Cool