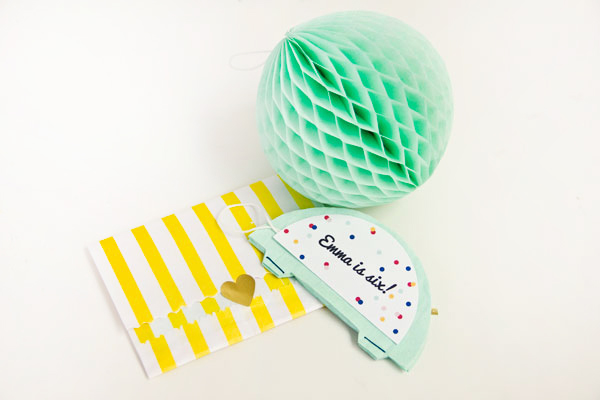
Well looky here! I’m managing to squeeze in one last DIY before I pick up and head to Alt Summit tomorrow (If you’re going too, be sure you scroll all the way to the bottom!)! You know I love when party elements can be interactive or have an extra little pop and these certainly do. Why, you ask? Because these party invitations turn into honeycomb balls! Instant party in an envelope my friends! Excellent for birthdays and baby showers if you ask me! Here’s the scoop…
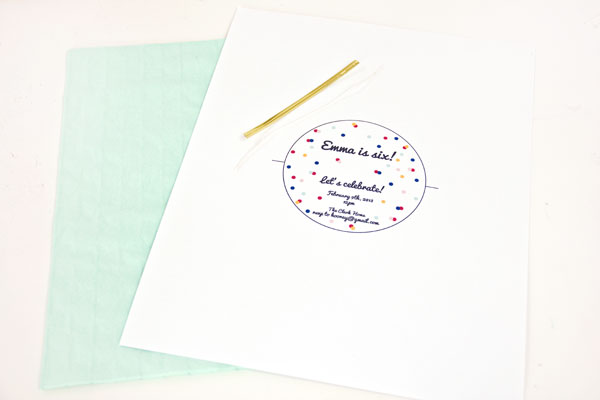
Honeycomb Paper
Thick Cardstock
Word, Pages, Adobe Illustrator or other Text/Graphic Software + Printer
Double Stick Tape
Scissors
Stapler
Twine
Twist Ties
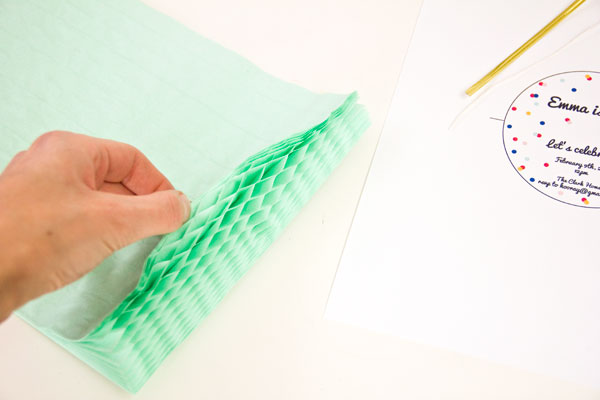
Create a template for your honeycomb balls. To do this, trace a bowl or other circular item that is your desired finished size. (Mine was 4.5″. I recommend staying around that size as going larger or smaller will alter how the honeycomb “opens”. But feel free to experiment at your own risk!) Cut out the full circle, fold in half and then re-trace it to create a half circle. Add two 1/2″ wide tabs to the flat side of your half circle. Cut this out and use as your template. Trace your tamplate onto your honeycomb paper, going in the opposite direction of the glue lines.
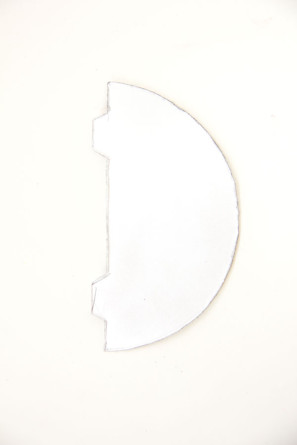
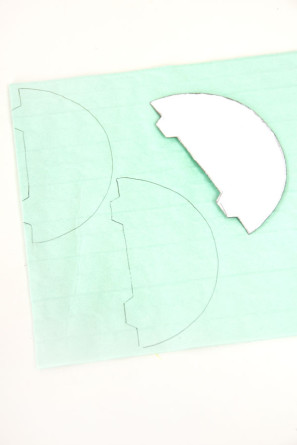
Cut out your half circles. You’ll need two for each invitation. Adhere the two half circles together with double stick tape.
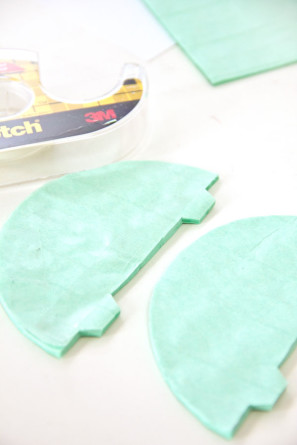
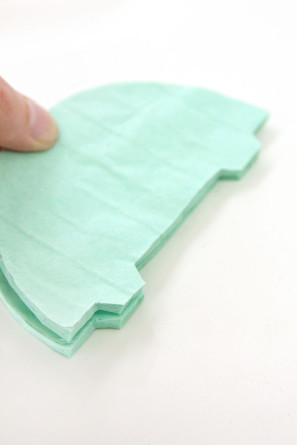
Then staple the tabs together, through all layers.
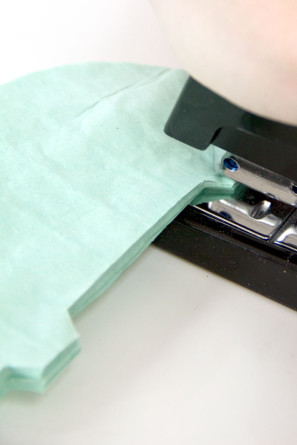
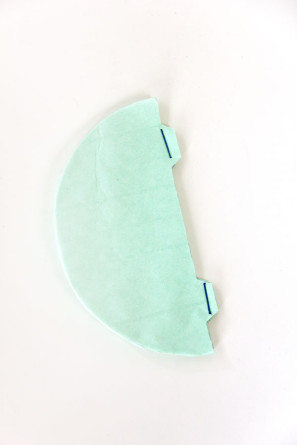
You’ll need to create the wording for your invitation in a graphics or text editing program. Word will work just fine! Design your invitation wording so that it fits within a circle that is one inch smaller than your honeycombs. (Mine was 3.5″) You will be cutting these in half, so ensure you leave the middle of your circle open for cutting! You could even hand write/draw them, if you’re talented like that! Print off your invitations onto a thick cardstock, cut out the circles and then cut them in half.
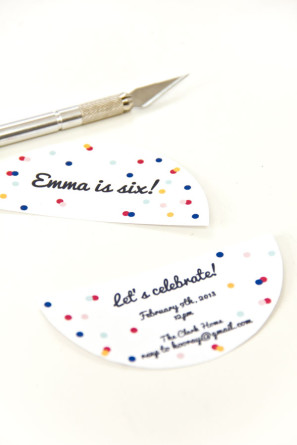
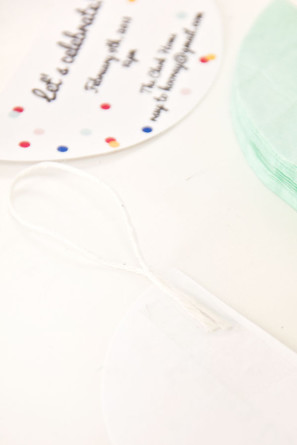
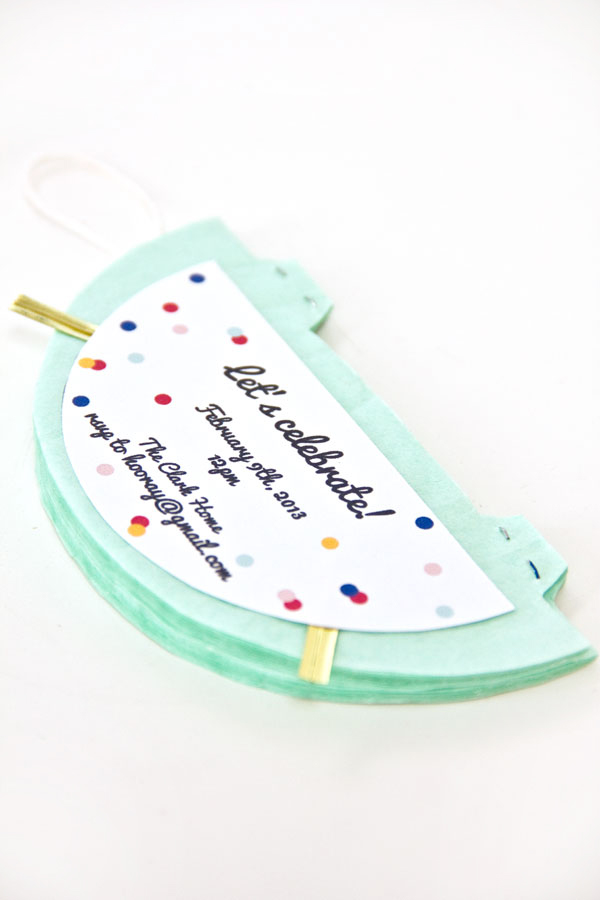
Add a short loop of twine to one side of the invitation and then adhere it to one side of your honeycomb with double stick tape. Cut a twist tie into quarters and tape two quarters to the other side of your invitation.
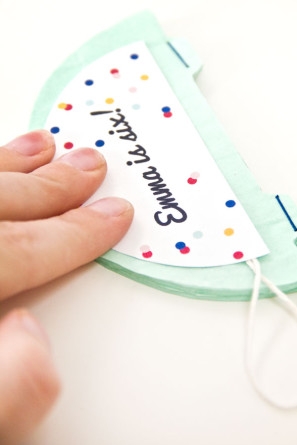
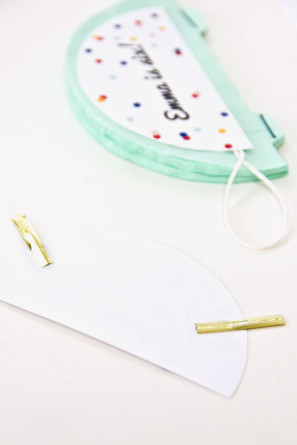
Then adhere the other half to your honeycomb with double stick tape. (The twist ties will allow you to close and open the honeycomb so it is reusable. Simply open the honeycomb and fold the twist ties over the other side as the meet.) Now your festive, interactive invitaions are done! Package them in pretty envelopes or treat bags and mail them off to the party guests!
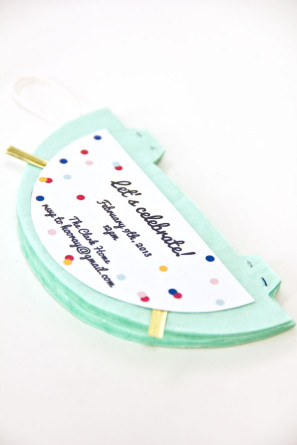
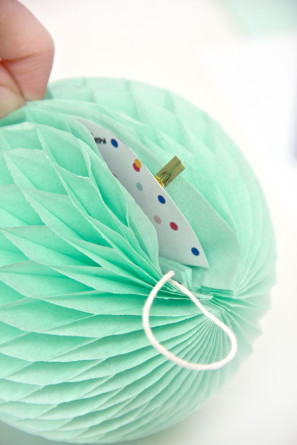
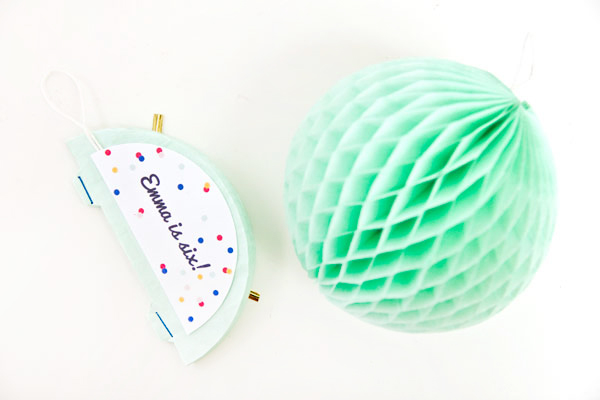
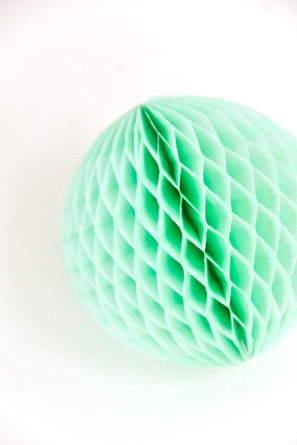
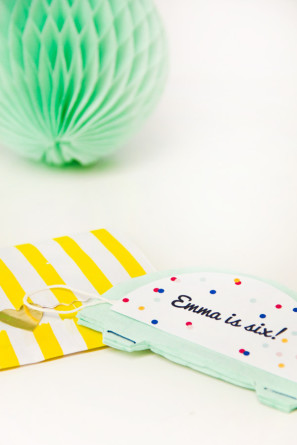
Since invitations are often thrown away after a party, I love that these are reusable instead! Who wouldn’t want a little piece of party decor awesomeness attached to their invitation!?
p.s. If any of you are attending Alt Summit, this DIY may or may not hold a hint to what my DIY business cards are shaping up to be! Be sure to say hello if you see me and get your own little piece of festive fun!
Looking for more DIY projects? Check out the full project gallery here!


Cal says
These are amazing and I can’t wait to see your biz card!
Rachel says
Such fun! Excited to see this fabulous project translated to business card form!
Mandy Pellegrin // Fabric Paper Glue says
I’ve never been so excited about receiving a business card!
Jenny says
Genius! I’m embarrassed to admit I didn’t know you could buy honeycomb paper!!!
Carrie // cue the confetti says
I. LOVE. This. Seriously, this is a ridiculously great idea!
Amber says
Cute idea for a birthday party invite! I love honeycomb paper spheres!
Tan says
I am scouting you out for one of these for sure. They’re cute and ingenious!
Lisa says
I love this so much!
Chelsea C. says
Girl. If you are giving these out at Alt I’m gonna wear it as an earring. All. Week. Long.
Natalie (@fashionatalie) says
Oh my gosh, this is so much fun! And if your biz cards are like this, I wish I was going to Alt EVEN MORE! Love it.
love is events says
OMG, this is so creative and cute! absolutely love it!
Kaylah says
Since you need two half circles per invitation, how many can be made from 12 sheets of honeycomb paper.(If I made them the same size as your)
Sherryl Valerie says
Inspiring invitation ideas, love the detailed DIY’s!