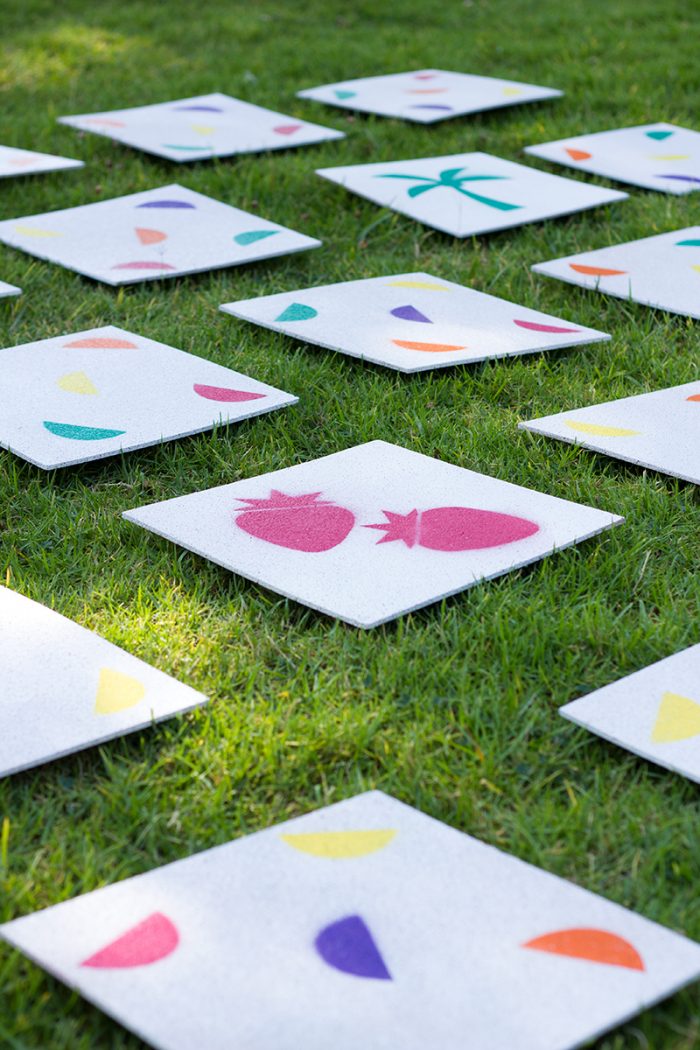
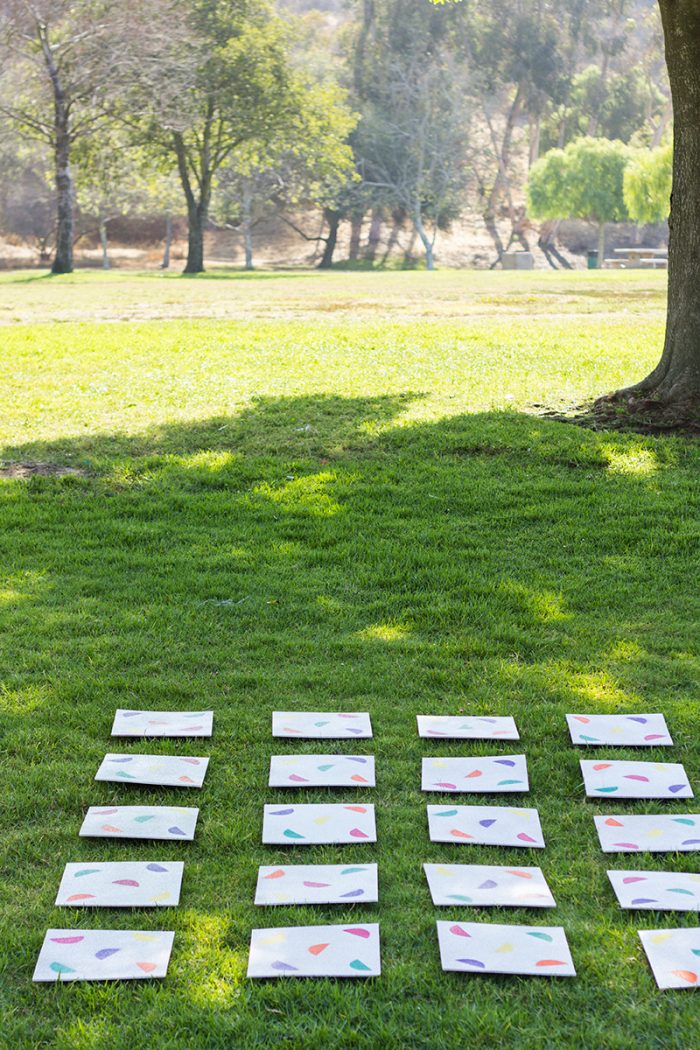
I was obsessed with matching games as a kid. This giant lawn matching game is so fun for the backyard, picnics, even beach trips and it’s made with cork tiles so it’s totally reusable and easily transportable.
I made mine summer themed (duh!) and included printables for all the symbols so you can too. This outdoor game is great for all ages, we’ve played it with everyone from kids to grandparents! I hope your family enjoys this as much as we all did!
Supplies Needed
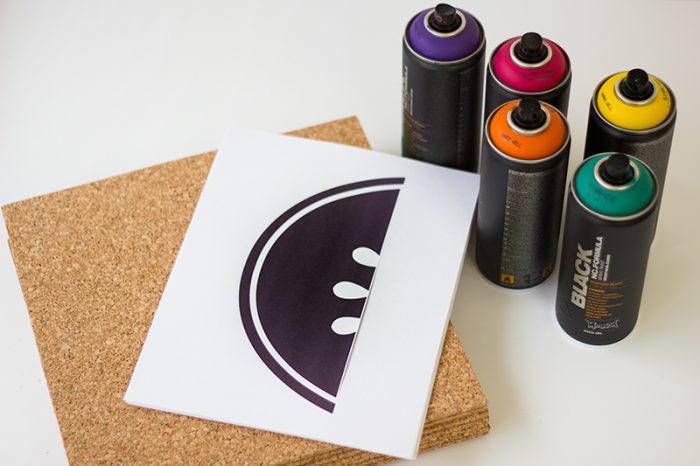
Here’s what you’ll need to make this game:
12×12″ Cork Tiles (Mine used 25 tiles and purchased them here, much more cost effective than purchasing at a local store. See note at bottom of post for other tile options.)
Spray Paint (I swear by Montana paint and all their great colors, found at an art supply store.)
Free Printable Stencils (This includes 12 symbols, one bonus turn tile and a shape for stenciling the back of the tiles. Print these on cardstock.)
1 Sheet 12×12″ Cardstock
X-Acto Knife
Painter’s Tape
Paper, Drop Cloth or Other Way To Protect Your Workspace
Pencil
How To Make A Giant Matching Game
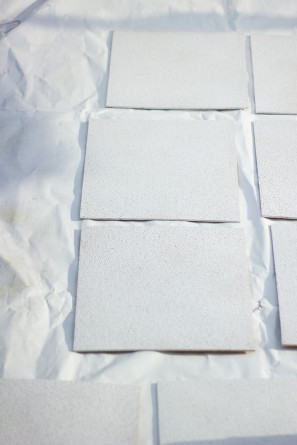
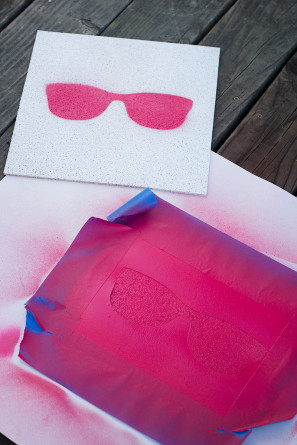
Cover your outdoor, well-ventilated workspace accordingly because this project involves a lot of spray paint. Spray all 25 tiles with white spray paint on one side. Let dry, then do the same to the other side of the tiles. While they’re drying, go ahead and cut out all of your stencils. To do this, cut around the edges of the black silhouettes with an x-acto knife and remove the shapes, leaving you with cardstock stencils. For each tile, align a stencil in the middle of the tile and tape it on, being sure to cover all of the exposed white space with tape. Spray the stencil with your color of choice. You’ll want to make two tiles of each symbol (except for the “One More Time” symbol).
If you want to create a pattern on the backs of the stencil, cut out the lemon-wedge shape on the last page of the printable and trace it several times, randomly, on your 12×12″ sheet of cardstock. Use an x-acto knife to cut out the shapes, giving you a stencil.
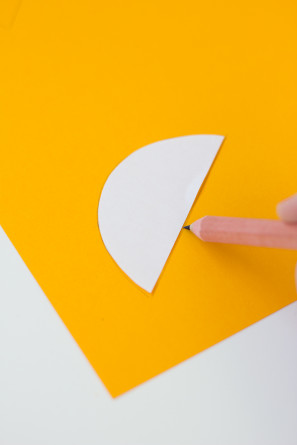
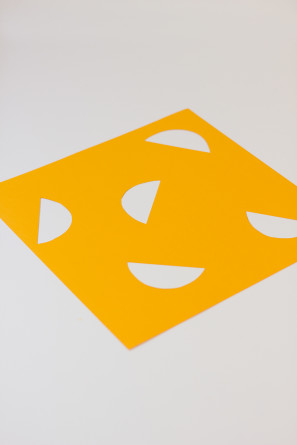
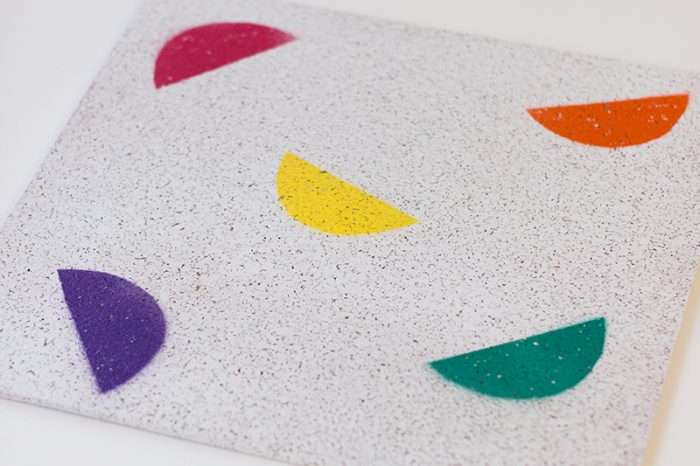
Lay the stencil over top each tile (the dimensions will match perfectly so there’s no need to tape here.) and carefully spray each shape a different color to get the look I got. Let dry. And seriously, really let these dry before you stack them up and use them. You want to make sure the stickiness is gone and the paint is completely set.
How To Play
To play, lay out your tiles in a 5 tile by 5 tile square. If someone flips over the “One More Time” tile, they get a bonus turn and then that tile is removed from play.
If you’re playing with younger (read: less patient) kids, you can choose to only make 16 tiles (using 8 symbols) for a smaller and easier game.
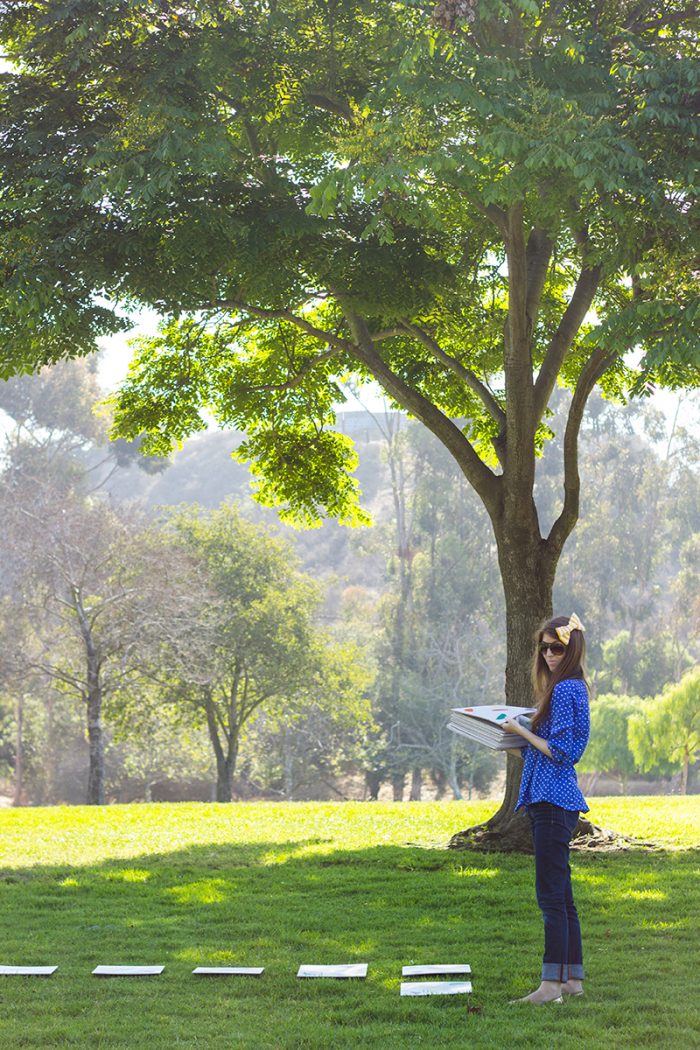
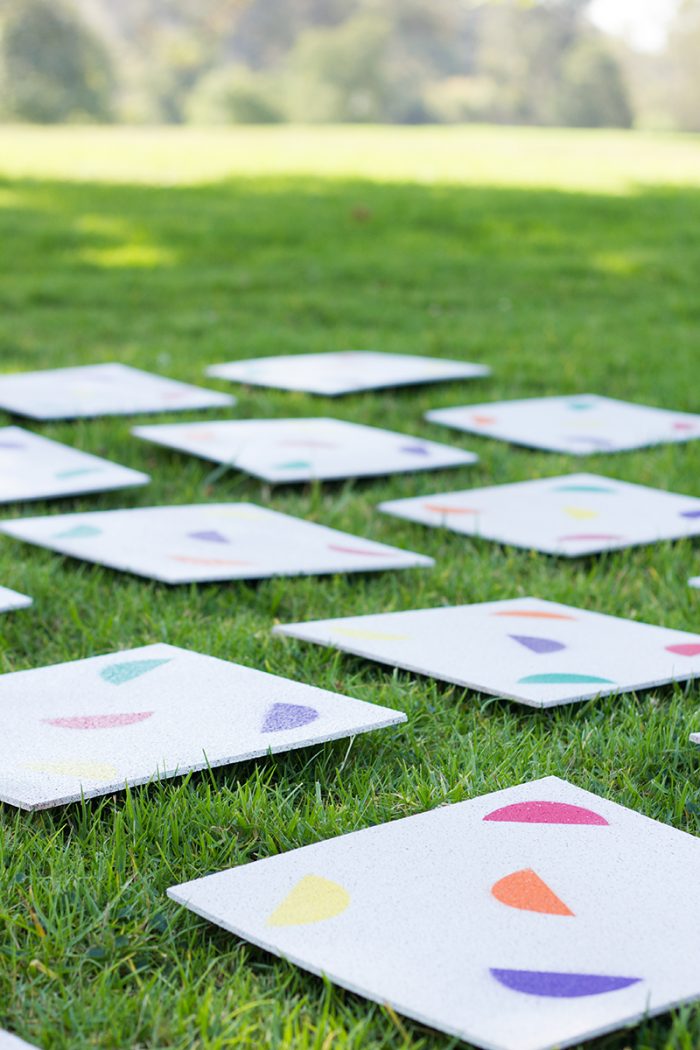
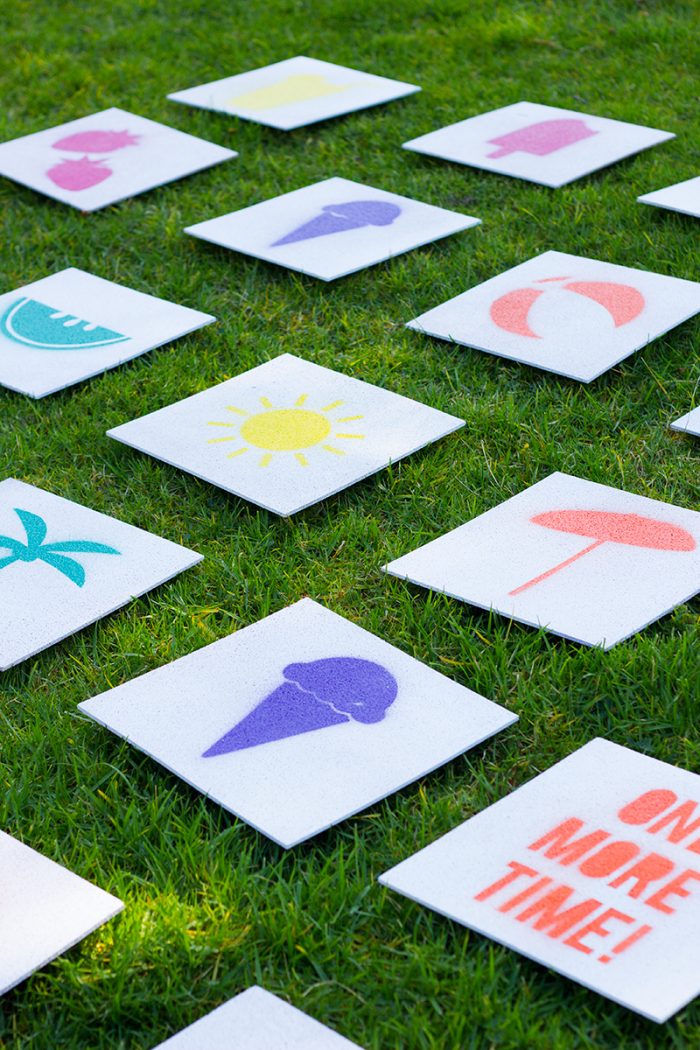
Pretty sure the six year old in me just died and went to heaven playing this game. Matching games though, for real, are extra great because people of all ages can play them. We had everyone from three year olds to twenty-somethings playing!
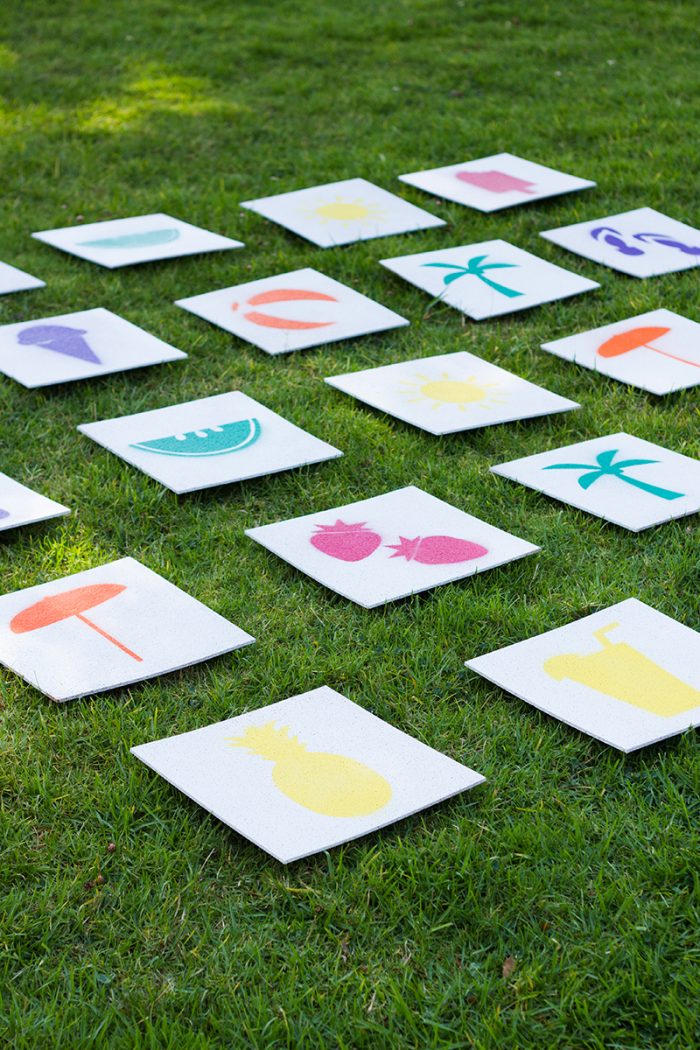
All Photos by Studio DIY
If you were a really awesome friend, this would be such an awesome gift to bring to a backyard BBQ! And if you didn’t want to get all hopped up on spray paint, you could easily have the kiddos hand paint some tiles for their own DIY versions.
Note: I made my game using cork tiles because I knew I wanted this to be a reusable game that would last summer after summer. If you are just looking for this to be a one time thing, or are in search of a less expensive option, you can print the symbols onto cardstock or trace them onto poster board/cardboard squares and paint them, just know that those materials won’t withstand being tossed around on the ground very long!


Brittni says
I love the stenciled shapes you created for this game – lemon wedges and ice cream cones are my faves.
Kelly says
Thanks Britt! I love the ice cream cones too! =)
Terrie says
These are great! What a fun outdoor summer game =) I love how you made it a reusable game, too!
Brittany says
Love anything big. Love this!
Andrea says
I looooved matching games too! Oh my gosh, this brings back so many fun times. What a wonderful idea! Could this be played as a makeshift Twister as well? haha!
STEL STYLE says
this is a very original and nice diy!!
www.thestelstyle.com
erin @ dfmi designs says
Yay! What a great idea! I’m going to need to make this for my daughter’s 5th birthday party coming up. She’s super into matching games right now. (And I’ve always been! LOL.) Thanks so much!
Kelly says
That would be so fun, Erin! I’d love to see a photo if you do!! (And you’re never to old for a matching game, in my opinion!) 😉
atdhe says
Have you ever considered about including a little bit more than just your articles?
I mean, what you say is valuable and all. But think of if you added some great photos or video clips to give your posts more, “pop”!
Your content is excellent but with images and
clips, this website could certainly be one of the
best in its field. Very good blog!
medical escort tampa site info says
I LOVE this! It’s so great when you can come up with a great activity like this with things around the house!
Tangram Channel says
Nice DIY project!
On the same topic, you may be interested in our Memory game based on Tangram patterns.
Free download at http://www.tangram-channel.com/tangram-memory-templates/
Ashley says
Did you have much of a problem with the paint being too quickly absorbed though the corkboard?
saaima says
Hi This looks so amazing. So creative. Unfortunately for an end of year school party with limited to no budget I had to improvise on supplies. As a cheaper alternative I found 5 packs of super hard picnic style plastic plates at the local dollar store. $1 for a pack of 5 so I picked up 5 packs. They should be durable enough to handle a wet grass, as well as a windy day. I opted for orange plates out of the orange and pink options left. For the stencils (which are awesome!), since spray paint was not within my budget, and honestly I don’t have the time to do it I had to get creative. I opened your pdf file into Photoshop, changed the colors for each one, resized each stencil to my plate dimension, and printed 2 copies of each stencil on an 8 1/2 X 11 card stock paper that I happened to already have (purchased as a 100 pack of sheets from Target). I then cut a template circle the size of the inner part of the plate. I outlined the circle around each stencil, cut, and used regular white school glue to stick them on each plate. They are on pretty solid. I may see if I can get a clear gloss spray to once over the stencil side of the plate as long as the spray doesn’t damage the paper. I am excited for this activity at the end of year party. Thanks for posting such a fun game – super sized.
PS I am happy to email you the resized, color versions of your stencils in case you or any of your followers want to opt for my cheapo version. I can send a picture of my version to if you want to see it.
geometry dash says
“One More Time”
clicker heroes says
hi, so fun
gmail says
It’s really awesome. I love it.very interesting and meaningfull post. I got some very important views in your post which are very good and applicable for me. I just wish that I’ll see your another post very soon. I am waiting for that.
gmail
helix jump says
Great! Post one more time.
play slither says
Great content! keep up the work.
Puspack says
very nice information you share with us.
mapquest directions says
The content is very practical, it gives me lots of new ideas, I like the content of your article very well. I hope you will have many new posts to share with readers.
Walker Pest Management says
This gives me an idea for our next company picnic at Walker Pest Management. We can switch out the pictures for pests we deal with. Thanks!
Rome says
it really exact match as the grass. thanks for such
zyzy says
awesome!!!
rtx 2070 vs gtx 1080 says
We bring you complete details about Rtx 2070 Vs Gtx 1080 performance which you can use to make the right decision.
Kristen L Irvine says
Thank you so much!
gersha says
Amazing work
Paula says
Instead of cork tiles I bought cake boards from Walmart – white on one side, brown on the other. I think they were $4.99 for 5. Worked great!