Today’s DIY project is sponsored by Sweet Estelle’s Baking Supply.
Oh-ho-ho, did any of you long-time readers have an inkling that I might combine my love for donuts with my love for conversation hearts!? You. Thought. Right. Last year, I made cakes and this year, it was all about the donut! Duh. These turned out so cute, yummy and perfect for Valentine gifting (or hoarding for yourself. I full support this.)! I teamed up with Sweet Estelle’s Baking Supply to help me make this happen (remember the confetti marshmallows we did last year!?) and we did in fact make it happen. Here’s how you can too!
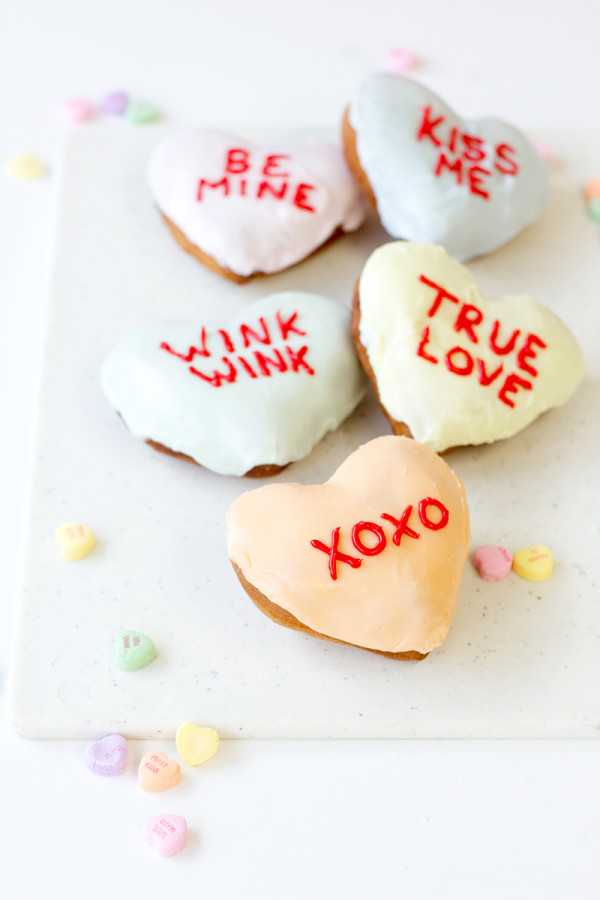
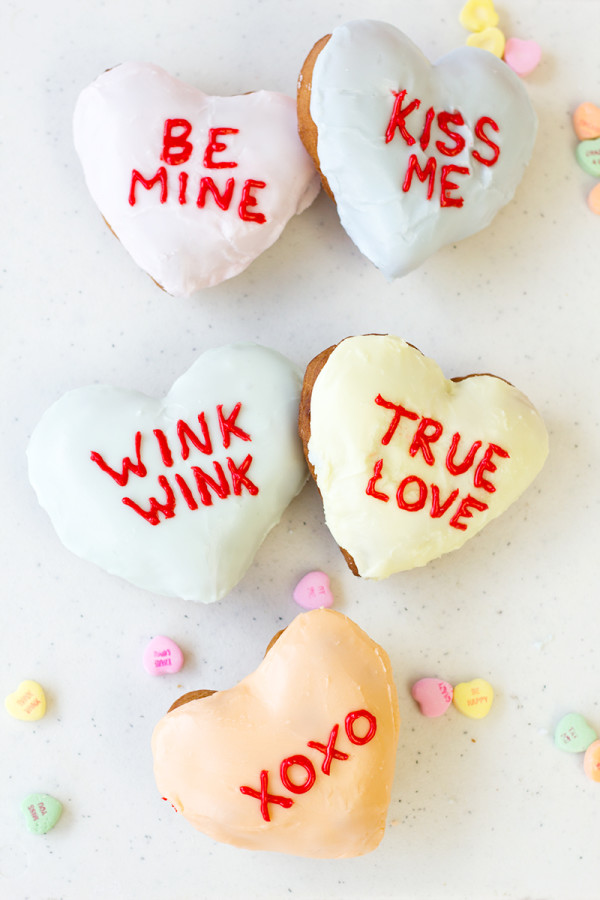
Eeeee! I just love how they turned out, if I do say so myself!
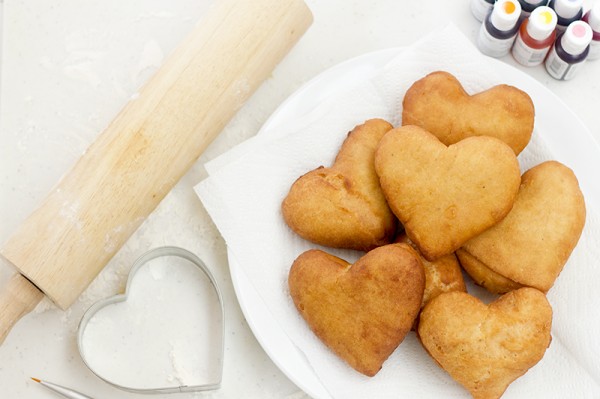
A Batch of Your Favorite Donut Recipe + Favorite Donut Frosting Recipe*
Heart Cookie Cutter
Cutting Board
Food Coloring (I used this starter kit and it was perfect! Had all the colors I needed, no mixing required!)
Knife or Icing Spatula
Plastic Bag or Small Piping Bag/Tip
Cute Bags for Packaging
*I used this recipe. This was my very first time making deep-fried donuts, believe it or not! Who else has a favorite recipe they want to share!?
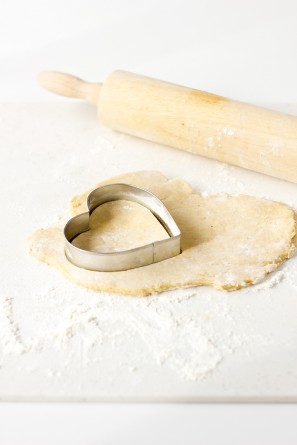
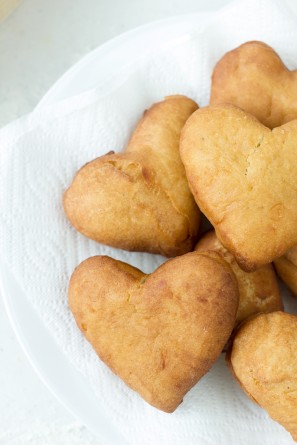
Roll out your dough as directed in your recipe and cut into heart shapes using your cookie cutter. Follow the instructions for deep frying your donuts, as outlined in your recipe. But do note! Since these donuts don’t have a hole, they take a bit longer to cook through the middle. I lowered my temperature from 375 (as directed) to 350 and let them fry a bit longer to make sure they cooked through. Let them cool.
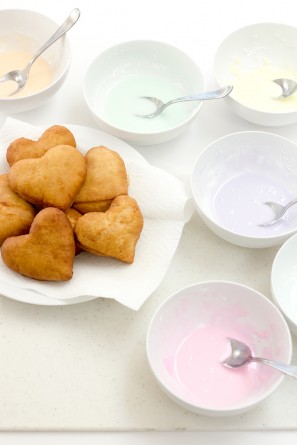
And now it’s time to frost them! I used a simple powdered sugar + milk frosting recipe (I wanted my frosting to be thick and less glaze-like, so my ratio of sugar to milk was about 2 cups to just over 1 tablespoon), then divided it among six bowls to make my desired colors. Conversation hearts are traditionally lighter colors, so I used a teeny tiny bit of food coloring for each. To do this, I took a toothpick and dipped it into the food coloring bottle, then dipped that in the frosting and stirred together with a spoon. If you want to make colors like I did using this kit, I used deep pink, sky blue, orange, lemon yellow, leaf green (with a little teal), and violet to make my respective colors. I used an icing spatula to frost each donut.
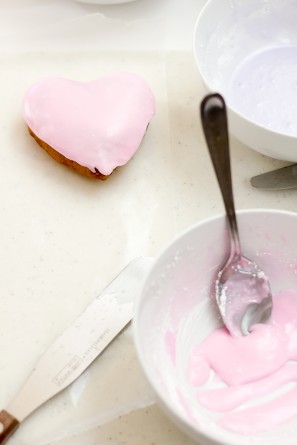
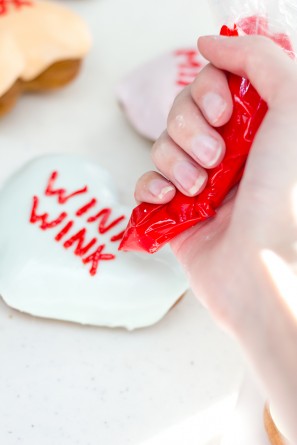
Aren’t they pretty plain, too!? But to make them conversation hearts, we must add their cute phrases! I mixed up a bit more frosting and this time turned it bright red with a little more food coloring. Then I put it in a sandwich bag and snipped the tinniest end off of one corner to make it my piping bag. Carefully, pipe your words and phrases!
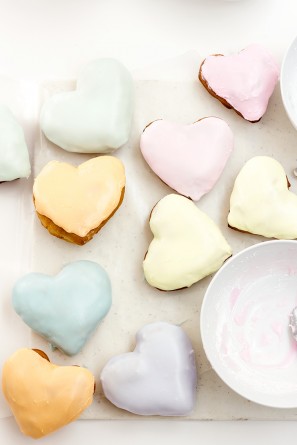
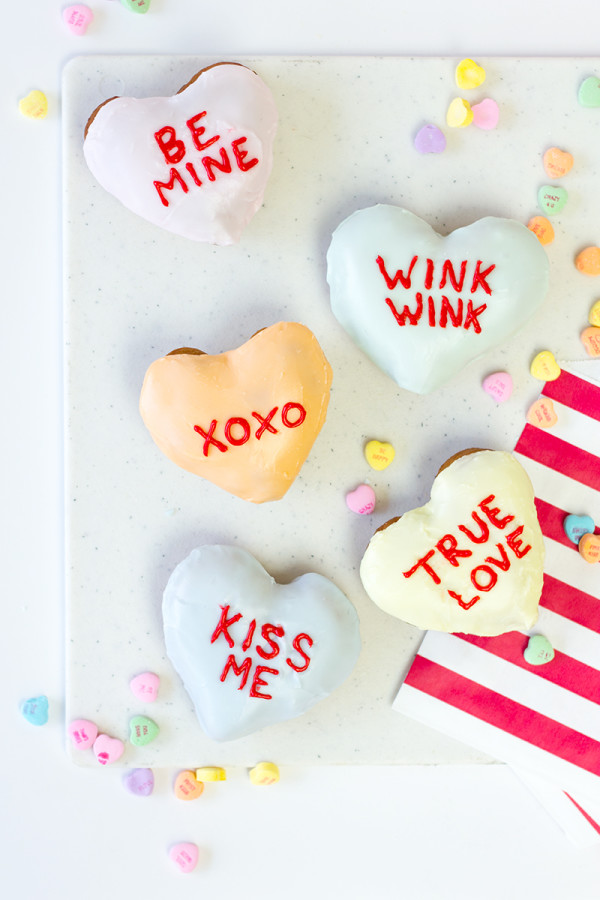
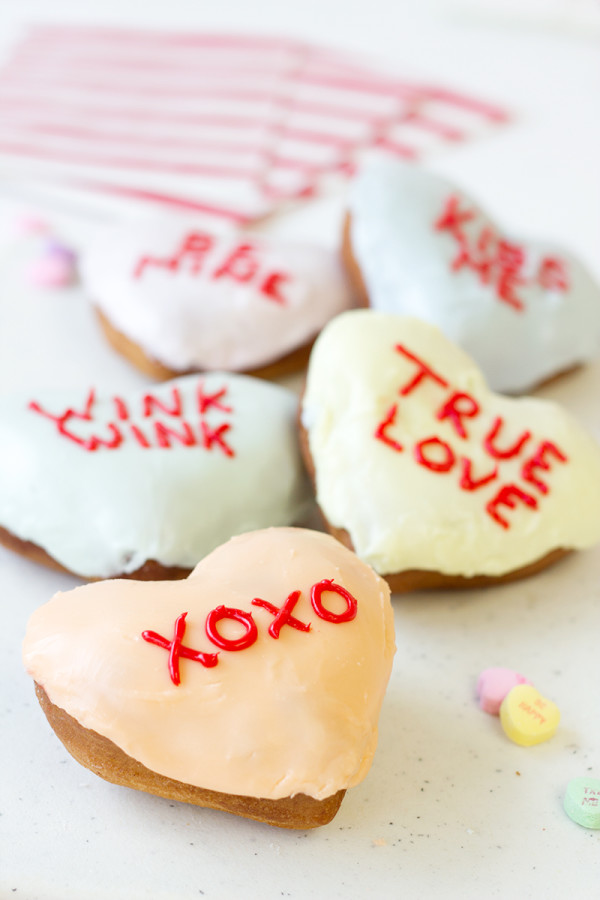
Tada! Conversation heart donuts, my friends. Package them up individually in cute bags like these and send them off everyone you know!
All Photos by Studio DIY
And if you can’t get enough conversation hearts either, look at these cupcake toppers they also sell!!! Aren’t they great!? Plus so many more Valentine DIYs right here!
This DIY project is sponsored by Sweet Estelle’s Baking Supply. All content and opinions are that of my own! Thank you for supporting the sponsors that keep the Studio DIY party going! Read more about my editorial policies here.





Heather - Chickabug says
I love this tutorial! These donuts look amazing! : )
Chelsea C. says
Do you have a deep fryer?! We need to talk about this.
Stephanie says
These are adorable. You’re such a hard worker, Kelly! I appreciate it:)
Brittni says
I love that these are donuts and not cookies. Such a fun take on dessert. P.S. I was thinking the same thing that Chelsea said…We need to talk about the deep fryer. And also…how portable is it? Haha.
Tania @ Run To Radiance says
So cute! I would much rather have a conversation donut then a conversation heart. 😛
Kelly says
Haha! I completely agree!!
Mi casa por el tejado says
So cute! Very original sweets to make in San Valentines Day!
dina says
they are so cute!
Terrie says
These look so yummy! Now I want donuts =)