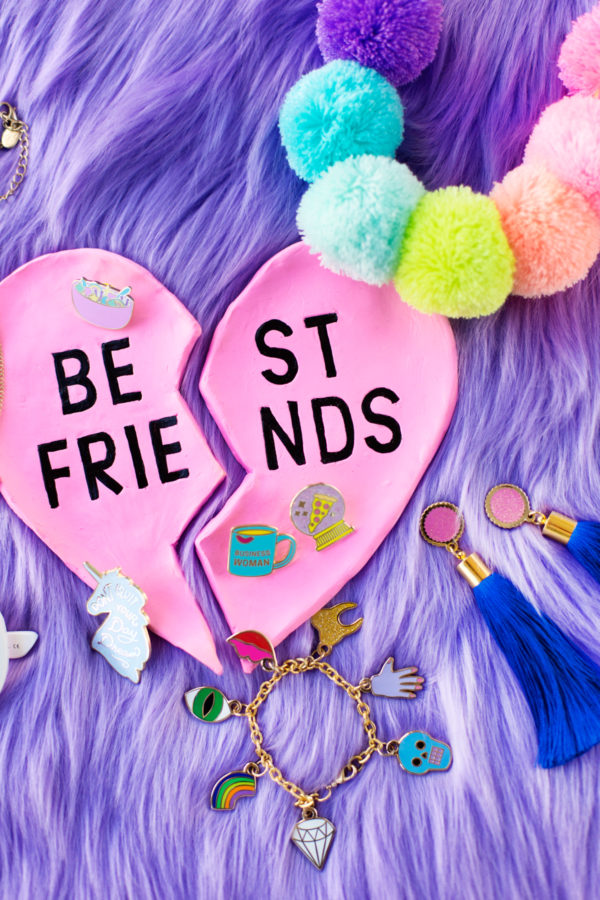
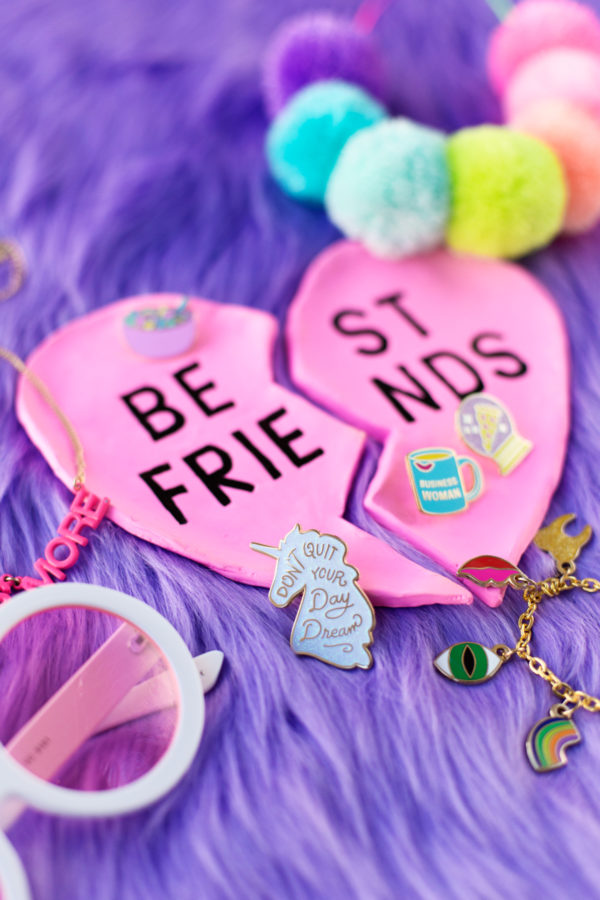
On snapchat I asked you guys to tell me what kinds of “practical” DIYs you’ve actually made.. and an overwhelming amount of them revolved around storage ideas. We’re taking note!! Thought we’d kick off some storage ideas with these DIY BFF ring dishes!
I have so many ring dishes on my dresser and vanity. Do you use them too? I use ’em for everything from jewelry to flair to bobby pins and hair ties! I love them and they have helped me to *somewhat* organize my accessory hoarding. 😉 And that says a lot for this disorganized gal! I think the idea of making them BFF style is so fun and such a great gift, too! If you ask me, you can never have too many of these little guys laying around.
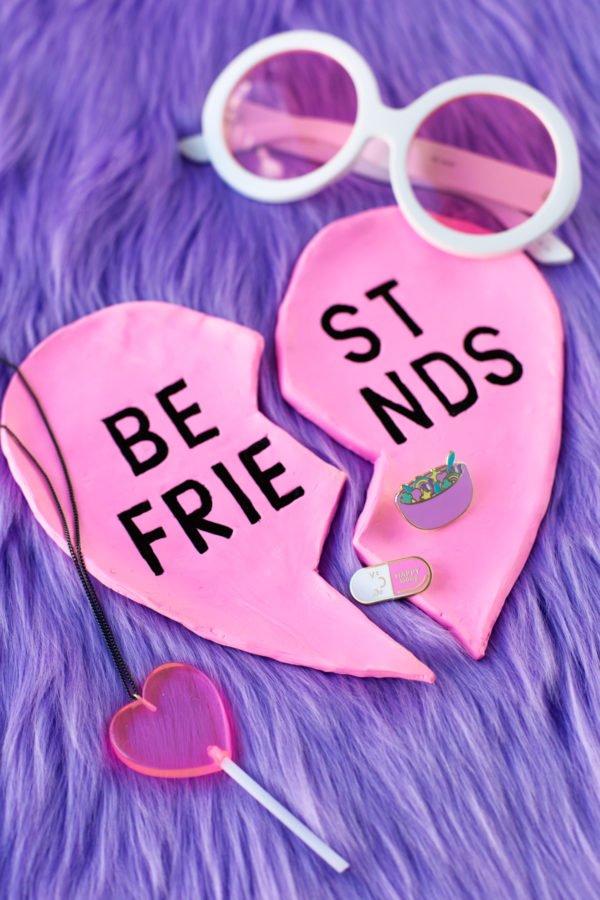
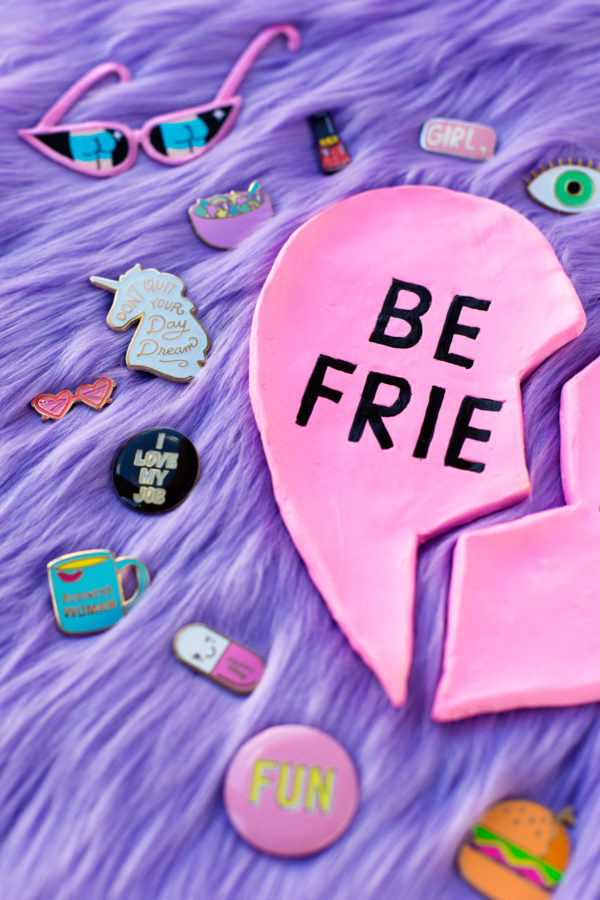
DIY BFF Ring Dishes
Total Time: 1 1/2 Hours (Plus Dry Time)
Supplies
Polymer Clay (We made our dishes pretty large and used three blocks of clay to make them, combining neon pink and white to make a bubblegum color!)
Parchment Paper
Rolling Pin
Toothpick
X-Acto Knife
Letters/Letter Stamps (Optional, I had these iron on letters on hand and used as a template for painting, but you can totally free hand it too!)
Paint and thin paint brush
Sandpaper (Optional)
Directions
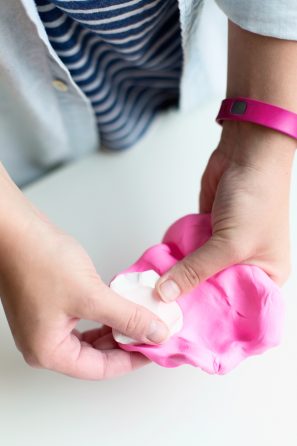
1. Polymer clay is usually pretty stiff when you first take it out of the package. Use your hands to gradually knead it and warm it up. Once the clay is more pliable, if you're combining colors like we did, do so now. Mix and knead until they are fully incorporated into each other.
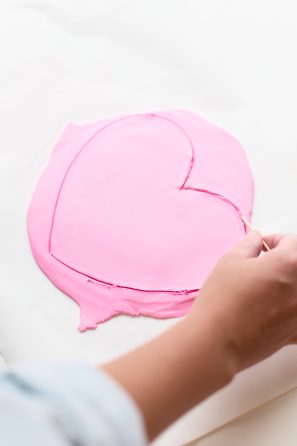
2. Roll out the clay into a circle, about 1/4" thick, on a piece of parchment paper.
3. "Draw" a heart shape in the clay using a toothpick.
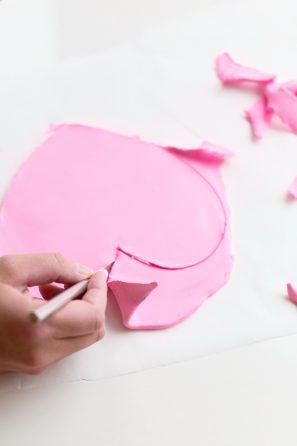
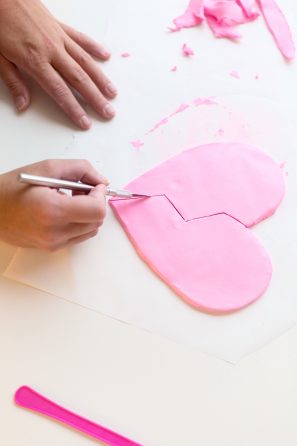
4. Cut out the heart shape. Then, cut a zig zag down the middle to make the two "broken" halves.
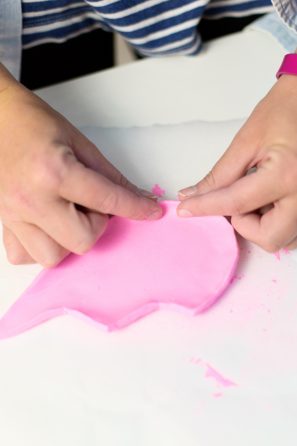
5. Use your fingers to lightly roll the edges upwards, forming a slight rim all around the edge.
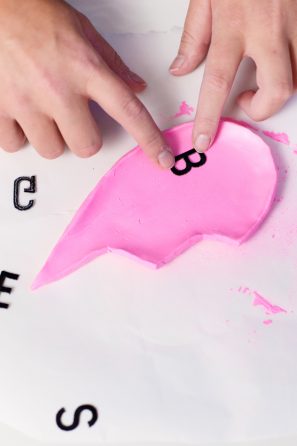
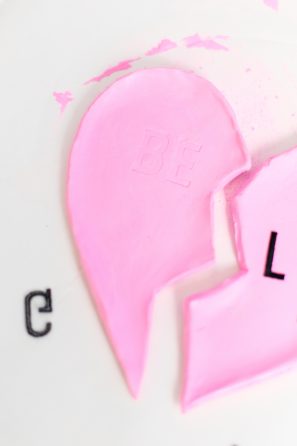
6. IF you want to make a stencil for your letters, you can do so now by pressing stamps into the wet clay lightly. Remove them, and this will give an outline for pinging later. This step is completely optional.
7. If you want your dish to have more of a curve/bowl shape, roll up excess parchment paper and place it under the edges so when it is baked (see next step!), it keeps a more curved shape.
8. Bake according to package instructions. I baked mine about 10-12 minutes. Let cool.
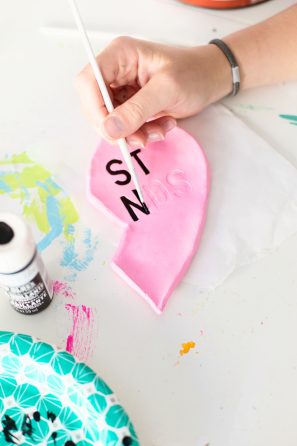
9. Paint your letters onto the heart shapes and let dry. Add a second coat if necessary.
7. If your dish has any imperfections around the edge, you can wet a small piece of sand paper and sand it lightly.
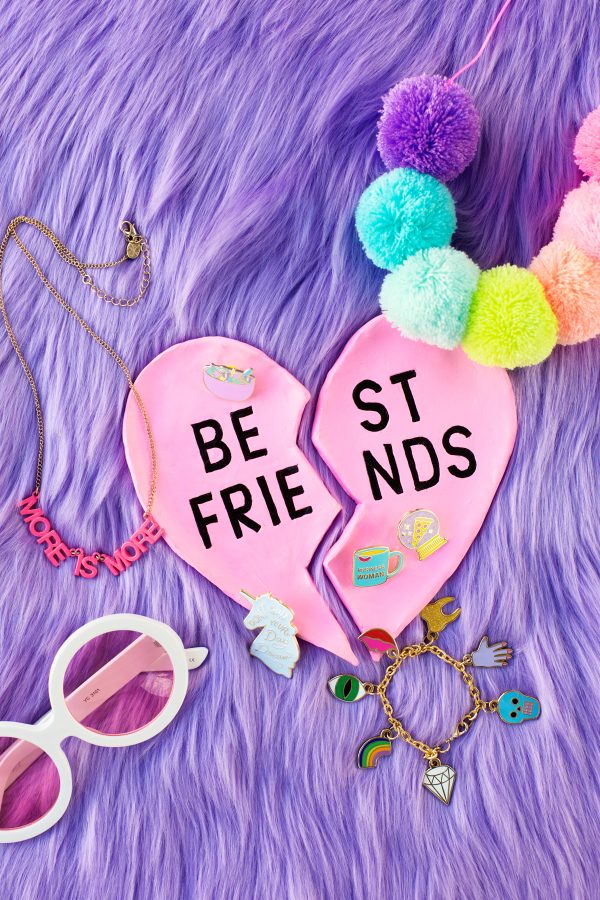
Photos by Jeff Mindell
Jewelry Pictured: Pom Pom Necklace | Tassel Earrings | Charm Bracelet | Business Woman Pin | Pizza Pin | Unicorn Pin | Cereal Bowl Pin | Lollipop Necklace | Sunglasses + More is More necklace from Ban.do
Yes, they’re a perfect Galentine’s Day gift for your best gal pal but they’re also just so darn cute year round! This is a really easy project to make and would make an awesome craft night, too. You could have a combo ring dish making and pin trading party!!! How fun would that be!?!?



Michelle says
This is sooo cute! I totally love the idea!
https://www.makeandmess.com/
Kelly says
Thanks girl!
Kristina B says
I love it! SO cute! And a pin trading party sounds fun too!
Kelly says
Doesn’t it?!
Sophie says
I love the all the pins. Please do another pin roundup soon.
Kelly says
Great idea, I just might!
Laurel Stavros says
Sooo cute
Kelly says
THANK YOU!!
Jessica says
All too pretty x
Jessica — NinetyCo
Kelly says
Thanks!
julie says
Where have you been all my life! <3
I JUST discovered your website and I just can't get enough!
Thank you so much for all of the glitter & pink, I love it!
Greetings from pritty little Antwerp
xoxo
julie
sun city lincoln hills entertainment says
You can do many things using clay. This one is such a pretty example. Your BFF will really adore this.