Jeff and I are very firm believers in real Christmas trees and I’m sure we’ll be picking up one of our very own on Sunday. But sometimes a real Christmas tree just isn’t a possibility. My vote, instead of one of those typical tree-imposters? A fun white tree, made out of foam core! This tree is perfectly kid sized, or NYC-apartment-sized, and it slips together in just two pieces. Like that giant bow on top? The tutorial for it is coming up in just a bit, too!

Supply List:
Two Pieces of Foam Core (At least 40×52″ each)
Tree Template + Guide
Tape
X-Acto Knife (And several extra blades)
Cardboard (Or another surface to cut on that you can destroy!)
Decorative Styrofoam Baubles (Optional, I bought these in the wreath-decor section at Michaels)
To Make:
Print out the tree template and guide. It comes in 16 pieces. Cut around the box (Not the tree parts themselves) and then use the guide to tape them all together (with just regular tape!) on the back. Once your tree template is assembled, use painter’s tape to tape it to one of your foam core pieces. There are a million ways to proceed, but here’s what I did. Cut through the paper and foam core, around the tree (Don’t worry about the center lines yet). If you’ve never cut foam core, here’s a tip. Make one cut, through the top sheet of the foam core. Then cut again, cutting through the “foam” part, and again through the bottom sheet, if necessary. Change your blade often or it will tear the paper and you will have jagged edges. Seriously, I went through about 8 blades for this tree! Now, you can either repeat the same steps (printing out another template and putting it together) or you can trace around the now cut out tree shape to get your second piece.
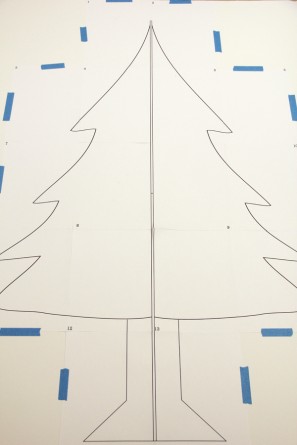
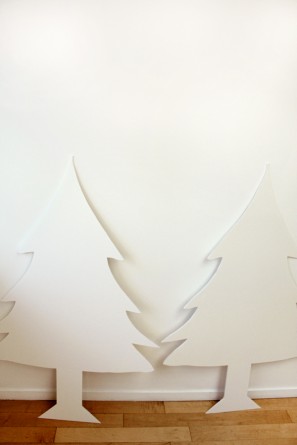
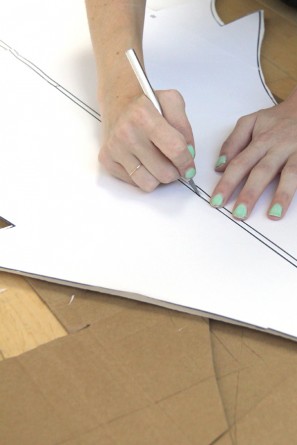
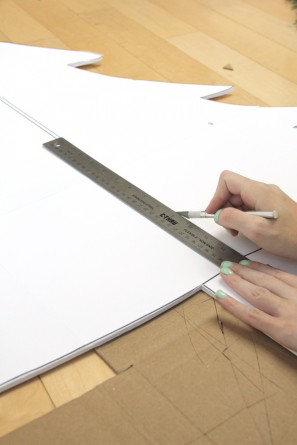
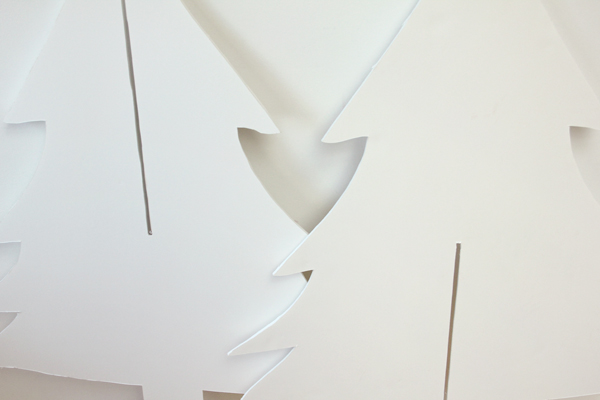
If you do have any jagged edges, you can use a little bit of sand paper to even it out. Take one of your tree pieces and lay the template back on top of it. Starting at the top of the tree, cut down both center lines until you run into the middle (horizontal) line. Cut across that and remove the piece from the tree. You can use a ruler to help. Now carefully lay your template on your other tree piece and cut down both center lines, starting at the tree’s base until you run into the middle (horizontal) line again. Cut across that and remove the piece from the tree.
Now you should have two pieces that look like this and they should easily slip together to form a 3-D tree!
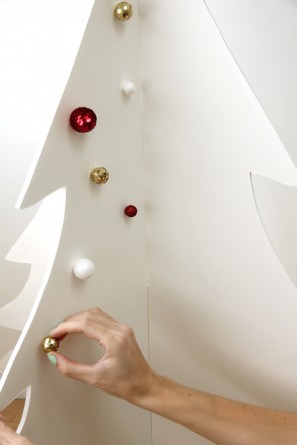
Gather some sparkly baubles and trimmings…

And after you’ve assembled the tree, get to decorating! I attached these styrofoam baubles to the tree with hot glue.
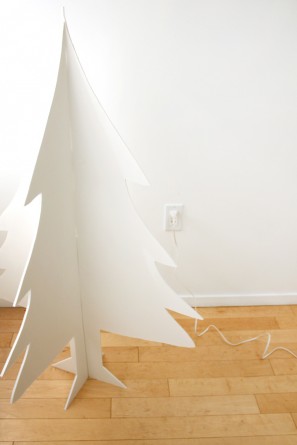
Add a fun topper (Try the giant bow, coming up next!) and set up your tree wherever you need some Christmas-y cheer! The finished tree is about four feet tall.


BONUS DIY ALERT! See that tiny little tree on the right below? After I no longer needed my tree guide, I decided to turn it into a template for a mini tree! This ones a bit harder to cut because of it’s smaller size, but keep changing out those blades and you can do it! I’d love to see some of these decked out in sequins, and they’d make a great project for kids (to decorate, not cut out of course!).

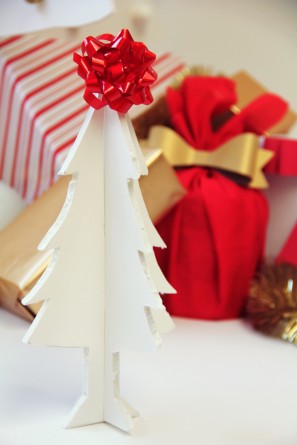
All Photos by Studio DIY
Check back in a bit for the giant bow topper tutorial!
Looking for more DIY projects? Check out the full project gallery here! And if you’re looking for some serious holiday cheer, you can get a hefty dose of that right here.





angie says
This looks so nice! I love it. Looks so easy. Love the colours that you used. I also love the quality of your pictures. Do you mind if I as what type of camera you have? Thanks for sharing.
Kelly says
Hey Angie!
Thanks, so glad you like the project! I use a Cannon Rebel T2i, hope that helps!
Kelly
Amanda says
This is so cute. I really wanted a real tree this year, but we’re traveling so much, it just isn’t worth it. I think this would be a perfect substitute.
Debie Grace says
Genius!! This just made all those big and tall christmas trees boring! Love this 😀
Terrie says
What a fun tree! I really like the baubles 🙂 Thanks for sharing!