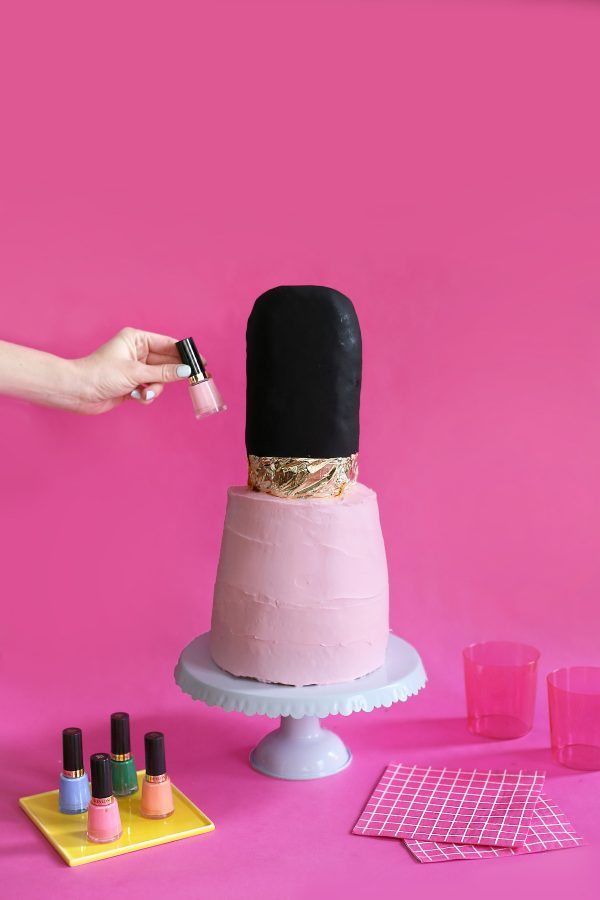
Hey everyone! I’m Erin from Hey, EEP! here with another dessert idea for you! I collect nail polish like some people collect stamps. There are too many pretty ones to choose from! Bright neons? Subtle pastels? Glitter? Confetti? I’m obsessed and I know Kelly is, too—have you seen her incredible manicures!?
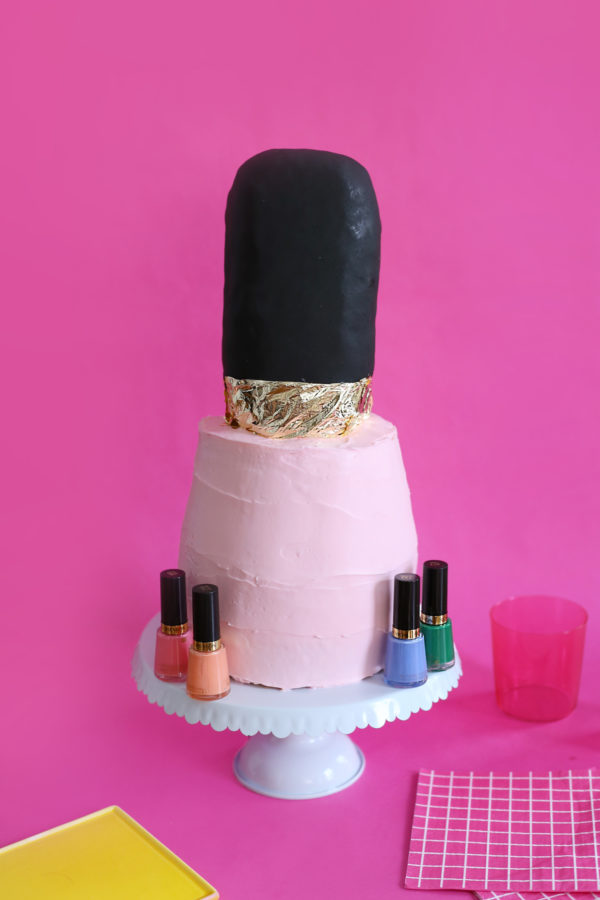
This nail polish bottle cake is super colorful and so much fun to create. Since the construction of the bottle has a bunch of steps, I simplified things by using boxed cake mix and store-bought frosting but you can do this entire project with your favorite homemade recipes if you’d prefer.
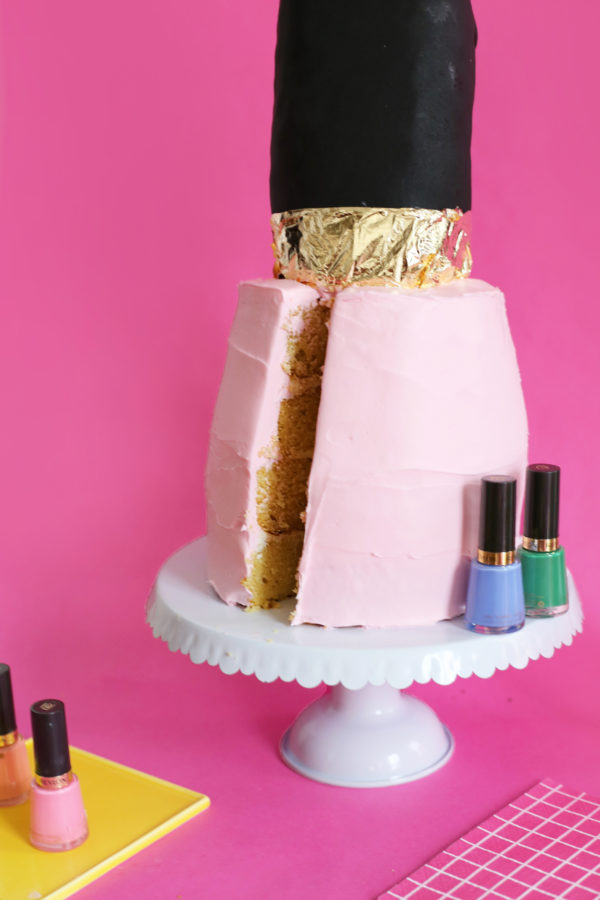
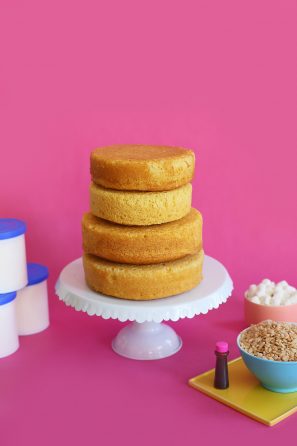
I happen to have a 6-inch and a 7-inch round cake pan at home, so I used those to create the sloped bottle shape. If you only have 1 size cake pan (say an 8-inch or 9-inch round) that’s totally fine! You can carefully shave down your cakes to create the bottle shape using a serrated knife. I’d recommend doing this right before your crumb coat in Step 5.
By the way, I love using a piece of cardboard (like a cereal box!) as a base for the cake as I’m frosting it—easy tip!

DIY Nail Polish Cake
Ingredients
- FOR THE CAKE
- 2 15.25 ounce boxes yellow cake mix, plus required ingredients
- Nonstick cooking spray for the pans
- 3 to 4 16 ounce containers store-bought frosting or about 6 to 8 cups homemade frosting
- Pink food color for the frosting
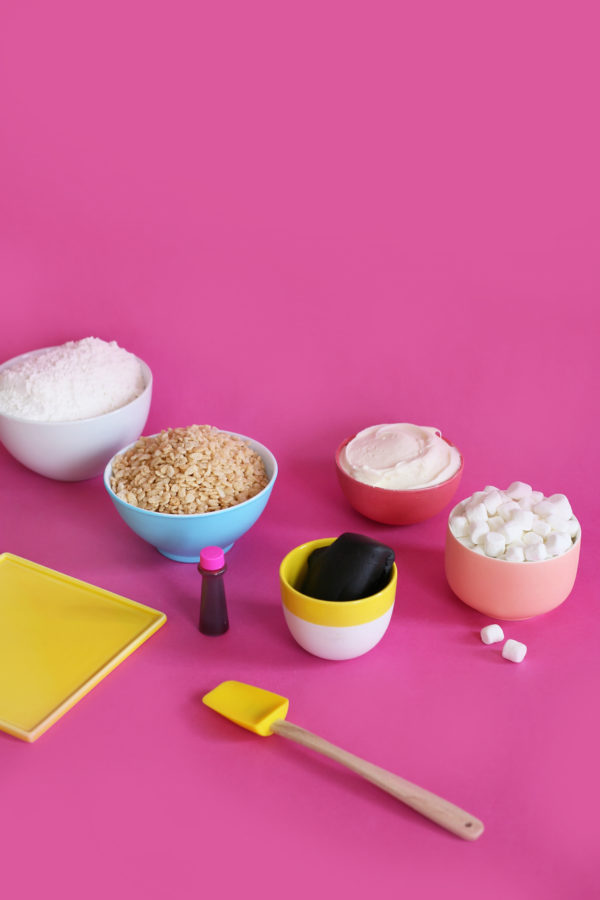
- FOR THE CEREAL HANDLE
- 3 tablespoons unsalted butter
- 4 cups mini marshmallows
- 6 cups Rice Krispies cereal
- Confectioners’ sugar for dusting
- Black fondant for covering
- Edible gold leaf paper optional
Instructions
- Make the cake: Preheat the oven to 350˚F. Prepare the cake mix as the label directs.
- Coat 2 (6-inch) round cake pans and 2 (7-inch) round cake pans with nonstick cooking spray. Divide the batter among the rounds and bake as the label directs or until a toothpick inserted into the center comes out clean with a few crumbs.
- Let cakes cool in the pan for about 5 minutes, then run a knife along the outside of the pans and invert onto cool racks to release. Let cool completely.
- Put 1 (16 ounce) container or 2 cups homemade frosting into a small bowl. Tint with food color. Put 1 large cake round on a cake plate; top with a large scoop of frosting. Top with the second large cake round and repeat with the smaller cake rounds to create a rough nail polish bottle shape. Insert a chopstick or skewer through the cake to secure.
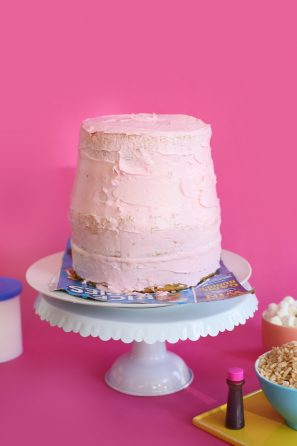
- Cover the whole cake with a thin layer of the frosting (it can be messy, this is your “crumb” coat). Refrigerate until firm, at least 30 minutes.
- Put the remaining frosting in a large bowl. Tint with food coloring, if desired. Use a big scoop of frosting to refine the shape of the nail polish bottle. Return to the refrigerator to harden. Cover the cover with a smooth layer of frosting, using the refrigerator to help you “sculpt” the shape if you need!
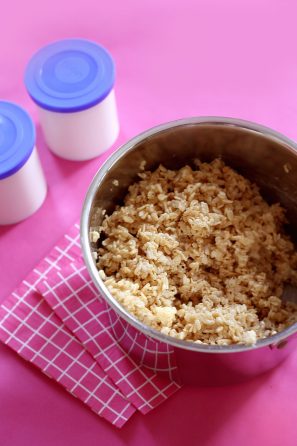
- Make the bottle handle: Melt the butter and marshmallows in a large pot. Add the Rice Krispies cereal and stir until combined.
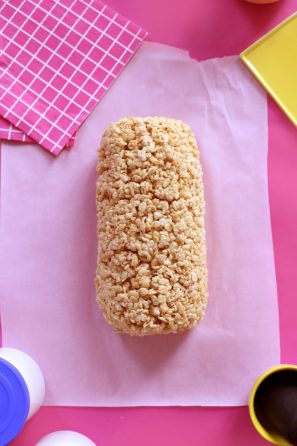
- Transfer the cereal mixture to a piece of parchment paper and shape into a cylinder, slightly smaller than the top of your cake.
- Lightly dust a work surface with confectioners’ sugar. Roll out a piece of black fondant on the confectioners’ sugar to about ¼ to ⅛ inch thick. Drape and smooth the fondant over the cereal cylinder to create the nail polish handle.
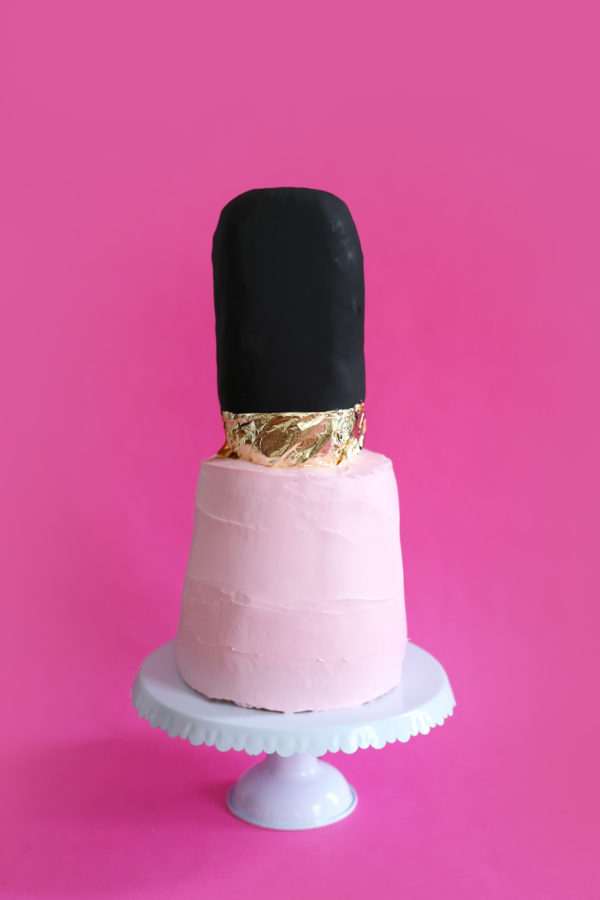
- Attach the the handle to the cake using the same skewer or toothpicks if you’d prefer. Attach edible gold leaf paper to the bottom rim of the handle for a sleek metallic look!
Photos by Erin Phraner | Hey, EEP!
I’m putting my polish collection to good use and hosting a DIY nail art party with for my girlfriends! This would also be a great dessert for a sleepover, bachelorette spa party, you name it! I think next time I’ll work some edible glitter into the mix and create a shimmery color for my cake 🙂 What polish shade would YOU create!?
P.S. Marble Notebook Cake!
SaveSave


Michelle says
That is such a cool idea, it looks amazing!
https://www.makeandmess.com/
Kristina B says
OMG This is hilarious! I love it!! An edible printed label with a kick-ass pun would be the *AHEM icing on the cake!!
Kelly says
OMG Haha that would be amazing!!
Mia says
OMG This is so much, hahaha. Don’t think I would ever make it but I’m impressed!
Kirstie Elliott says
I love this cake! So clever and simple enough for me to be able to do! Thanks for the clever idea!
Kelly says
Yeah!! I love all the simple techniques Erin used for this one!! So glad you love it, Kirstie!!
Indya | The Small Adventurer says
This cake is gorgeous! And looks so much easier than you would expect. I really love the gold leaf part, it’s such a unique and awesome touch 😍
Indya || The Small Adventurer
UP Police Constable Admit Card says
Download now
UP Police SI Result says
SI Result
UP Police Admit Card 2018 says
Roll number
Deppa says
Great idea for parties!