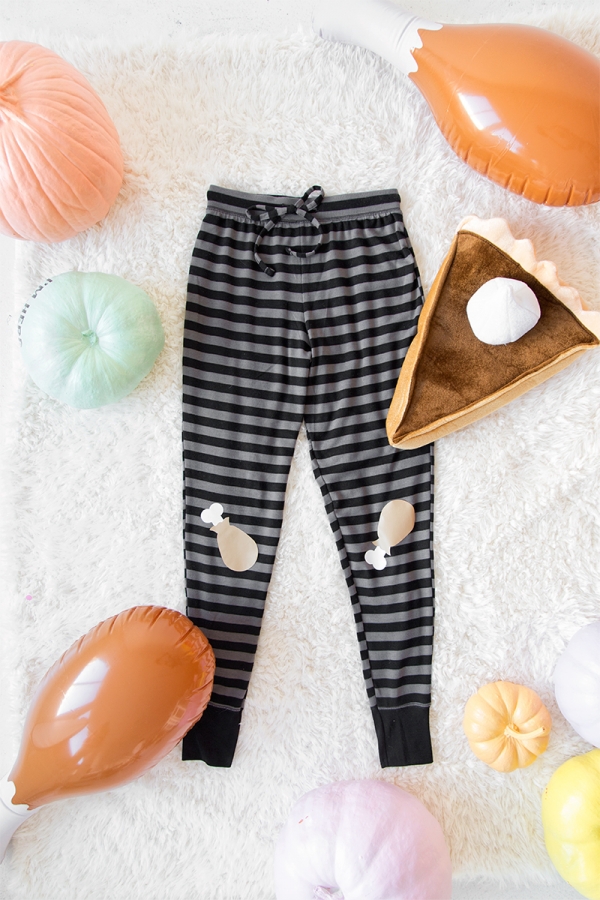
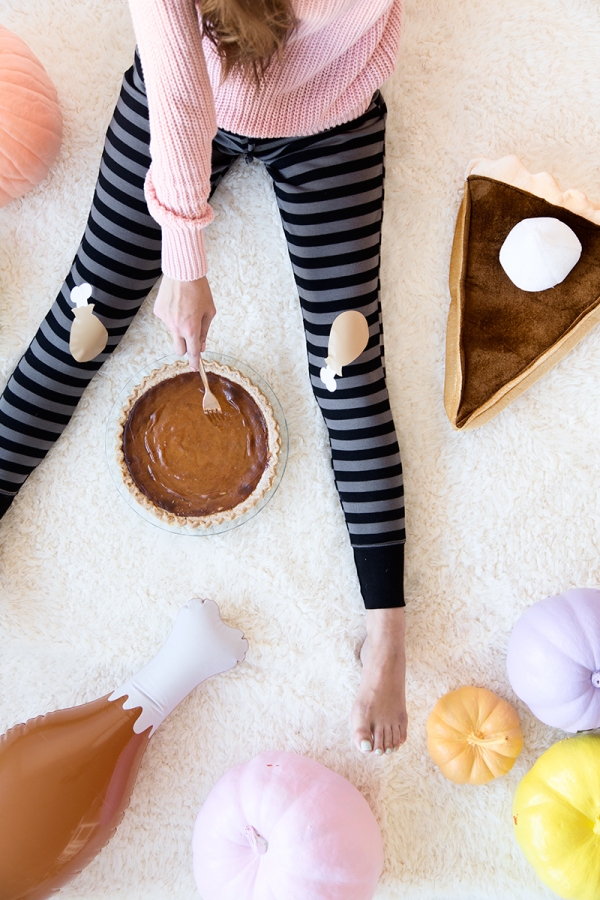
Today’s post is dedicated to Joey Tribbiani. Or more specifically, his Thanksgiving Pants. Because, I don’t know about you but if I’m going to stuff my face with turkey and pumpkin pie, I’m going to want some comfortable pants. And they might as well have turkey legs on them, right? So Cricut and I present… DIY Thanksgiving Pants.
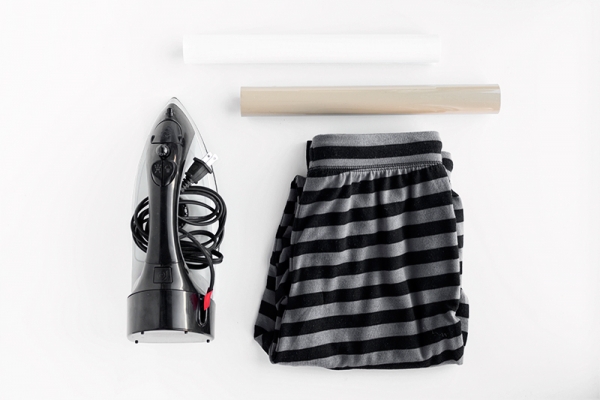
Cricut Explore
Cricut Design Space Software
12”x12” Standard Grip Cricut Mat
Printer
Cricut Printable Iron-on Material
Leggings or Other Stretchy Pajama Pants (or Maternity Pants, in Joey’s case)
Sewing Pins or Tailor’s Chalk (Optional)
Iron
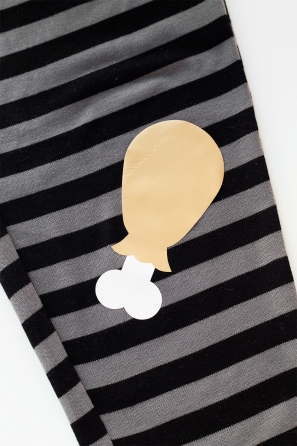
1. Open up this project in Design Space. Click the “Make It Now” button and print out the turkey leg designs. If this is your first time using the Print Then Cut feature, you’ll have to calibrate your Cricut. (Super easy, just follow the instructions on the screen!) Otherwise, follow the instructions on the screen for printing.***
2. Place your printed design on the Cricut cutting mat and follow the instructions on the screen to cut it out.
3. I recommend trying on the pants and marking the knees with a sewing pin or tailor’s chalk. Change out of the pants and lay them on a flat surface that you can iron on.
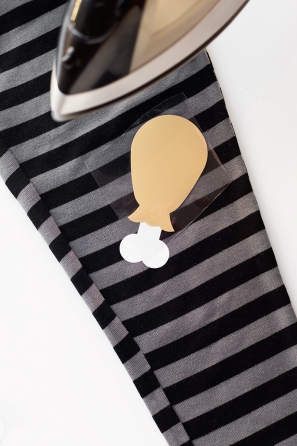
4. Place the turkey legs over the knees, color side facing down and iron on according to the instructions on the package.
5. Once set, remove the backings. Tada! You have yourself a pair of thanksgiving pants.
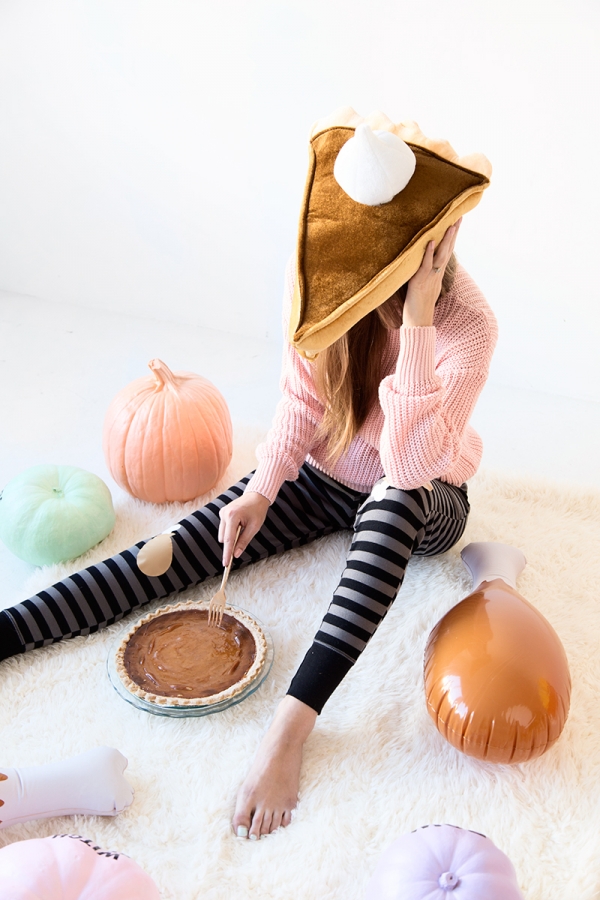
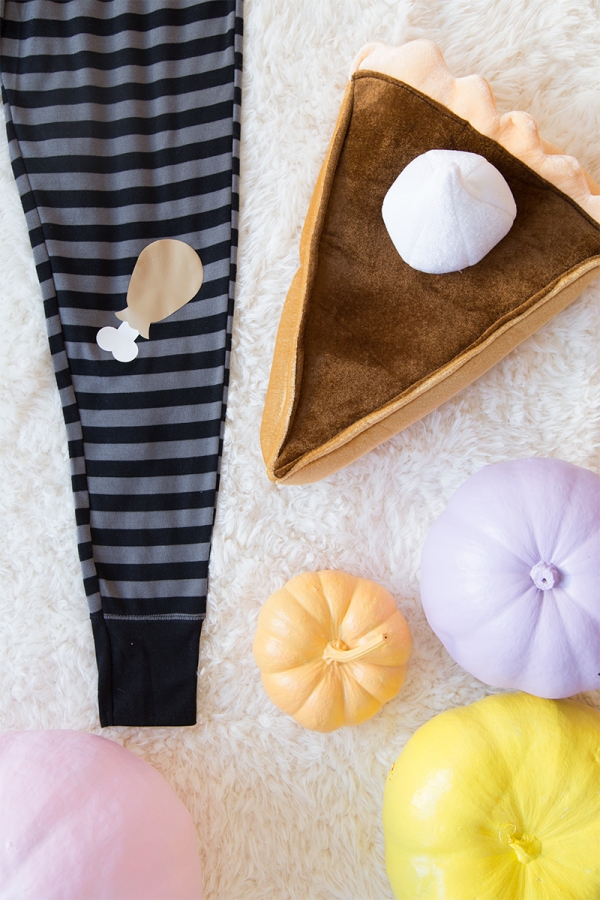

Photos by Jeff Mindell
On Me: Pie Hat + Turkey Hat
Now it’s time to FEAST, everyone! Bon appétit!
p.s. A confetti turkey!
This post was created in partnership with Cricut, All content and opinions are that of my own! Thank you for supporting the sponsors that keep the Studio DIY party going! Read more about my editorial policies here.





Haley says
These are AMAZING!! I need me some Thanksgiving pants and maybe some Christmas pants too because we all know I’m going to eat that.
Amy says
This is such a cute idea! I love the pumpkin pie hat as well, I need one!
Meghan says
These are great! The perfect, comfy eating pants 🙂