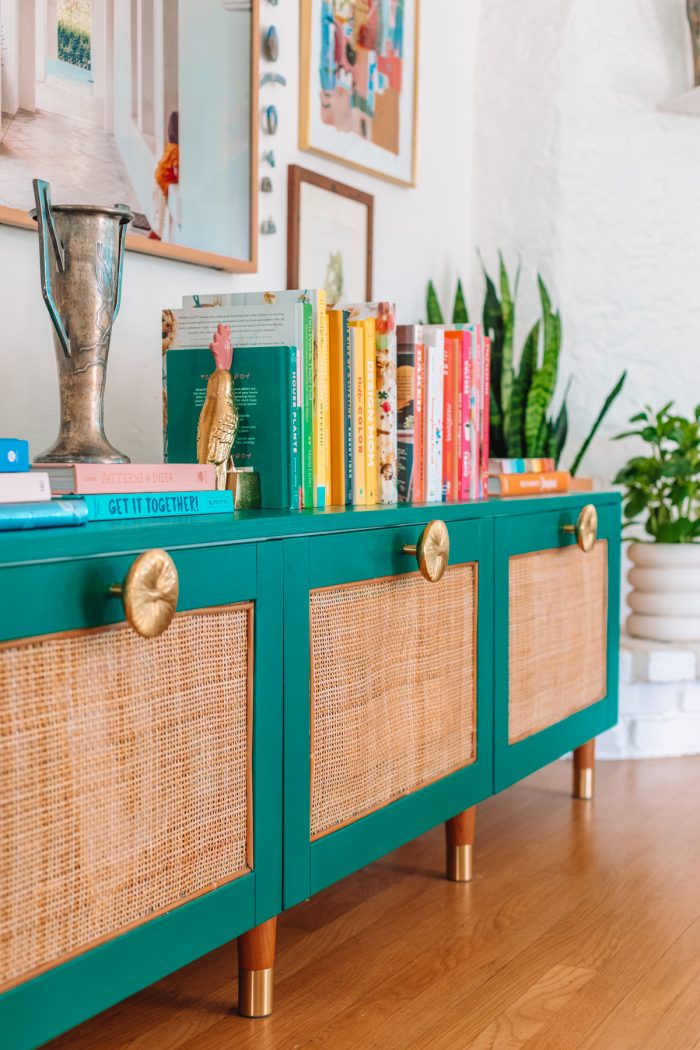
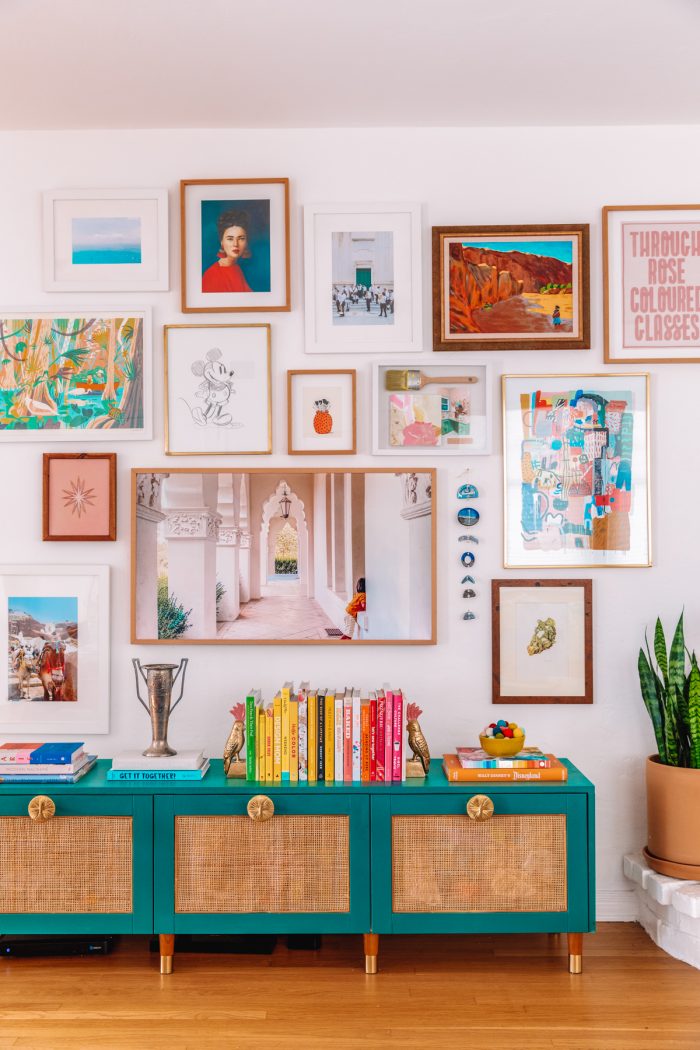
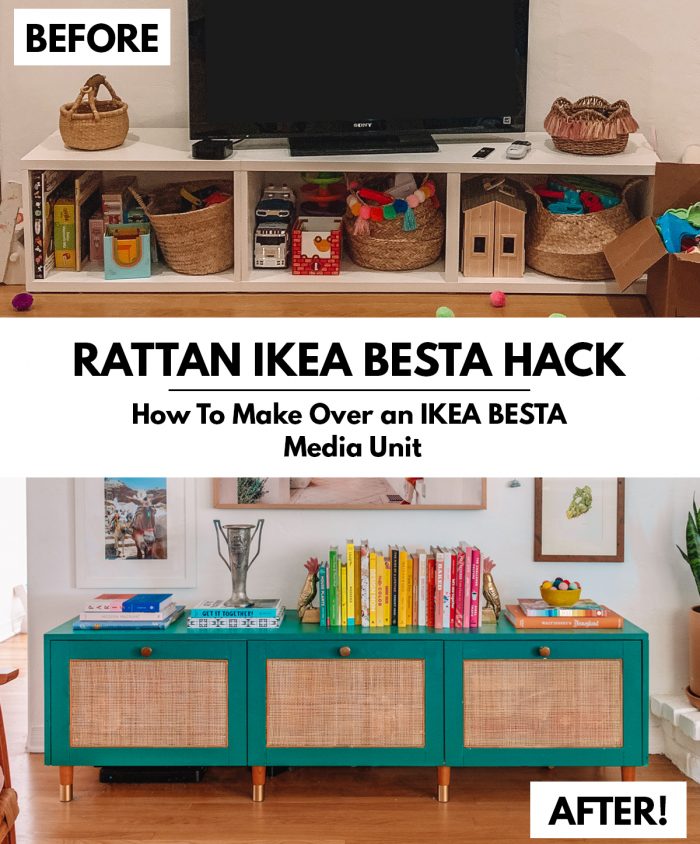
I wanted a very specific media cabinet for our colorful living room. It needed to have: rattan caning, a fun color and drawers for toy storage. And when I couldn’t find it, I decided to make it! Yep, this Rattan IKEA BESTA hack started as a plain white media unit, but I turned it into this emerald storage unit with cane-front drawers!!
In this post, I’ll teach you how I gave this classic IKEA piece a bold makeover, and I’ll share all the supplies and sources I used to make it happen too.
Which IKEA BESTA piece should I use?
This project was completed using white IKEA Besta Frames in the 15″ height, which are linked below. I decided to make mine drawers since we were primarily storing our son’s toys inside, but the door fronts (which I’ve linked in the supply list below) can be used as cabinet doors as well. It depends on what your storage needs are!
Similarly, you could absolutely recreate this with a taller IKEA Besta unit (they make a 25″ tall one), or with more cabinets depending on the space you have, you’ll just need to adjust the supplies below accordingly to account for that!
I chose the white color so I could paint over it, however the rattan would probably look beautiful with the black unit as-is and there would be no painting necessary!
What Supplies Do I Need for this IKEA Hack?
Here’s what you’ll need to recreate this IKEA BESTA TV stand hack:
- IKEA BESTA Frame, White (2 Section)
- IKEA BESTA Frame, White (1 Section)
- 3 IKEA BESTA Drawers
- 3 IKEA HANVIKEN Door/Drawer Fronts
- 3 Sets Soft-closing Drawer Runners (if creating drawers, this is not needed if you want each section to be just a cabinet, but you may want to add a shelf inside instead!)
- 3/4″ Plywood cut to the following sizes:
- Two pieces – 15 1/8″ x 16 3/8″
- One piece – 72 1/2″ x 16 3/8″
- 1/4″ Plywood cut to the following sizes (You can see if a local lumber yard has scrap pieces for this, which is what I did!):
- Six pieces – 1″ x 8 15/16″
- Nail gun or Drill & Wood Screws (This is just to put together the plywood pieces, use whatever you have. We hired our handyman to build this piece for us and he used a nail gun to put it together!)
- Two 1 1/4″ Wood Screws
- 1 Quart Zinsser BIN Primer
- 1 Quart (approx. adjust based on paint color chosen, how many coats needed, etc.) Paint of Choice (I used Dunn Edwards “Evergreen Forest” in a velvet finish)
- Paint brushes
- Sandpaper
- Cane Webbing** – You will need a total of about 11″ (width) x 66″ so if purchasing from this website, I would recommend getting at least 70″ worth of the 18″ width. (I’d get more to be safe in case you need a trial run!)
- 1/4 Half Round Reed**
- Staple Gun and 1/4″ Staples
- Quick Drying Clear Glue (NOT super glue)
- Sharp Scissors
- Drawer Pulls (and necessary hardware, I used these initially but eventually switched to an oversized pull which is no longer available but here is a similar oversized option! A t-knob pull would be great too!)
- 4 Wood Legs
**NOTE: When I purchased my cane webbing and reeds, I did so in person here in Los Angeles from the same store I linked above. In the store, you have the option to see the exact coloring of each piece before purchasing (rattan darkens as it ages). As a result, I purposely chose an “older” piece of rattan because I wanted a deeper color. That is not an option online, so I cannot guarantee the exact color that you’ll receive. Everything they offer is a beautiful natural tone, but yours may arrive lighter than mine looks in these images. However, it is very easy to stain cane webbing if you end up wanting it darker, or you can of course just let it darken naturally over time!
Rattan IKEA BESTA Tutorial
Keep reading below for the full tutorial on how to make this custom media unit!
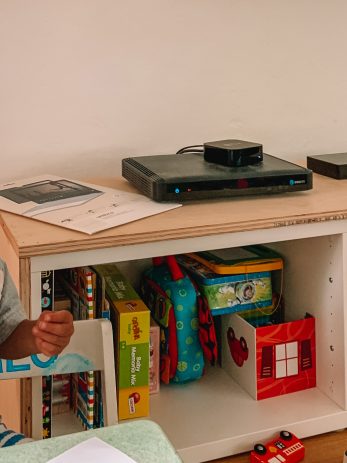
1. Put together your IKEA BESTA frames and attach them (as instructed in the IKEA instructions) to become one, three-section unit. (Don’t add the drawer inserts yet.)
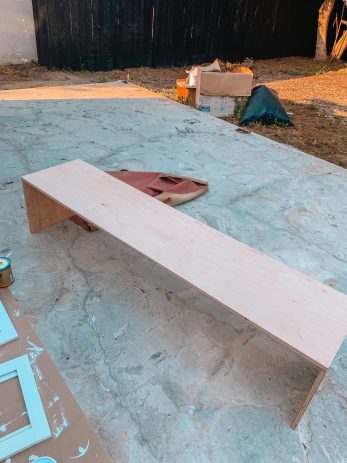
2. Build your plywood frame. This makes the piece look more finished, and is also FAR easier to paint than the IKEA material is, so it minimizes that.
Use a nail gun or drill and wood screws to attach the three pieces of plywood, with the longest piece sitting atop the other two as shown. We had our handyman do this for us and he used a nail gun. Ensure that it fits snuggly over your IKEA BESTA unit.
Painting Your IKEA TV Stand
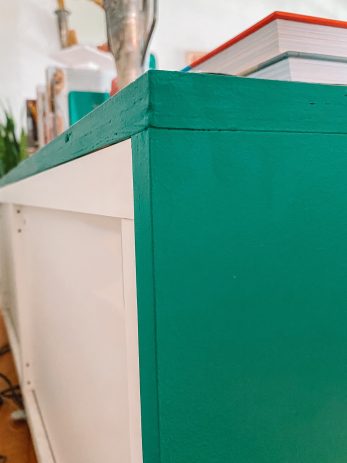
3. Sand and paint your plywood frame, sanding between coats. Let dry.
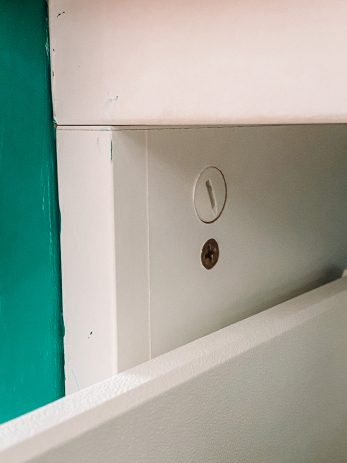
4. Set the frame on top of your BESTA unit and attach it. It should be flush with the back of the unit and extend over the front to cover the edge of the drawer fronts (once they are attached at the end). Use your two wood screws to attach the BESTA unit to the plywood as shown above (one on each side).
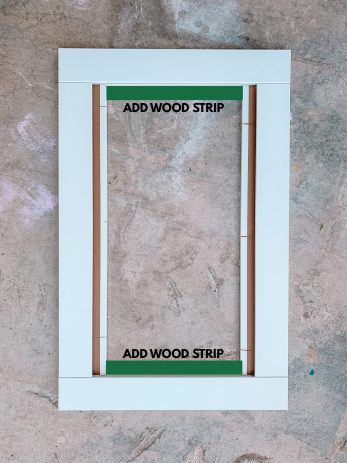
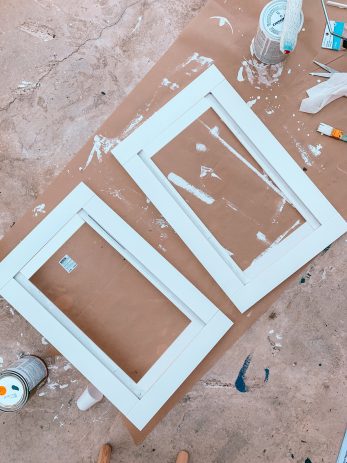
5. Remove the center of your HANVIKEN drawer fronts. The center piece that you are removing is very thin so it won’t be hard to remove. Use a mallet or sharp tool to punch through it and carefully remove the pieces (which are simply inserted into the outside frame).
6. Add a wood strip to the shorter sides of the openings using wood glue. (I didn’t cut mine perfectly, so I used a staple gun to hold this in place as well. But wood glue should work if you cut to the right size!) This will be used to attach your cane webbing to.
7. Prime the front and back of the drawer frame and let dry. Sand. Note: Be sure to use this primer in a well-ventilated area.
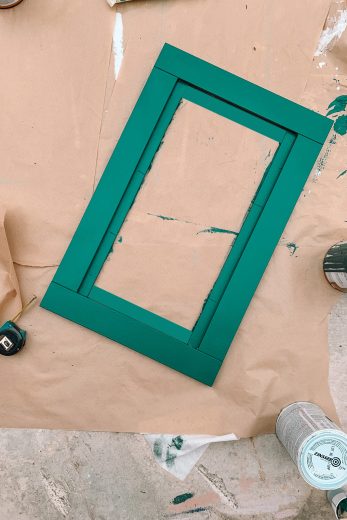
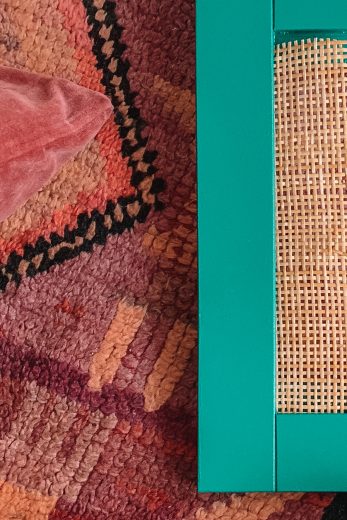
8. Paint the drawer frame (front and back), sanding between coats.
NOTE: You will see in the photos further along in this tutorial that I did not paint the back of my my drawer fronts but wish I did, which is why I note to do so in the tutorial!
How To Work With Cane Webbing
9. Cut and soak the cane webbing. Cut a piece of webbing to the size of the opening in your drawer front. Put it in a sink or bucket of warm water for 30 minutes to soak. This will cause the webbing to become more pliable and easy to work with, and it will also enlarge slightly.
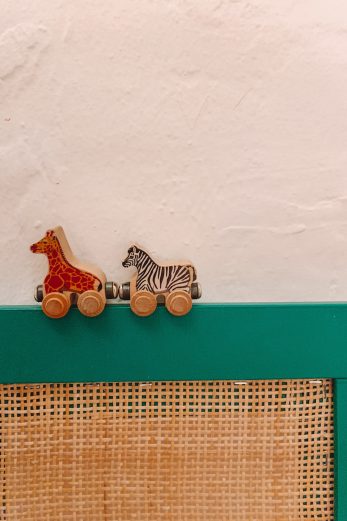
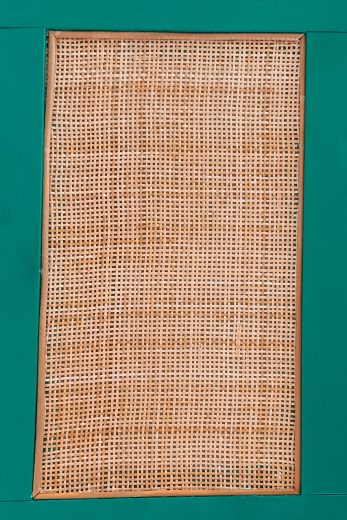
10. Attach webbing to your drawer frame. You are going to insert the webbing into the slit where the center piece of your drawer front was removed from. NOTE: Your cane WILL be larger than the opening at this point. We will cut it down in a bit.
To insert, run a line of glue along the top slit and one side of the drawer frame and insert the cane. Hold in place for 30-60 seconds until set.
11. Trim the cane webbing so that you can insert the other two sides into the slits in the drawer frame. Glue inside the slides and insert the webbing, hold for 30-60 seconds until set.
12. Use a staple gun to staple the cane webbing along the edges. (The staples will get covered with the reed next) Now, let the webbing dry completely. The webbing will NOT be perfectly taught until it is dry, so don’t fret. Once it starts drying, it will tighten up and look great.
13. Attach the reeds. Cut pieces of reed to be the exact size of the inner frame. Cut the reed on a 45 degree angle using sharp scissors so that the ends fit together perfectly once glued on to the drawer. Use your clear adhesive to glue to the drawer, covering the staples. Let dry.
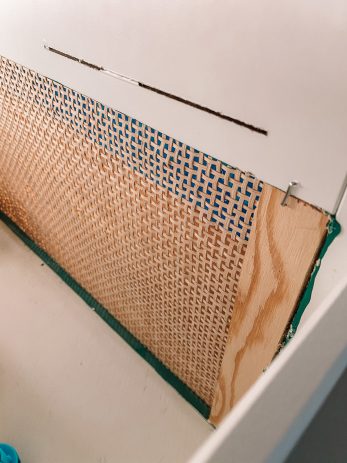
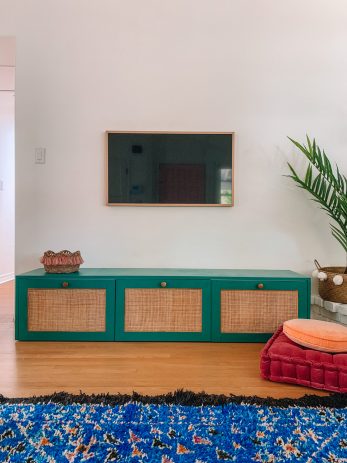
14. Attach the drawer fronts to the drawers and build according to IKEA instructions. You didn’t change anything other than the look of the drawer front so you can follow the IKEA instructions to finish building your drawers (or cabinets) and attaching them.
Noting again: If you paint the inside of your drawer fronts, they’ll look a lot better on the inside then mine pictured above! And ignore the cuts above the caning, that was before we realized you could just punch out the middle! 😉
15. Add desired hardware, handles or drawer pulls.
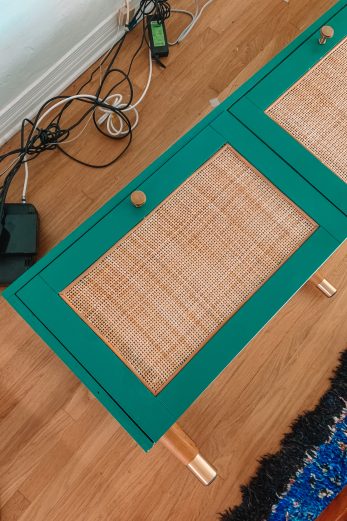
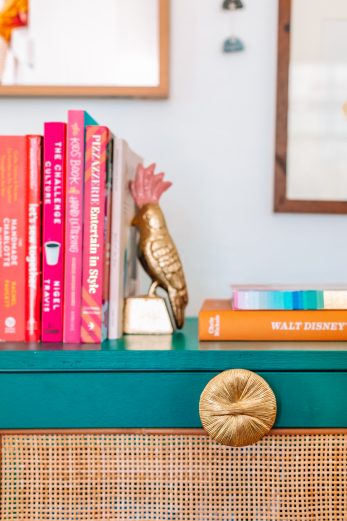
16. Add legs per instructions that come with them. Tada! Your rattan IKEA BESTA hack is complete.
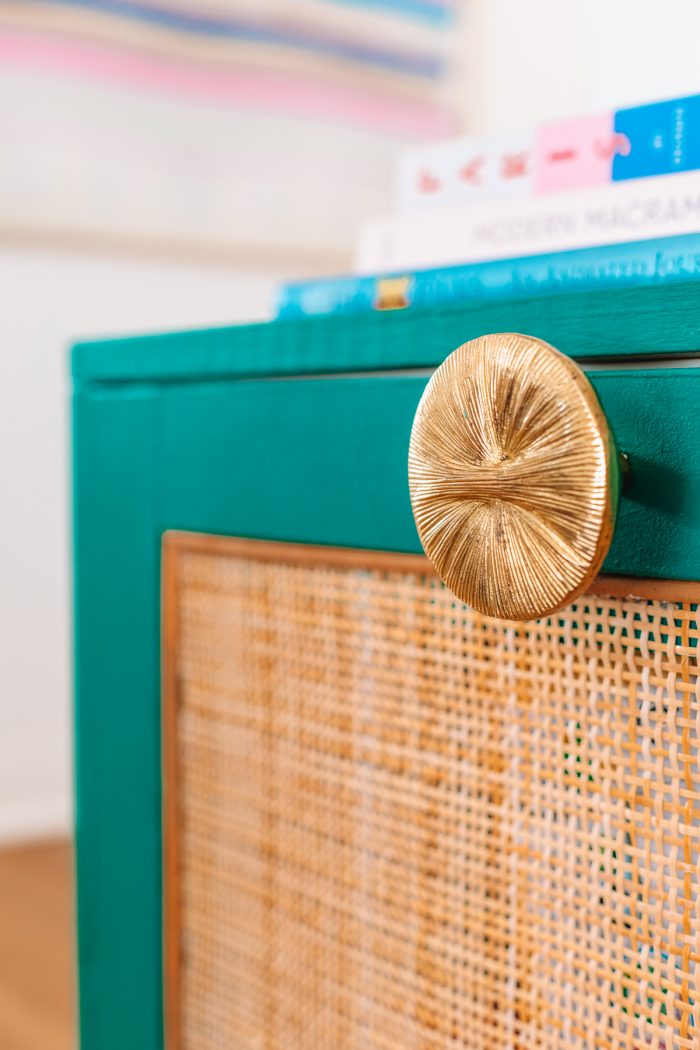
As you can see, I later swapped out my drawer pulls for a larger version which I love even more!
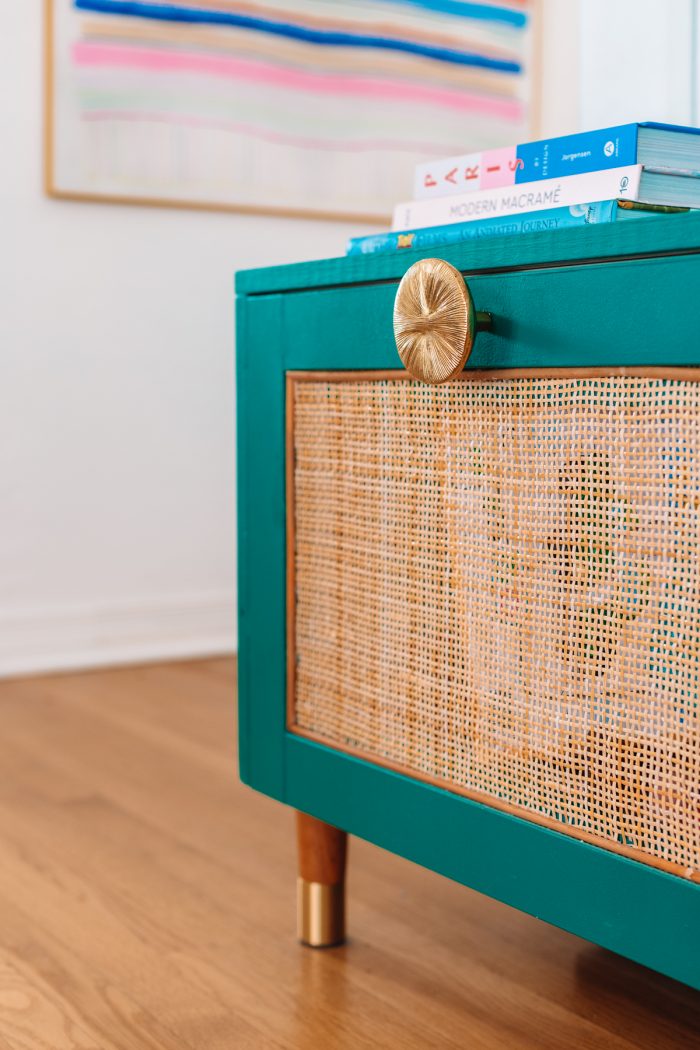
How Much Did This Makeover Cost?
Here’s how the cost of this IKEA BESTA hack breaks down:
- IKEA Items: $240
- Rattan Supplies: $66
- Building Supplies (Wood, screws, staples, etc): $112
- Legs & Hardware: $120
For the grand total of $538.
A significant amount could be shaved off there if you choose to make your IKEA piece a cabinet instead of a drawer unit. (The BESTA drawer components are $90, versus the BESTA shelf inserts which would be $15 total).
Choosing less expensive legs or hardware would be a major cost saver, too. I included the cost of the hardware, however I had actually repurposed them from another project so it wasn’t a new cost for me! Lastly, if you are able to find scrap plywood for a cheaper price, that could save a bit too.
Most other similar rattan units range from $500-$1500+ but you are of course limited to certain colors and sizes. The benefit of this project, aside from the chance of saving some money, is you can completely customize it to your liking and space!
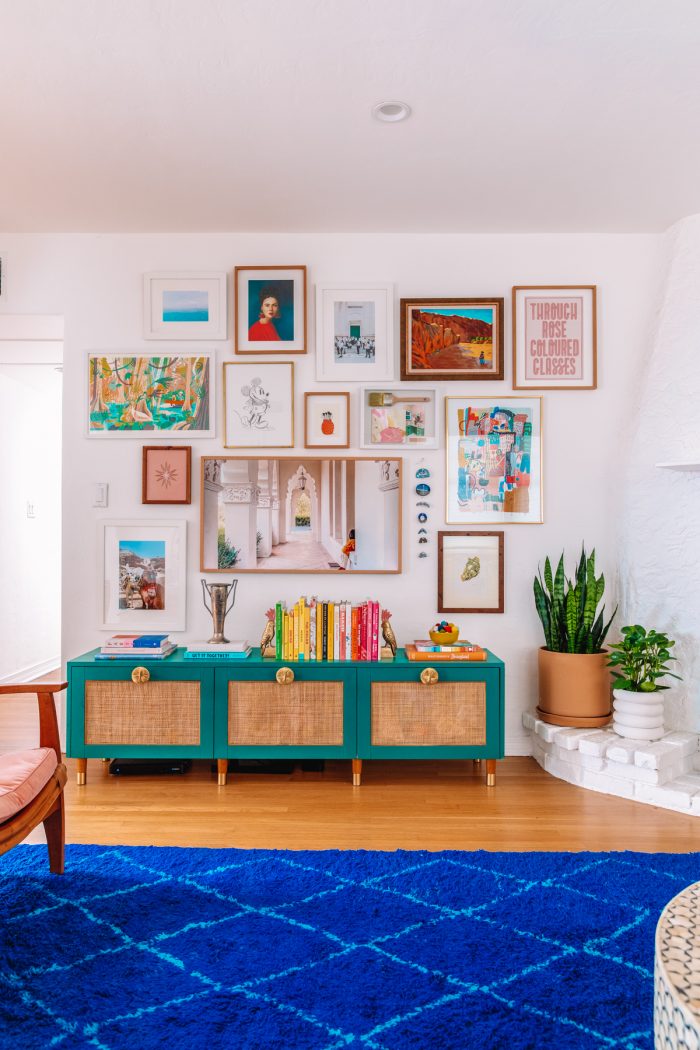
What Can I Store In The BESTA TV Stand?
The drawers in the BESTA TV stands are quite deep. We use them to store the following:
- Board Games
- Puzzles
- Kids Toys
- Flash Cards & Education supplies
You also have the option to make the same unit with doors instead of drawers if you prefer for the doors to swing open and reveal shelves. This would be great for hiding media items like game consoles, cable boxes and more.
Photos by Jeff Mindell
I’m really happy with how this IKEA BESTA TV stand hack turned out!! Above all, it was fun to make something completely custom for our home!
Most importantly, if you try your hand at this rattan IKEA hacks, please share a picture with me on Instagram (@studiodiy), I would love to see it!!
Rattan IKEA BESTA Hack: Media Console
Equipment
- Nail gun OR Drill & Wood Screws (This is just to put together the plywood pieces, use whatever you have. We hired our handyman to build this piece for us and he used a nail gun to put it together!)
- Staple Gun
- 1/4" Staples
- Sharp Scissors
- Sandpaper
- Paint Brushes
Materials
- IKEA BESTA Frame, White (2 Section)
- IKEA BESTA Frame, White (1 Section)
- 3 IKEA BESTA Drawers
- 3 IKEA HANVIKEN Door/Drawer Fronts
- 3 sets Soft-closing Drawer Runners (if creating drawers, this is not needed if you want each section to be just a cabinet, but you may want to add a shelf inside instead!)
- 3/4" Plywood Two pieces cut to 15 1/8" x 16 3/8", One piece cut to 72 1/2" x 16 3/8"
- 1/4" Plywood Six pieces cut to 1" x 8 15/16"
- 2 1 1/4" Wood Screws
- 1 Quart Zinsser BIN Primer
- 1 Quart Paint of your choice (I used Dunn Edwards "Evergreen Forest" in a velvet finish)
- Cane Webbing You will need a total of about 11" (width) x 66" so if purchasing from this website, I would recommend getting at least 70" worth of the 18" width. (I'd get more to be safe in case you need a trial run!)
- 1/4 Half Round Reed
- Quick Drying Clear Glue
- Drawer Pulls And necessary hardware, I used these initially but eventually switched to an oversized pull which is no longer available but here is a similar oversized option! A t-knob pull would be great too!
- 8 Wood Legs
Instructions
- Put together your IKEA BESTA frames and attach them (as instructed in the IKEA instructions) to become one, three-section unit. (Don't add the drawer inserts yet.)
- Build your plywood frame. This makes the piece look more finished, and is also FAR easier to paint than the IKEA material is, so it minimizes that. Use a nail gun or drill and wood screws to attach the three pieces of plywood, with the longest piece sitting atop the other two as shown. We had our handyman do this for us and he used a nail gun. Ensure that it fits snuggly over your IKEA BESTA unit.
- Sand and paint your plywood frame, sanding between coats. Let dry.
- Set the frame on top of your BESTA unit and attach it. It should be flush with the back of the unit and extend over the front to cover the edge of the drawer fronts (once they are attached at the end). Use your two wood screws to attach the BESTA unit to the plywood as shown above (one on each side).
- Remove the center of your HANVIKEN drawer fronts. The center piece that you are removing is very thin so it won't be hard to remove. Use a mallet or sharp tool to punch through it and carefully remove the pieces (which are simply inserted into the outside frame).
- Add a wood strip to the shorter sides of the openings using wood glue. (I didn't cut mine perfectly, so I used a staple gun to hold this in place as well. But wood glue should work if you cut to the right size!) This will be used to attach your cane webbing to.
- Prime the front and back of the drawer frame and let dry. Sand.
- Paint the drawer frame (front and back), sanding between coats.
- Cut and soak the cane webbing. Cut a piece of webbing to the size of the opening in your drawer front. Put it in a sink or bucket of warm water for 30 minutes to soak. This will cause the webbing to become more pliable and easy to work with, and it will also enlarge slightly.
- Attach webbing to your drawer frame. You are going to insert the webbing into the slit where the center piece of your drawer front was removed from. NOTE: Your cane WILL be larger than the opening at this point. We will cut it down in a bit.To insert, run a line of glue along the top slit and one side of the drawer frame and insert the cane. Hold in place for 30-60 seconds until set.
- Trim the cane webbing so that you can insert the other two sides into the slits in the drawer frame. Glue inside the slides and insert the webbing, hold for 30-60 seconds until set.
- Use a staple gun to staple the cane webbing along the edges. (The staples will get covered with the reed next) Now, let the webbing dry completely. The webbing will NOT be perfectly taught until it is dry, so don't fret. Once it starts drying, it will tighten up and look great.
- Attach the reeds. Cut pieces of reed to be the exact size of the inner frame. Cut the reed on a 45 degree angle using sharp scissors so that the ends fit together perfectly once glued on to the drawer. Use your clear adhesive to glue to the drawer, covering the staples. Let dry.
- Attach the drawer fronts to the drawers and build according to IKEA instructions. You didn't change anything other than the look of the drawer front so you can follow the IKEA instructions to finish building your drawers (or cabinets) and attaching them.
- Add desired hardware, handles or drawer pulls.
- Add legs per instructions that come with them. Tada! Your rattan IKEA BESTA hack is complete.


Emily says
Been dying for this post!!!! 🙂
Monica says
This is pretty off topic but I’m curious if the agave you planted in your backyard have become too big for the beds. I know, it’s a total non-sequitir but I love your yard and am using your beds as an inspiration for our new plantings. Thank you!
hotmail.com login says
It turned out amazing 😮 I love the color and the idea of rattan 😮 Thank you for sharing!
Lesley Martin says
when ordering the cane webbing, how much should I order? A quantity of 4 of the 18”
Valerie says
Can you say more about how you removed the center panel from the Hanviken doors? I’m having a hard time figuring out how many holes I need to punch or cuts I need to make to get the pieces out!