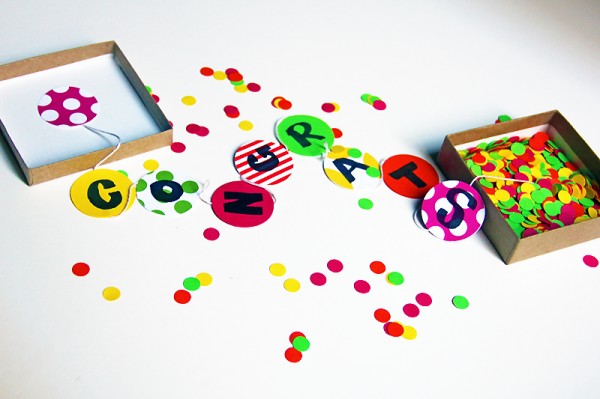
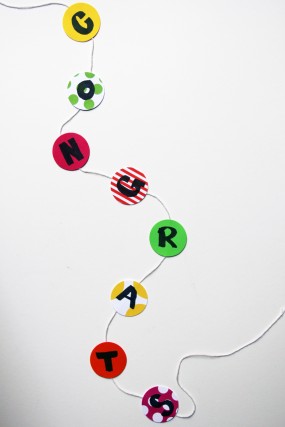
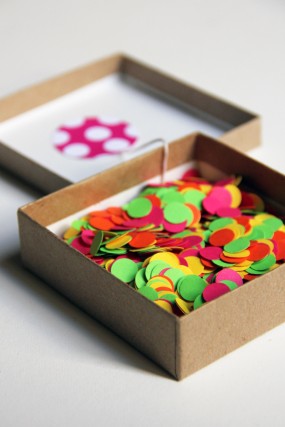
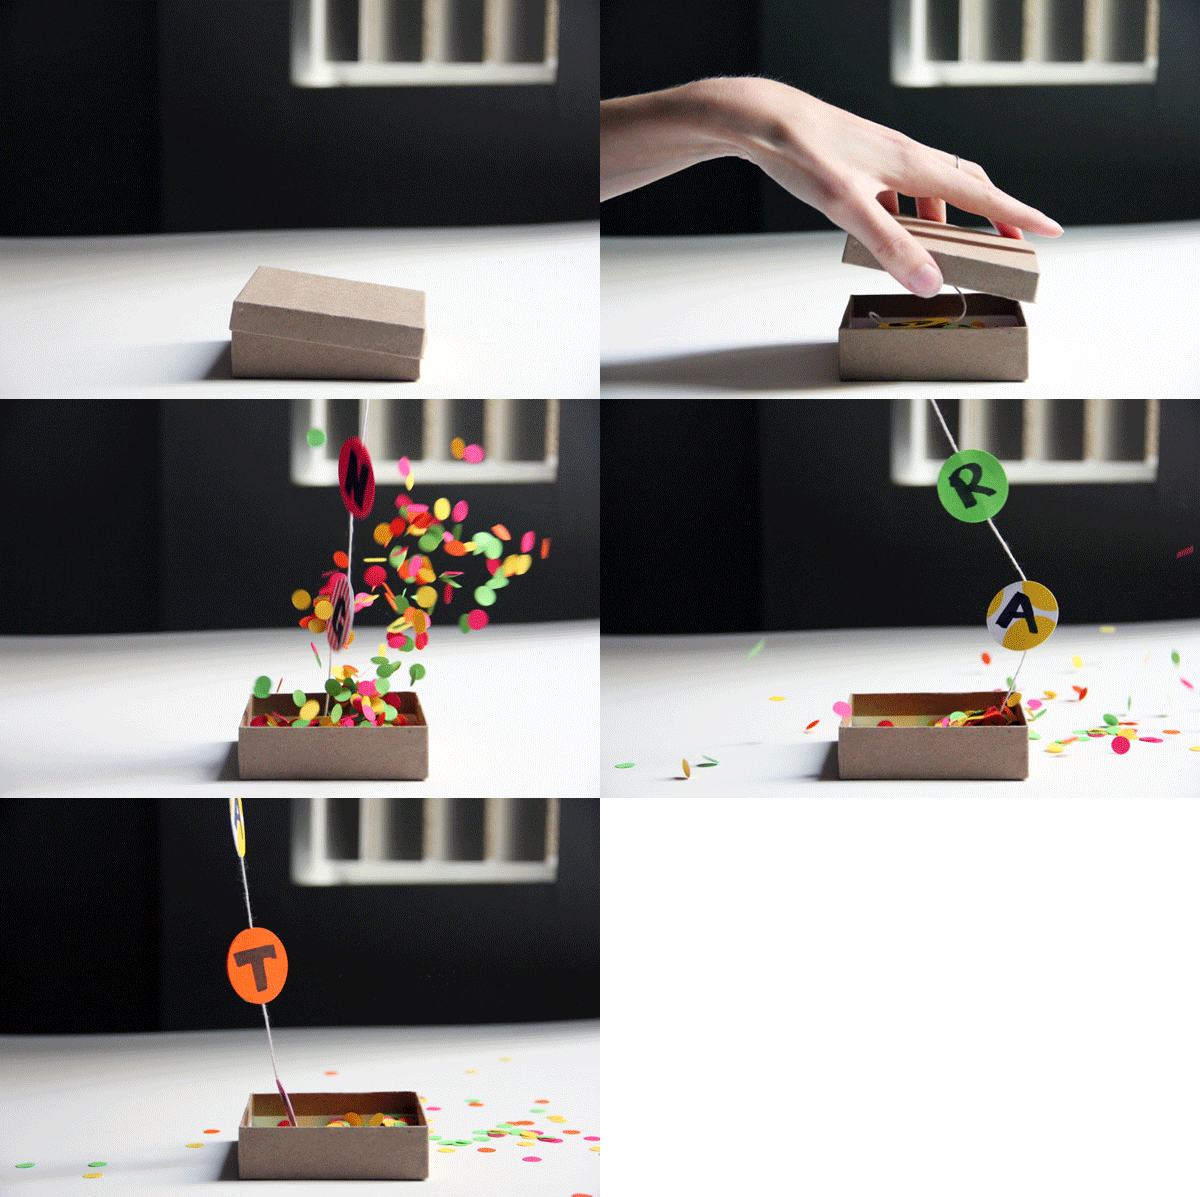
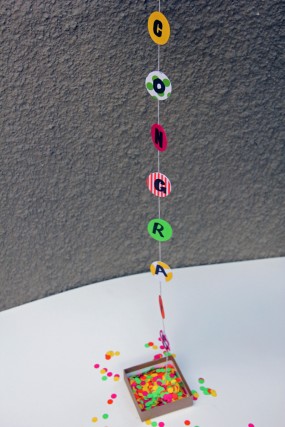
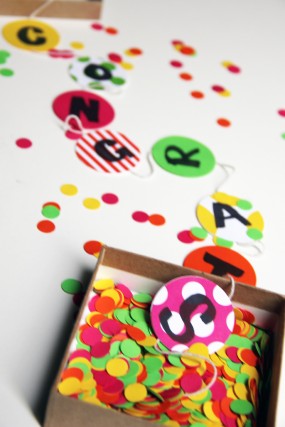
Ever wanted to send someone something, but felt a card wasn’t enough and a gift was a little too much? Say, someone who just got a job promotion, or a close friend that you’ve agreed not to exchange gifts with? Well I had one of those moments recently when a friend got some very exciting news and so I settled on an excellent DIY solution. I call it “Congrats… in a box!” but the options for this project are endless. You send an unassuming box and little does the opener know that when they open it, out pops a congratulatory garland… and a whole lot of confetti! Oh happy day! This would make a great party invitation too, replace the “Congrats” with “Surprise” or write the party information on each circle. Whatever you decide to do with it, the receiver is going to be pretty darn excited when they open a little dinky box to find a whole lotta celebratory love!
Supply List:
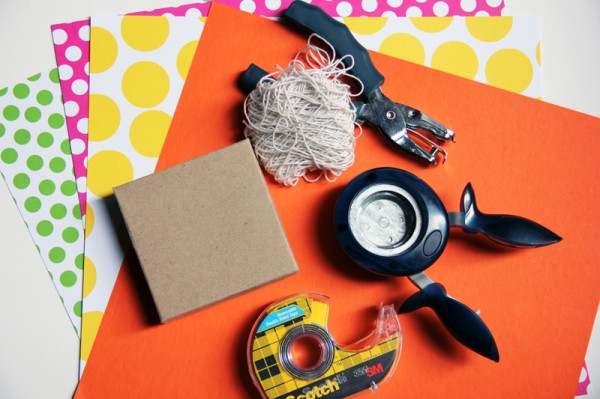
Colorful Paper
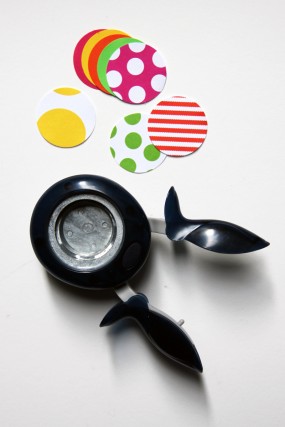
Hole punch
Circle punch (about 1″-2″ in diameter) or scissors to cut out shape of your choice
Marker
Double Sided Tape
Baker’s Twine
Small Box (I used a jewelry-sized box)
To Make:
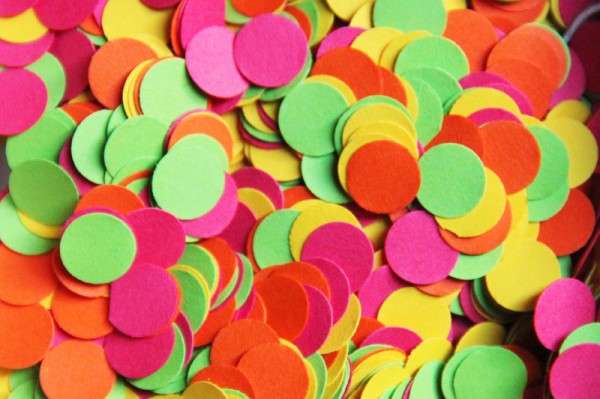
Start by punching out your circles and confetti. You will need two circles for each letter on your garland plus two additional circles to attach the bunting to the box. You can make as much confetti as you want. The more confetti, the more it will “explode” when the box is opened! I used regular scrapbooking paper for my confetti, but tissue paper would be great too.
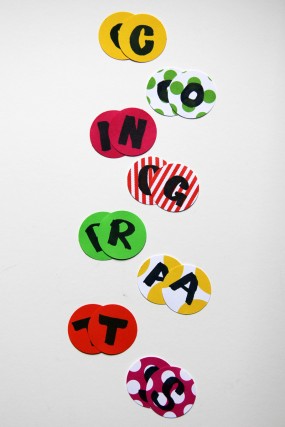
Write your letters on the larger circles, writing each one twice.
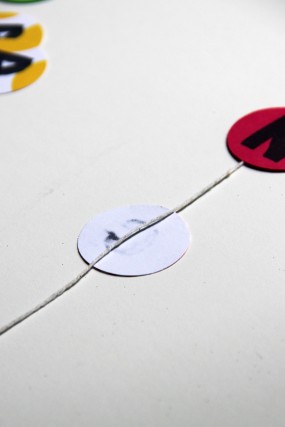
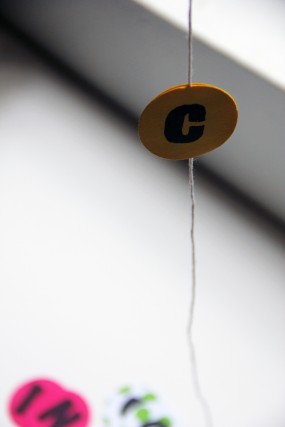
Using your double sided tape, sandwich the twine between the circles, spacing each letter however far apart you desire. Cut your baker’s twine, leaving a few inches at each end.
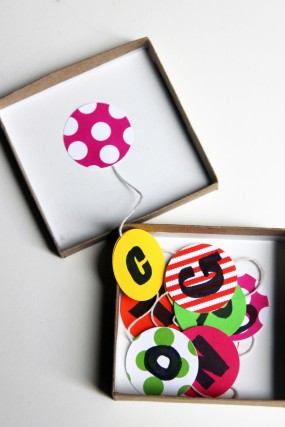
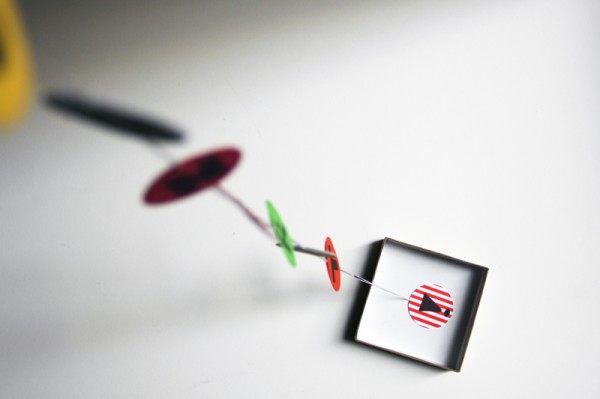
Now it’s time to attach the bunting to the box. Using your double sided tape again, secure the end of the twine to the bottom of the box and then cover it with one of your extra circles. Repeat with the lid of the box.
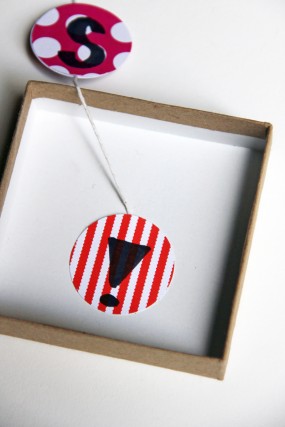
Now everything is attached, but why leave stop there!? Write a message in the bottom of the box and then cover it up….
…with confetti! BAM!
Add some confetti to the box, covering up the garland so when it’s opened, some confetti spills out.
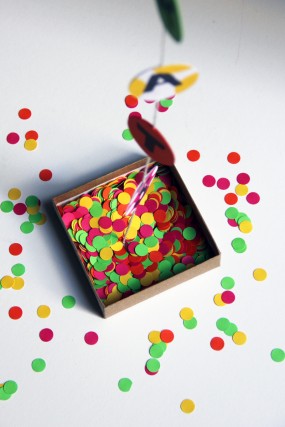
Then wrap it up and send it off! Or… take it for a few practice rounds because it’s just that fun.
Wouldn’t this make a great gender reveal too? Unassuming white box on the outside and an explosion of pink or blue on the inside!
Party invitation, gender reveal, or congratulatory gift… you can definitely find a way to send one of these!
Looking for more DIY projects? Check out the Project Gallery and Free Printable Gallery! In need of supplies to make your own “Congrats in a box”? Check out the Craft Supplies Guide!



Jenna @ Little Bit Heart says
How cute is this?!! Love the idea of doing one of these for a gender reveal, so fun! Your blog is so inspiring, lady- thanks for sharing all these awesome ideas with us 🙂
Micah G Robinson | Nashville, TN Wedding Photographer says
Love this!
What a great idea, so much better than a card.
I want this my next birthday 🙂
Keep it up
annabel ang says
Its a big WOW!
very nice!!!
I love it! 🙂
All your works are very interesting & super creative!!!
keep up the good work! 🙂
Melissa says
AMAZING!!
What a great and cute idea. Thank you for sharing.
Truds says
This is ingenious! Thank you, thank you.
party cups says
I am very much inspired with this idea. I would love to copy this idea for my younger sister’s birthday next week.
buy hcg drops Canada says
Hey are using WordPress for your site platform?
I’m new to the blog world but I’m trying to get started
and create my own. Do you require any html coding expertise to
make your own blog? Any help would be really appreciated!
Nicole Mantooth says
How would you mail this? Do you think you could just stick the little box in a bubble envelope?
Kelly says
A bubble envelope would definitely work!!