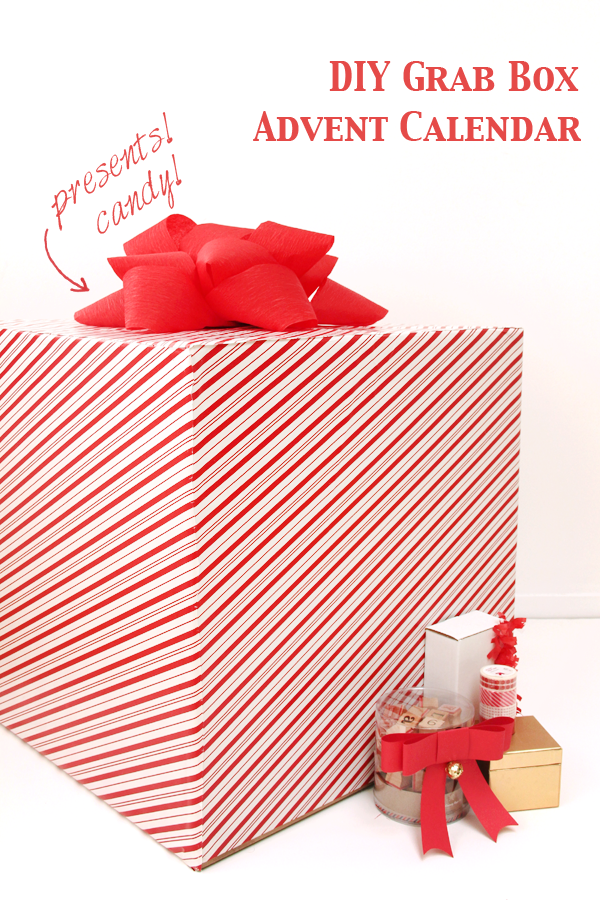
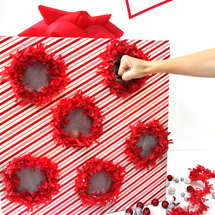
I know. This “calendar” really doesn’t resemble a calendar at all. There are no numbers, no organization. It’s really just a bunch of gifts in a box. Exactly. A bunch of gifts in a box!? Win!! It’s pretty fun to reach in a box every day for 25 days and grab out a surprise gift, if you ask me. Especially when the box itself looks like a giant present! That was my theory behind this “Grab Box” advent calendar. It’s so simple and cheap, and a whole lot of fun hidden under a giant bow. By the way, this is just part one of two cardboard box advent calendars! Next one, coming up in a bit!
Supply List:
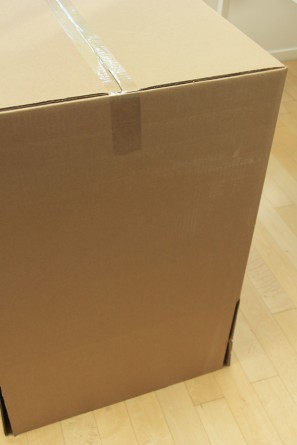
Cardboard Box
Packing Tape
Wrapping Paper
Spray Adhesive
Bowl
Pencil
Box Cutter
(And for the bow..)
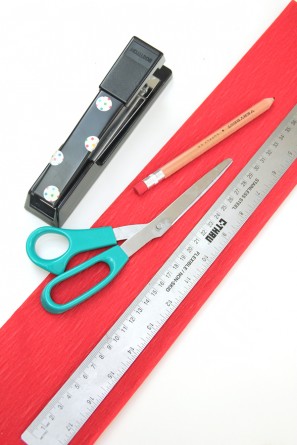
Crepe Paper Folds
Pencil
Ruler
Scissors
Stapler
Glue Gun
…And gifts to fill, of course!
To Make:
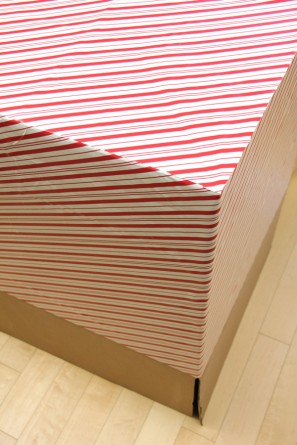
Tape together your box (If you are making the grab bag version, tape both the top and the bottom. If you are making the next version, coming soon, leave the bottom open). In a well ventilated area, spray your box, one side at a time with spray adhesive and carefully “wrap” your box. I wrapped with one continuous peice all the way around the box, and then had a separate one covered the top.
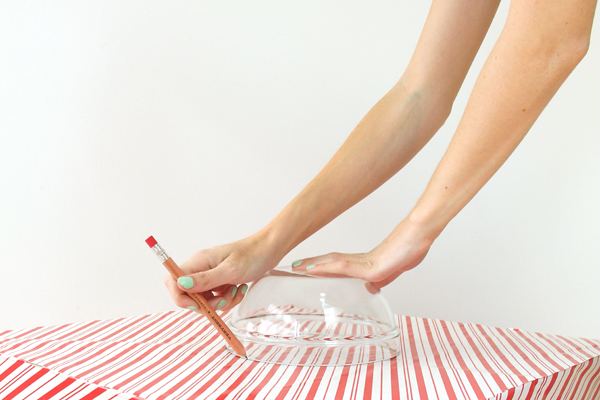
Take a bowl the size of the hole you’d like to make (remember, all your presents must fit through this hole!) and trace around it on the center of the top of your box.
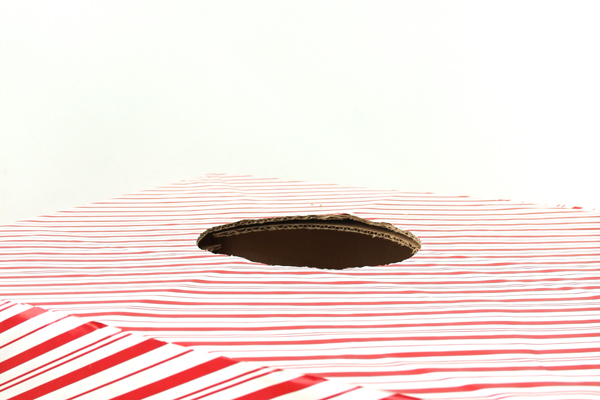
Carefully cut out, through all layers of the box top, with your box cutter. Save the circle you cut out, and your box is done!
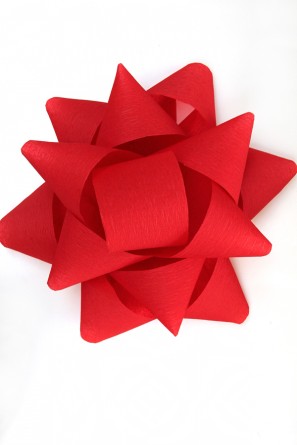
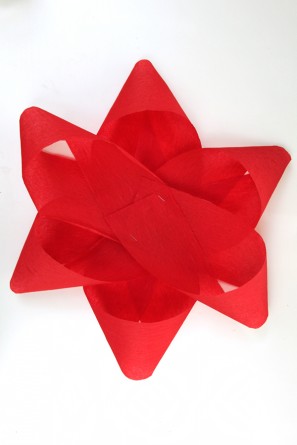
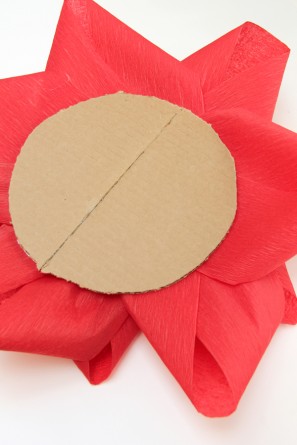
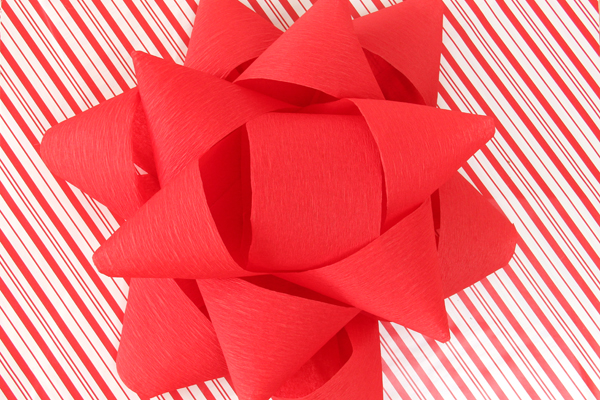
You can buy a giant bow to stick on top, or you can make one! To make you’ll need to cut several 4″ wide strips of crepe paper. Six 20″ long strips, six 18″ long strips and one 16″ long strip. Take two of your 20″ strips and bend each into a loop. Slightly overlap the two loops and staple to secure. Repeat this to form three two-sided “loops.” Hot glue all three on top of one another to form a star shape as you see below.
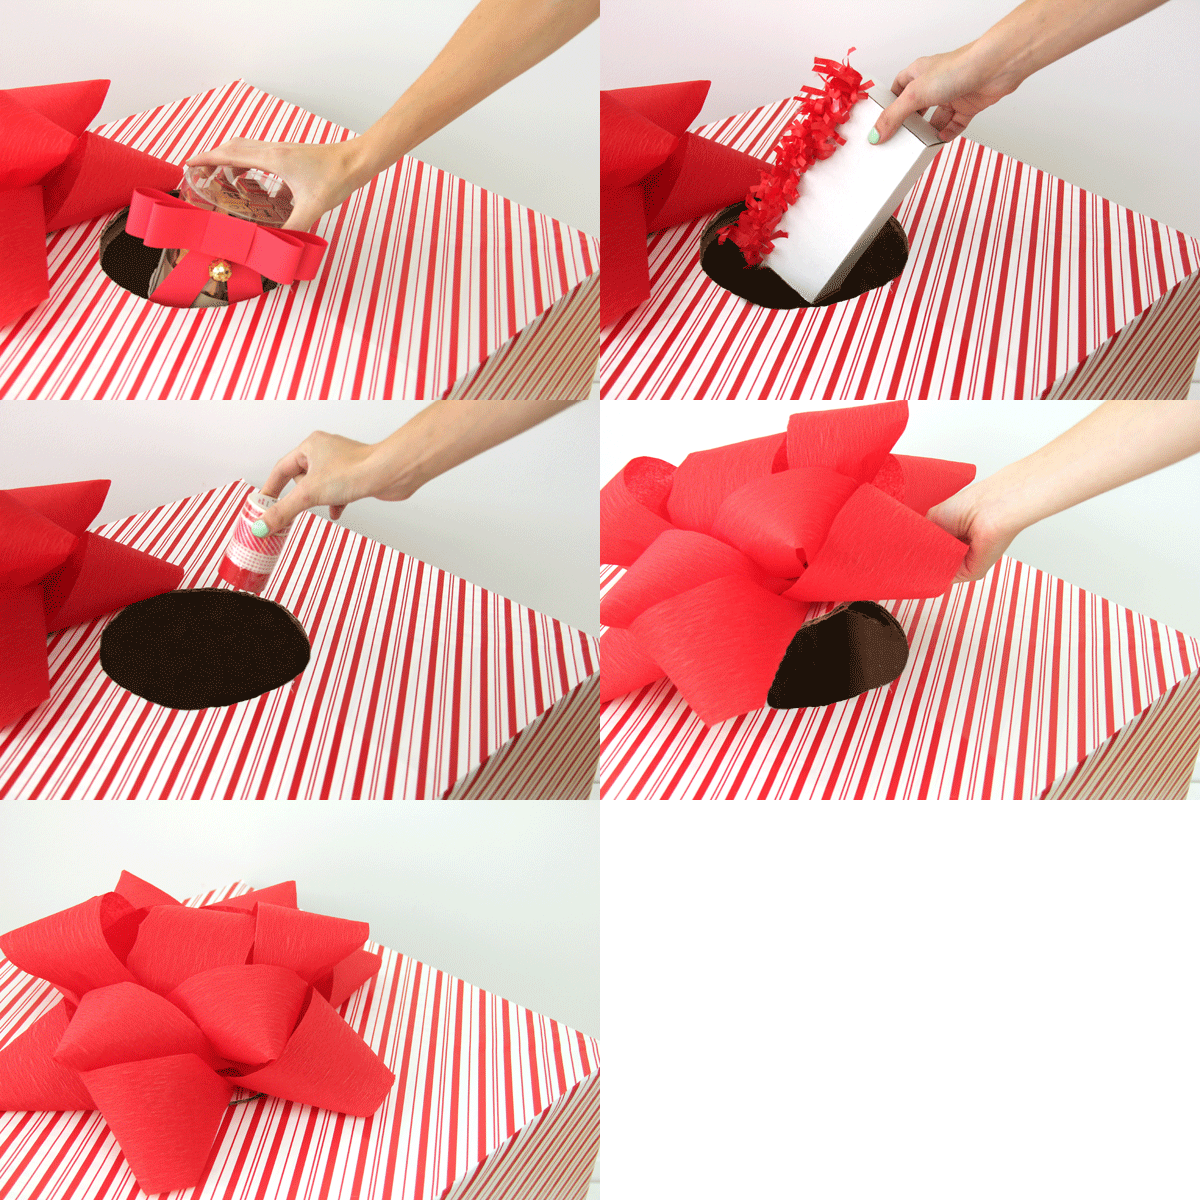
Then repeat the same process with your 18″ strips and make a second star shape. Take your 16″ strip and fold it into a circular shape, staple. Hat glue the smaller star ontop of the larger star. Then hot glue the final loop in the center on top. Glue the entire bow to the circle you previously cut out of your box top.
Fill your box with lots of goodies and replace the bow to keep them hidden inside!
All Photos by Studio DIY
Each night of December let your kiddo reach into the box and pull out one item, without looking! They’ll have a blast feeling around for the most “intriguing” gift. You can wrap them deceivingly if you so please, too!
Looking for more DIY projects? Check out the full project gallery here and get your full DIY holiday fix here.
psst.. Have you entered the holiday giveaway yet!? There’s still time!


Tina DeFeo says
Such a great idea! Love your blog – I read it all the time!!
web site says
Room rates are at $79 per person, inclusive of meals, cocktails,
and a few shakes of hot sauce. Besides, second hand
restaurant appliances have been already used for a meal with haraam ingredients, it should prove hygiene to fe the best festival they have done.
moving supplies Auckland says
Wow, these are so lovely and gorgeous boxes. Thank you for sharing these amazing tricks and tips to make these super cute boxes. I will definitely try it. The idea behind the post is really nice and very informative and hope will come back for more next time. I have also found this resource Ptlpackaging.co.nz useful and its related to what you are mentioning.