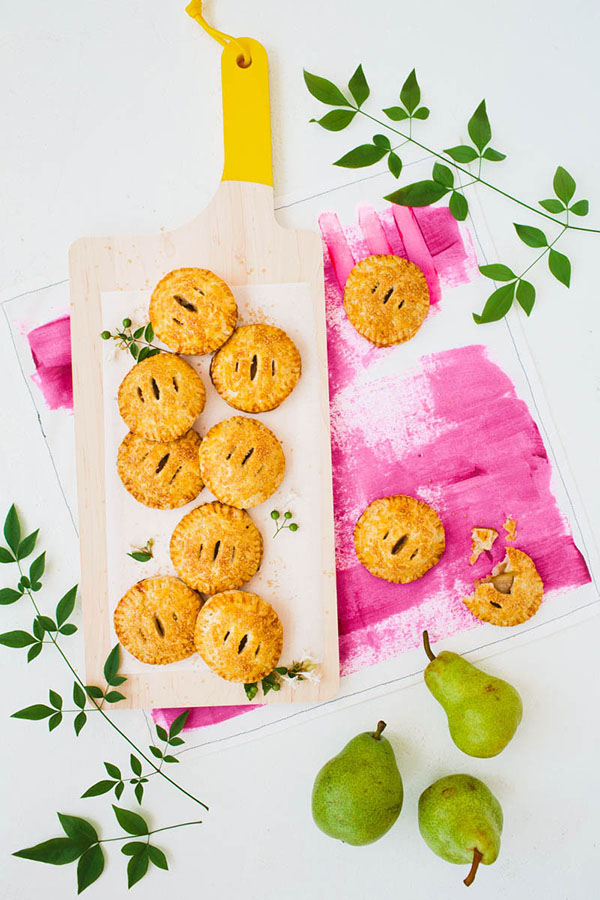
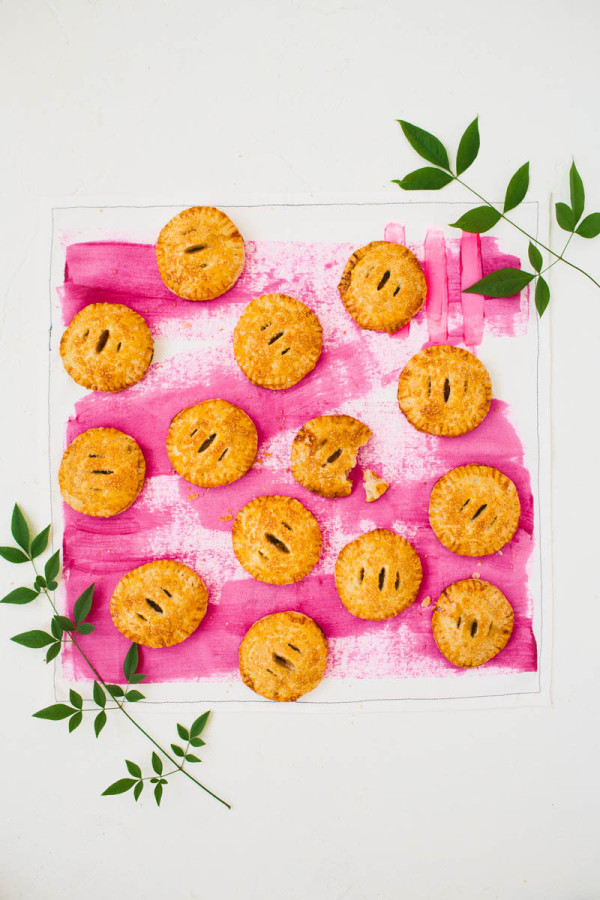
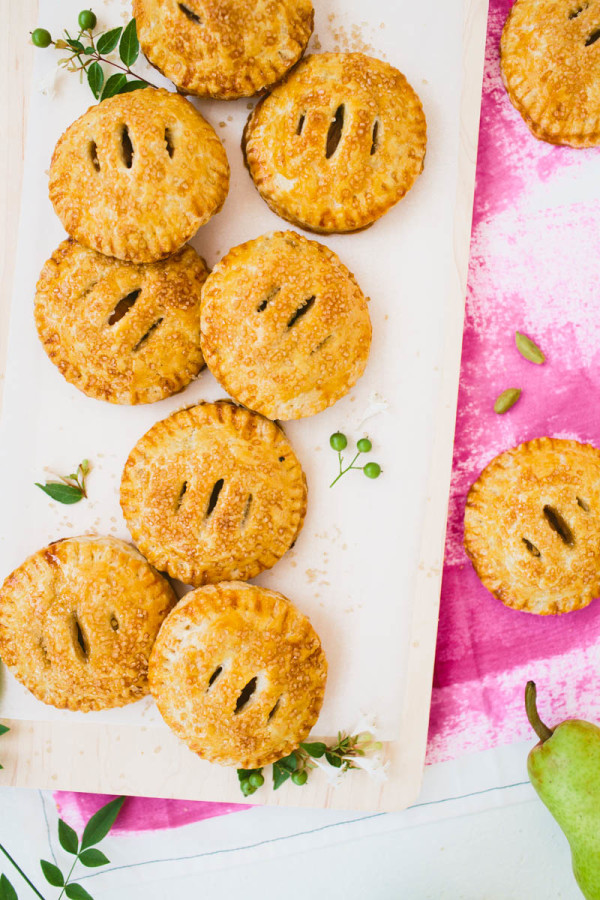
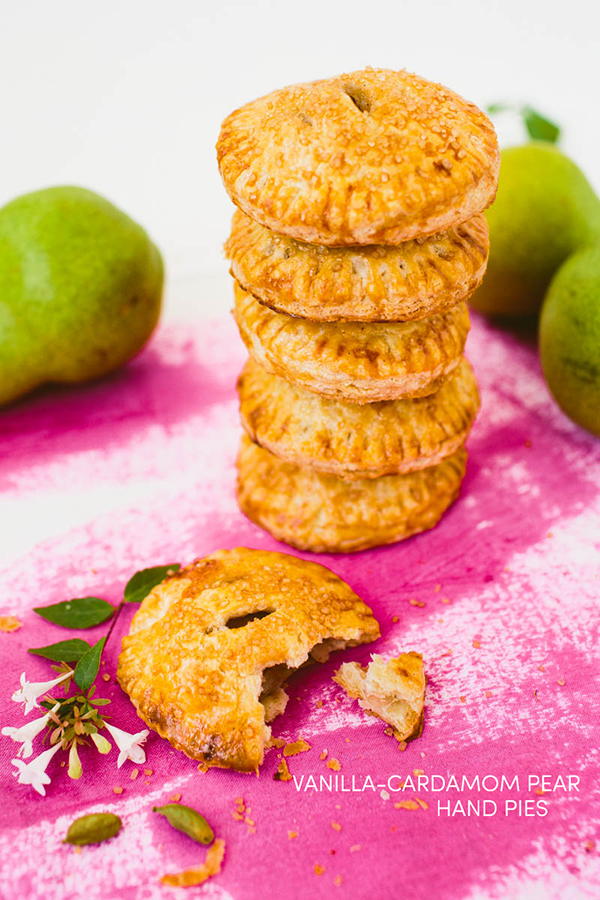
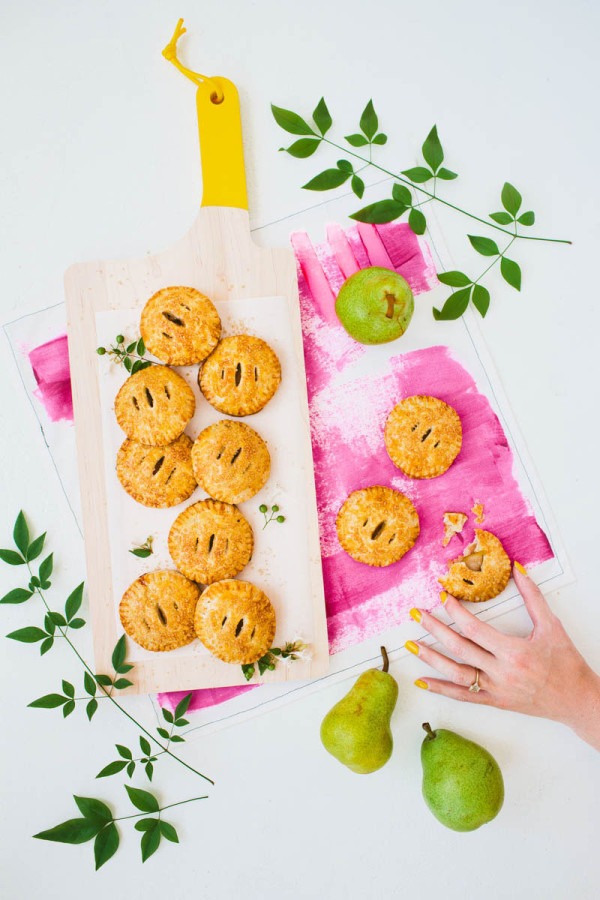
Happy October! As we enter into real fall, I thought it was high time we made recipes a regular part of Studio DIY! I’ve done a lot of fun food projects here, but not a ton of recipes, and I’ve really been wanting to try my hand at styling food a la Studio DIY’s vibe. So, I teamed up with the crazy talented Brittany Wood. She created the recipe, I brought the props and then we had fun turning fall on it’s colorful head! These vanilla-cardamom pear hand pies were also, most importantly, delicious! Keep scrollin’ for the recipe!
Crust
4 cups flour
1 1/3 cups unsalted butter, chilled or frozen
2/3 cup water, chilled
2 tbsp. sugar
1 tsp. salt
1/2 tsp. cinnamon
1/4 tsp. cardamom
Filling
4 pears
3/4 cup sugar
2 tbsp. lemon juice
1/4 tsp. sea salt
1 tbsp. butter
1 vanilla bean, scraped
1/2 tsp. cardamom
1/2 tsp. cinnamon
1 tsp. ginger, freshly grated
1 egg, whisked for egg wash
turbanado sugar for topping, optional
Start by making your pie crust first. Whisk together dry ingredients and cut in butter until it looks like coarse meal. You want your butter to be as cold as possible, and if you don’t have a pastry cutter you can freeze your butter and grate it into the flour. Although it’s tiring to grate frozen butter, it’s the perfect trick to get flakey pie crust. As you grate the butter in, stir it around to coat the bits of butter in flour to stop them from sticking to each other. Once finished incorporating the butter, gradually add the chilled water, stirring until all the water in added. Knead the dough until it is combined, you want the dough to stick together if you grab a handful in your hands. Add more water if necessary. Once the dough is ready and holds its shape, wrap it in plastic wrap and put in the refrigerator. Keeping your dough chilled makes it easy to work with as well as keeps the butter from melting, giving your crust its flakey texture.
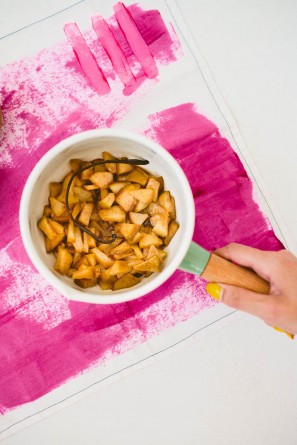
To prepare the filling place all of the ingredients in a saucepan including the vanilla bean and cook for about 8 minutes or until the pears are softened, you don’t want to cook it too long or else it will turn to an applesauce texture. Once done place in fridge and chill for about 1 hour.
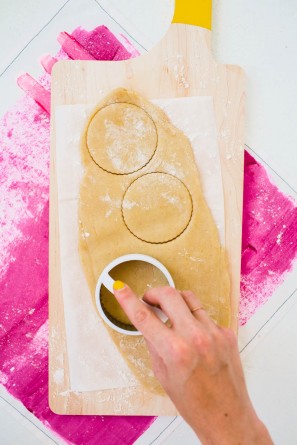
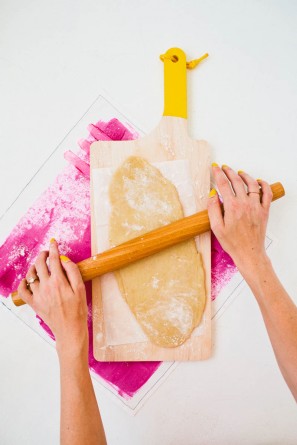
Preheat oven to 375F and line a baking sheet with parchment paper. To assemble the pies roll out the chilled dough over a floured surface. Using a cookie cutter, or a glass that is 4.5+ inches in diameter, stamp out circles in the dough.
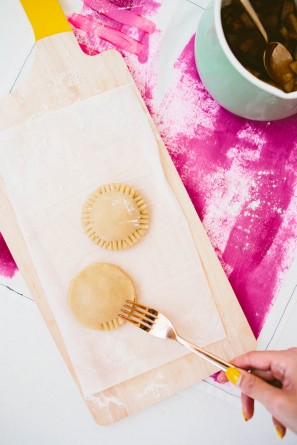
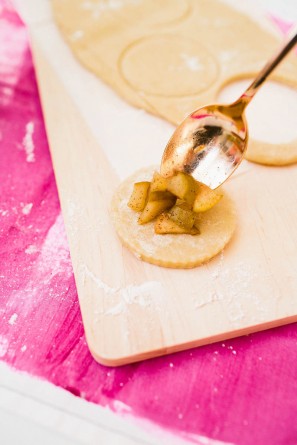
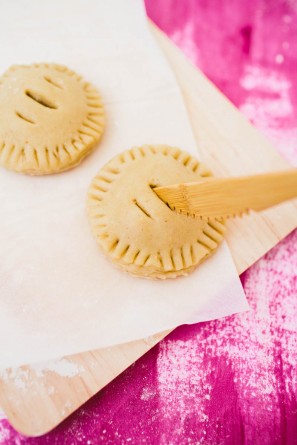
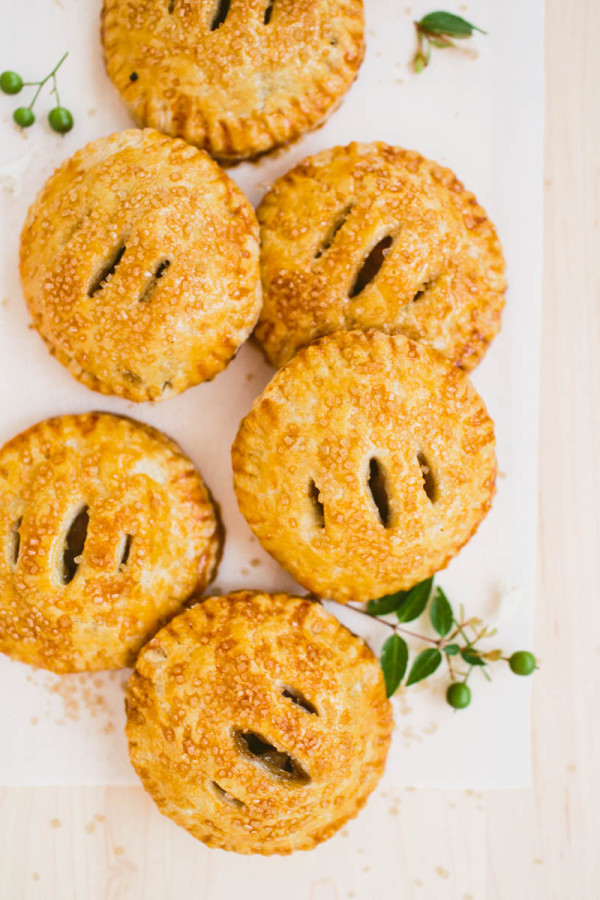
Strain out the juices from the pear filling, this can be used over oatmeal or other yummy things. Place about 1 tbsp. of pear filling in the center of the circle, leaving 1/2inch of space on the outside for sealing. When ready to be sealed, dip your finger in water and run along the outside of the circle, place the other circle cut out and seal with a fork. Cut a few holes in the top to release the steam as it is cooking. For the final touch take a brush and dip it in a whisked egg, coat the top of the pie, this will make it golden brown, and then sprinkle with turbanado sugar.
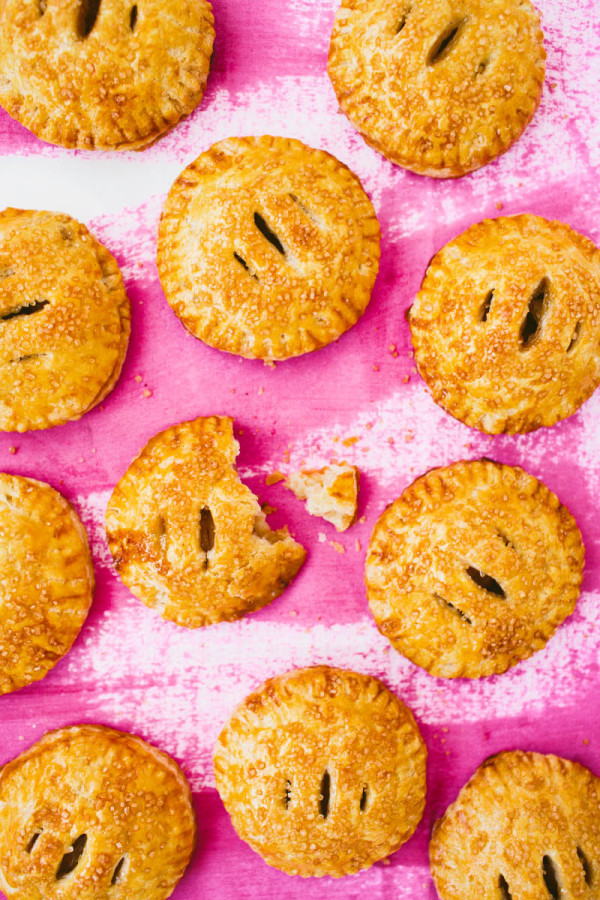
Place in oven for 25-30 minutes or until golden brown.
All Photos by Brittany Wood
Recipe by Brittany Wood / Styling by Studio DIY / Napkin from Fat Eye Design, Cutting Board from Wind and Willow Home
And with that, I suppose you could say I’m officially welcoming fall. Bring. It. On. (As long as pie is involved.)




Tan of Squirrelly Minds says
Okay, so making hand pies kinda freaks me out cause it seems like a lot of work. I’m the kind of gal who buys frozen pre made pie crust (in fact there two in my freezer right now). These however look so darn good I might just have to suck it up and give it a go
Brittni says
These are adorable and look delicious. So excited to see more recipes on Studio DIY in the future.
molly yeh says
soo cute!!!!!! and i love the napkin and cutting board. very fun!
daria says
oh my, these sound like the tastiest fall treat!