I don’t often say outright that I’m proud of myself, but I gotta say I was pretty darn proud of this project! I’d been looking for some letter shaped boxes with no luck, so I decided “Well, shoot… I’ll just make ’em myself!” I had about 0% confidence that it would work.. but it did! On the first try, mind you. (That doesn’t happen often.) So I ran with it and here I present you with some made-from-scratch letter shaped boxes for all your party favor and gifting needs! This project is easy to put together, but does require as much precision as you can muster. So grab that ruler and make ’em happen with the step-by-step below!
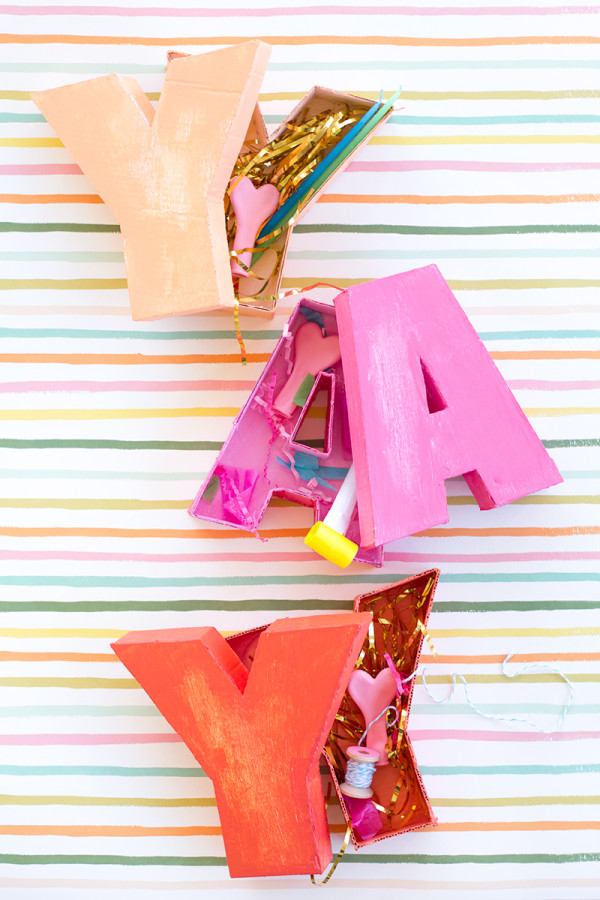
(Then give them to everyone and watch their shock and awe when you say, “Yeah, I made that.”)
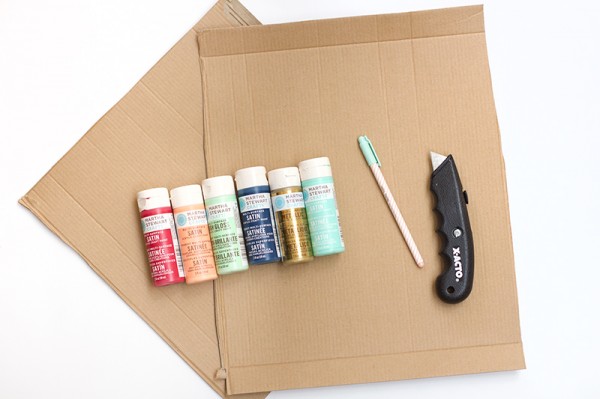
Cardboard (I used a thinner corrugated cardboard)
Pen
Ruler
Large Letter Print-Outs (I used this font. You’ll want something bold/block so you can put items in the box. Type the letters into a text editing program at the size you want them and print.)
X-Acto Knife/Box Cutter
Hot Glue Gun
Craft Paint (I also recommend getting white paint to prime it!)
Paint Brushes
Cut out your letters. These will be used to make the bottom of your box. Trace the letter onto your cardboard. Then, you need to make the lid. To do this, trace your letter again. Then use your ruler to make marks 1/8″ around the outside of your letter. Use your ruler to connect the marks and you now have a 1/8″ larger letter for your lid. (Note: If you are using a very thick corrugated cardboard, you’ll need to make your lid slightly larger.)
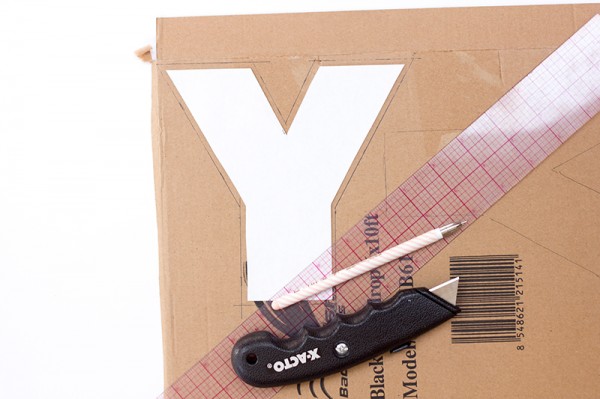
Now, cut out both letters with your box cutter. Next you’ll need to cut out several strips for the sides of your box and lid. The strips for the lid should be 1/2″ narrower then the strips for the bottom of the box. The longer the strips, the better, because you’ll have less seams, but work with what you have!
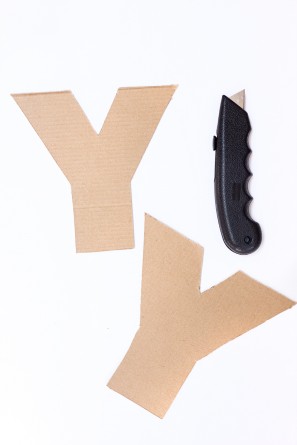
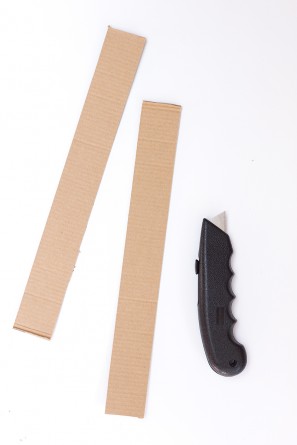
Letters that don’t have holes in the middle are easiest, or you can choose to skip the holes in the middle if you want. But! If you’re set on making a “real” A or O like I was, here’s the scoop. Follow the same instructions as above. You’ll just need an extra strip of each width for going around the hole in the bottom and the lid.
Once you have all your peices cut, heat up that hot glue gun! Start with the bottoms of your boxes and your wider cardboard strips. If you’re working with a letter with a hole in the center, start there. Run a skinny line of glue along the corrugated edge of the cardboard and adhere on top of the letter. Then do the same to the outside to form your letter. I recommend starting each new piece of cardboard at a corner or intersection, so the seam is less noticeable. At each seam, just adhere the new two pieces together using another thin line of glue along one of the corrugated edges.
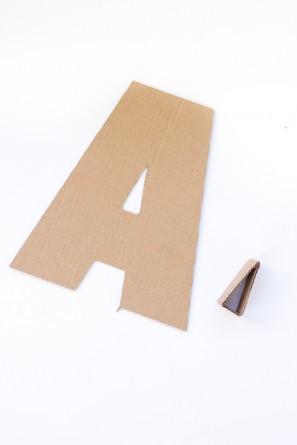
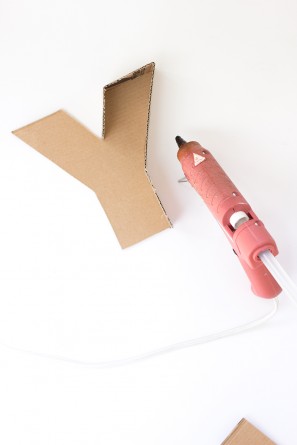
As you work your way around your letter, bend at each corner/angle and continue gluing. Cardboard creases really easily, just make sure your crease is straight and not crooked, or your lid won’t fit perfectly. Once you’ve completed the bottom of your box, get to work on your lid using the exact same method.
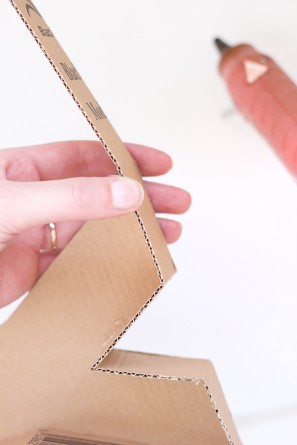
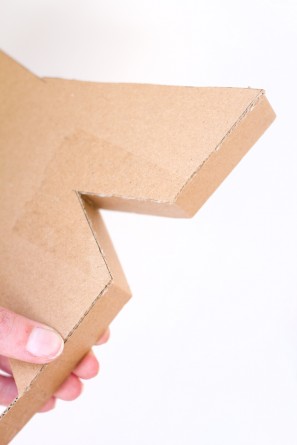
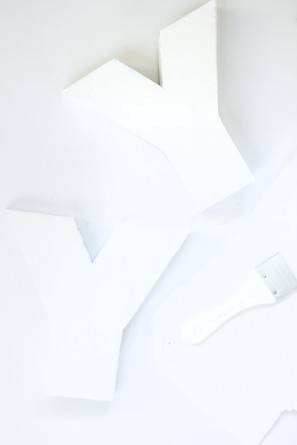
When both boxes are complete, it’s time to prime! You can skip this step if you really want to, but if your cardboard had any writing on it like mine did, this makes your final paint color go on a lot easier.
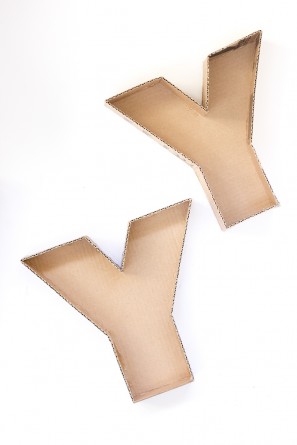
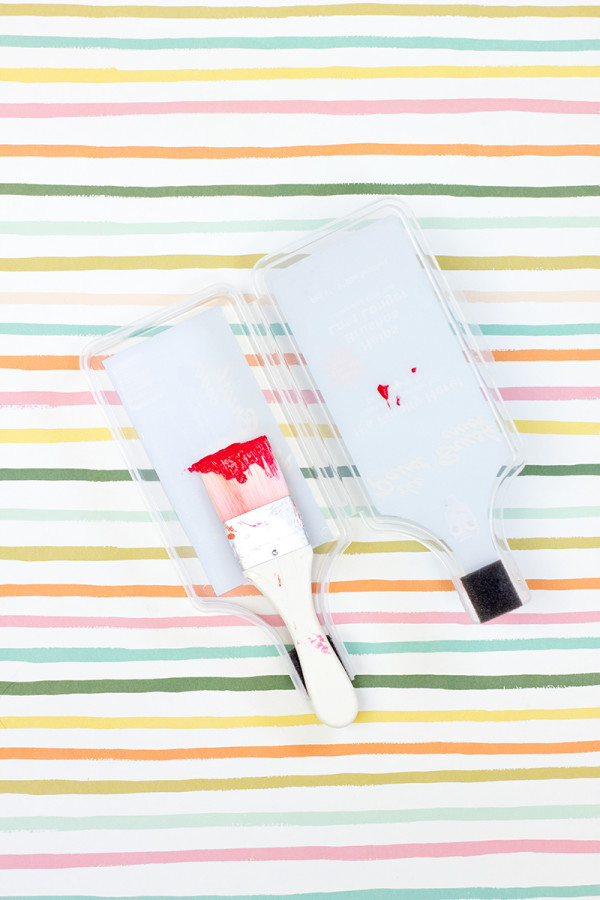
Your final step is to paint your boxes however you so choose! Solid colors, cool patterns, color blocking! So many options. I did a bit of a dry brush technique here to vary up the shades of my solid colors. Easy-peasy! (Fun tip: If you’re wondering what that funky contraption below is, it’s a paint brush cover! The Paint Brush Cover, to be exact. I get a ton of product emails but this one caught my eye because I literally throw out my paintbrushes every time I do a project because I forget to clean them and they dry out. This solves that problem by keeping your wet paintbrushes still useable! I had to have it and it really worked. Problem solved.)
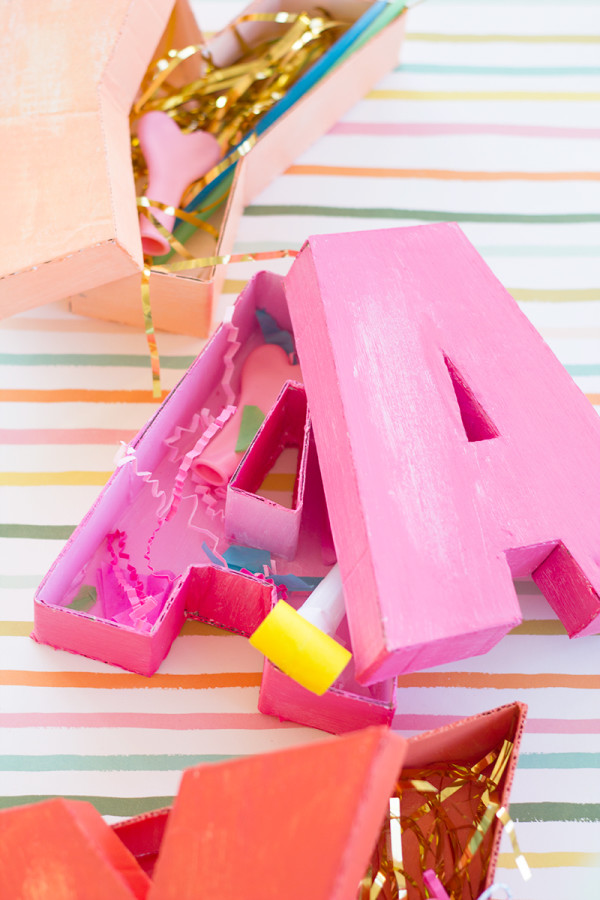
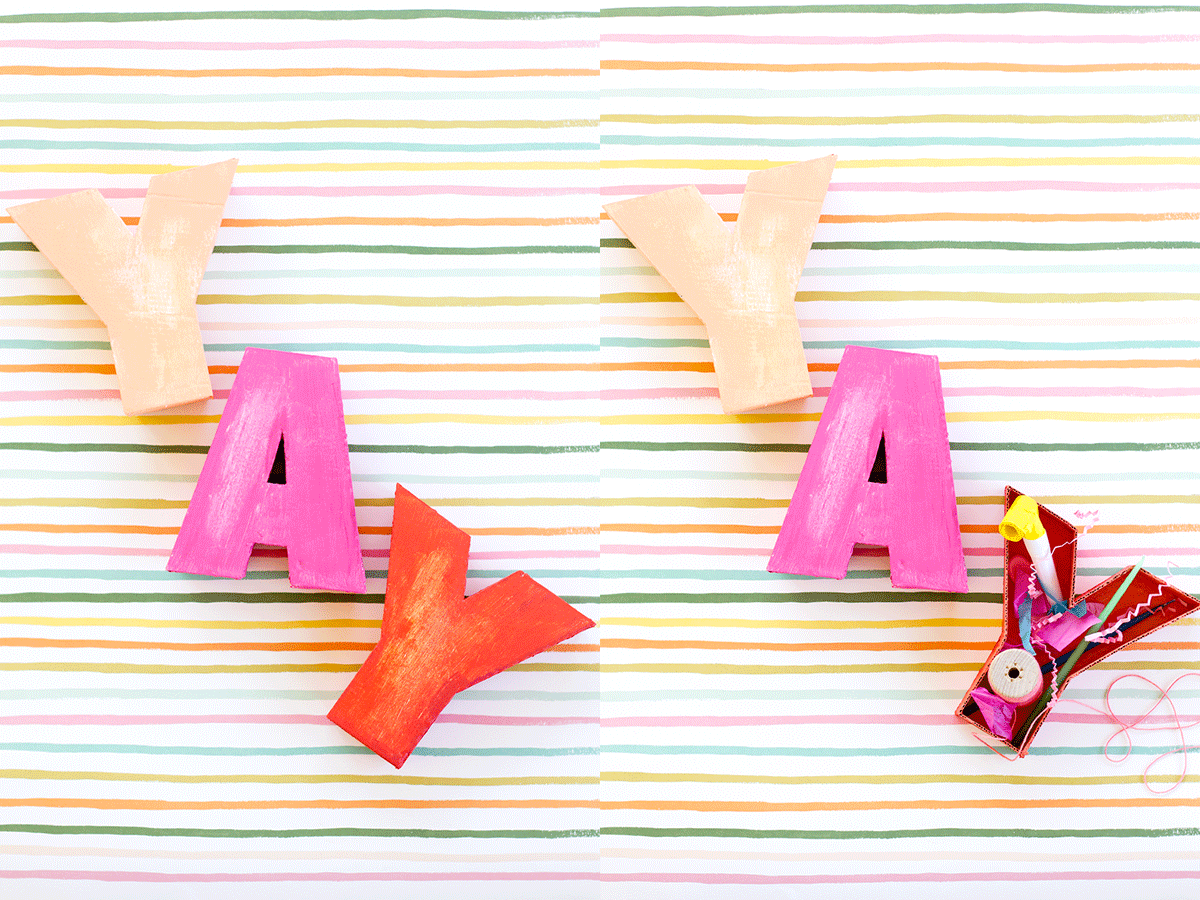
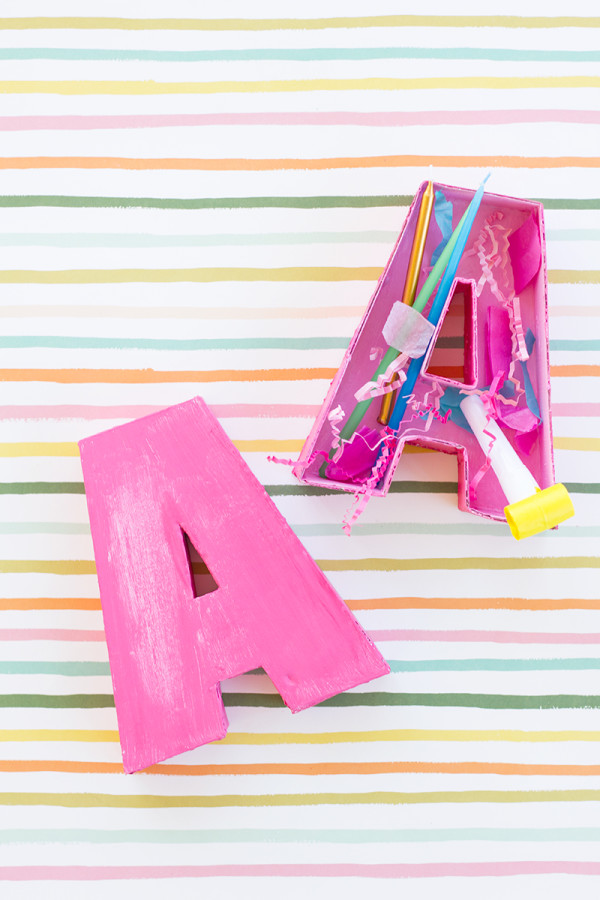
Let your paint dry really well so your lid doesn’t stick to your box and then you’re done! Fill ’em up with party goodies for favors or with just about anything you can fit for a fun gift! Honestly, people will be more blown away and excited by the box than anything inside of it! It’s a total keepsake! Win-win!!!
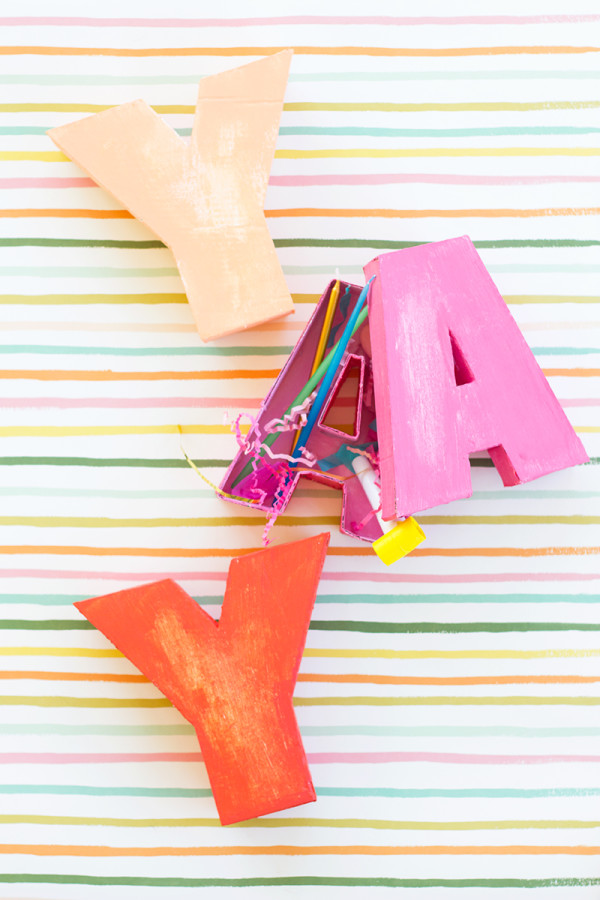
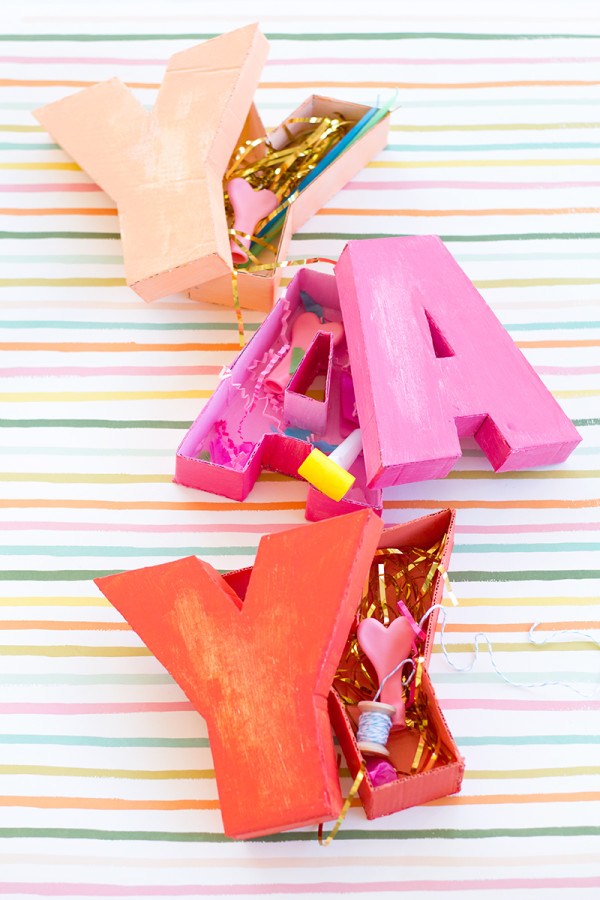
All Photos by Studio DIY
After I made these, I started thinking of a bunch of fun non-fringed cardboard projects. A bunch of you mentioned in the survey that fringing an entire piñata just wasn’t doable. And while I still will share some traditional piñatas for those looking, I’m certainly going to get creative with alternatives for those who aren’t jazzed about fringe!
For more birthday DIYs, click here!


Tan says
So cute! These would make great favour gifts when filled with goodies. If only I had enough time to make 15 for the baby shower I’m hosting this Saturday!
Dariel says
those paintbrush holders are genius!
Emma | Emmaline Bride says
These are gorgeous! What a fun idea!
Brittni says
I think you already know how I feel about these letter boxes, but I’m going to say it again….I’m obsessed! They are so clever and cute.
Melanie says
Damn girl, these are good.
Erika Lee Sears says
You should be proud of yourself because they turned out pretty terrific.
Rachel Follett says
Great job! These are really cool. I want to go make one right now. 🙂 http://www.lovelyclustersblog.com/
Lisa @ greylustergirl says
Cool, cool and super cool! Love these and I have already pinned them!
Terrie says
These are great! Way to go =)
Partyculars says
Lovely idea!!! We’ll sharing it on our facebook tomorrow Kelly. Amazing work! New fans from Barcelona! :))
bettijo @ PagingSupermom.com says
Those boxes are so sweet. I’ve made letters out of cardboard but never thought to turn them into boxes. LOVE IT!! Off to check out that paintbrush doodad… need it. Thanks! XOXO
Heather says
Absolutely love the colors you used to paint them. Any tips on what paints you mixed to get those fabulous colors? I see the picture of the paints you started with, but what did you mix to get each color? Thanks!
Kait says
I’ve been looking for some cute boxes to store some stuff in, but everything I’ve found has been pretty ugly. Totally going to be making some cute ones now instead!! Thanks for the great DIY 😀
Erlene says
I love these letter boxes. Thanks for sharing your tutorial.
Tanika Bell says
Really like what you created and shared. I think I am going to attempt to make these out of wood. Wish me luck!
Christine says
Has anyone tried making the letter ‘S’? Not sure if it’ll work
meggiecat says
Beautiful project. Love that the boxes are two piece. Thanks for the clear tutorial.
ig viewer says
I love this idea! Thank you for sharing the tutorial, it’s very easy to follow!! Gonna try it.
https://igviewer.org/
Margaret K Hefner says
Kelly,
I’m pretty impressed. You’re an artisan crafter. You craft JOY, as you apply earned knowledge, skills and insight to solve problems, crafting advantage of the resources at hand.
A new kind of artisan crafter has emerged from artisan crafting’s dark ages of technology, digitalization, and cheap plastic. The, 1 in 1,000 people born with the potential to become artisan crafters have been systematically discouraged from the intimate crafts for the last 50-75 years. It’s become quite rare to find us creating the treasures of our own time.
Today, now and never before, artisan crafters are gifted with the opportunity to prove Creation’s wisdom in providing us within Humanity. Mother Earth is calling.
I have a dream for the future of Artisan Crafting. It starts with recruiting help in organizing and endeavoring to provide our best solutions to waste pollution. It ends with a never ending stream of opportunity for artisan crafters to learn, share, prosper, and fill our world with with the Humanity of their works.
UPCYCLING is using post-consumer and industrial by-product waste to fabricate useful and earth friendly products. I would like to share this business concept with you.
Yvette says
I’m so impressed!!! My birthday is round the corner, and I would like to take some cupcakes for colleagues in this exquisite letter box. Do you have a template for letter Y, or perhaps the dimensions, (for a dozen cup cakes)? I would appreciate if you can share either.
Kind Regards