A note from Kelly: Hey troop! Meet the crazy talented Hannah of Homemade Banana, our new DIY contributor!!! Hannah is going to be sharing home and fashion DIYs here with you guys and they’re gonna knock your SOCKS off. Be sure to say hello to her in the comments, I couldn’t be happier to have her here!! Take it away, Hannah!
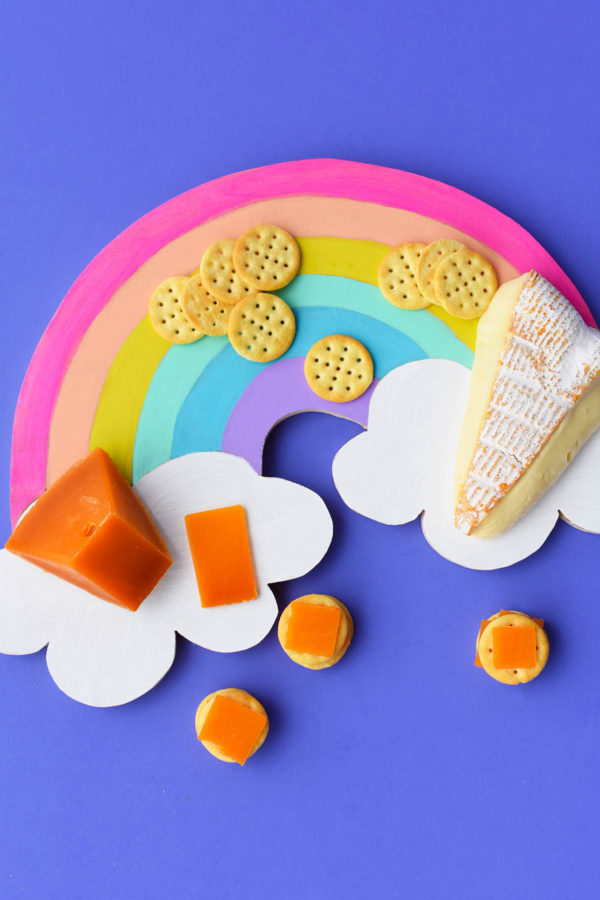
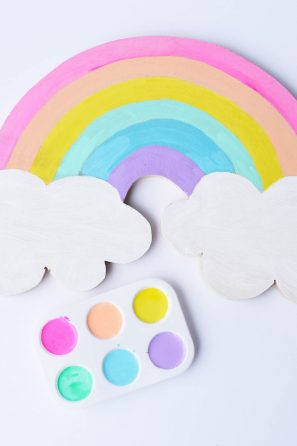
Hey y’all, it’s Hannah from Homemade Banana here with a cute little DIY project designed to brighten up those April showers-filled spring days or add a pop of festive color to your next party. We all love a nice cheese plate, so I figured I would make a good thing even better by skipping the standard, plain cheese board and opting instead to craft my way to a rainbow-shaped version. A nice brie and an arc of bright colors—what more could a girl want?
All you need is a handheld jigsaw to get the job done, but if you’re intimidated by power tools, you could simply paint a rainbow atop a rectangular cheese board of your choosing and call it a day (I won’t judge you, I promise). An array of beautifully saturated milk paint shades sealed with finishing oil provides a completely food-safe surface that you can simply wipe clean with a damp washcloth when the party’s over.
And speaking of parties, let’s get this DIY show on the road, shall we?
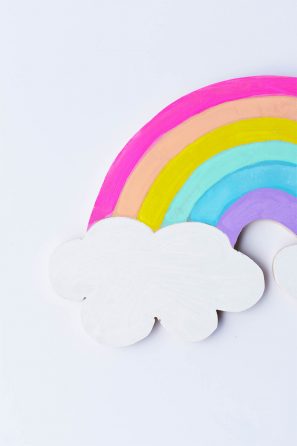
DIY Rainbow Cheese Board
Total Time: 1 Hour 30 Mins (+ Drying Time)
Supplies
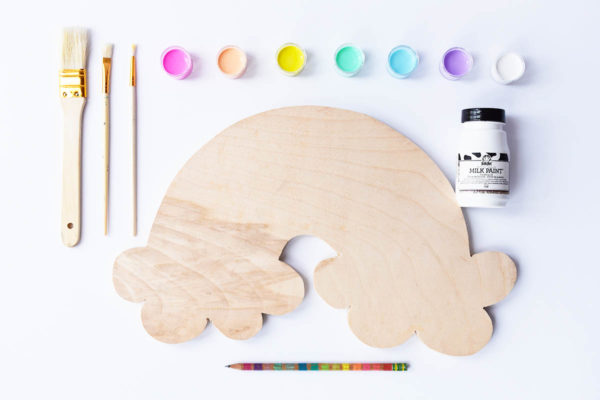
A piece of ½” maple or pine plywood, at least 12” x 18” (don’t worry if the hardware store only offers much larger pieces, they’ll happily cut the sheet into more manageable portions before you leave the store)
Pencil
Jigsaw
Safety Goggles
Milk paint in Soft White, Gypsy Pink, Pecan, Fresh Lemon, Caribbean Blue and Faded Denim (the sample size will be plenty of paint for this project)
Palette
Paint Brushes
Milk Paint Finishing Oil
Directions
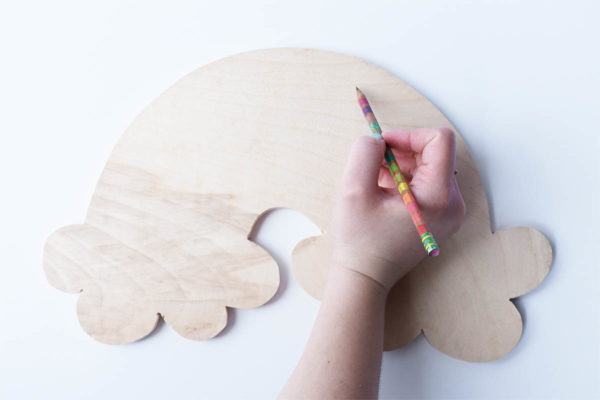
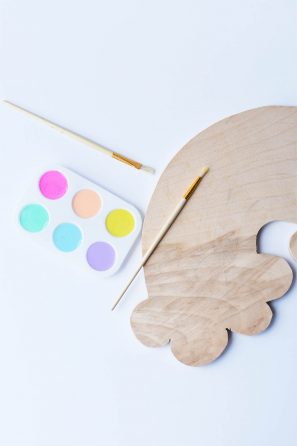
1. Start by drawing your desired rainbow shape in pencil on your piece of plywood. I traced the lid of a stock pot to get the arch just right, then sketched a cloud on either side of the rainbow. Once you’re happy with the shape, go over it again with the pencil so you know exactly where you need to cut.
2. Using a jigsaw (and safety glasses!), carefully cut along the line. Pro tip: always cut inward into corners, like the ones in the clouds, to create neat, tight corners.
3. After cutting out the shape, use a piece of sandpaper to fine tune any edges or sand off any errant splinters.
4. Get out that trusty pencil again and sketch out where you want your rainbow stripes to be. I divided my rainbow into six colors (I think I technically left out the I in ROYGBIV, but I won’t tell if you won’t). If you’re someone who doesn’t want to mess around with a jigsaw, just jump in here and sketch your rainbow atop a standard rectangle cutting board-turned-cheese board like this one. https://www.ikea.com/us/en/catalog/products/60233426/
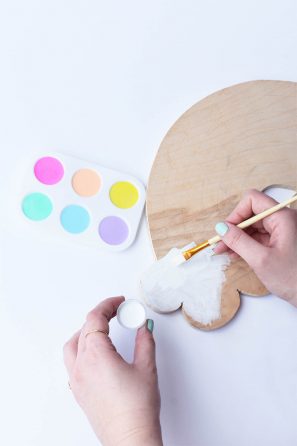
5. Fill your palette with the milk paint—you may need to do a little mixing to get the shades you’re looking for. I added a bit of white to the Gypsy Pink, Pecan and Faded Denim just to brighten the colors up a bit. I also mixed a bit of white and Gypsy Pink into Faded Denim to create the perfect periwinkle purple shade. There’s no exact science to this, just mix until you arrive at the shades that suit you.
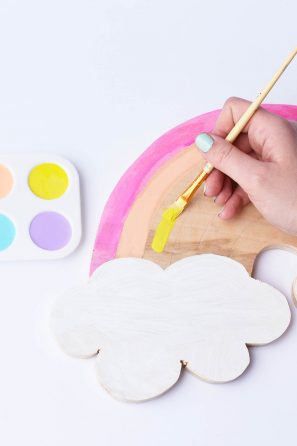
6. Grab a paintbrush and start painting. If you’re happy with a slightly sheer, washed look, one coat will be enough. However, if you want a more opaque effect, like I did, you’ll need two coats of paint.
7. Let dry completely.
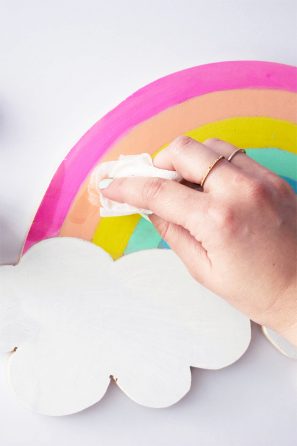
8. Using a soft rag or paper towel, apply a generous coat of the finishing oil. The oil will deepened the color of the milk paint, so don’t freak out if it looks splotchy when you first apply it. It will all look even again once the whole coat is on.
9. Using a fresh rag, gently wipe away any excess oil. According to the package, the oil can take up to 30 days to fully cure and provide a proper barrier over the paint, but I certainly used mine before the month was up. I just wouldn’t allow any water to come into contact with the cheese board until the oil has completely cured.
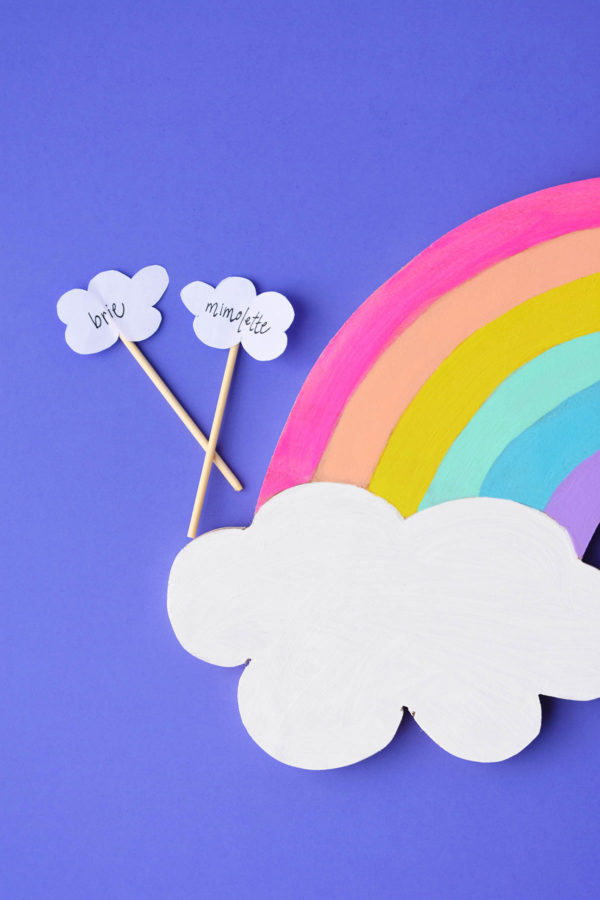
10. Top with your favorite cheeses and charming little cloud signs so your guests know what they’re snacking on.
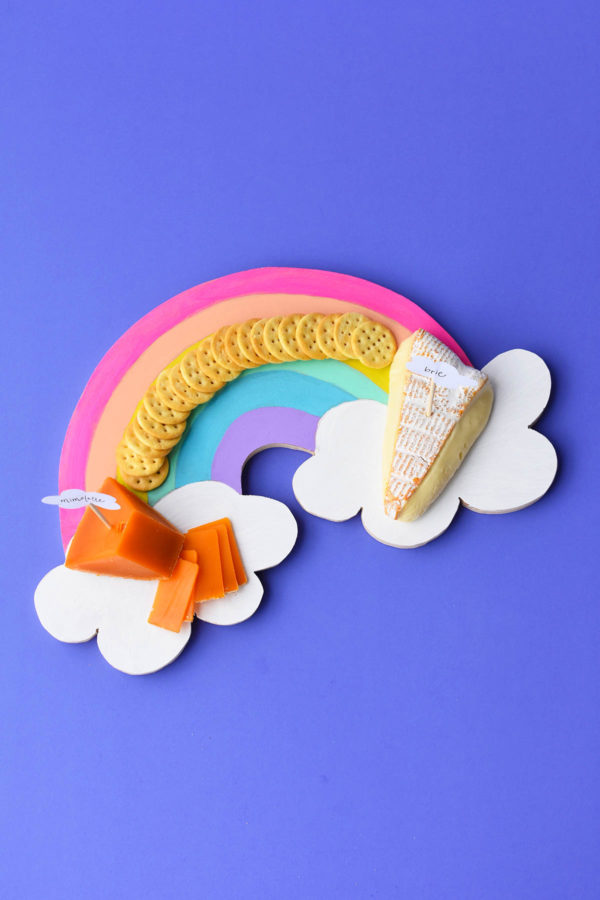
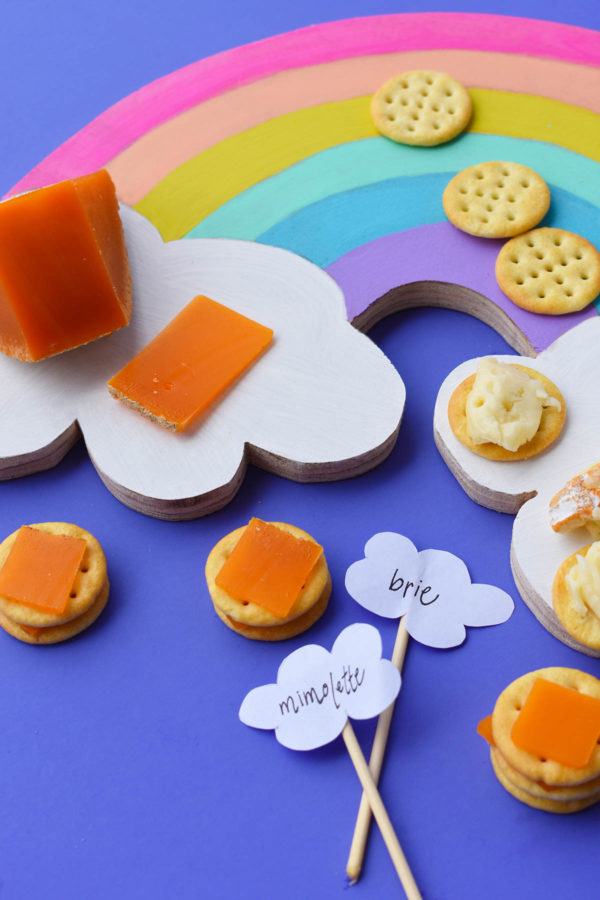
Photos by Hannah Cross
That’s all there is to it! Now you can serve your beloved cheddar and brie with a side of whimsy and color. What are your favorite cheeses to serve (and eat!) at parties?



Michelle says
It looks so cool!
https://www.makeandmess.com/
Kelly says
Thanks Michelle! Hannah did a great job!!
Hannah says
Thanks, Michelle—I’m so glad you like it! 🙂
Kate says
Hi Hannah! Welcome!!! What a fun project–I love the colors, and the gorgeous styling and photography.
Hannah says
Thanks, Kate! I’m so glad you like it—it was definitely a super fun project to put together.
Ashley says
Welcome Hannah!! This is the cutest idea! I’m a cheese plate maven and this is totally making an appearance at our next party! Thanks for the insp!
Hannah says
Hi Ashley! Thanks for the warm welcome. 🙂 I’m so glad you liked the post, from one cheese plate maven to another.
Kristina B says
This is the cutest! And I love the added touch of the cloud picks for the cheese! Also Hannah I love your bio! 😆
Hannah says
Thank you so much, Kristina—you’re too sweet! Behind the scenes secret: I made my sister write those cheese picks because my handwriting is awful and hers is downright angelic.