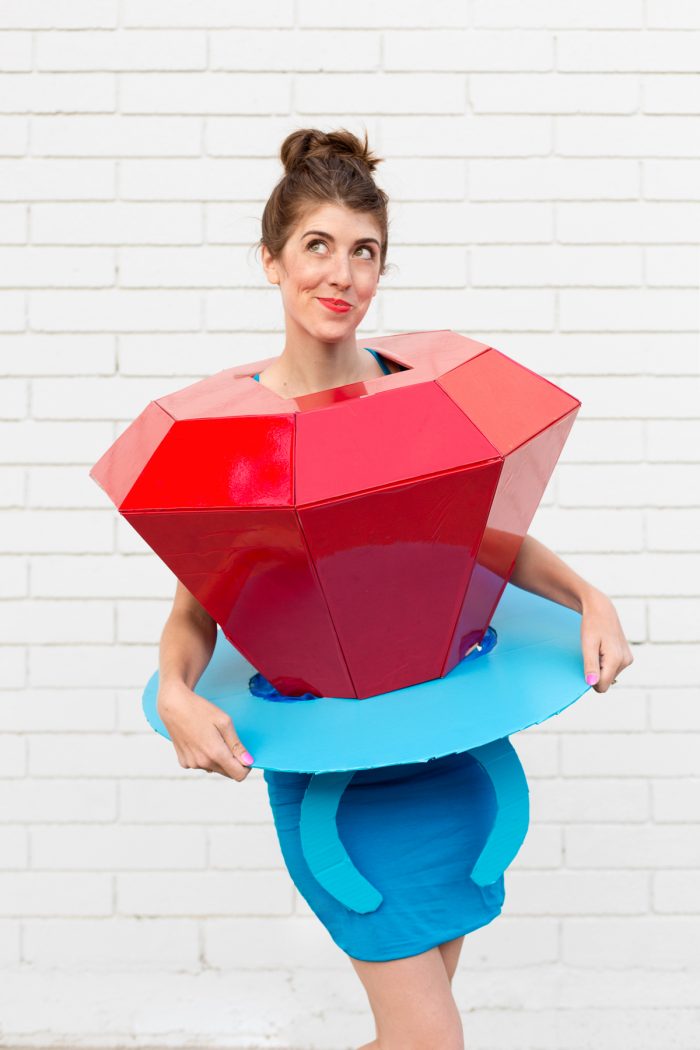
I was standing in line at the craft store buying supplies for all our costumes this year and I saw a ring pop. You know, in that place they put all the candy so you grab it on your way out because you just spent 2.5 hours looking for the right shade of yarn. Anyway, I saw it and immediately was like HOW HAVE WE NOT DONE A DIY RING POP COSTUME!?!?
Cut to the next day and I stormed into the studio and told everyone to stop everything so we could make it. Ha!! But CAN YOU EVEN!?!? Sorry guys, I’m pretty impressed with how this turned out. Not gonna lie, it’s definitely our most complicated one to date but if you’re up for the challenge and you don’t totally hate math, you should do it because it’s freaking awesome.

Supplies Needed
- Poster Board (Or large sheet of paper, to make your templates)
- Foam Core (4-5 Sheets or more depending on final desired size of the costume)
- 1 Large Sheet of Cardboard
- 2 Rolls Clear Red Adhesive Vinyl
- Red Adhesive Vinyl (Optional, but recommended)
- Turquoise Adhesive Vinyl or Paint
- Hot Glue Gun
- Painter’s Tape
- Craft Knife
- Ruler
Step-by-Step Ring Pop Costume Tutorial
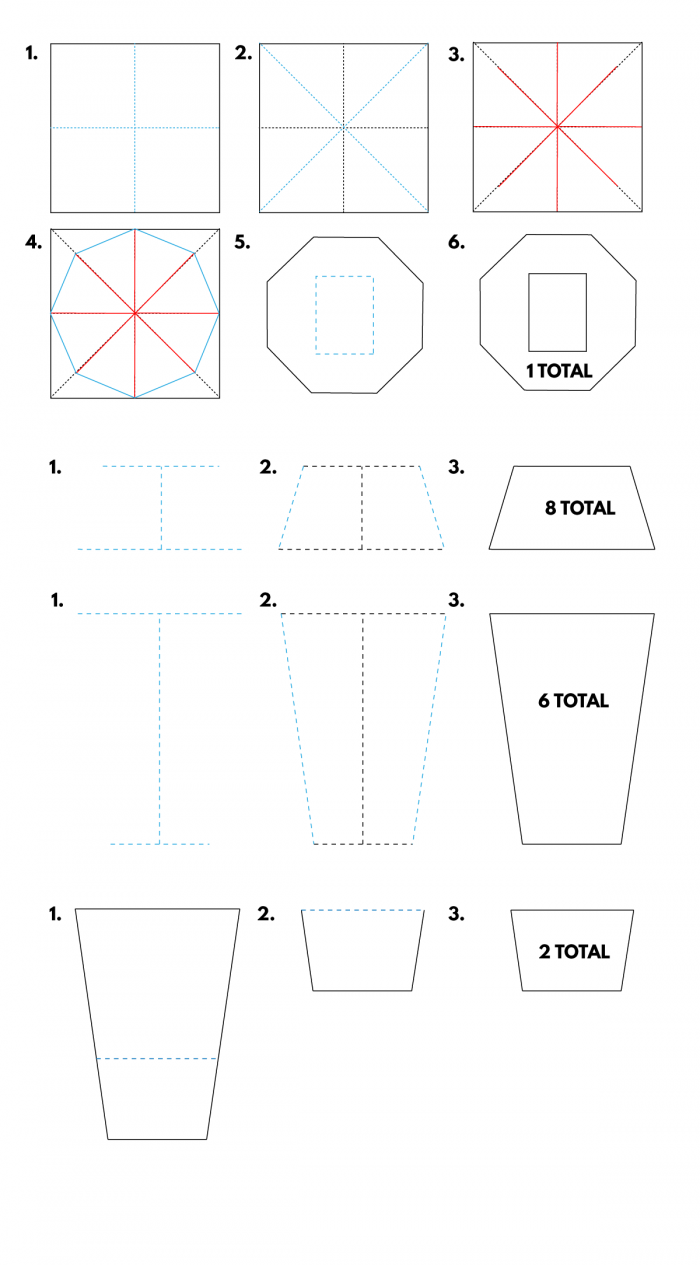
This is a complex costume that involves a lot of measuring. I am going to use the measurements I used for this tutorial, but since every person is different, yours might need to be different and you’ll have to adjust accordingly!
1. Decide how big your octagon needs to be. It should be about 1-2″ wider than your shoulders. Mine ended up being 16.75″.
2. Now you’ll need to make a bunch of templates out of poster board. See above for the diagram of how to fold/cut and below for more details:
- Octagon: To make this, first cut a square with sides the same length as the measurement you took above (the one slightly larger than your shoulders). Then, fold the square in half both ways. Then fold it diagonally both ways. Divide the total length of the square in half. (Mine was 8.375) This will be the number you measure out form the center point on the diagonals and make a small mark. Connect all the points as shown and cut out. This is your octagon template. Each flat side should be the same width. You’ll then need to cut a rectangle in the top for your head.
- Top side pieces: The top of each of these pieces needs to be the same width as the flat sides of your octagon. Mine was 7″. The bottom of each needs to be wider. Mine was 10″ and I determined the height of that total piece should be 5″. Using those measurements, you can create the piece you need as sketched above.
- Bottom side pieces: Create these the exact same way as you do above, they are just taller. The top of the pieces should be the same width as the bottom of the last ones you created. The bottom should about the same size as the flat sides of the octagon, or slightly smaller. Mine were 10″ at the top, 6″ at the bottom and 14″ long.
- Arm hole pieces: To create a place for your arm, two of the bottom pieces need to be shorter. Use the template you used for the bottom side pieces and make a new template of just the lower third of that piece.
3. Use these templates to cut the following quantities out of foam core:
1 Octagon
8 Top Side Pieces
6 Bottom Side Pieces
2 Arm Hole Pieces
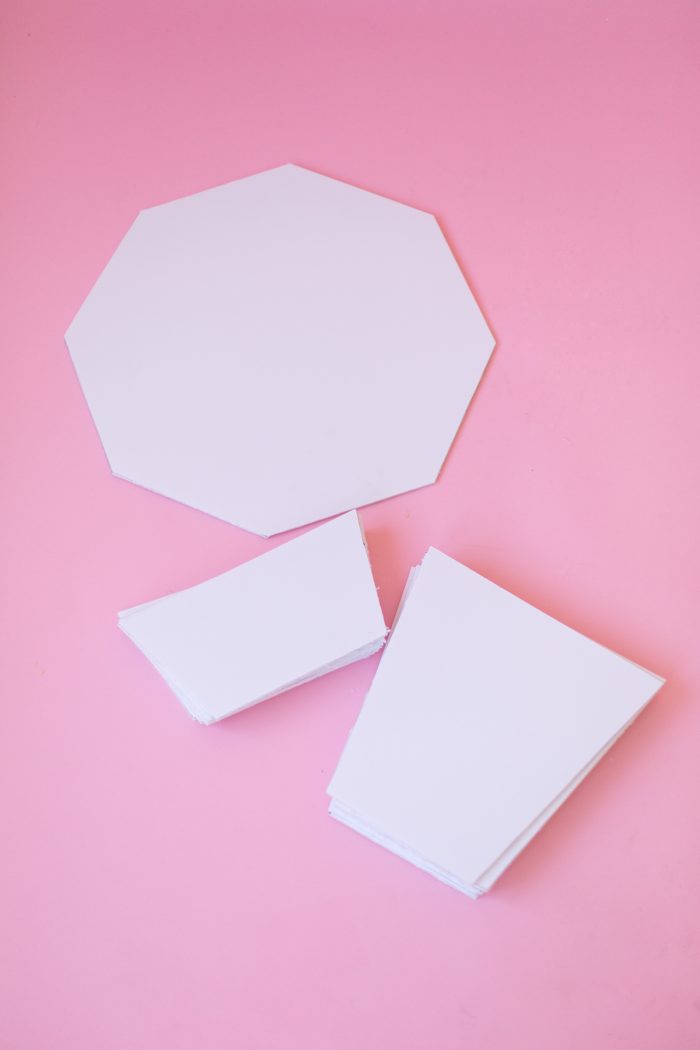
- Trace your template onto the foam core. To cut foam core you want to use a ruler as your guide (to create a smooth, straight cut). Line your ruler up along the line you drew and cut through JUST the top layer first. Then go back and cut over the line again, this time cutting the bottom layer of the foam core. If you try to cut both layers at once, it won’t work and will end up very jagged.
- The last pieces you’ll need to cut are the actual ring pieces. Cut a circle out of cardboard that’s about 4-5 inches wider than the octagon you created. Then cut a circle out of the center, big enough to fit over either your shoulders or your hips. Finally, cut the “ring” piece which is essentially a big “C” shape.
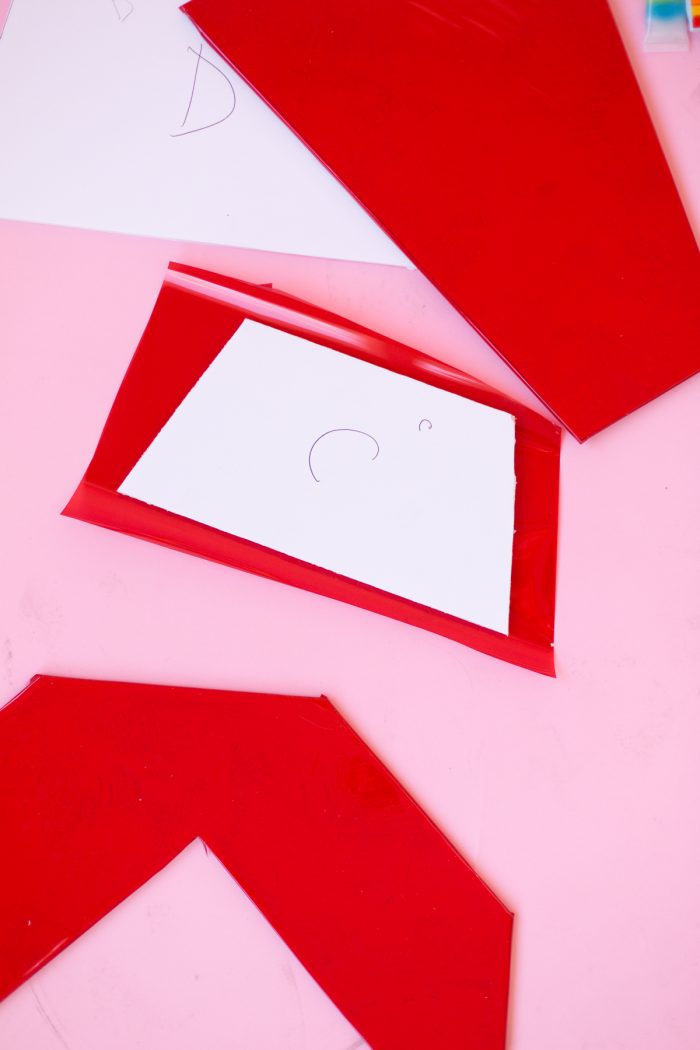
- Cover the front of each piece of foam core with clear red adhesive vinyl, wrapping it around the sides of the piece to secure. Then cover the circle and ring piece you created with turquoise vinyl. (You could also paint this if you prefer!)
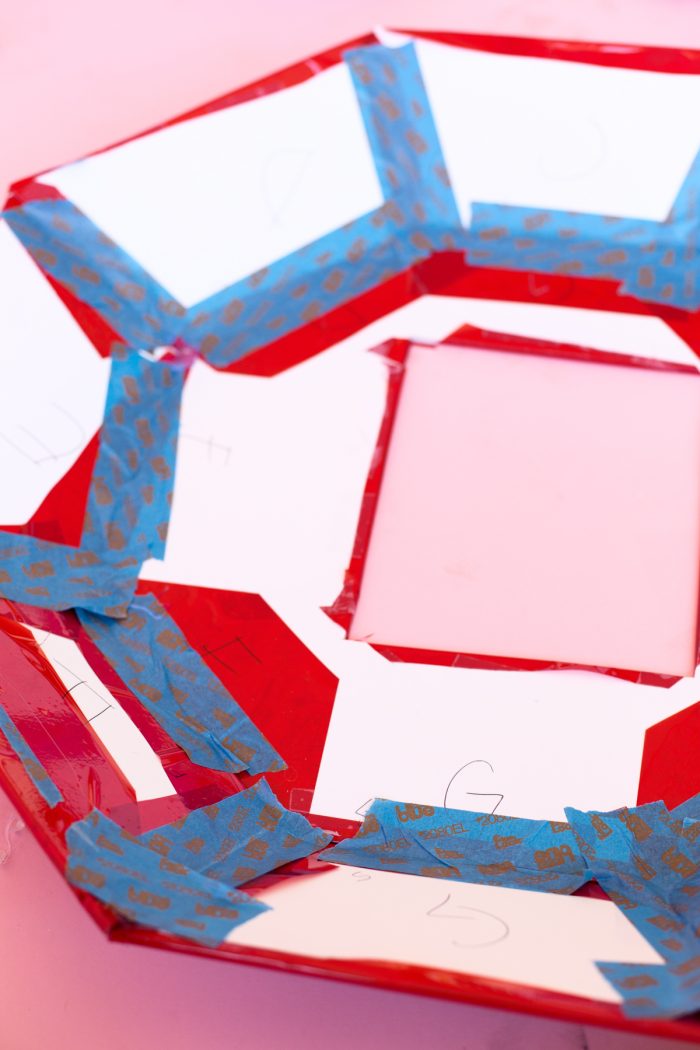
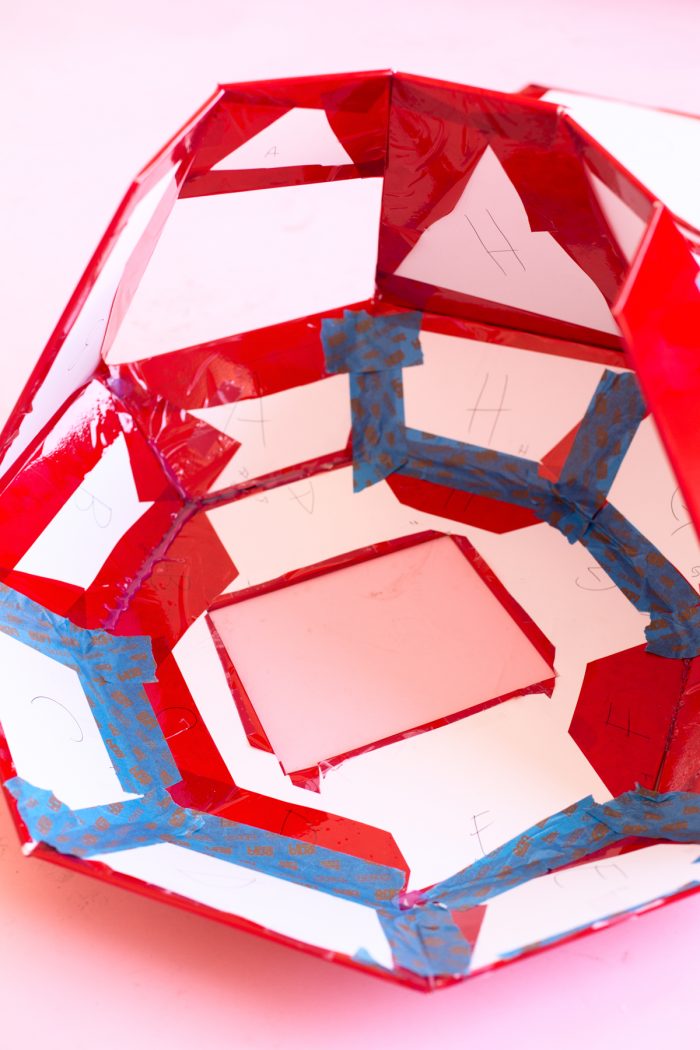
- Now it’s time to build the diamond. Lay your octagon on the ground and use painters tape on the OUTSIDE to tape the top side pieces to it and secure it in place so you can glue. This is the point where you can trim any pieces that might need to be trimmed if they don’t fit perfectly.
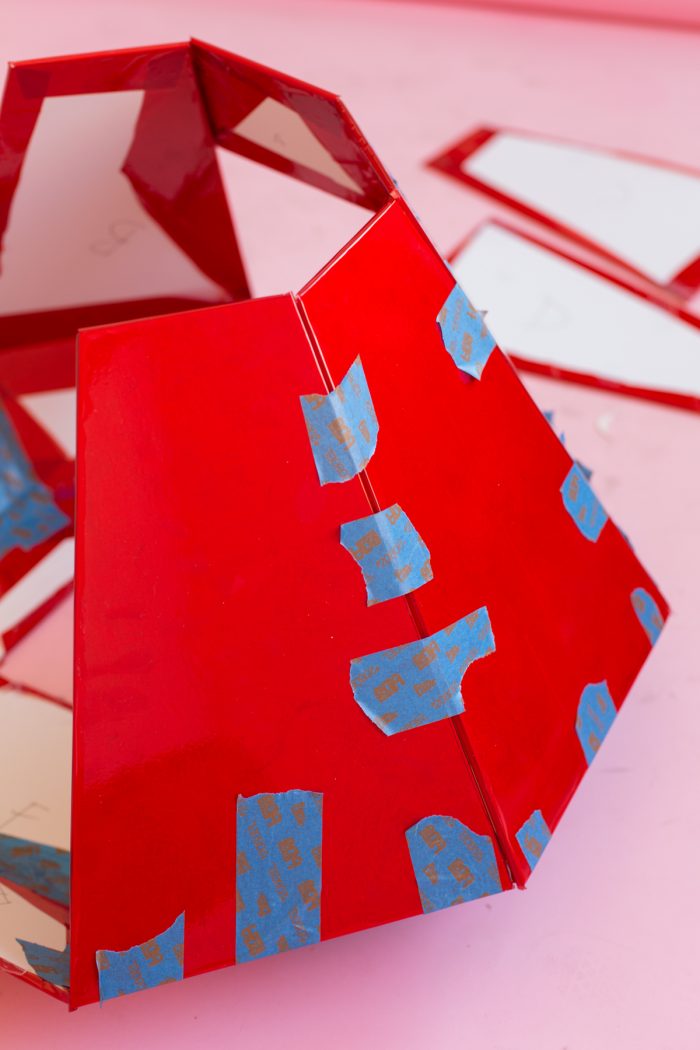
- Once it’s all taped up on the outside, use a hot glue gun to go over ALL the seams on the inside and let set completely. Once set, I decided to also cover over the hot glue with painters tape for extra security. Once that is completely done, you can remove the tape from the outside.
- Repeat the same steps with the bottom side pieces to attach them.
- If you’re super detail oriented and want to cover the inside to cover up all the tape and glue, use red solid vinyl to do so. You can easily just cover the pieces around the arm holes which are the only ones that are really obviously visible.
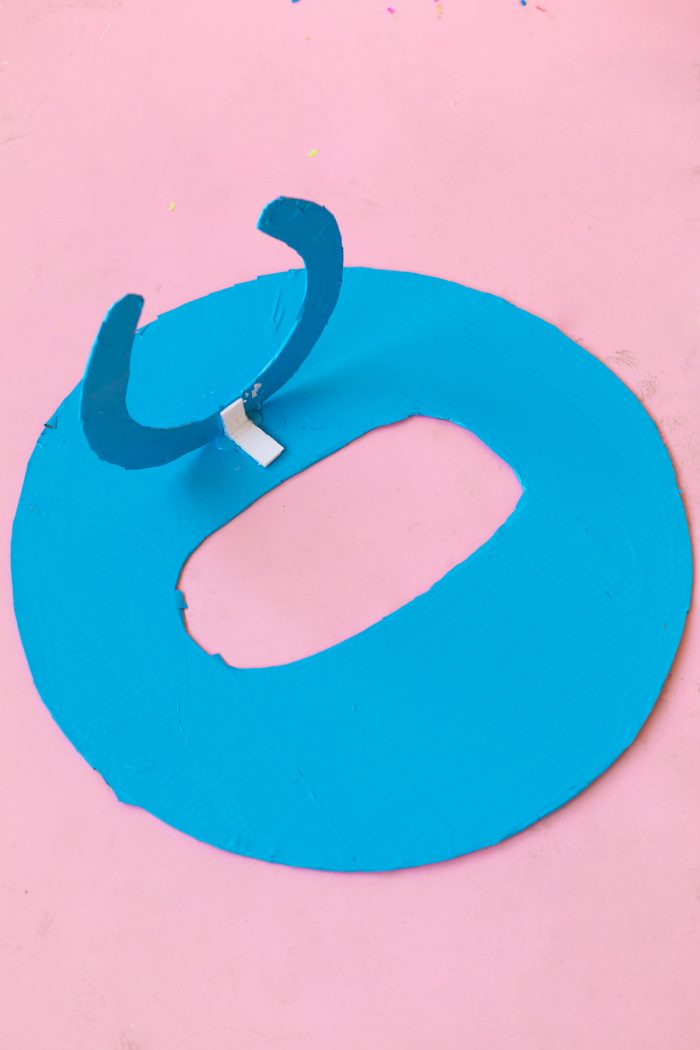
- Use a scrap of foam core to create a “brace” for attaching the ring to the circle you made. Cut out a rectangle then cut through just ONE side of the foam core in the center, that will make it able to bend. Use hot glue to attach one half of the brace to the ring and the other to the circle where you want the ring to sit.
- This costume is easiest to put on if it is in two pieces so that’s how we left it. Slip the ring base on first followed by the diamond on top. You can have a friend secure the pieces together once they’re on you with several pieces of masking tape on the inside.
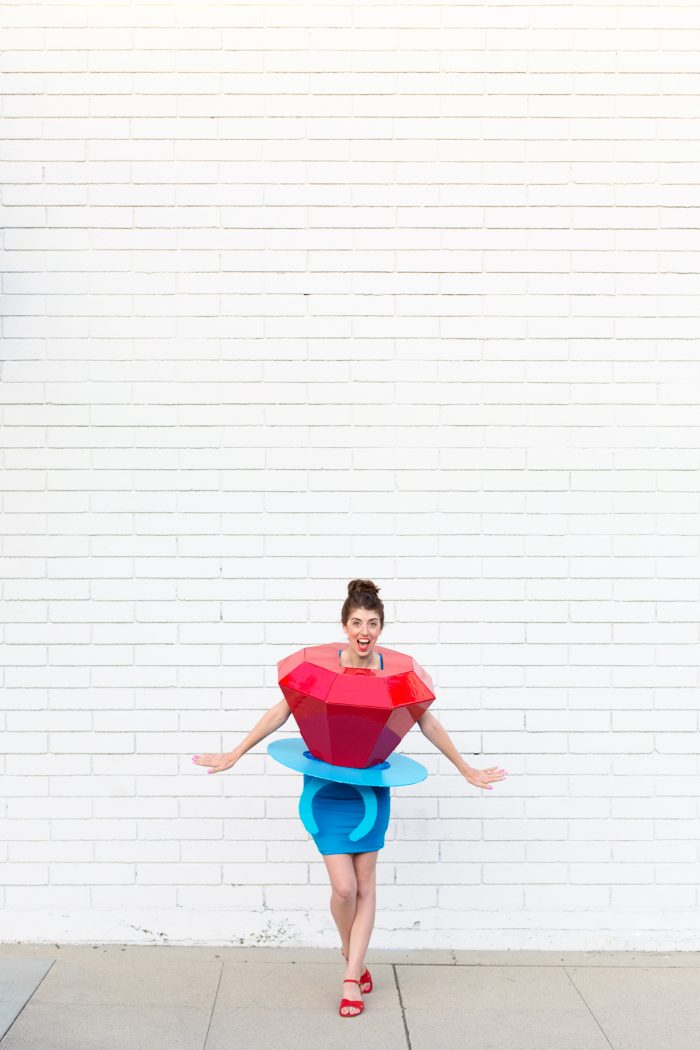
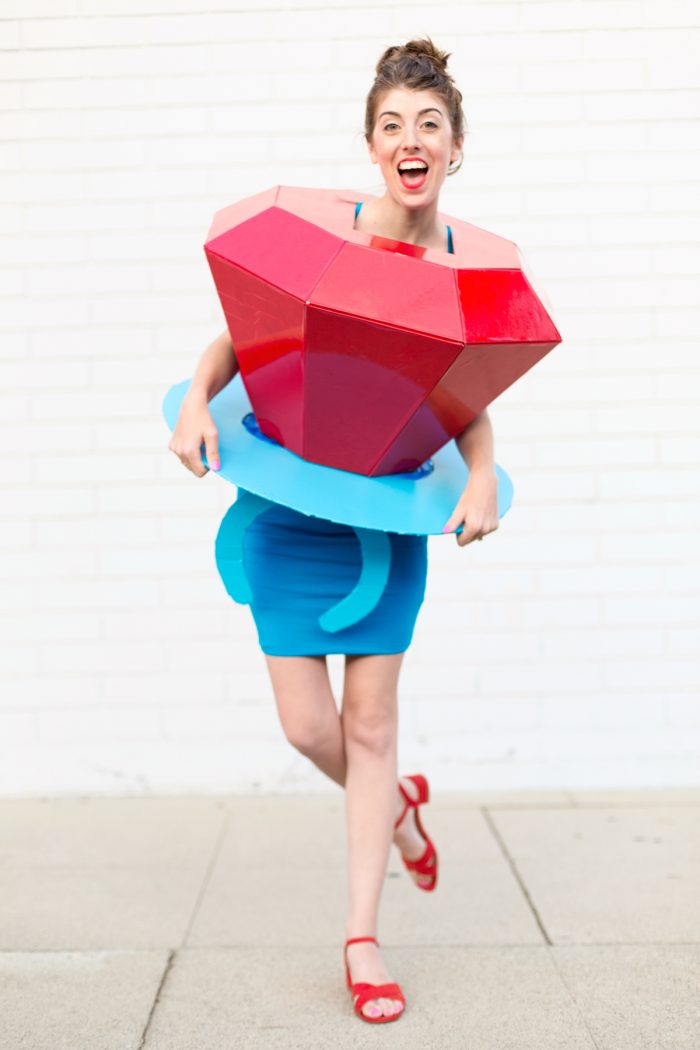
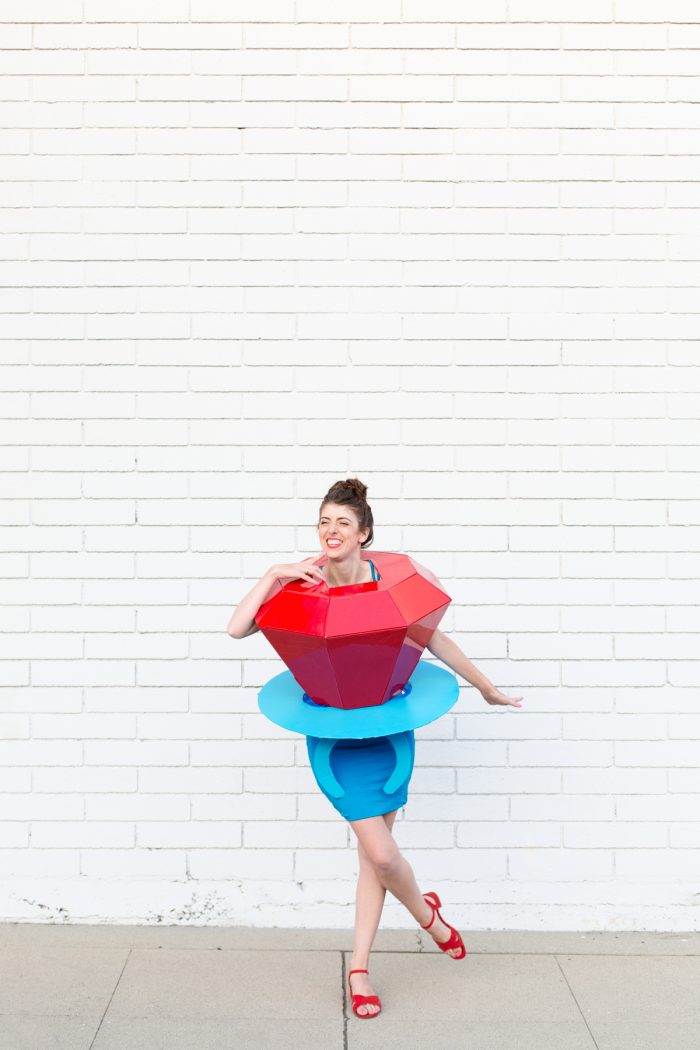
I’m gonna give extra bonus points to those of you who make this one!! Although I said the same about the cereal bowl and so many of you made it and it was AWESOME every time!!!
p.p.s. IF you make a Studio DIY costume, please share with #studiodiyincostume on Instagram! Every year I do a HUGE roundup of all your versions of our costumes that I find there and I’d love to include yours!!





Kristina B says
DUDE INTENSE but highest of fives to you because MATH. I would set out to make this and probably end up with like, a doghouse or something.
les says
just looking at this makes my head hurt because i hate math BUT OMG!!!!!
you did such an amazing job! i love this outfit. definitely one of my tops fave!!!!
just when i think, there’s no way you can top it, you go and blow up away!
GO KEL!!!!
Michelle says
This costume is so fabulous and awesome!
https://www.makeandmess.com/
Sophie says
This is so cool! I’m so excited to see the roundup of all the costumes people made.
http://www.goldclutter.com
Katie Hodge says
Love this one!! I’m feeling inspired to do a family of 80’s inspired costumes for Halloween!! Could be so fun!! You have the most wonderful posts-makes me happy!! Thank you!!
Katie Hodge says
80’s inspired CANDY costumes lol!!
Shawna says
This is simply adorable! It doesn’t get more fun and playful than being a human sized ring pop!
LaDonna Scholz says
So when you say shoulders… where are you measuring from exactly
Serena says
This is so amazing! I’m thinking about doing it for next year. LOL Do you have a video or youtube channel to show the making of the ring pop? The instructions seem a bit daunting and a video would really help, thanks!
Heather says
We just made this costume today and it turned out PERFECTLY! Thank you so much for the idea and the super detailed step by step instructions. My team at work has a “candy” theme this year, so this was exactly what I needed! I can’t wait to show everyone
Kelly says
Yay!!! Hope you had a blast showing off your costume, Heather!! One of my all-time faves that we’ve made!