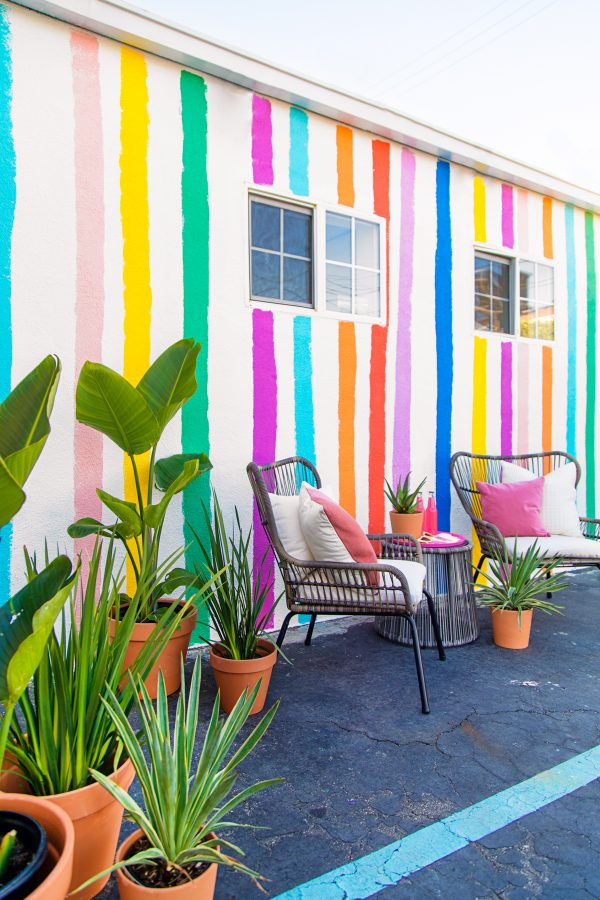
Want the easiest no-tape stripe wall tutorial EVER!? Perfect.
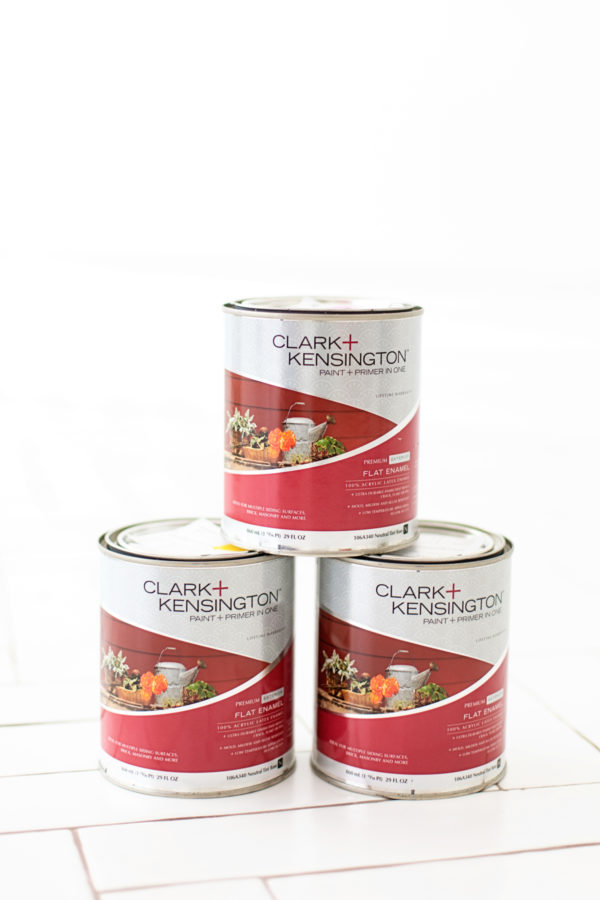
Even though I love how the wall hanging turned out in my office, I still couldn’t quit our original idea of doing a rainbow stripe wall somewhere. The team had been talking about how nice it would be to have a spot out in the back of our office to eat lunch…and with two walls back there just begging for a makeover, we decided to go for it! We teamed up with Ace Hardware and their Clark+Kensington line of paint to make it happen. I always judge a paint company by their color selection first—but Ace had SO MANY great colors to choose from. Don’t worry, I’ve listed each and every one we used in the tutorial below!
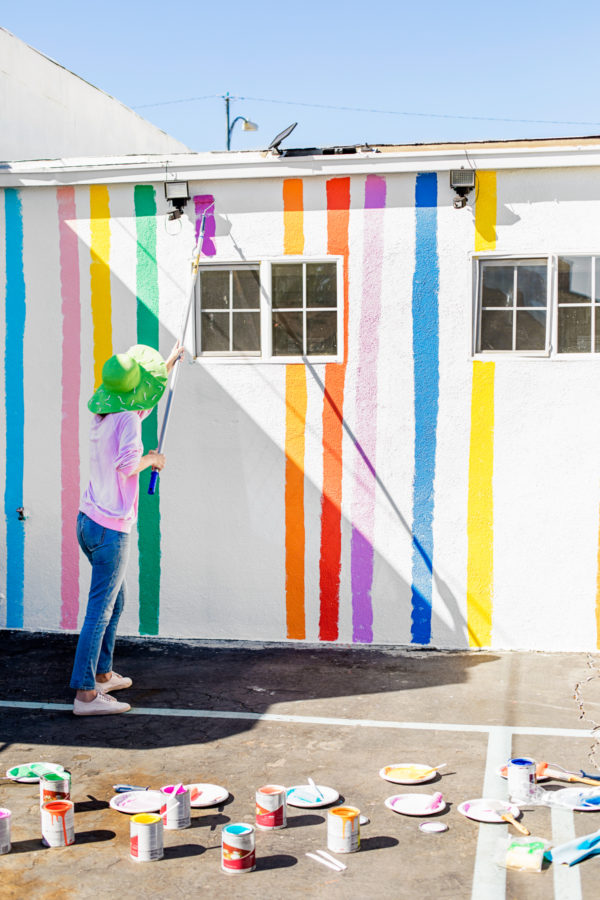
I wanted the stripes to feel hand-painted and organic, not super rigid. The added benefit with that is it required no taping or measuring. We did the stripes on both walls in about two hours, which is like a RECORD if you ask me! And I’m so thrilled with how it turned out. It would be so cute in a playroom or kid’s room, or in a more tonal palette in a bathroom! Here’s how we did it!

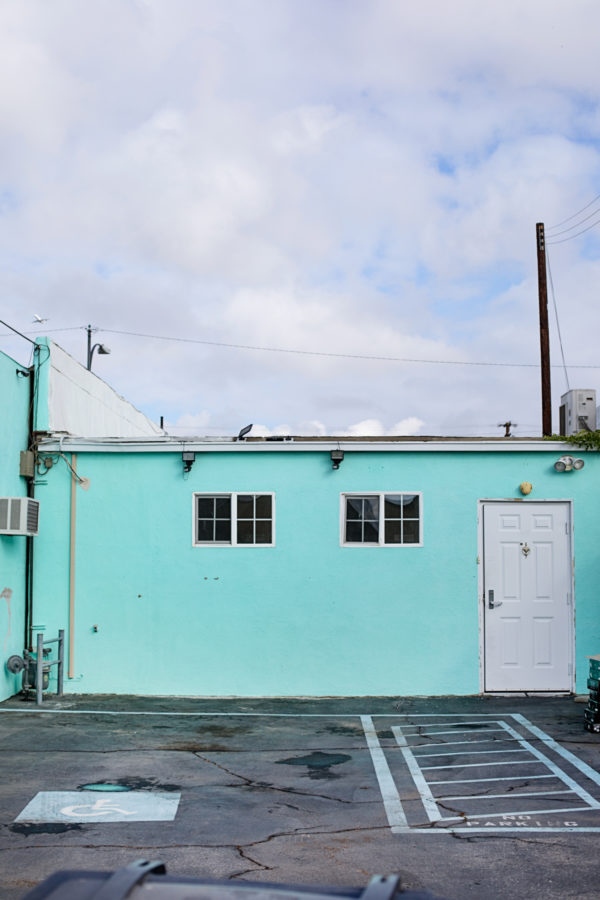
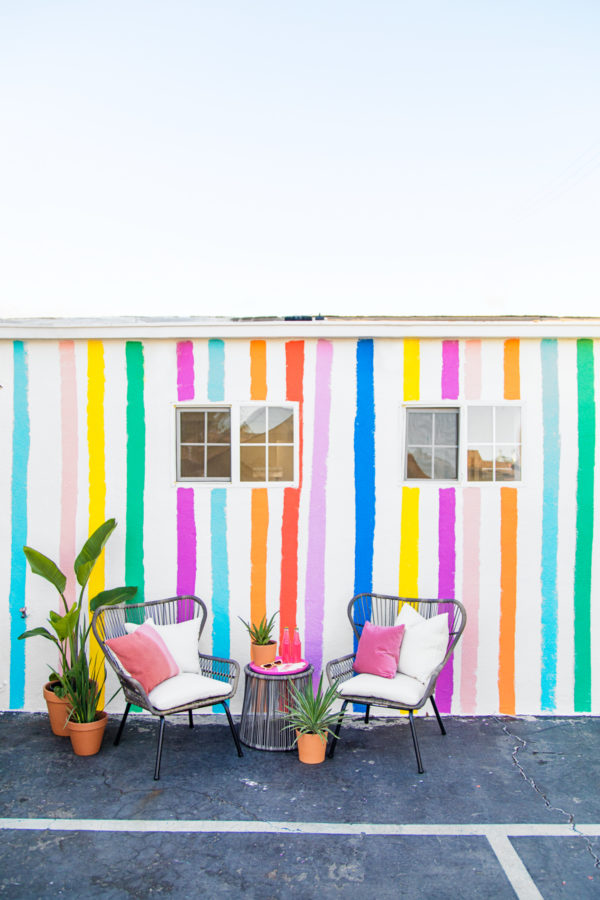
Rainbow Stripe Wall Makeover
Total Time: 3 hours
Supplies
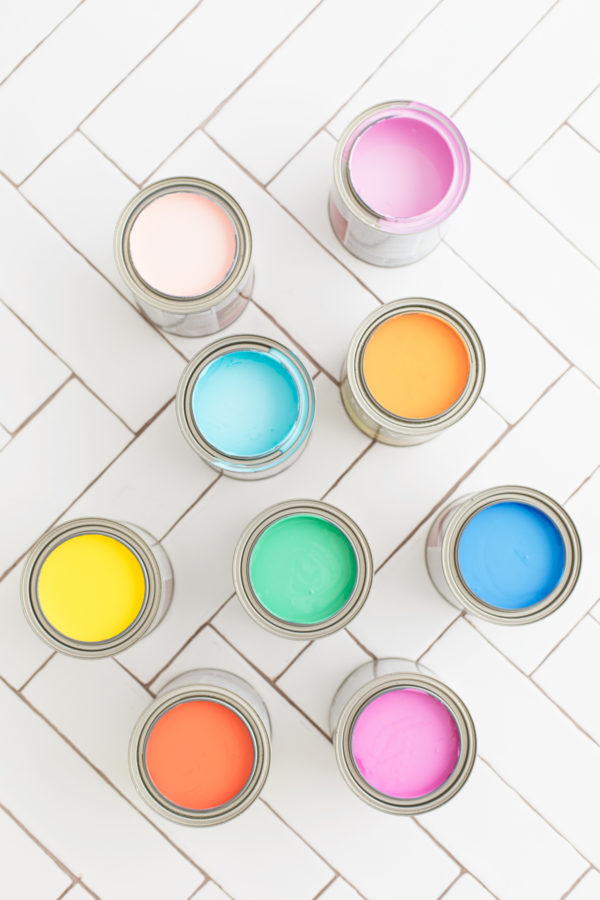
Clark + Kensington Exterior Flat Enamel Paint in nine colors (We used the following colors: Irish Dance (29D-4), Lovely Orchid (01C-5), Happy Gerberas (08D-4), Paris Runway (33D-3), Craspedia Bouquet (18D-4), Clementine (11D-4), Carnival Candy (08D-3), Mandevilla Pink (01C-3), Malibu (36D-4)
Measuring tape
Nine paint rollers & covers (we used 3-inch rollers)
Paint roller extension poles
Paint brushes
Paint trays
A few friends (to make it go faster!)
Directions
1. Decide how wide you'd like your stripes to be, then measure the height of the wall to find the square footage you'll need for each color (a paint specialist at the store can help you decide how much paint to buy based on these dimensions!). You can also try their online paint calculator.
2. Decide on a design for your wall. If you want stripes evenly spaced, measure and mark the wall and use painter's tape to keep the lines clean and straight. We knew we wanted our stripes to look hand-drawn and have varying widths between them, so we skipped this step.
3. Start painting! Because we knew we didn't want perfectly-straight lines, we didn't need to use painter's tape—the best part of this project! We started with our favorite color and painted two stripes in different places on the wall, then filled spaces between with various colors. Depending on the number of colors you use, you might only end up with a few stripes of each color.
4. When you've finished striping, go back in with a paintbrush to fix in any sparse spots and haphazard lines. We painted on stucco, so we had a few more sparse areas, but if you're painting on a flatter surface, you shouldn't need many touchups.
5. Clean up and enjoy your new rainbow wall!
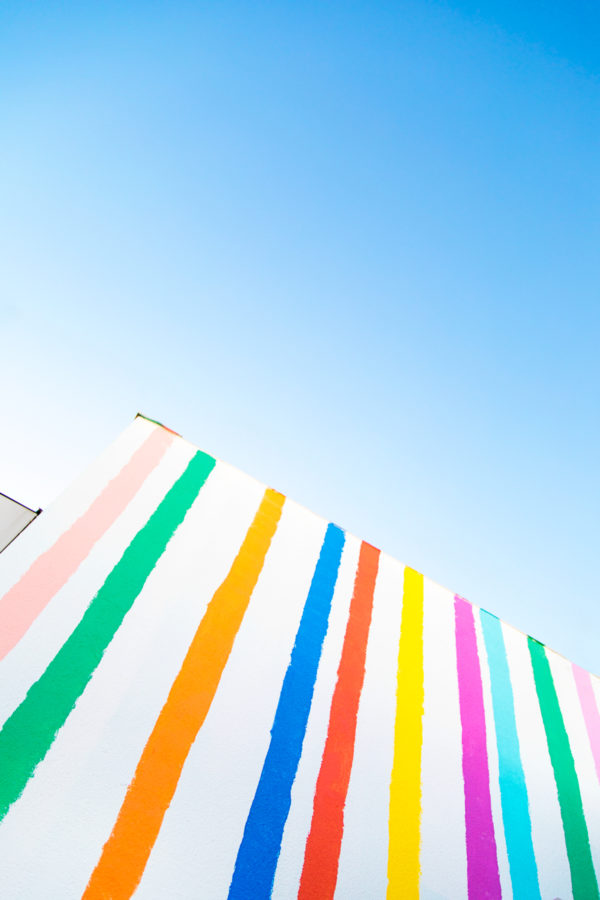
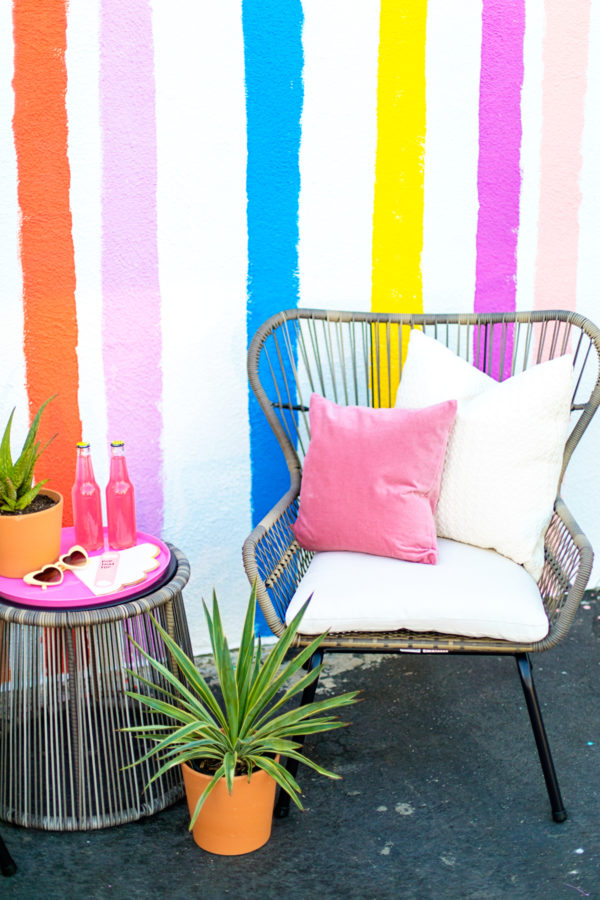
We added in a little seating area and a whole bunch of plants to complete the space!
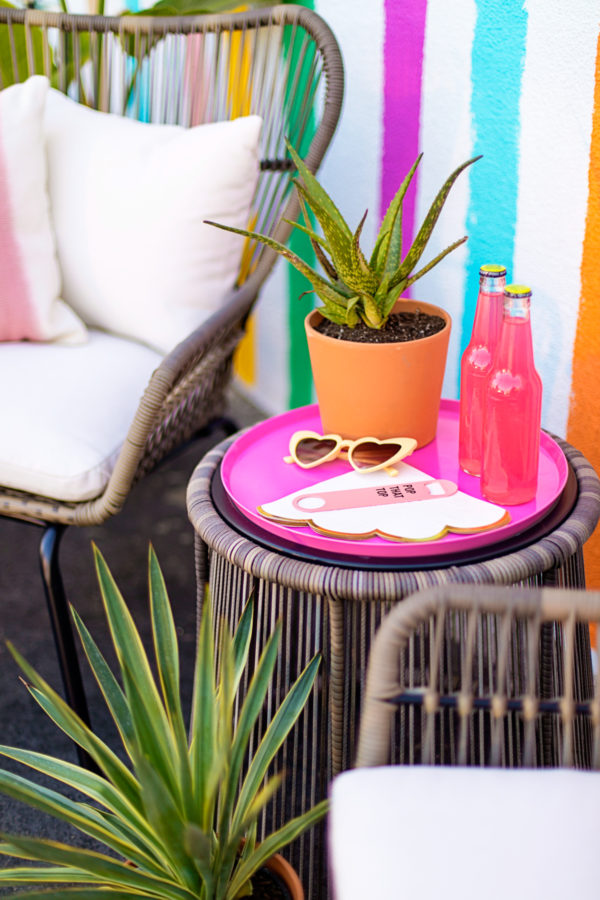
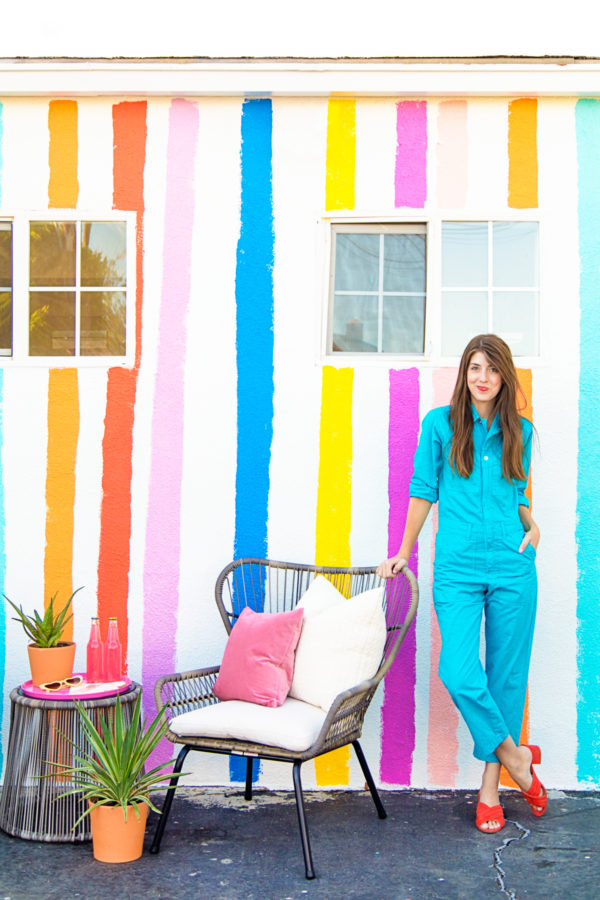
Photos by Jeff Mindell
I thought this project couldn’t have been any easier, but my local Ace proved me wrong! They helped me pick each of my paint colors and find the tools we needed to complete my vision. The best part is, if you forget anything or realize you didn’t get all of your supplies in one trip, with Ace’s Extra Mile Promise you can purchase over the phone and they will deliver it all to your home! How crazy convenient is that!
Gah! I love this makeover so much. We left one area open for me to use to shoot my OOTD photos, so I’m pumped for that! Hope this takes some of the intimidation out of painting a design on a wall. It was so easy, it even shocked us! Be sure to tag me if you recreate it + share a photo!!
This post was created in partnership with Ace Hardware. All content and opinions are that of my own! Thank you for supporting the sponsors that keep the Studio DIY party going! Read more about my editorial policies here.




Michelle says
This place looks so happy now, what a transformation. I love the idea!
https://www.makeandmess.com/
Kelly says
Thanks Michelle!! I’m thrilled with how it turned out!
Mia S says
OMG I love it! So fun and happy and so Studio DIY!
Kelly says
Thanks Mia!! So glad you love it!!
Alexandra says
Painting is usually such a pain (for me at least) but this actually looks fun! I love the colors you chose 🙂
www.onlylivingirlny.com
Carly says
Looks amazing! I love the pot on the table, the tarracotta without the lip. Where is it from!?
root says
I’m in the same situation. I live in an apartment and I go behind my building with a giant drop cloth and spray paint back there on the ground. I do have the comfort of leaving everything there and coming back when it’s all dry, but don’t know if you’d feel the same about doing that in your alley. Even if there was a way to safely carry the wet bottles inside to dry, the paint fumes will fill up your home and that won’t be healthy (I’ve tried it before. It’s bad.) I’d figure out whatever you can to find a safe drying area outside… maybe you have a friend with a garage or private outdoor area that can help you out.
Molly Thompson says
Can you tell me how much of each paint did you buy? A quart? I want To do this for my classroom and just need an idea to start with. I will consult my ace hardware specialist as well.
Ur gay friend says
Love your wall but as a member of the lgbtq+ community it thoroughly pains me because that wall is not in rainbow order