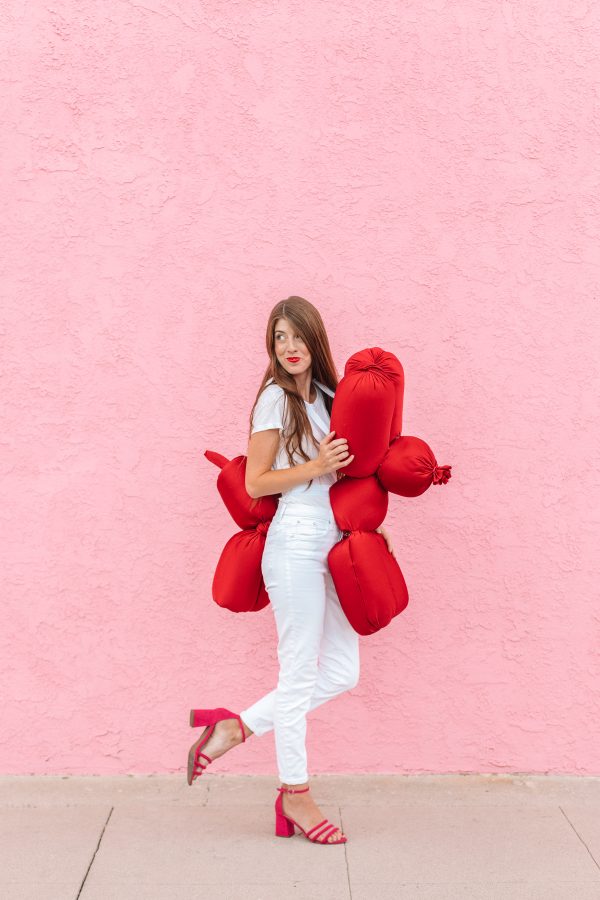
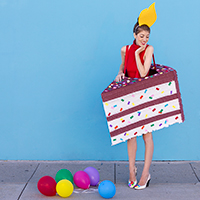
This one is a long time coming… it’s been on my list for years!!! And here it is, a DIY balloon animal costume!!! One of my first costumes was a birthday boy and birthday cake costume, and how FUN would it be to do add this one into the mix for a kiddo!? If you felt really ambitious you could do a whole zoo’s worth of animals, too! But of course, I stuck with the classic balloon dog for this tutorial. Here we go!

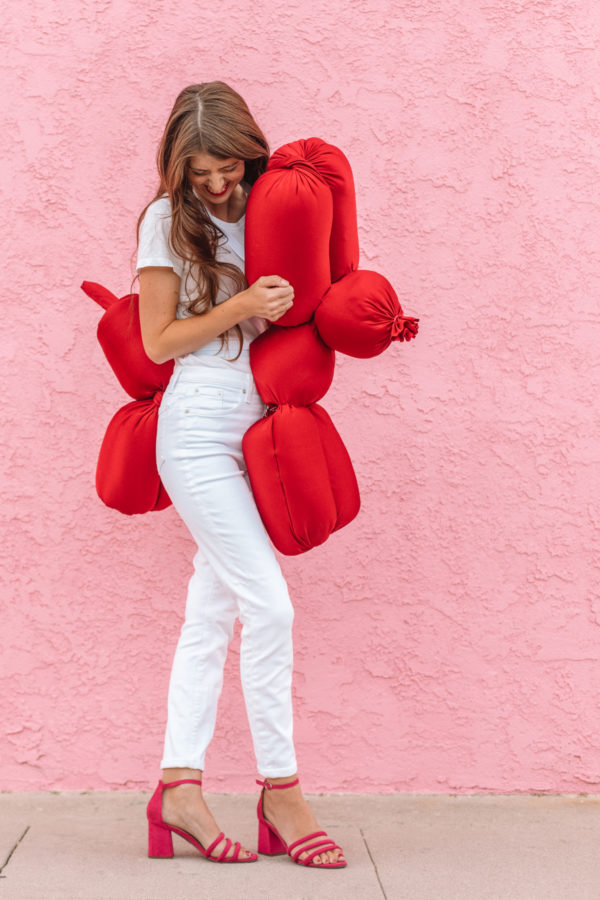
DIY Balloon Animal Costume
Total Time: 1-2 Hours
Supplies
-Approx 3 Yards Spandex Fabric (This will vary depending on the size you want to make the costume, but three yards gave me plenty!
-Stuffing and/or Batting (I encourage you to use what you have, if you have anything! I used batting for this because rolling it up was easier to create each section, but you could absolutely use stuffing too!)
-Fabric Scissors
-Hot Glue Gun
-Needle and Thread
-Red Twine
-Elastic
-Velcro
Directions
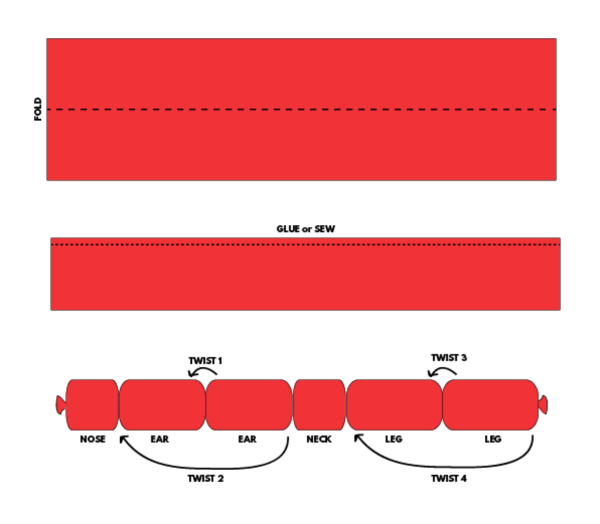
1. Cut two 18" strips the entire length of your fabric (three yards, in my case).
2. Fold one strip in half (right sides together), length-wise, and glue or sew the long edges together to create a tube. Repeat with the other strip. Turn both right-side out (so the "seam" you just created is on the inside and set one aside.
3. Use a piece of twine to tie off one end of the tube you just created. Now it's time to stuff!
Due to the size of this project, I wasn't able to easily show a tutorial in photos for how to twist this, but I made it exactly the same way you twist an actual balloon animal... just in two pieces instead of one. So if you want photos of how to do that, I have some right here. You can also find TONS of video tutorials on youtube.
4. First you'll be stuffing the "nose" which will be the smallest section you stuff. If you are using batting, cut a piece that is the length you want the nose to be, and then roll it up and stuff inside the tube of fabric. If you are just using regular stuffing, stuff until it reaches the fullness/length desired. Then use a piece of twine to tie off the end of the section.
5. Next you're going to create two equal sized sections, these will be the ears. I found it easiest to stuff both of these BEFORE twisting. Once both "ears" are stuffed, twist the fabric between the two ears. Then fold the two ears together so they are parallel and twist the excess material around where you tied off the nose. Tie with twine again to secure.
6. Now you'll stuff the neck, another small section. Stuff and tie it with twine.
7. Like you did with the ears, create two equal sections that will become the legs. Twist the fabric in the middle of the two sections, then fold them up so they are parallel with one another. Wrap the excess fabric around the bottom of the neck and knot it. Secure with twine. Trim off the excess fabric. You just created the front of your balloon animal!
8. You'll notice it is quite floppy, so what you'll want to do is tack the various sections together with some hand stitches. (You can also use hot glue, if you don't wan to sew, but I found the stitching was more discreet!) I stitched each ear to the nose, the nose to the neck, and each leg to the neck, each in a couple places.
9. Cut a piece of elastic that fits around your waist plus about six inches of overlap (for velcro). Hot glue about six inches of velcro on each end of the elastic (on opposite sides, so when it wraps around it overlaps to velcro). Stitch (preferred) or hot glue about 4-6 inches in the center of your elastic to the center of the back of the neck section you created.
10. Cut a second piece of elastic that goes from about your chest, around the back of your neck, and back down to your chest. Hot glue about 3-4 inches of the elastic to the back of each ear.
11. Try on the front piece and look in a mirror, see if you need any additional stitches to secure the sections so they hold up well while you're wearing it!
Now you're going to create the back of the dog! It's similar, but easier!
12. Tie off the end of the second tube you created with twine.
13. Now you'll stuff the tail section, which is a smaller section. I recommend using batting for this section as you're going to wait to stuff end INSIDE of the tail after you create the costume. Batting makes it easier since it's "rolled" up and has a center. Tie off the other end of the tail after it's stuffed.
14. Now create two equal sections which will form the back legs. Once stuffed, twist between the two sections and fold them so they are parallel with each other. Twist the excess fabric around the bottom of the tail and knot. Tie with twine for extra security. Trim off the excess fabric.
15. Finally, go back to the little end you tied off you created before making the tail section and push that INSIDE of the tail section (instead of leaving it sticking out, like you did with the nose).
16. Like with the front, hand stitch the sections together where necessary so the entire piece is more sturdy.
17. Cut a piece of elastic that fits around your waist plus about six inches of overlap (for velcro). Hot glue about six inches of velcro on each end of the elastic (on opposite sides, so when it wraps around it overlaps to velcro). Stitch (preferred) or hot glue about 4-6 inches in the center of your elastic to the center of the back of the tail section you created.
18. You need to make the little tail piece that sticks out of the end of the tube! Cut a rectangle of fabric that's about 10x6 inches (adjust how you see fit, based on the final size of your costume) and fold it in half (right sides together) lengthwise.
19. Stitch or hot glue the long sides together and one short side together. Turn right side out.
20. Stuff the tail and glue or sew the final small side together. (Doesn't have to be pretty, you won't see it!)
21. Hot glue this piece inside the end of the tail section you created earlier. The end!
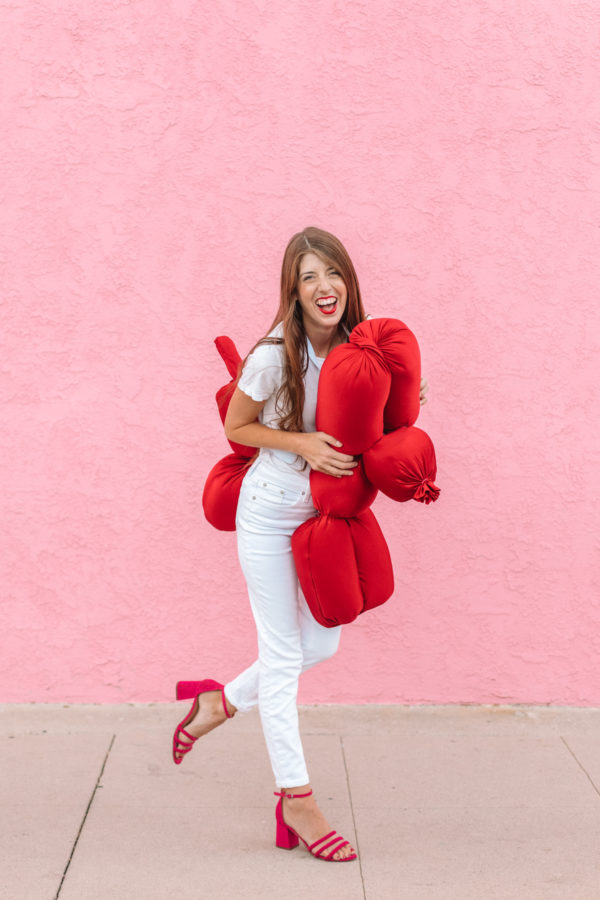

Photos by Jeff Mindell
I paired it with just a plain white outfit so the costume would stand out, but you could totally wear a fun “party” dress and party hat to play up the celebratory theme!!
Another twist? Pair it with a carnival costume theme!
For more DIY costume ideas head right here! And remember, if you use one of our tutorials, be sure to share a pic and tag #studiodiyincostume, so I can see and share it too!!


Mikyla Miller says
Ah! I love this!! A whole birthday themed group costume would be amazing!!!
Kelly says
Right!?!? Would be so fun!!
Mia G says
Don’t know if it’s one I would do ,but it’s so fun!
192.168.l.l says
Haha! What a cool idea!! This will be the most unique costume to party. I love it!