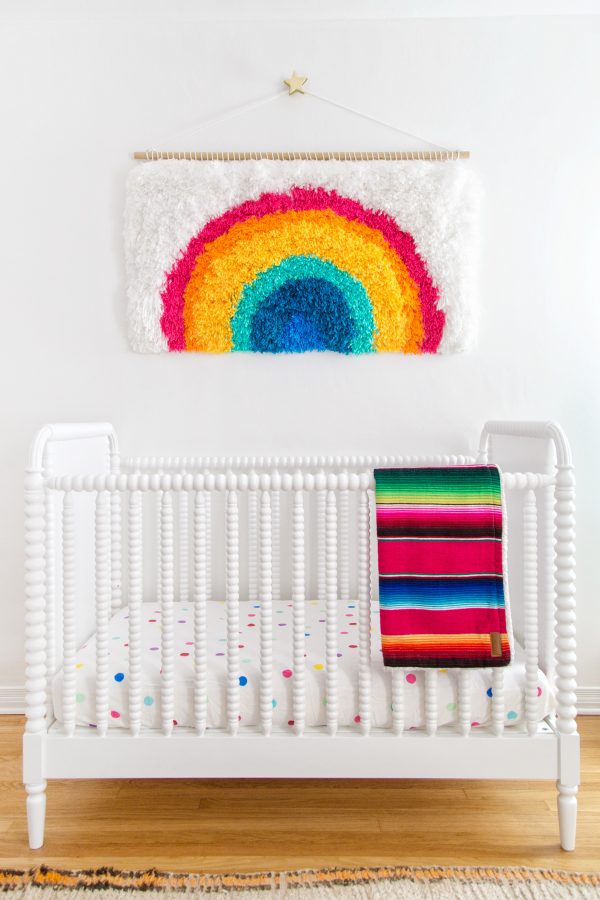
Almost a YEAR in the making! Ha! I’m finally sharing all the details on the DIY rainbow latch hook wall hanging I made for Arlo’s nursery. It was a true labor of love and due to the fact that I insisted it be HUGE, it took a very long time. But I am so so thrilled with how it turned out!!!
I don’t know if any of you remember doing latch hook as a kid but it is SO great because it’s easy, requires no skill and mindless. I completed this project while watching marathons of all our favorite shows and it was kind of therapeutic!? Ha! Below I’m sharing everything I learned during the process so you can be prepared if you want to make your own!
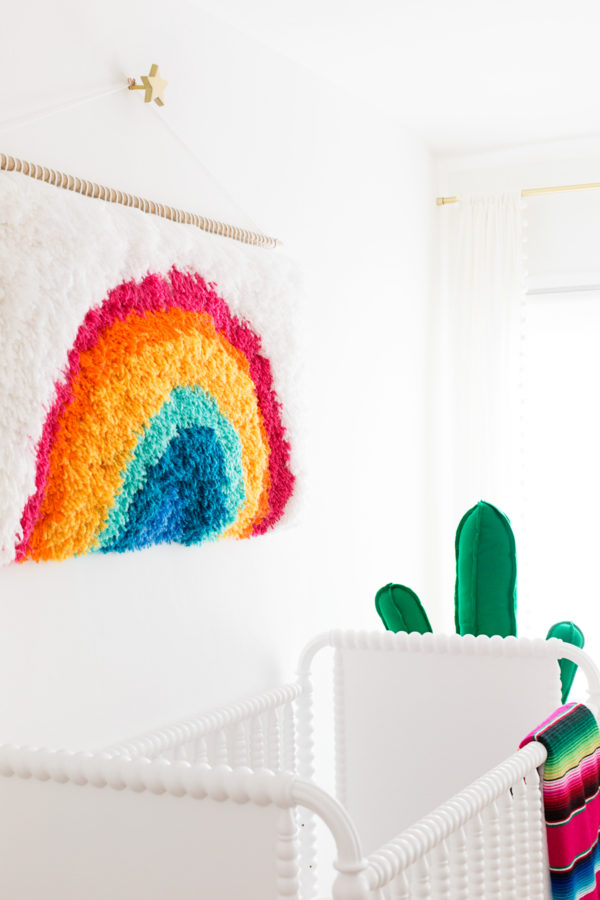
DIY Rainbow Latch Hook Wall Hanging
Total Time: A LOT!
Supplies
Yarn in 7 Colors, I recommend doing a variety of different thicknesses and textures to add dimension (Quantity will vary greatly depending on type of yarn, size of yarn skein, how big your piece is, etc. I recommend buying way extra and returning it after, if possible. Stores like Michaels have really great 180+ day return policies usually!)
Latch Hook Canvas
Latch Hook Tool
1" or thicker Wooden Dowel (about 3-4" longer than the final width of your latch hook)
Rope and Embroidery Thread
Yarn Needle
Scissors
Bags (to store yarn in, after it's cut)
6 Colors Sharpies/Markers
Ruler
2 Screws/Nails/Small Dowels
Directions
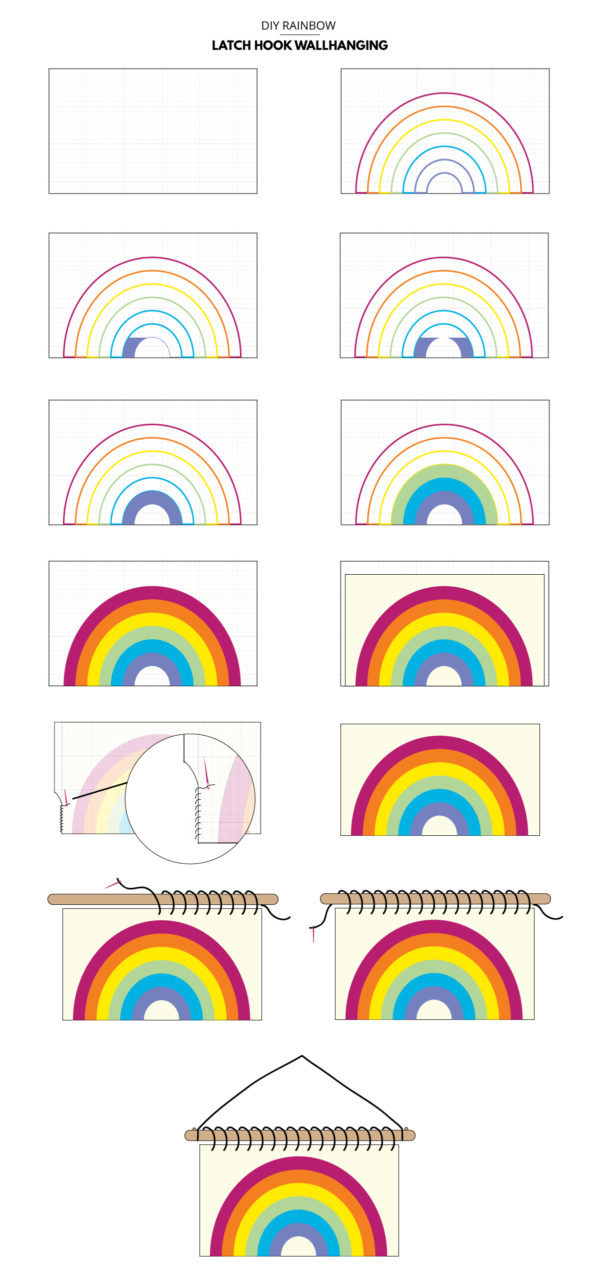
You can use the diagram above to see an illustration of the process and order this was created. All the details are written below!
1. First, you'll need to decide how large you want your final piece to be, then add two inches to each side of that and cut out the appropriate size from your latch hook canvas.
2. Lay it on a flat surface with some sort of protective covering underneath so you can begin to sketch the outlines of your rainbow sections. Here's how I did this: First, I determined the middle of my canvas. Then I determined how wide I wanted each section to be. From there, I measured out from the center and drew a rough arc for my first section in one color sharpie. Then I measured out from the bottom of each side of that arc and along the arc in several other places and drew my second arc (new color) to represent my second section. Repeat until you have six sections.
3. Now you gotta cut a LOT of yarn. Recruit everyone you can, haha! It takes awhile and you will need more than you think. Start unrolling your skeins of yarn and cutting them into 10 inch long pieces. You can accordion fold the yarn and cut through several sections at once, which is what I did. Place each color yarn into it's own bag to keep things organized.
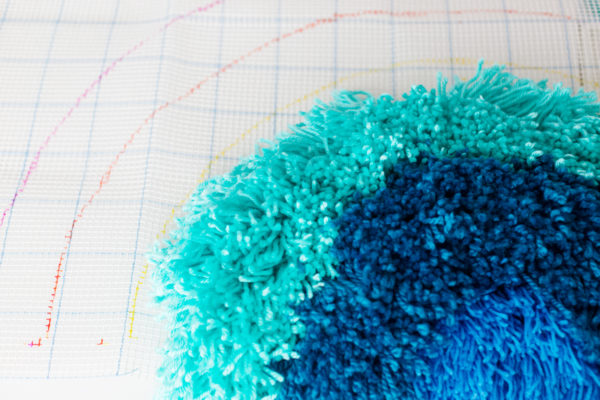
4. Time to start latch hooking! I don't have a visual here because it's easier seen through video in my opinion. So if you don't remember how to latch hook, I suggest doing a quick YouTube search and watching a couple videos on how to do so. Most importantly, you need to start from the BOTTOM of each section, and work your way up.
5. For each section, you'll want to work from the bottom on one side, all the way up the sides until you reach the point where you need to go straight across the entire section in a line. BEFORE doing that part, go back down to the bottom of the other side and work your way up again. Then, finally, do the top of the section.
6. Continue doing this until all your sections are covered in yarn. Yes, it takes awhile! The last part you'll do is the outside border (mine I did in white). Do so in the same manner you did all the arcs! Be sure to leave the two inches on each side YARN FREE so you can finish your piece.
7. Once the outer border is done, it's time to fold the yarn-free edges back and stitch them. Fold them back to the back of your canvas and use a thick embroidery thread or thin rope and yarn needle to stitch through both layers of canvas, stitching the flap in place. Do this along the entire edge of your piece.
8. To hang it with a dowel, you'll need a thick piece of rope. Lay your latch hook piece on a flat surface and put the dowel right above it. String the rope through the top holes on one side of your latch hook, then over the rope and back down through the holes of the latch hook a few holes over. Continue doing this all across the top until it is completely hooked onto the dowel. Tie a secure knot on each end.
9. About one inch in from each end, it's helpful to add something to hold the rope so it can't move inward when you hang it. I just popped a small screw in each side of my dowel, but you could do a screw, nail or even glue a little dowel on using a strong glue.
7. Tie a final long piece of rope on either side of the screws you just put in and you're ready to hang your piece!
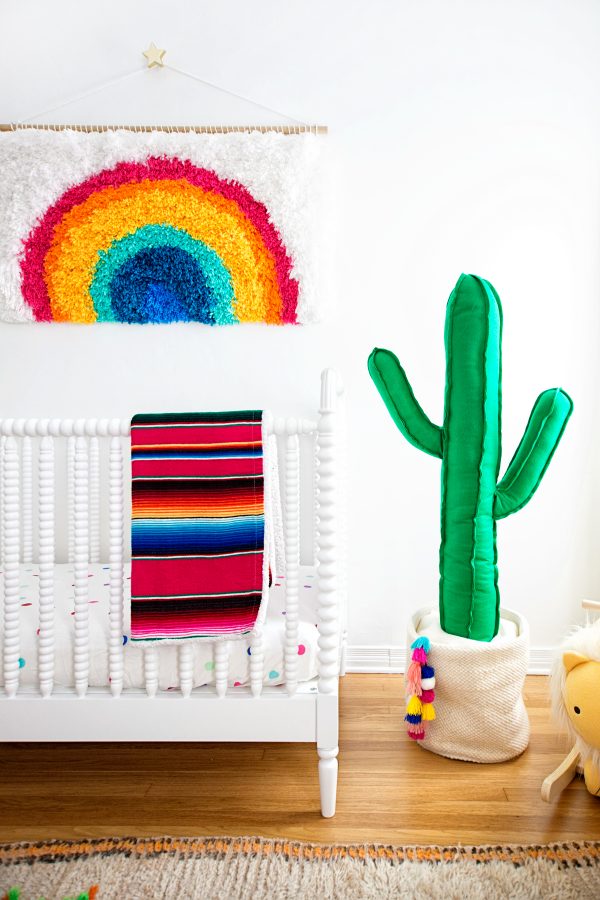
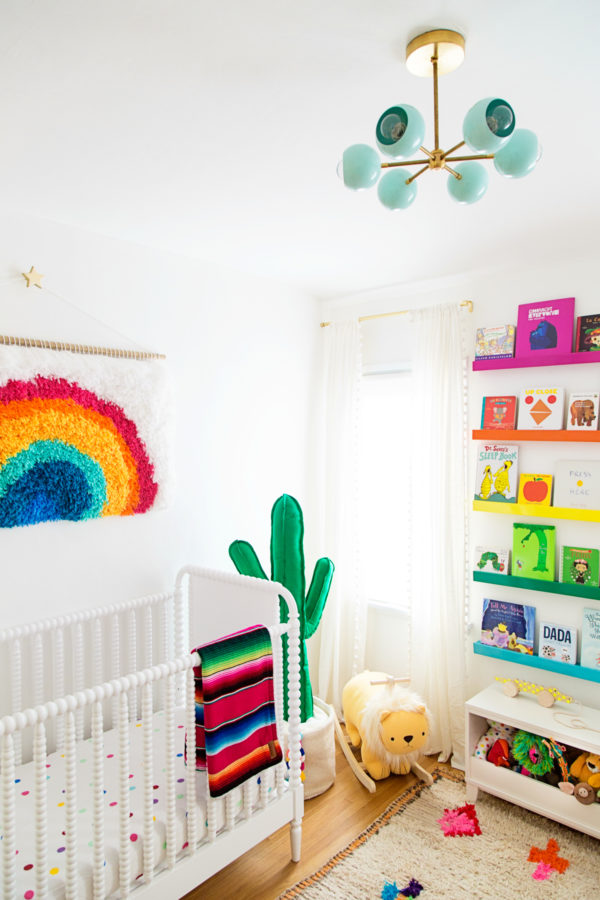
Photos by Jeff Mindell
You can find all the sources for other items pictured above HERE!
And there ya have it! I’ve really missed having this project to work on now that it’s done! Trying to think of what I should latch hook next. If you make one, please oh PLEASE send me a pic!!! A few of you made one inspired by mine before I even posted this and it made me SO happy to see. Yay!



VidMate apk says
Thank you for sharing this information
Savannah SMILED says
This is just magical! My Gran taught me how to latch hook when I was young. Now I have all the feels and the inspiration to go buy some yarn again!
Kristina B says
I love it! I want to just mash my hands in it!!
Meagan says
What are the demensions of your latch hook rainbow?!
I love the size is relation to a standard size crib and I want to make my own!
Indys | The Small Adventurer says
I adore tasks that you can do mindlessly whilst watching your favourite show! That’s why I love making piñatas, especially when you get to the fringing stage – I’ve done it so much now I think I could do it in my sleep!
This is absolutely gorgeous, I would love something like this hanging in my room. I hadn’t even HEARD of latch hooking before I started reading Studio DIY, but I might have to give it a try if it’s really as easy as you say!
Indya || The Small Adventurer
net worth says
What a great DIY project to try! Thank you for sharing the tutorial, I love this idea! Gonna make one for my bedroom this weekend.
your mother is a dog says
dog lover
usps tracking map says
The way to create a colorful rainbow looks great. Certainly young children will love it.
Stephanie says
I think you need to come up with one for baby #2! I’m thinking something with palm trees!
Jake says
So Full of life and freshness – love it!
Emily says
I absolutely love this and am going to make one for my rainbow baby. Would you be willing to share which brand of yarn you used? Thanks for any info!
Carly says
Hi
I love love love this and we full on stealing all your ideas when we move in to our new home with our 1 year old when this is all over! I have all the bits ready and am about to start but wondered what measurements you used for the rainbow and I love the size and dimensions over the cot
Take care
Carly
Roselle Hope says
This is absolutely beautiful. Can’t wait to try it
Terri says
Hi! I love this latch hook rug and I’m going to give it a go! Did you trim the yarn once it was finished? And did you also do a 2” border on the bottom to fold under as well?
thanks!
Betsy says
Beautiful. I’m so excited to give this a try for my baby’s bedroom!
I see you cut your yarn into 10″ long pieces, which seems long. Does that mean your “rug” is close to 5″ deep?
Kelly says
Yes! I wanted the yarn to be longer and fuller for this versus traditional latch hook, but you could absolutely do it with traditional sized latch hook pieces as well! The final product would just be shorter and less shaggy!