
Ok this may be one of the coolest craft products I’ve ever gotten to test run! Gonna preface this whole post with that.
Cricut who we’ve worked with a lot over the last few years recently launched Infusible Ink and basically that means you can now make t-shirts (and other things!) that look and feel JUST like what you buy in stores. Previously, you’ve seen me do a lot of iron-on projects which are still cool, but it was more of just putting a piece of material on TOP of the tee shirt, bag, etc. With this stuff it actually infuses the ink INTO the fabric and it all becomes one. It honestly feels like magic. Haha!
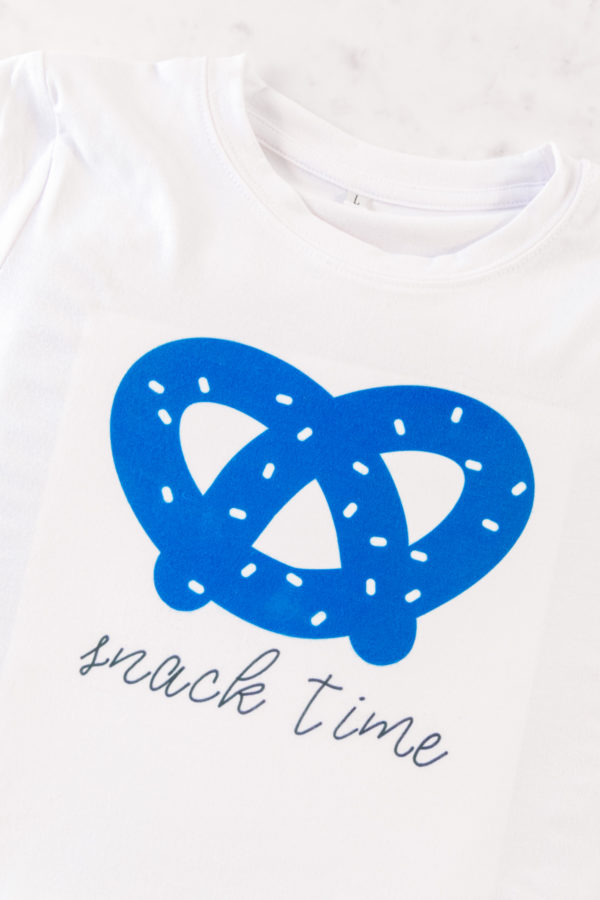
I started making some cute tees for Arlo to test it out, with a snack theme, since that’s his current favorite word… but I liked it so much I made one for me too! I’m gonna break down how all the different products in the new line work in my tutorial below.

DIY Infusible Ink Tee
Total Time:
Supplies
Cricut Maker or Explore
Cricut EasyPress 2
Cricut EasyPress Mat
Cricut Cutting Mat
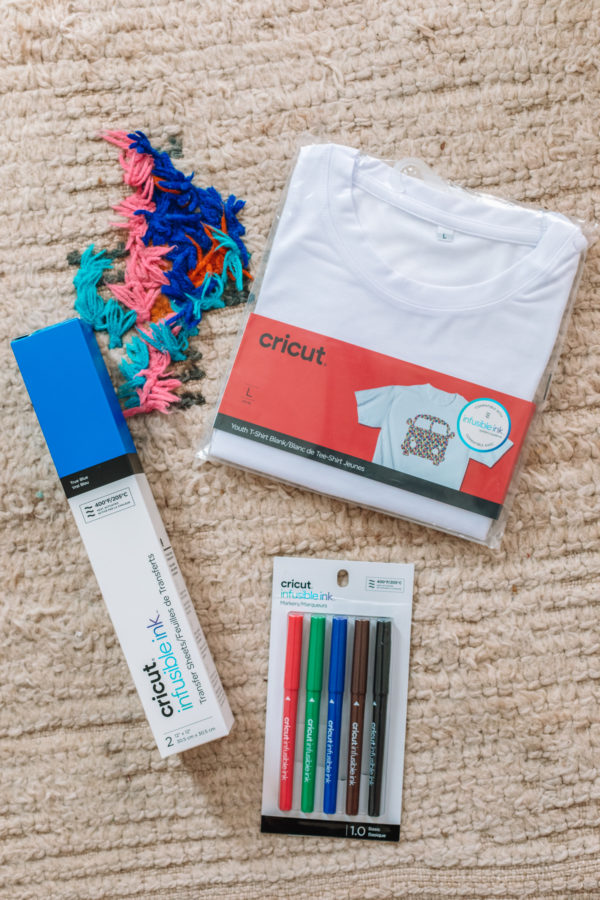
Infusible Ink Sheets (+ the butcher paper it comes with)
Infusible Ink Markers
Cricut Infusible Ink T-Shirt Blank
Cardstock
Laser Copy Paper
Scissors
Lint Roller
Heat Resistant Tape
Directions
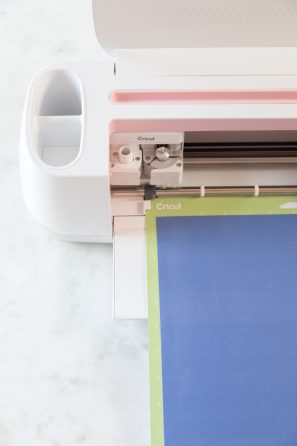
1. Use your Cricut Maker to cut out your shape. The Cricut library has TONS of different food graphics that you can pull from or you can create your own and upload it into the platform! You'll load the Infusible Ink paper onto the cutting pat, right side up, and follow the instructions on your computer to cut out the shape. Be sure to remember to have the "mirror" option selected!!
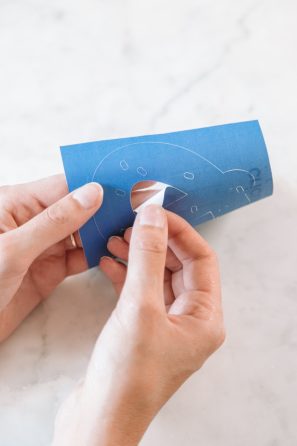
2. Use scissors to cut a rectangle around the shape you just cut and carefully pull away the excess material, leaving the shape adhered to the clear plastic liner.
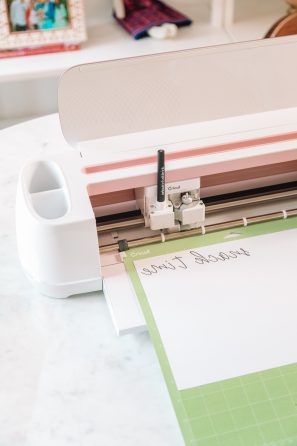
3. Next, use your Cricut Maker to draw the word or phrase you want on your tee. Again, the Cricut library has a ton of different fonts to choose from! Load an Infusible Ink marker into your machine and place a piece of laser copy paper onto your cutting mat and follow the instructions on your computer to draw the word. Again, be sure to have the "mirror" option selected!
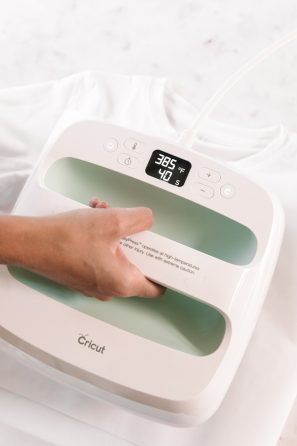
4. Now it's time to infuse these onto your fabric!! Pre-heat your EasyPress 2 to 385 degrees and set it to 15 seconds. Place your t-shirt on top of the EasyPress mat and place a piece of cardstock inside the t-shirt.
5. Lint roll your shirt and place a piece of butcher paper on top. Then, you'll want to now pre-heat the t-shirt to remove any wrinkles or moisture by pressing the EasyPress on it for 15 seconds. Let cool completely before proceeding!
6. Next, place your shape face DOWN onto the surface of your shirt wherever you want it. Set your EasyPress to 385 degrees and 40 seconds. Place a piece of butcher paper on top of the design and press your EasyPress on top with light pressure until the 40 seconds are up.
7. Remove the EasyPress and let cool completely. Then remove the butcher paper and liner and BOOM!!!! The ink is infused!!
8. Repeat the same steps to add the writing to your shirt, except this time use heat resistant tape to tape the paper in place. Reminder: the laser copy paper should be placed face down!
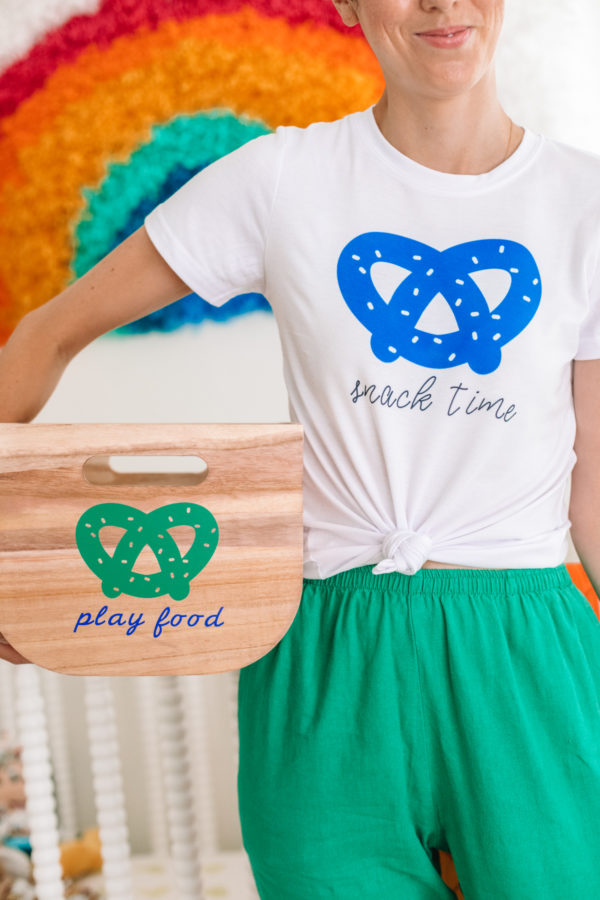
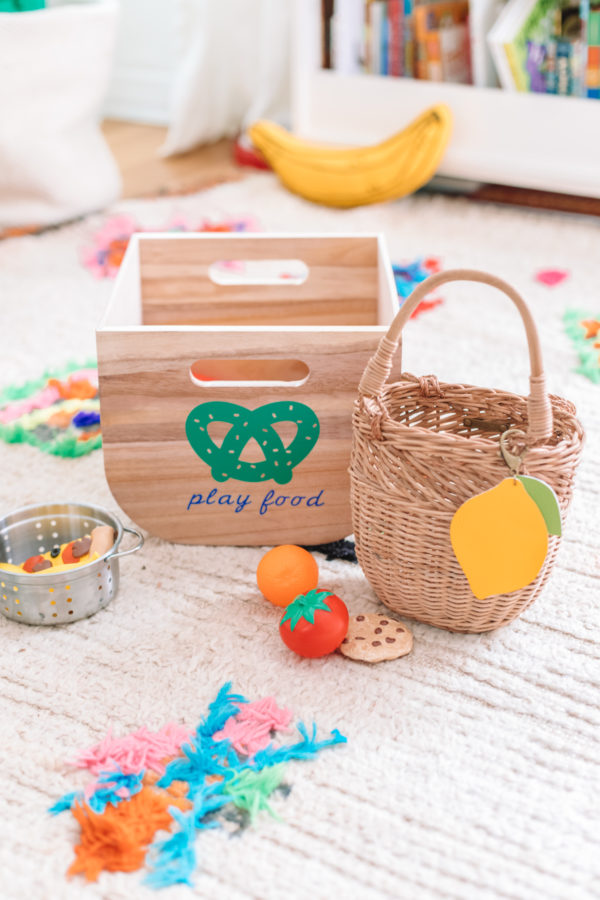
If you’re in need of some other project inspo: I used a similar concept but just with Cricut Vinyl to add labels to some of Arlo’s storage bins!! I love the idea of having a visual for him for where all his different toys belong, since he’s actually really enjoying cleaning up at the moment.
And, after I shared a tutorial last month for using the Cricut Maker on leather to make these cute bag charms, I decided to make Arlo a cute little charm for his farmer’s market basket!! Basically I’m Cricut-ing everything in my house at this point! 😉

Photos by Jeff Mindell
If you have an older toddler or kiddo, wouldn’t it be SO fun to let them draw with the Infusible Ink Markers and turn it into a tee!? UGH. The possibilities!!! You can get all the supplies in store and online at Michaels right now if you wanna give it a try!!!
This is a sponsored conversation written by me on behalf of Cricut. The opinions and text are all mine.



Patricia Garcia says
Very cool stuff
Erica Yearout says
My question is…..can I use a regular iron with the infusible ink?
Mikyla Miller says
Whattttt?!?! So cool!!
Mia G says
Too cute! And I bet the infusible ink is a bit cooler (temp wise) than a screen/vinyl print graphic! It looks so good!
Whitney Hayes says
Very cool post. thank you for the efforts you made for us. Amazing Job!
Mariah says
Did not know that infuse-able markers can do such an amazing job. The tees look great and neat. The colors are so bright and no one can tell that they are DIY’s. This is also a very fun job and one can make it their hobby too. Great stuff.