Everyone’s Christmas tree can use a little extra something sweet, can’t it? These DIY donut ornaments are made with a donut pan and can be decorated in dozens of different ways!
Make a baker’s dozen for your own tree or tie a donut ornament to every package you gift!
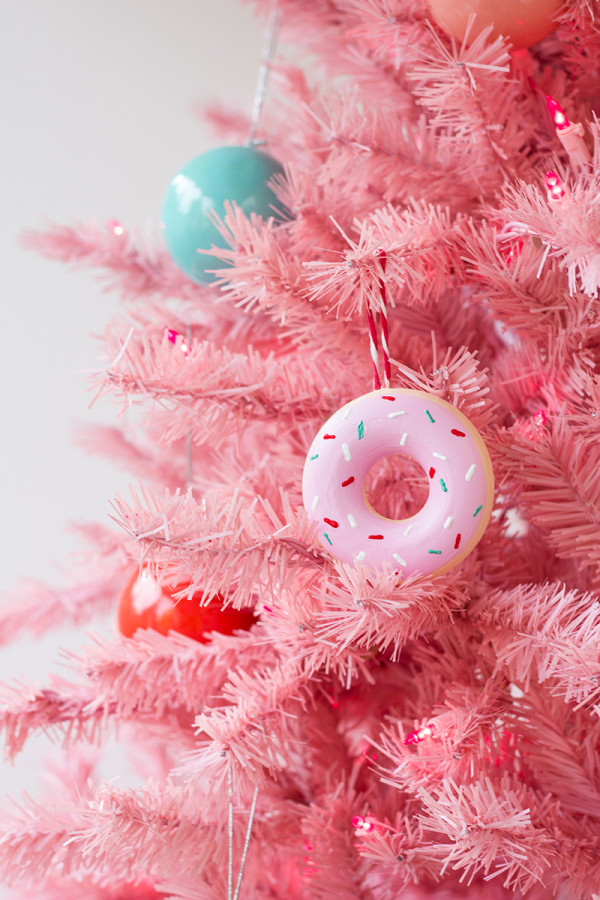
These ornaments would make a sweet gift for anyone you know how loves donuts, as teacher gifts or even consider making a set for a white elephant exchange!
Supplies Needed
Here’s what you’ll need to make donut ornaments:
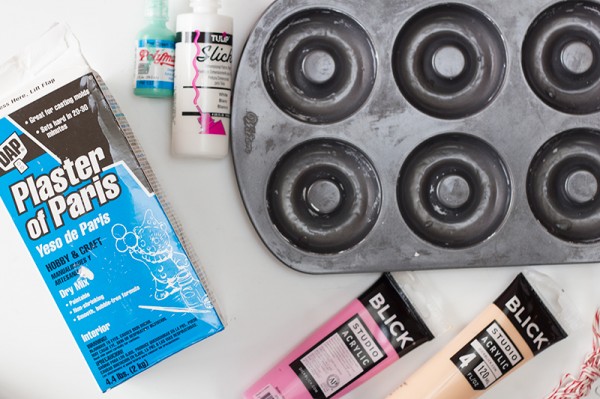
Donut Pan
Plaster of Paris
Disposable Tub/Tupperware for Plaster + Something to Stir With
Twine
Small Paper Clips
Hammer
Paint (one color for donut, one for frosting)
Foam Brushes
Puffy Paint (For sprinkles!)
Step-by-Step Donut Ornament Tutorial
These donut ornaments are only a few simple steps. Here’s how to make them:
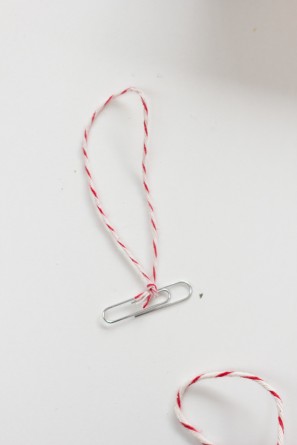
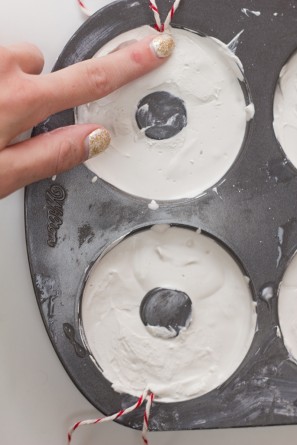
1. Tie a loop of twine to one side of your paper clip. (Do this for all the donuts you’ll be making at one time, BEFORE you pour your plaster. That stuff dries FAST!)
2. Once your paper clips are prepared, stir up your plaster.
3. Pour or spoon it into each donut pan. It should go right up to the top edge of the center hole. Shake the pan a little bit to smooth the plaster over.
4. A few minutes after you’ve poured it, push one twine-tied paper clip in, horizontally, to the edge of each donut. The loop of twine will be left hanging off the edge, and the paper clip will act as an anchor to hold it on!
If you plaster has already hardened too much and doesn’t cover the whole paper clip, just spoon a bit more plaster on top to cover it up (and shake to smooth it over).
5. After about an hour, pop your donuts out of the pan.
To do this, flip your pan over onto something soft (like a towel) and tap a hammer along the entire donut ring of each. Keep going until each one pops out! Continue to let dry according to package directions.
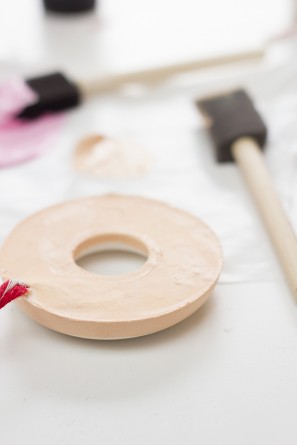
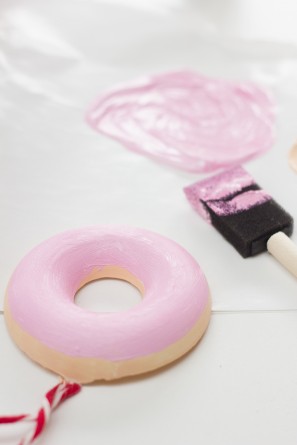
6. Then, it’s time to paint! Paint the bottom of your donut, as well as about a 1/2″ up around the inner and outer edge with your donut color. Then, Paint the top of your donut with your frosting color!
Use your puffy paint to pipe tiny sprinkles all over each donut. Let dry.
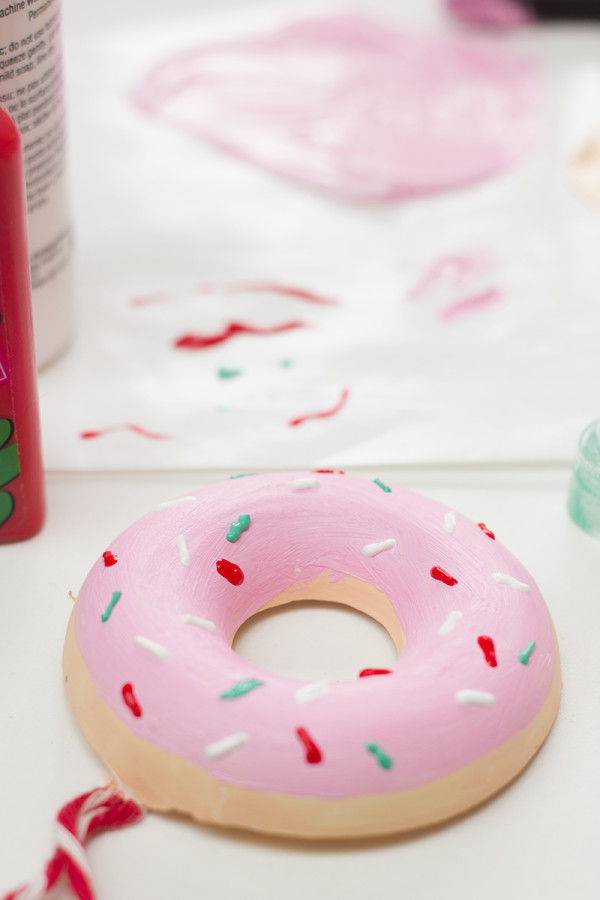
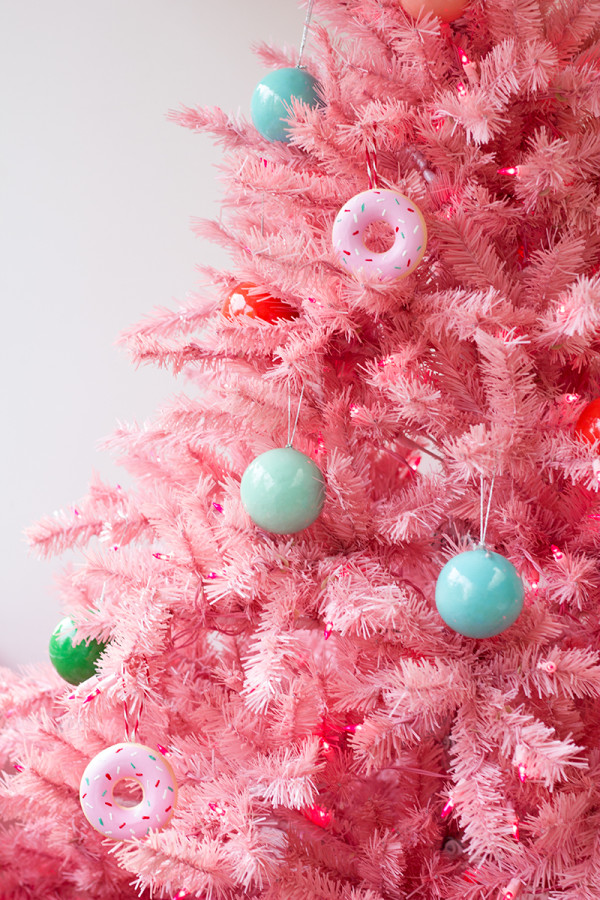
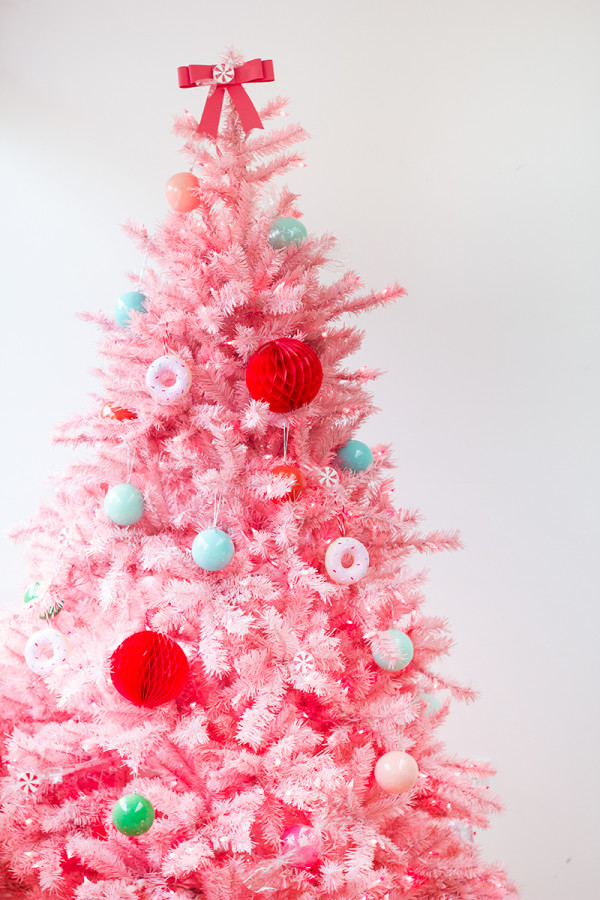
Look how cute they turn out? I chose to use Christmas colors for my sprinkles, but you could make the donuts have rainbow or chocolate sprinkles too, or an entirely different design!
Gifting Donut Ornaments
Here are a few ideas for gifting these donut ornaments:
-Make a set of six, with all different “toppings”, and package them together in a donut box.
-Tie one as a gift topper to the top of another gift.
-Package in a clear gift bag or reusable muslin bag with a tag that says “Something sweet for your tree!”
-Pair with a donut pan, donut cookbook or donut baking mix for the bakers or kids in your life!
-Buy a gift card to a local donut shop for your secret Santa, white elephant exchange or teacher gift and package one of these alongside of it!
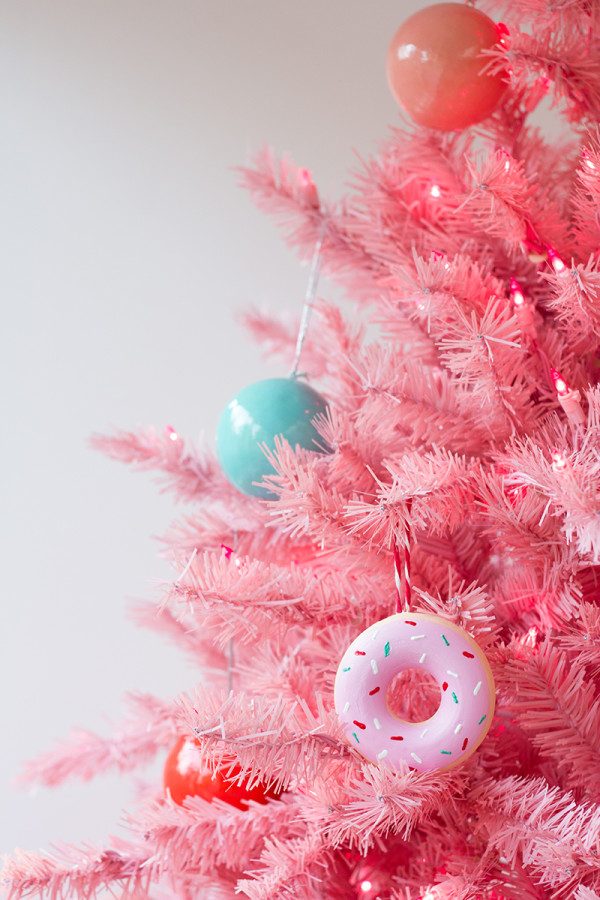
Try A DIY Ornament Exchange
Have friends who love crafting too? I love doing ornament exchanges with friends. We each buy or make each other an ornament every year. It’s a great way to streamline gifting, and build a fun collection of meaningful ornaments from people you love!
You could even try picking a theme each year. These donut ornaments would be perfect for a “dessert” themed ornament exchange.
More DIY Christmas Ornaments
Want a whole tree full of DIY ornaments? Try one of these tutorials to pair with your donut ornament, too!
- DIY Circus Animal Cookie Ornaments
- DIY Rudolph Ornaments
- DIY Popsicle Stick Gingerbread House Ornaments
- Christmas Window Popsicle Stick Ornament Craft
All Photos by Studio DIY
I hope you enjoy making these adorable donut ornaments and gifting them this year! They are sure to make any recipient, or any guest in your home, smile.
DIY Donut Christmas Ornaments
Equipment
- Donut Pan
- Disposable Tub or Tupperware
- Stir Stick or Disposable Spoon
- Hammer
- Foam Brushes
Materials
- Plaster of Paris
- Twine
- Small Paper Clips 1 per donut
- Paint any color(s) of choice
- Puffy Paint optional, for sprinkles
Instructions
- Tie a loop of twine to one side of a paper clip before stirring up your plaster.
- Stir up plaster according to package instructions.
- Spoon plaster into each donut pan. It should go right up to the top edge of the center hole. Shake the pan a little bit to smooth the plaster over.
- A few minutes after you’ve poured it, push one twine-tied paper clip in, horizontally, to the edge of each donut. The paper clip acts as an anchor, holding the twine in place inside the donut, while the loop will hang over the edge of the pan. If you plaster has already hardened too much and doesn’t cover the whole paper clip, just spoon a bit more plaster on top to cover it up (and shake to smooth it over).
- After about an hour, pop your donuts out of the pan. To do this, flip your pan over onto something soft (like a towel) and tap a hammer along the entire donut ring of each. Keep going until it pops up. Continue to let dry according to package directions.
- Once dry, paint the bottom of your donut, as well as about a 1/2″ up around the inner and outer edge with your donut color.
- Paint the top of your donut with your frosting color! Let dry.
- If desired, use your puffy paint to pipe tiny sprinkles all over each donut. Let dry.




Brenda's Wedding Blog says
I love these donut ornaments. Sounds like a fun project over Christmas break with my daughter. And, that pink tree? Totally awesome!!! I love it! Wonder if my hubby would ever go for one? Well, we have 2 girls so I’m thinking it’s possible. 3 against 1, right?
danielle says
Looks good enough to eat!
Kari says
I love it! It turned out SO cute, just like all your stuff!
Brittni says
I love these little donut ornaments (and your pink tree). They would be really cute as gift toppers too.
Terrie says
Your donut ornaments are so fun!! And I love your tree =)
Leah // Freutcake says
Of course you did! I love this Kelly…so sweet.
melly says
God I LOVE this idea! Can’t wait to try it one day.
Anna says
These are just awesome, and your tree is amazing!
Aileen@AtHomeInLove says
Way cute. What a great idea…donut-ify the world!
Jessica says
These donuts ornaments are too cute! Love this idea!
lyndsay // coco cake land says
heehee! love the donuts, kelly! man your pink tree is out of control AMAZINGGGG! merry christmas to you and jeff! xo
Ada says
Adorable!!!! Paper clip hook is total (*economical) geniusness! Now, Im craving a real donut 😉
sina says
I love these donut ornaments!!! I will defninitely have to make these for this coming Christmas!!! Can I ask where you gor the other ornaments from? I love the colors!!! Also, ove the tree!!!
Kelly says
Thanks!! They are from The Land of Nod! Awesome colors, right!?
Alisha says
Is it safe to reuse the donut pan after putting plaster into it?
Krista says
These are really cute! I want to make them but am wondering if it ruins your pan? Thank you!
Arlynnda says
Love these! About how many could you make with that much plaster?
Amanda says
Does the pan have to be metal or can it be silicone?
Animación Infantil Asturias says
We love them, they are really cute!! Regards from Asturias
Lisa says
Hi! I love this idea ! My daughter is having a donut birthday theme and we’re planning on doing this !! Do you recommend greasing the pan to help the plaster release better or is that a disaster waiting to happen ?! Thanks !!
rezop says
https://studiodiy.com/diy-donut-ornaments/ casino