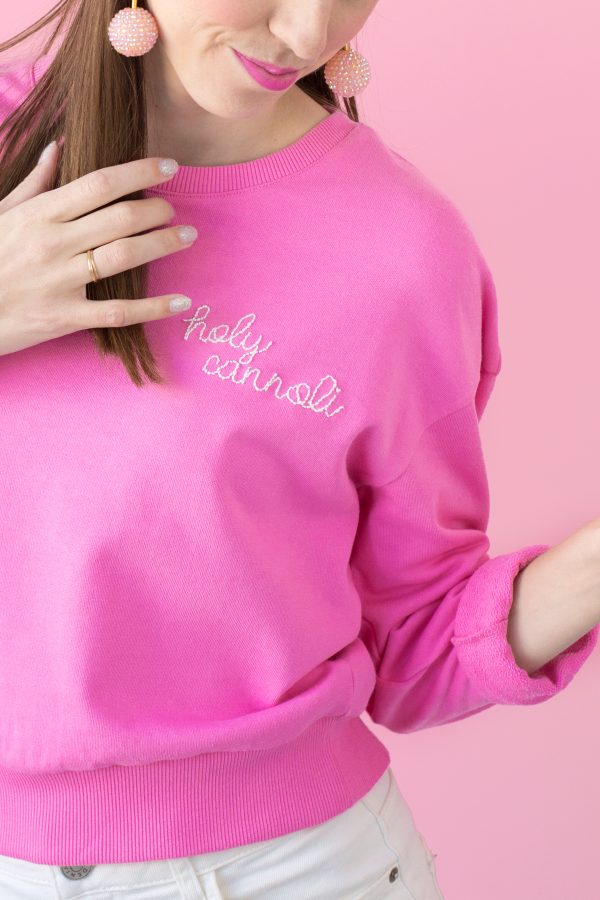
I know some of you are looking at this DIY and saying, “I don’t have good handwriting” or “I don’t know how to embroider. I’m not a machine!” Well, I’m excited to share my favorite hand-embroidery hack with you today! I used it to make this fun DIY embroidered sweatshirt and as a fellow handwriting deficient person, it turned out pretty impressive didn’t hint!?
Spoiler alert: It’s because my handwriting wasn’t involved at all! 😉 Let’s do this.

DIY Embroidered Sweatshirt
Total Time: 1+ Hours (Depending on how long your phrase is!)
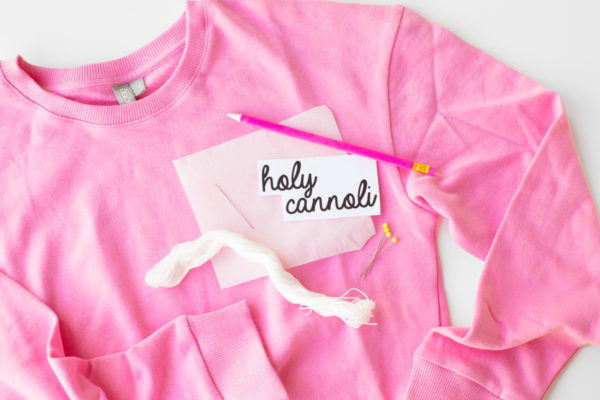
Supplies
Sweatshirt (Or Other Item of Clothing!)
Embroidery Thread
Embroidery Needle
Freezer Paper
Iron
Colored Pencil
Computer + Printer (For making your template!)
Directions
1. The first step is to make a template. Decide what you want to write on your shirt and find a font you like! I used one called "Always In My Heart," and "Learning Curve" is a great one too. A skinny script font looks great, but you could do anything, really! Type out what you want and make it the size you want (mine was about 4" wide) and print it out on regular computer paper.
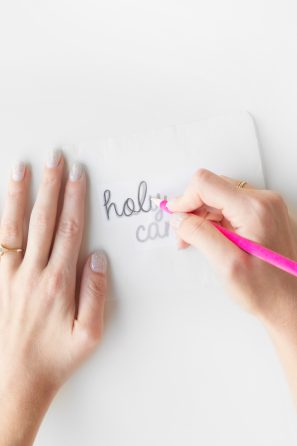
2. Tear off a small piece of freezer paper and lay it (shiny side down) over your font print-out. Trace the words onto the freezer paper using a colored pencil. (I prefer a colored pencil to regular pencil because regular pencil seems to rub off more and could potentially damage your sweatshirt when embroidering!)
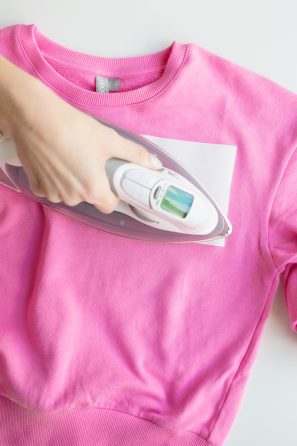
3. Decide where you want the embroidery to go and iron the freezer paper (shiny side down) onto your sweatshirt.
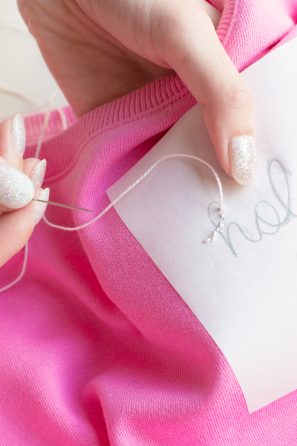
4. Thread your needle with a long length of embroidery thread. If your thread is thinner, you can double it, or if it's thicker (like mine was) you can just use one thickness. Tie a knot at the end.
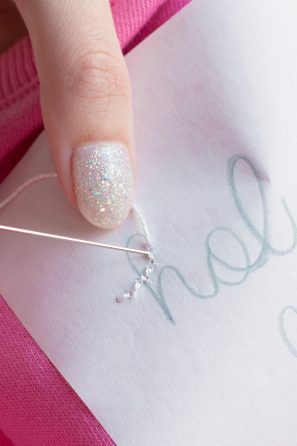
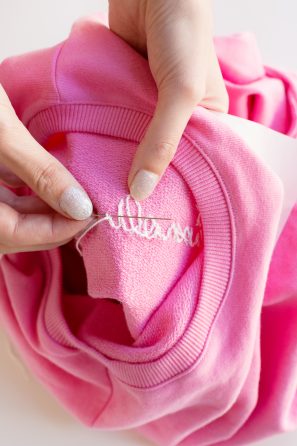
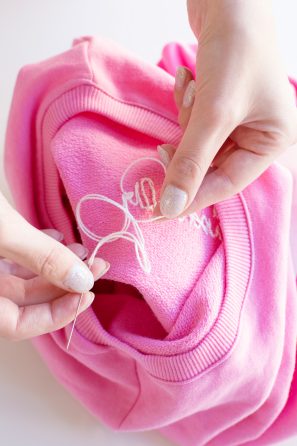
5. Start at the beginning of your first letter and stitch through the sweatshirt AND the paper using small back stitches. A back stitch means you start the stitch one stitch-length's into your guideline and stitch backwards to the beginning. Begin your first stitch just ahead of the start of your tracing line, then stitch backwards to the beginning of the line. Start the next stitch one-stitch length's ahead of your last, and finish the stitch where the previous one began.
6. Repeat this along your entire traced line. You should be stitching exactly how you would draw/write the word. So, for example, I started at the end of the "h", went around the top loop, down to the base of the letter, than back up for the "hump" of the h, and so on.
7. Once finished, on the back side of your sweatshirt, slip the needle through the final stitch. This will form a loop of thread. Run your needle through the loop twice and pull tight. Trim your excess thread.
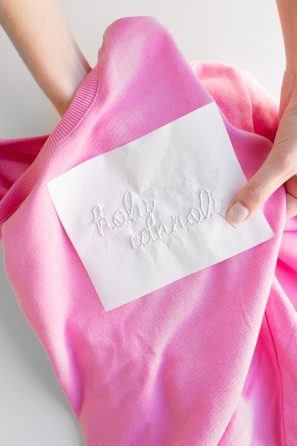
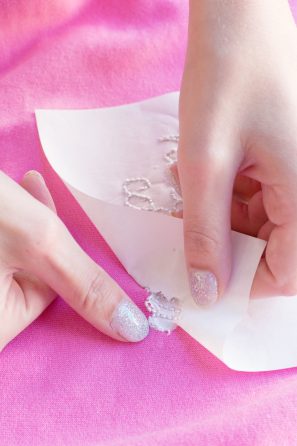
8. Now to remove your freezer paper! VERY carefully, begin to peel off one corner of the freezer paper. Once you reach the stitching, hold your finger on top of the stitch and carefully pull the paper off around it. It will tear as if it was perforated (because you just perforated it with your stitches!) along the outside of your letter. Then you will have to remove the pieces inside your letters separately. Do not rush this process! It is tedious but doing it carefully and slowly will ensure your stitches stay in perfect place!
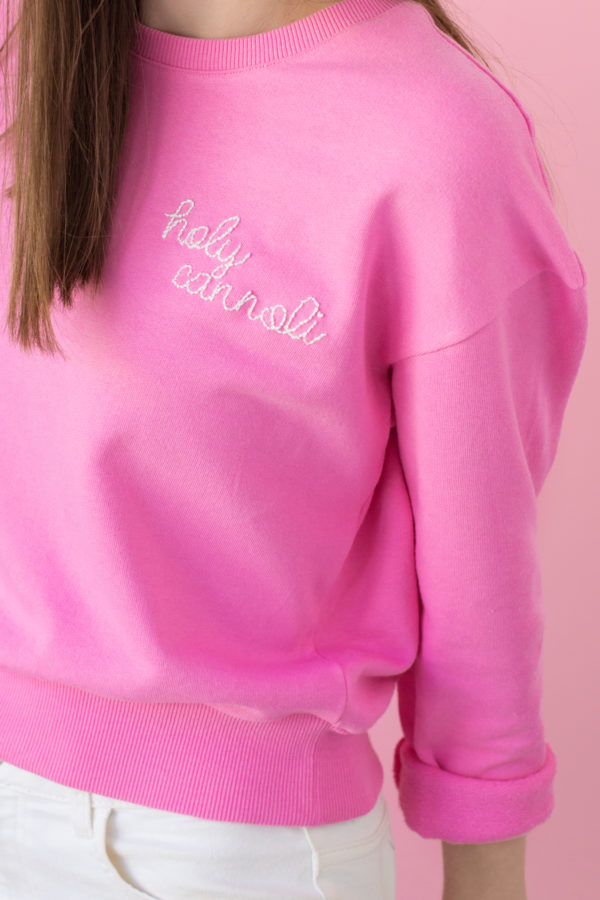
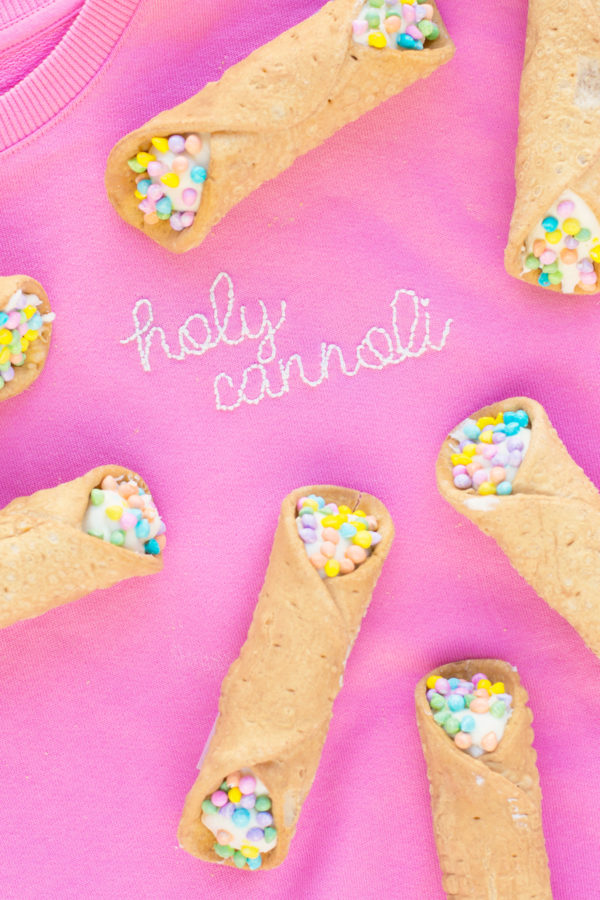
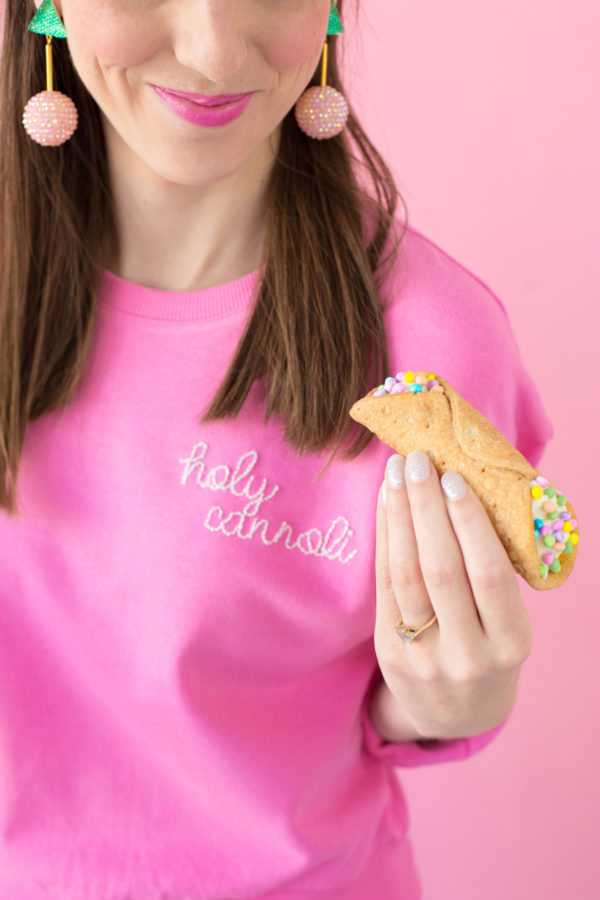
Photos by Jeff Mindell
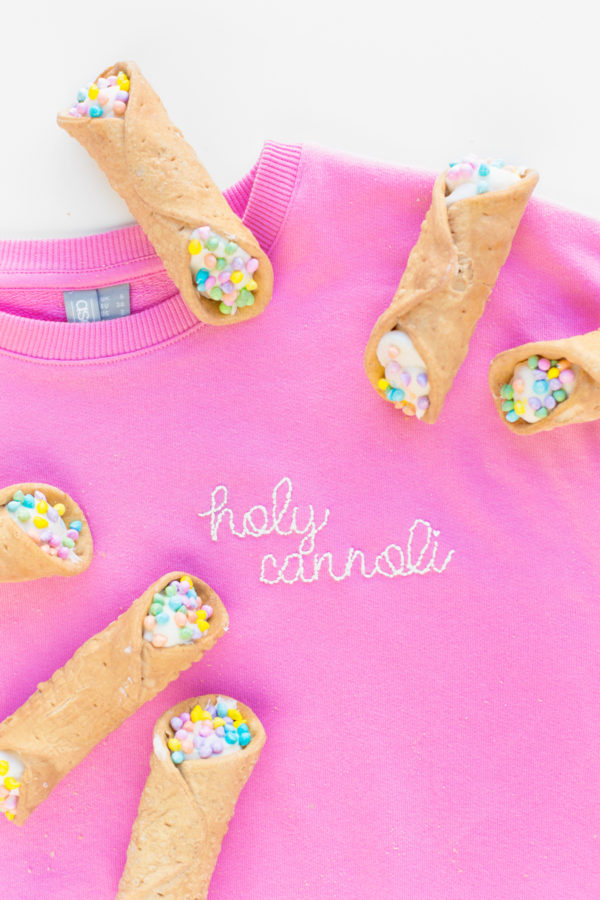
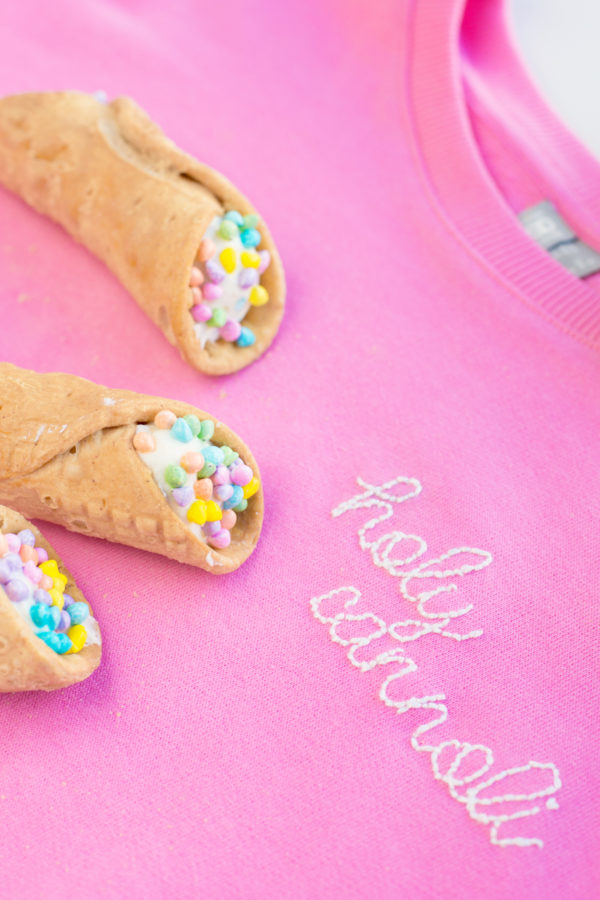
I may have chosen “Holy Cannoli” for my shirt because I say it all the time. Or I may have chosen it so I had an excuse to buy a dozen cannoli. 😉 Added the pastel chips ourselves!
p.s. DIY Avocado Buttons!




Sophie says
Cannolies are the best.
http://goldclutter.blogspot.com
Kelly says
They sure are!!
Michelle says
What a cool technqiue, and it looks amazing!
https://www.makeandmess.com/
Kelly says
Thanks, Michelle! I’m so happy with how it turned out, and it was so easy!
Lesley says
Loving the hairdo/earring/sweatshirt/cannoli combo! (P.S. where are the earrings from?)
Kelly says
Thanks Lesley!! They’re actually a DIY, coming soon hopefully!! =)
Lesley says
Exciting!!!!
Camille says
I love this! I will definitely be trying this out!
Kelly says
Yay!! Be sure to send me a pic if you try it!!
Emily says
I love this! What a cute idea. Also yes where are those earrings from??
Kelly says
Thanks girl! Stay tuned for a tutorial for the earrings!!
Natasha says
I’m contemplating trying this technique to do custom napkins at my wedding with guest’s names, then they could double as placecards! In the meantime, I think I’ll go get a cannoli
meixii @ thiscache says
Embroidery!
I have been pushing back my embroidery attempts due to various reasons (I don’t know how/I am lazy/I just don’t want to start)… so much so that I’d fear that my embroidery threads are covered in dust.
https://thiscache.blogspot.com
Natasa Dzaleta says
I have recently made a post about the embroidery on a pillowcase without using the embroidery hoop but the freezer paper hack hasn’t crossed my mind. Great tip!
I love your website and am definitely subscribing for overload of color! 🙂
Jessica Alba says
Outstanding article Cartoons Embroidery Designs , thank you so much for sharing this article.
Grace Anaple says
I love this! Does it stay well through the wash?
James Brian says
Nice blog! you made us understood the easy way how can we do such beautiful embroidery. Thanks for this beautiful blog.
Ann says
I like such unusual things, it really emphasizes your personality. The last time I added streetwear celebrity fashion to my wardrobe, and it was a great influence on the addition of my style. This is a unique combination of fashion trends and your own view of style.
Missy Barrett says
Thank you for this tip about the freezer paper! My daughter has gotten really good at hand lettering so I had her write the name I wanted to embroider on a bib on my iPad. I printed it out and was trying to figure out how to put it on the bib. I think I will try this. 😊
Hayley says
Does the freezer paper leave a mark on the sweatshirt when irons to it? Thanks!
Gee Gee says
I’m afraid that when I tear the freezer paper off it will distort my fabric. Any tips?