I got my geometric DIY on big time for Kellyn’s birthday party, and I wanted to share a few of my faves here today! Geometric piñatas, party hats and beads… you’ll be ready to throw your own geo party in no time! I’m going to call these mini tutorials, since they aren’t as complete as my usual variety, but feel free to comment with questions if I left anything out! Regardless, let’s hop to it!
DIY Geometric Piñatas
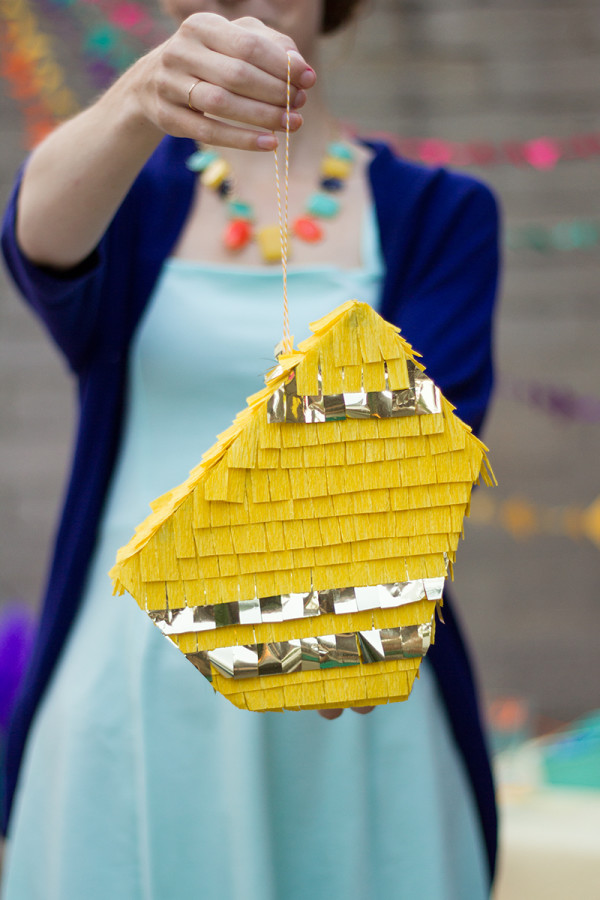
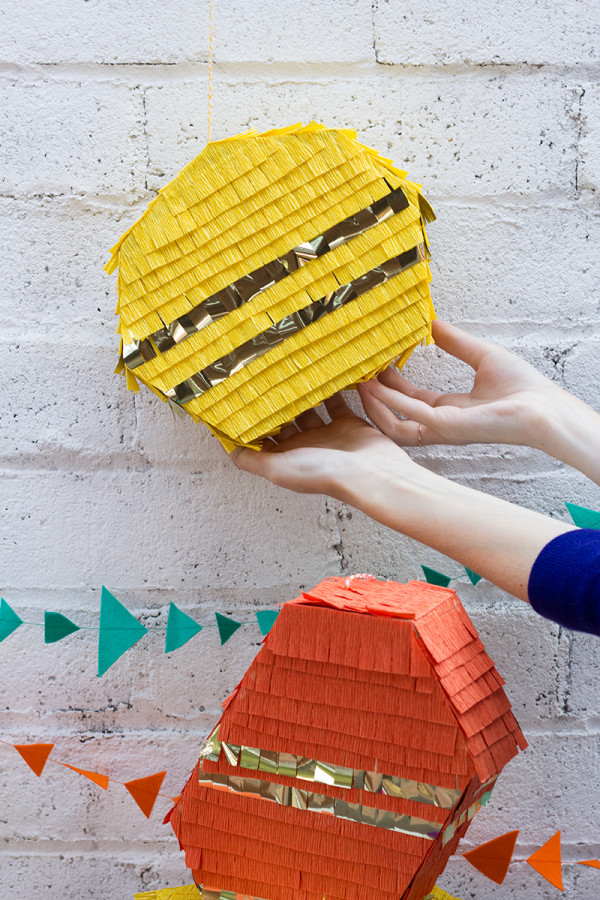
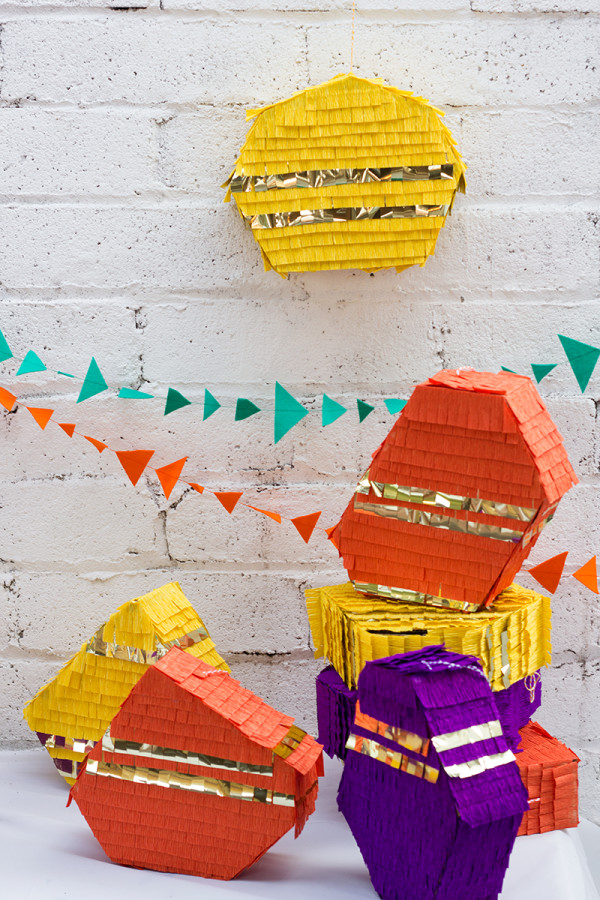
I knew I wanted to make each kiddo their very own mini piñata as the favors. Luckily, my crafty niece made a few fun items to fill it with, along with the perfect geometric party candy… ring pops! I made each geo shape totally different and used a little pop of gold mylar because, well, that’s how I roll.
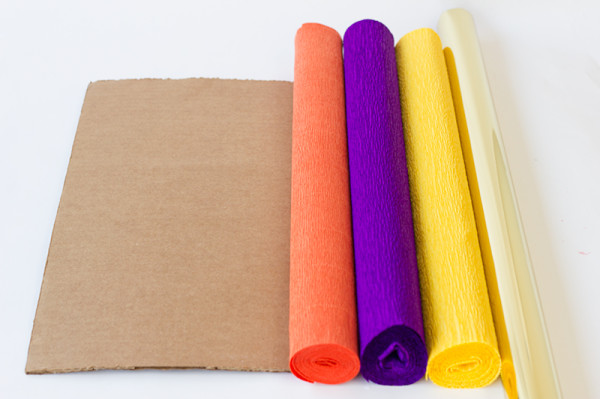
Scrap Paper for Template Making
Cardboard
Crepe Paper
Gold Mylar (Optional)
Scissors
Masking or Kraft Tape
White Craft Glue
Twine (for hanging)
Goodies for filling!
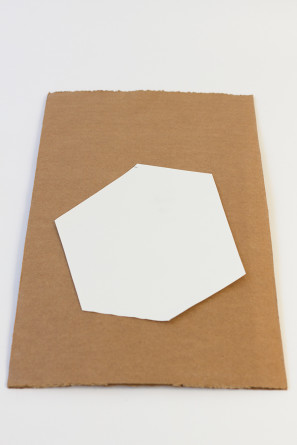
First you’ll need to figure out your geometric shapes. I took a scrap paper and sketched out a bunch (just start drawing and connecting lines to make random shapes!), then picked my faves and re-drew them at the size I wanted on paper/cardstock. Cut out your new “templates” and trace and re-cut them out of your cardboard. You’ll need two of each shape.
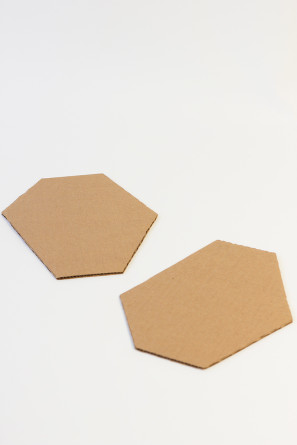
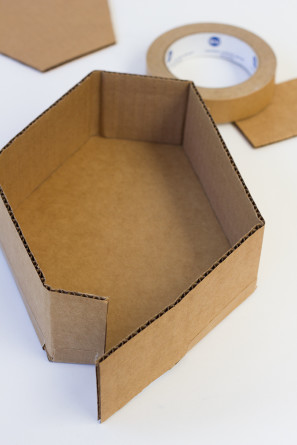
Then cut a long strip of cardboard (long enough to reach all the way around the perimeter of your shape) that’s a few inches wide, depending on your piñata size. Start at what will be the “bottom” of your piñata and tape your long strip to one of your geo shapes. Bend the cardboard as you go to match the angles and lines of your shape.
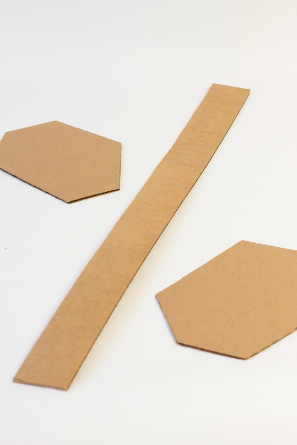
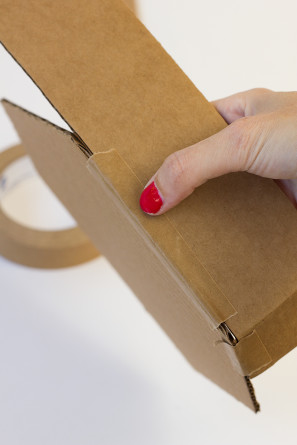
When you get back to the bottom side of your piñata, leave the a few inches untaped. This will act as your “flap” for filling your piñata and can be tucked under after filling. If you want to go ahead and fill your piñata immediately, you can just tape up the whole thing now and then fill. If you want to make a loop of twine for hanging the piñata, now is the time to do it (As you can see, I forgot!). Poke a hole in the top of the piñata (or slightly off center, depending on how you want it to hang) and slip a loop of twine through, tying a knot on the inside. Then tape the other side of the piñata to form a full shape.
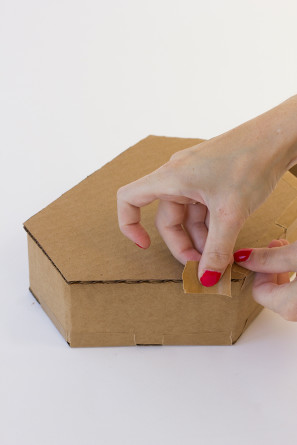
Now get all that fringe cut! You’ll want to cut long 1″ – 1.5″ wide strips of crepe paper (and/or mylar), fold in half several times until you have a small section and then fringe one side. Once it’s all cut, you can start gluing the frigne to the piñata. Always start at the bottom of the front or back of the pñata and work your way up.
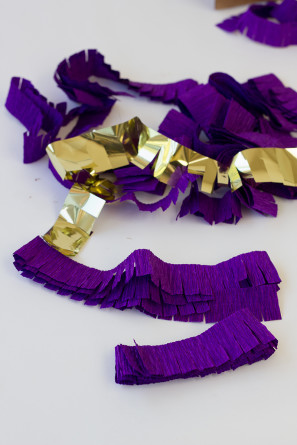
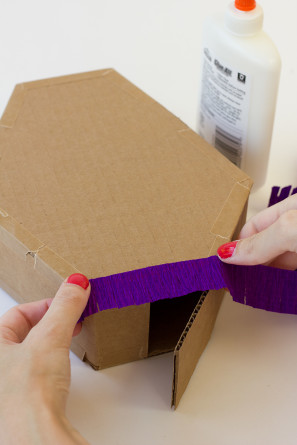
Once you have the front and back finished, repeat the same process with the sides. Start at the bottom of the piñata and work your way up one side. Once you reach the top you’ll want to go back to the bottom on the other side of the piñata and work your way up from there until all sides are covered.
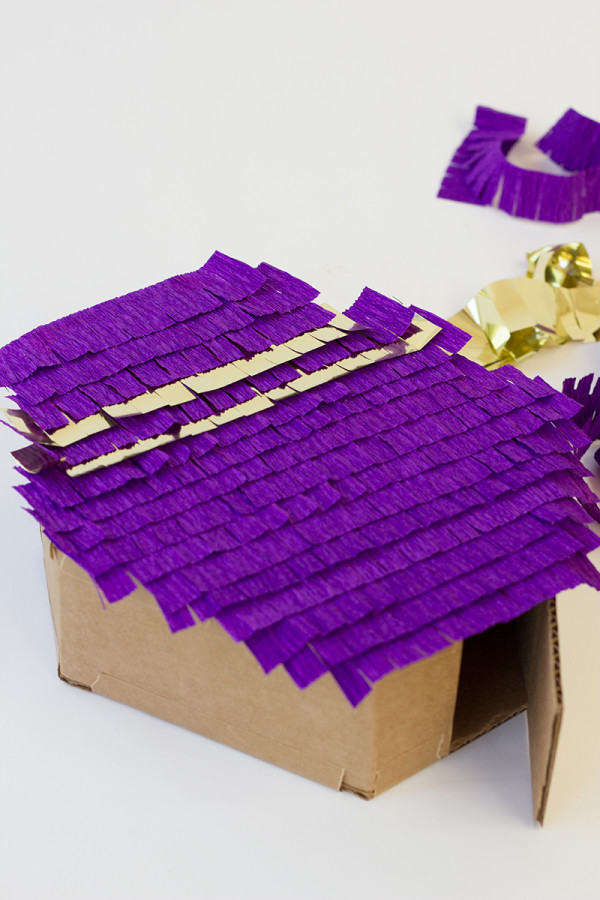
Done! Piñata favors for everyone!
DIY Geometric Jewelry Station
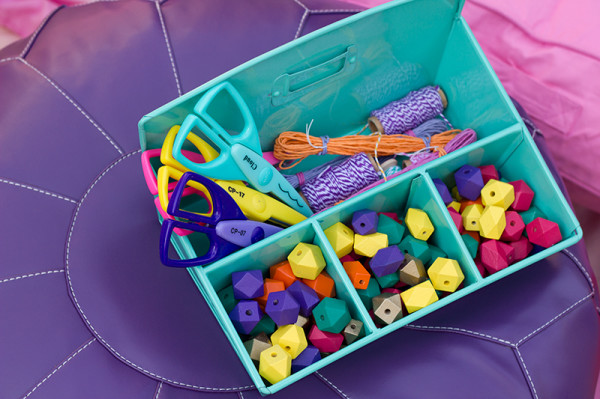
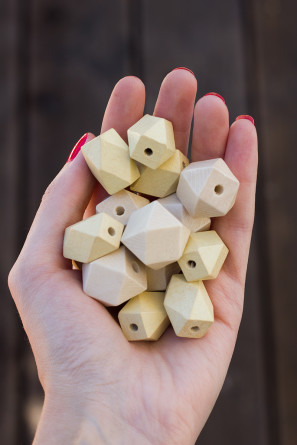
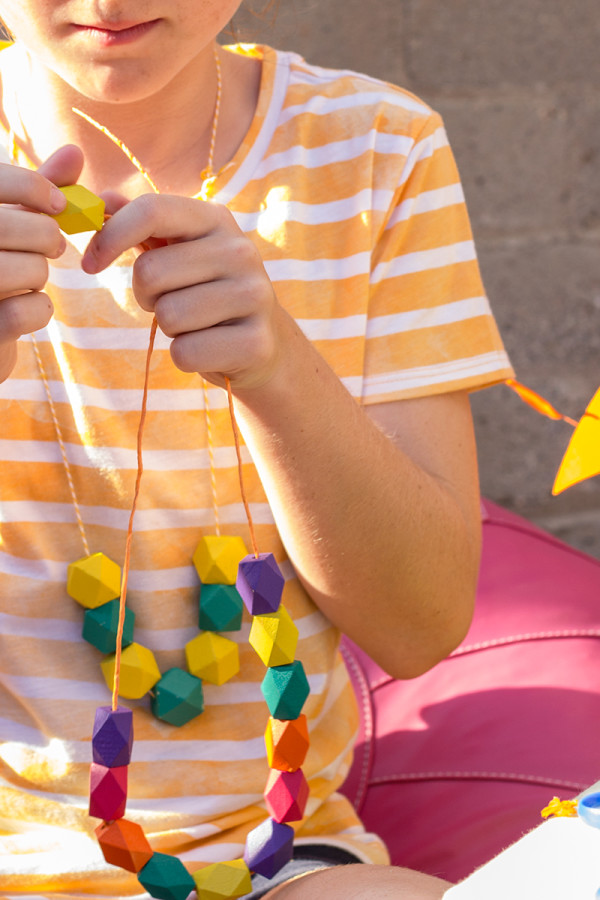
While I learned last year that Kellyn and her friends really just like entertaining themselves, I wanted to have one crafty option for those who might be interested (and they were!). I decided a geometric jewelry station was the perfect option! I bought a bunch of plain wood geo beads and spray painted them all the colors of the party. Then I gathered some fun twine and string and laid it all out for them to go bead crazy!
Wood Geometric Beads
Spray Paint
Clear Spray Sealer
Bamboo Skewers and Foam Core for Spraying/Drying (Optional)
Twine/Ribbon/String
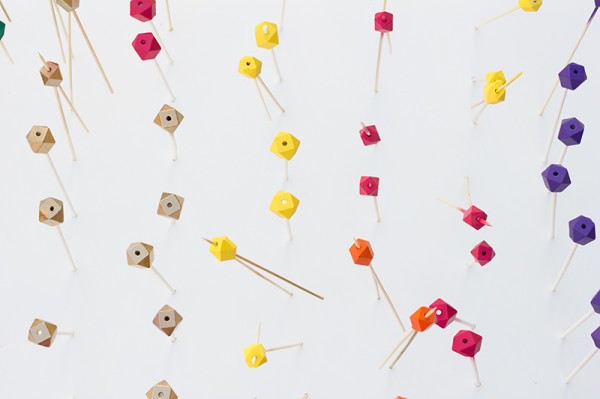
There are two methods for spraying your beads. One is to lay them out on a large piece of paper (kraft paper is great) and spraying one side, waiting for them to dry, then spraying the other. The next option is to pop each of your beads on a bamboo skewer, sticking them in a piece of foam core and spraying from there. Pick your poison!
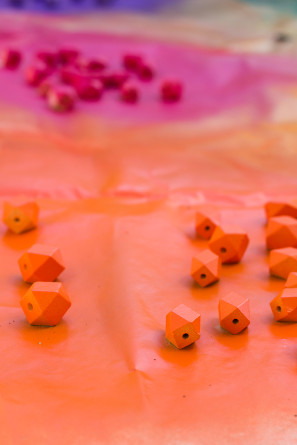
Either way, spray paint and allow to dry, then spray a good coat of clear sealer on them so the paint stays all nice and pretty!

DIY Geometric Party Hats
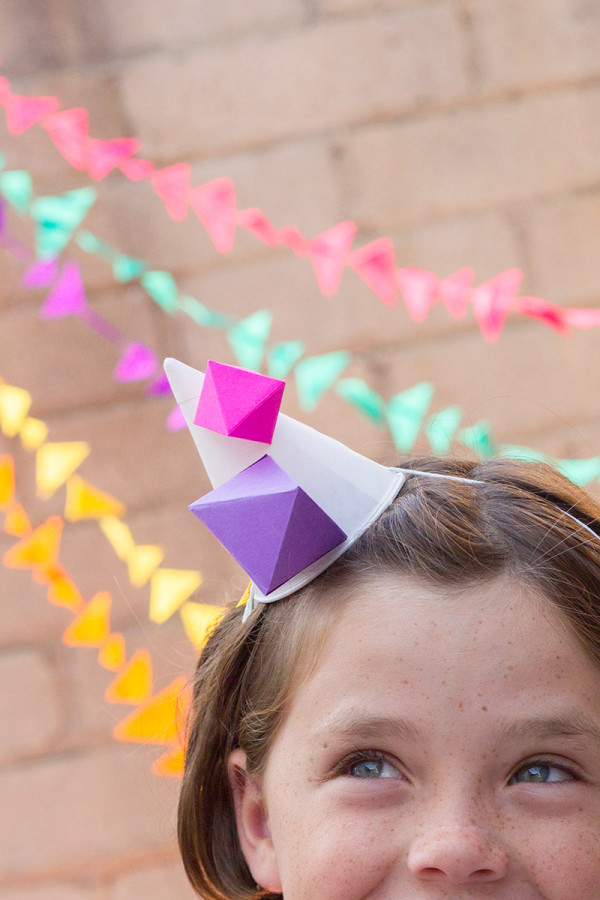
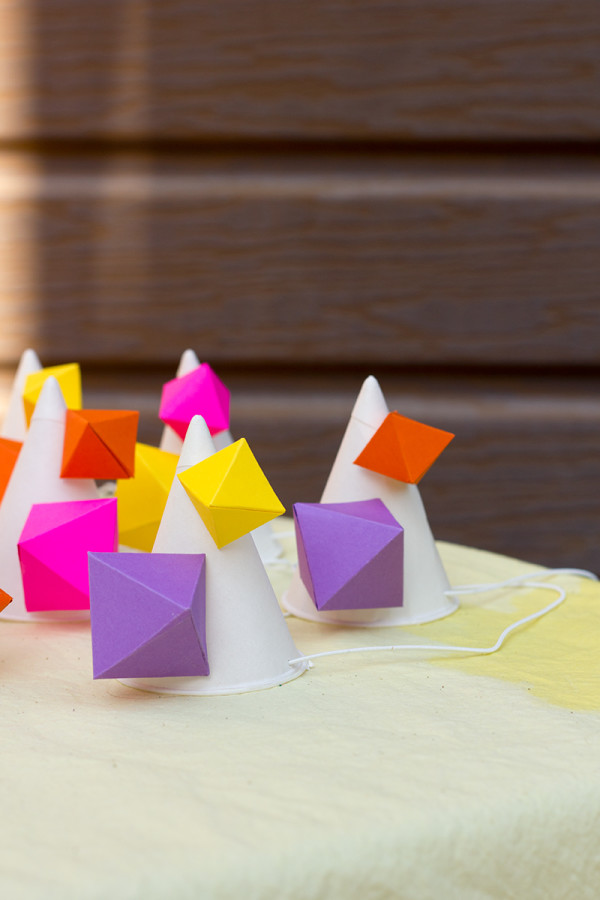
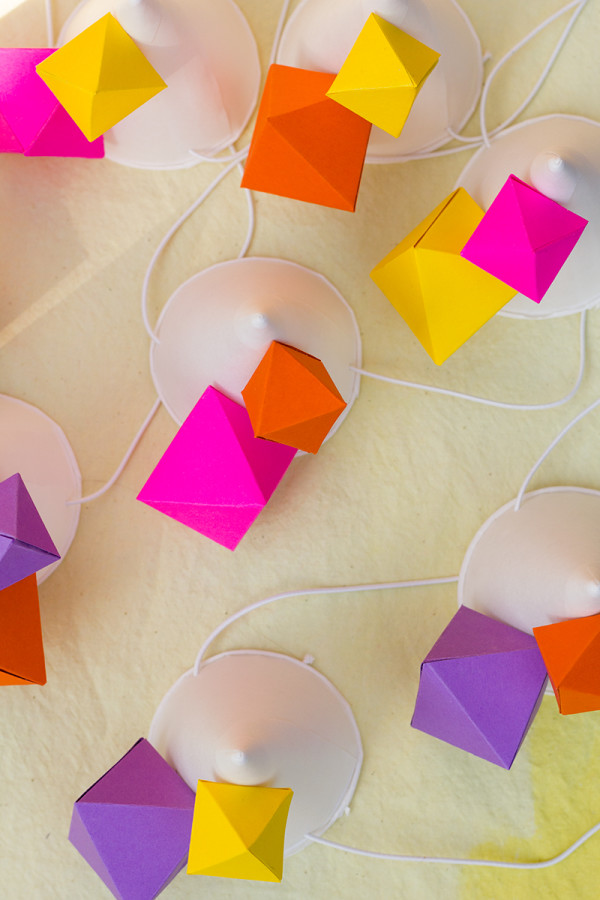
These were a total last minute addition. I realized about 24 hours before the party that I somehow forgot about party hats! I know, I know, how did I forget about my most favorite thing!? Luckily I had been playing around with the template that Chelsea of Lovely Indeed and her husband designed for the garlands at our West Elm event (photos from that coming up Thursday!) and decided to give it a test run at the party. Bam! Geometric paper fold party hats were born.
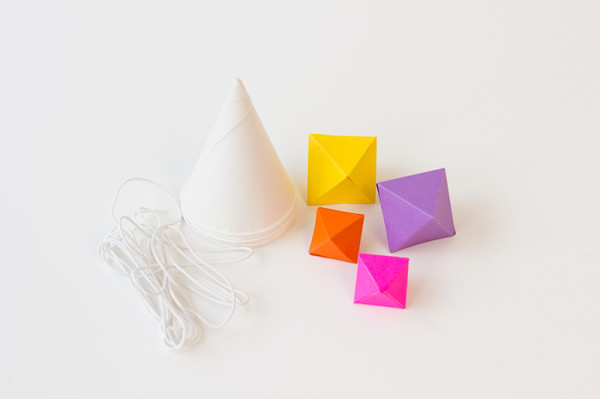
Water Cone Cups or Snow Cone Papers (These make mini hats, for regular size hats just print out a template and follow the steps below just the same!)
Geometric Paperfold Template Printed on Color Paper of Choice
Glue Stick
Hot Glue
Scissors
Elastic
Awl
Cut out your templates along the solid lines. Fold along all the dotted lines and use a glue stick to adhere the flaps to the sides, forming the shape you see below. Chelsea will be posting a detailed tutorial on how to do this on Thursday (and I’ll update the link to it then for further instructions.)! Once you have your shapes together, hot glue as many as desired to your little cones.
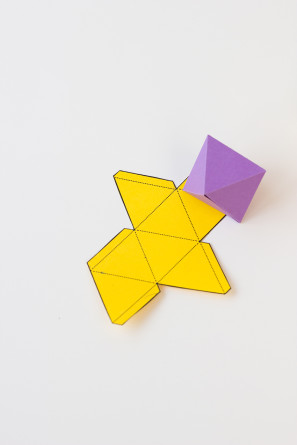
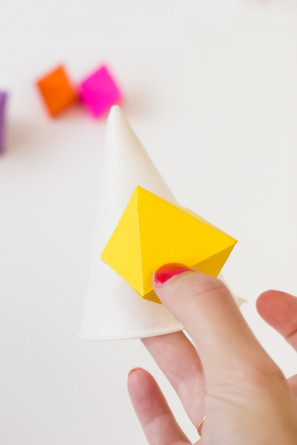
Poke a hole with your awl through each side of the party hat and string a piece of elastic through, tying with knots on the inside of the hat to secure.
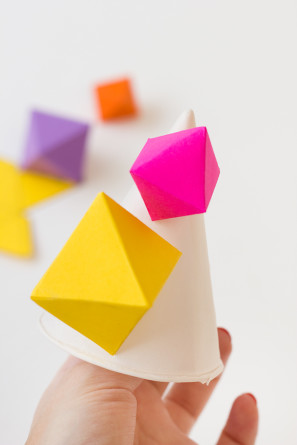
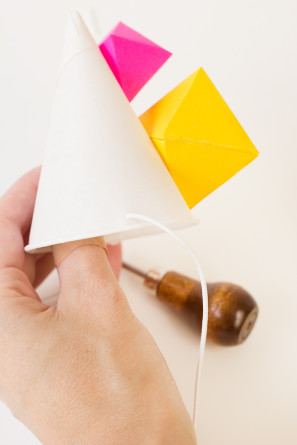
Party time!
All Photos by Studio DIY
Don’t miss all of the details from the party in yesterday’s post! And if you throw a geometric party of your own, I’d love to see a photo! It really is a great theme if you ask me!
For more DIY projects, head right on over here!



Kathleen says
LOVE these pinatas, Kelly! So striking.
juni // hej juni says
love those party hats! actually, love everything about this party 😉
Ann Martin says
Wonderful tutorials, Kelly – thanks! The pinatas are a ton of work, but they’re so festive and worth it. 🙂
Kelly says
They’re definitely time consuming, Ann, but mindless after awhile! I usually put on Netflix and binge watch something while I work! 😉
Cintya says
Very creative, I love it!
Amy Larkin says
I love EVERYTHING about this post! Beautiful! With a capital “B” and a capital “eautiful!”
Brittni says
I love these DIYs so much Kelly! I’m going to have to make one of those bead necklace for myself.
Anya @ SAS-does says
What an unusual and cute idea, Kelly! Love those bead necklaces.
lyndsay // coco cake land says
KELLY. the world should pay you one million zillion dollars for how party-brilliant you are. your ideas are stupendously awesome!! i love those geometric pinatas… oh heck, the whole theme is amazing! ^__^
Kelly says
Ha, Lyndsay! You are too sweet. Though I’d certainly take the one million zillion dollars if someone wanted to give it to me! 😉 So glad you love the DIYs!